For 1990-2009 cars only
Removal Procedure - Front
- Remove the front door upper auxiliary weatherstrip. Refer to Front Side Door Upper Auxiliary Weatherstrip Replacement.
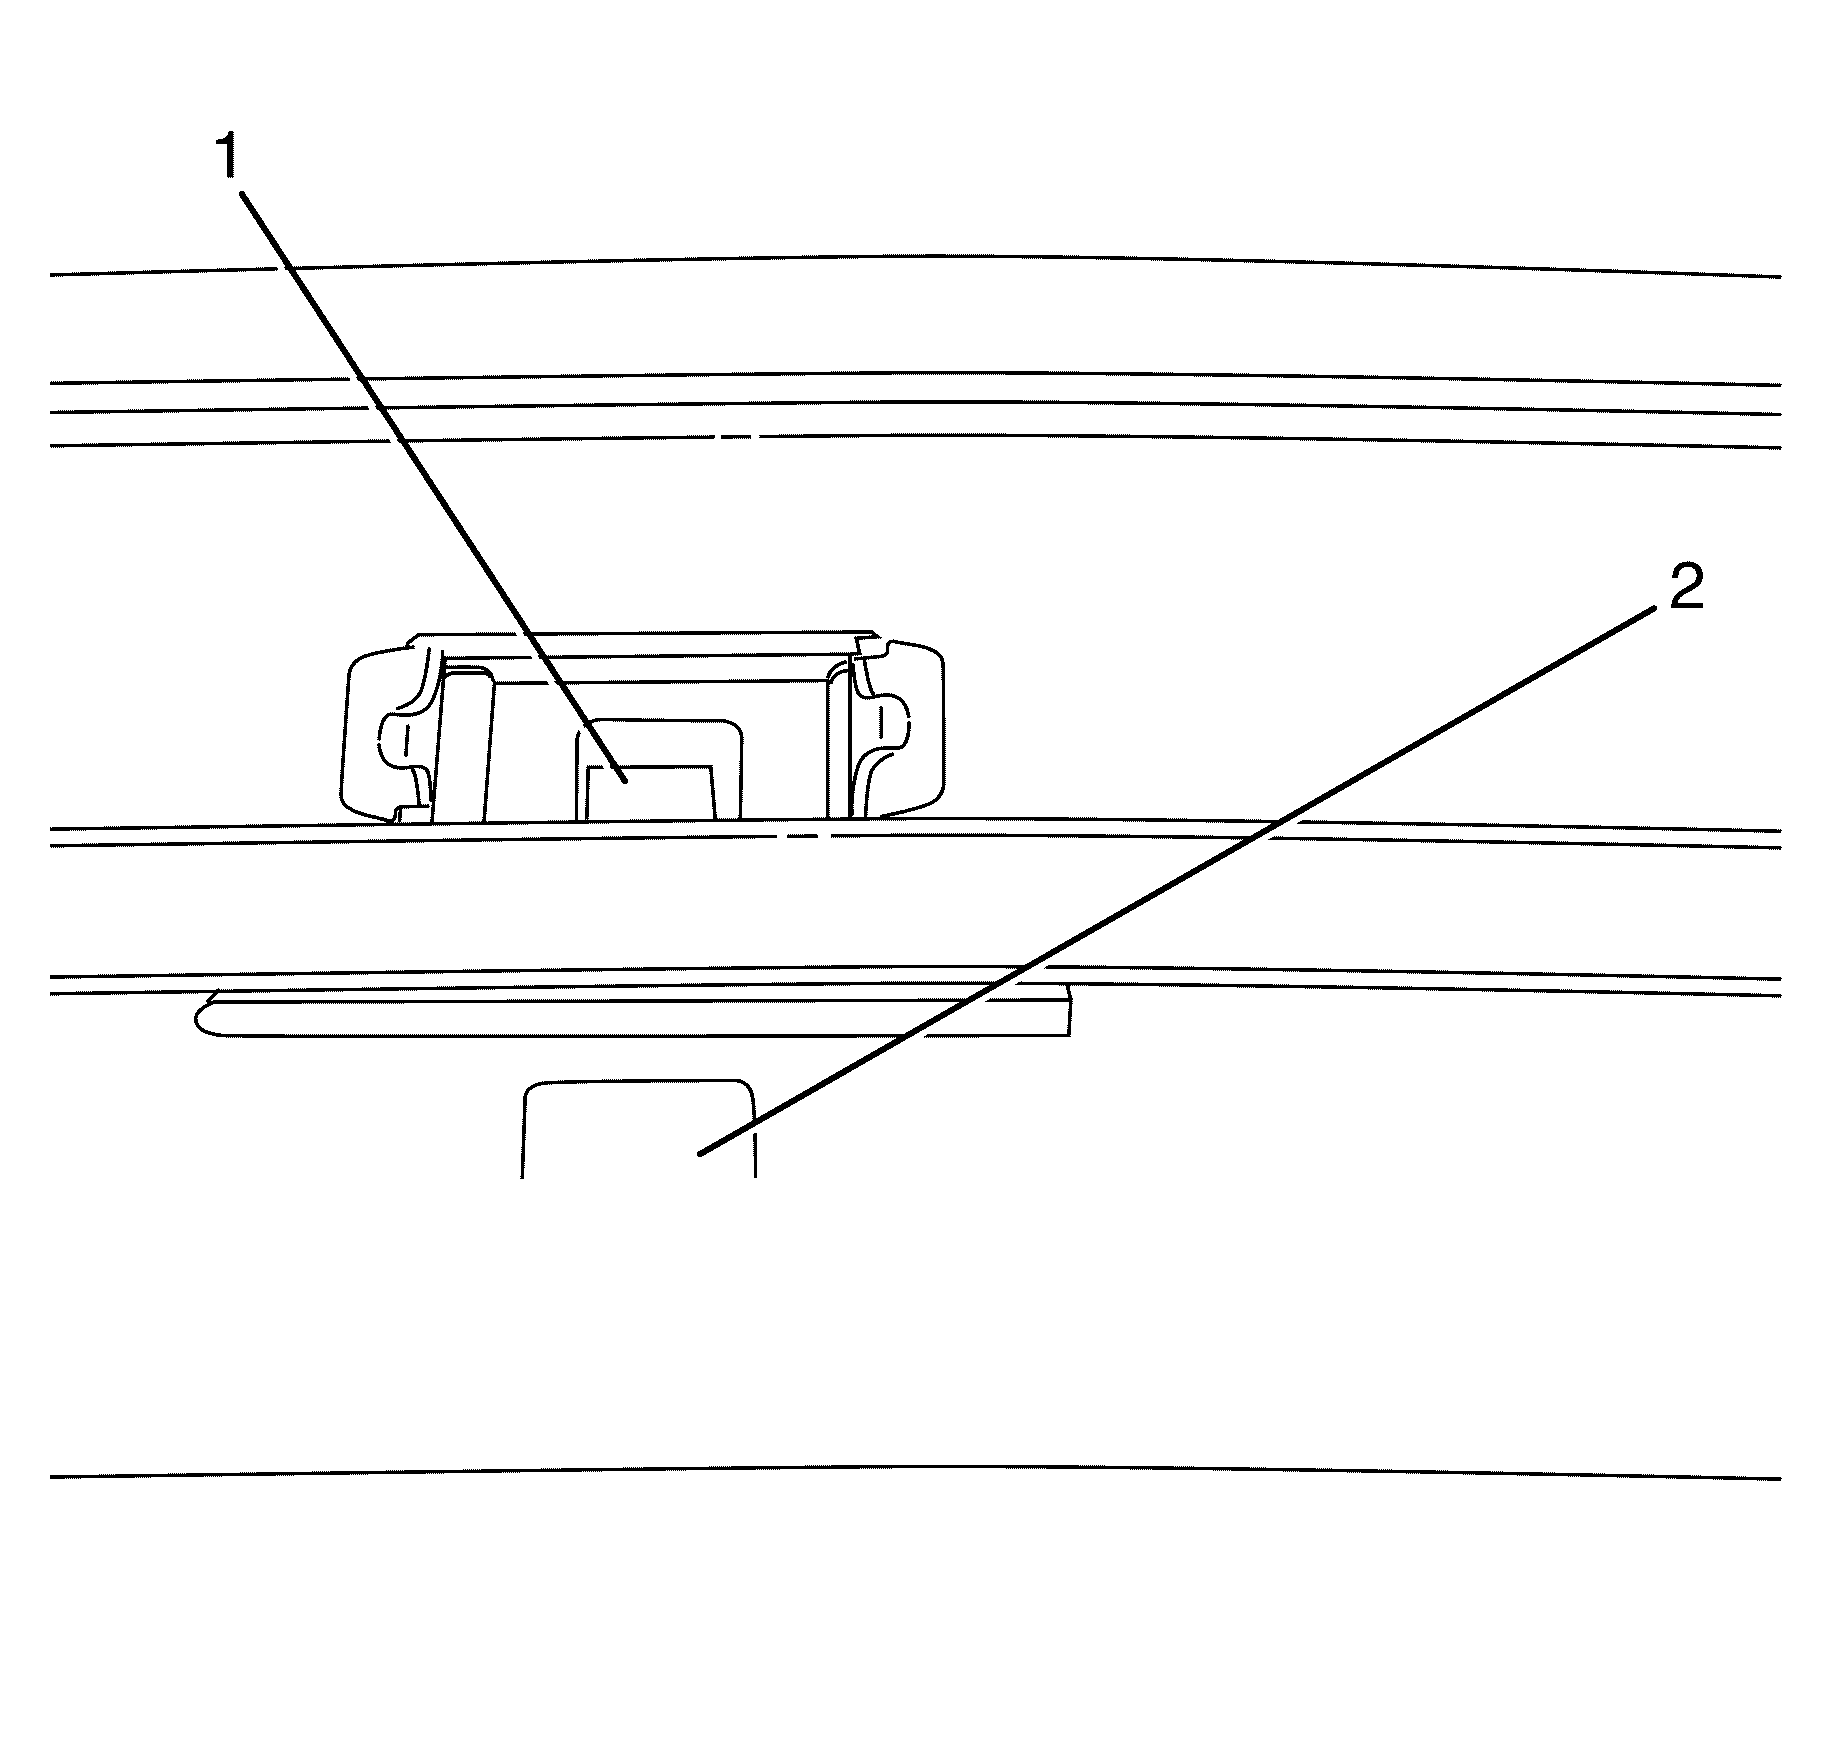
- Detach the door frame garnish molding locking tab (1) from the door frame (2) using a suitable flat bladed tool.
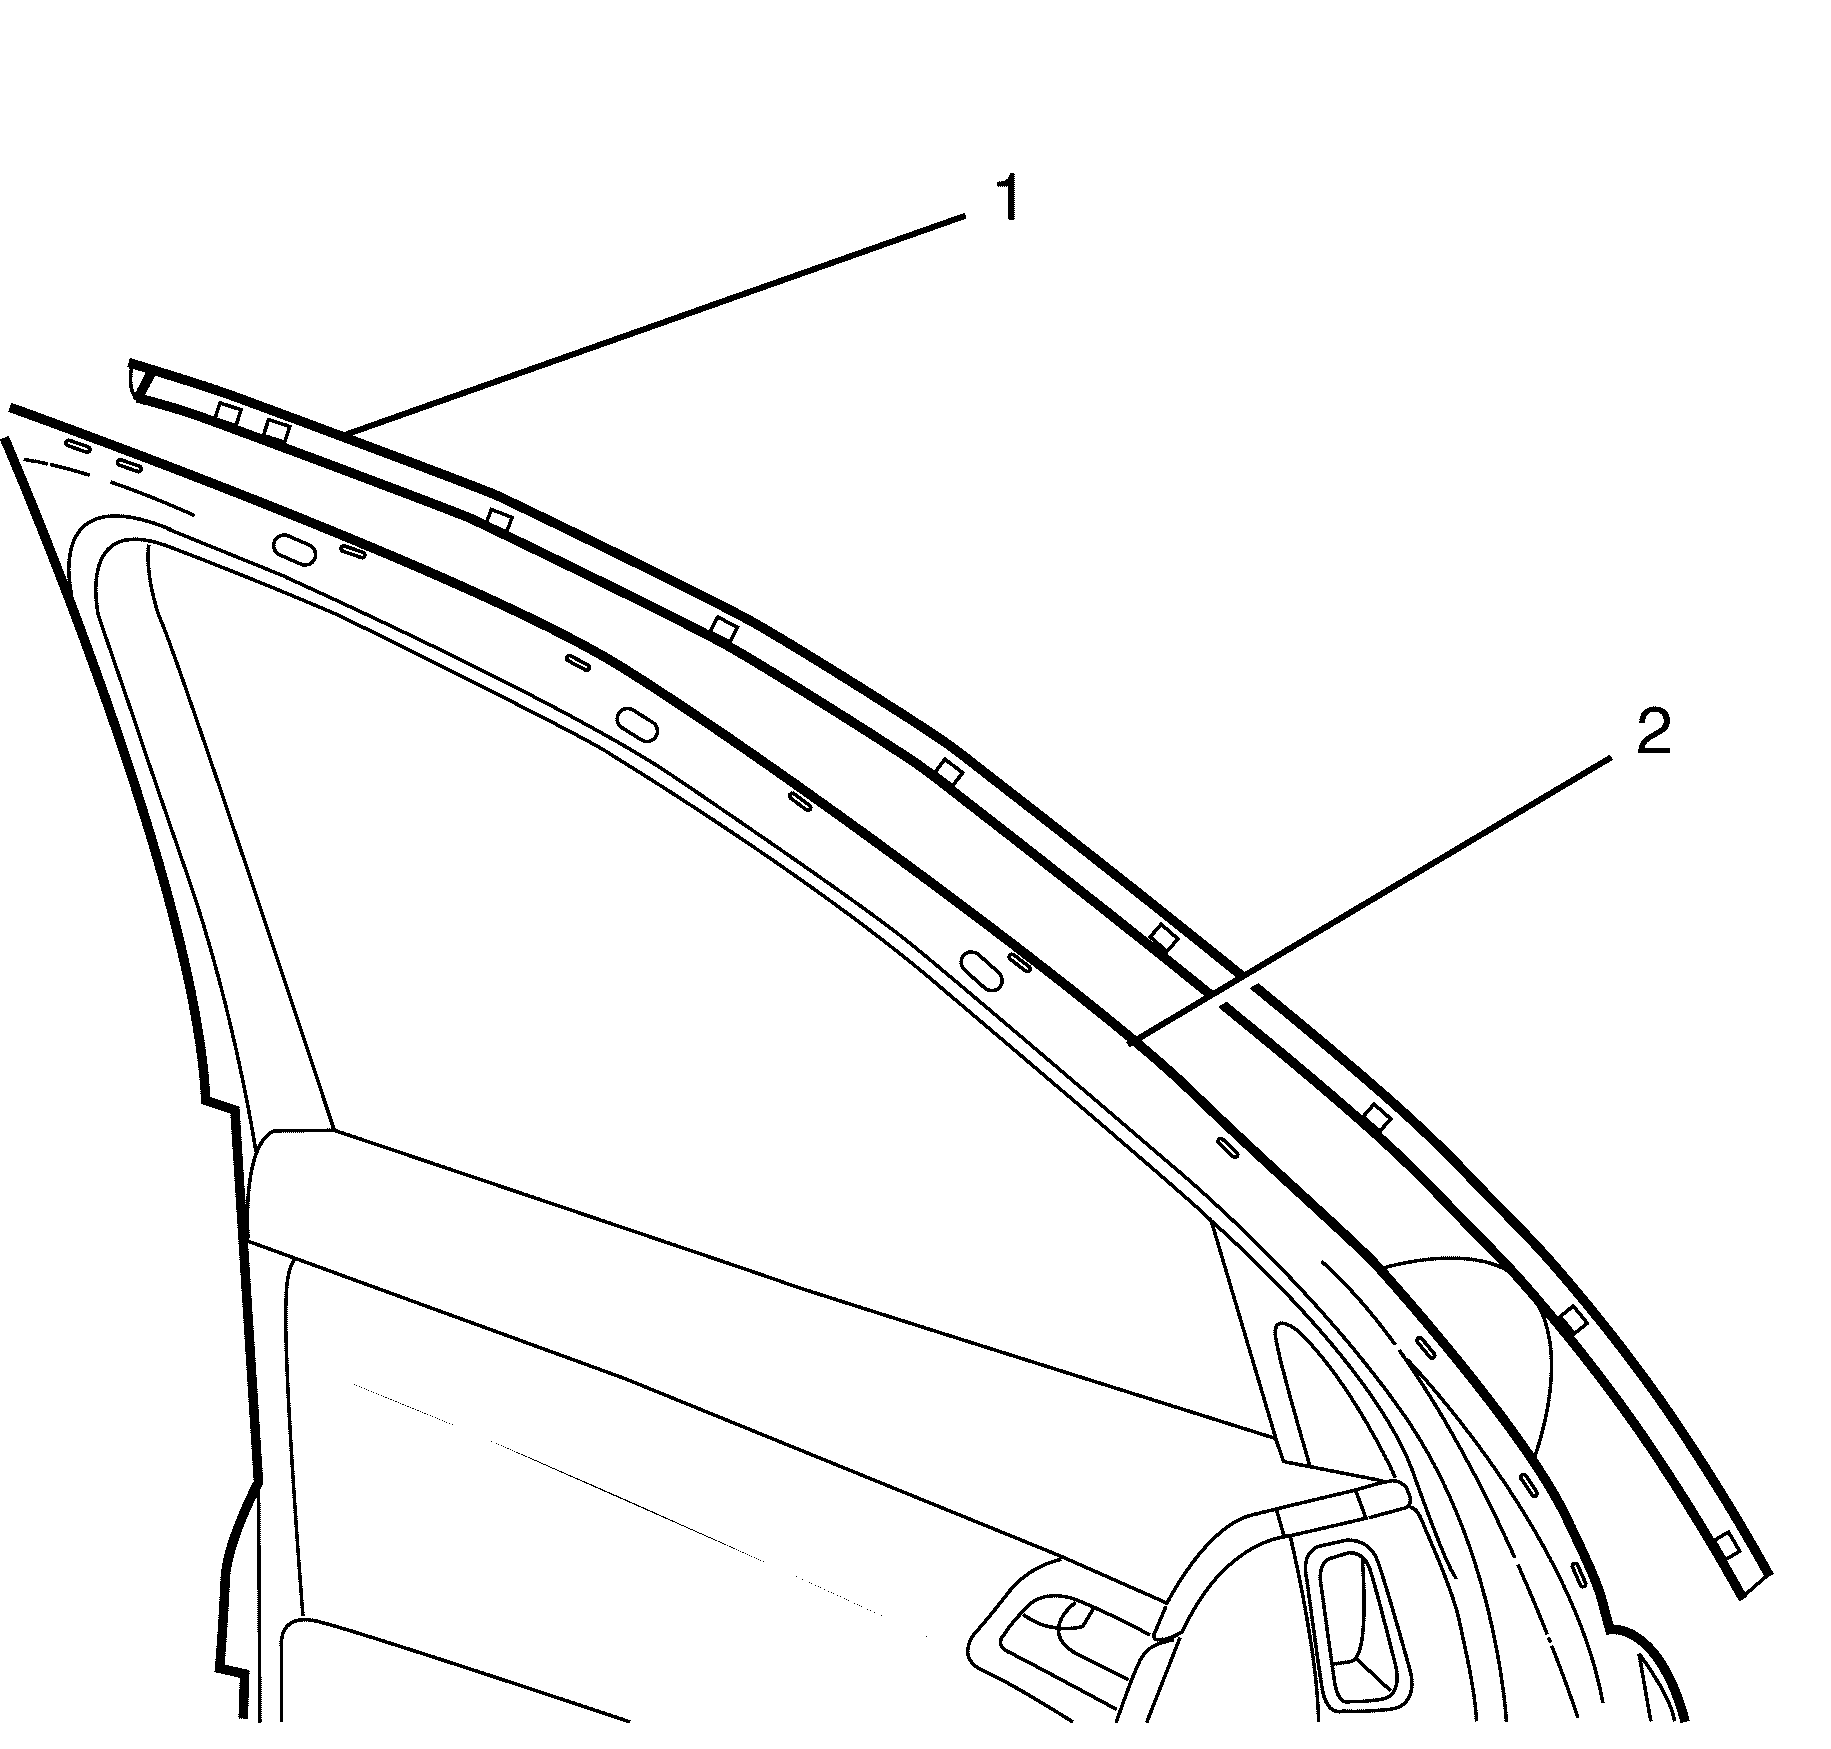
- Remove the door frame garnish molding (1) from the door (2).


Installation Procedure - Front
- Position the door frame garnish molding (1) to the door (2).
- Attach the door frame garnish molding locking tab (1) from the door frame (2).
- Install the front door upper auxiliary weatherstrip. Refer to Front Side Door Upper Auxiliary Weatherstrip Replacement.


Important: Push the door frame garnish molding until the locking tab (1) locates in the door frame (2).
Removal Procedure - Rear
- Remove the rear door bottom auxiliary weatherstrip. Refer to Rear Side Door Bottom Auxiliary Sealing Strip Replacement.
- Detach the door frame garnish molding locking tab (1) from the door frame (2) using a suitable flat bladed tool.
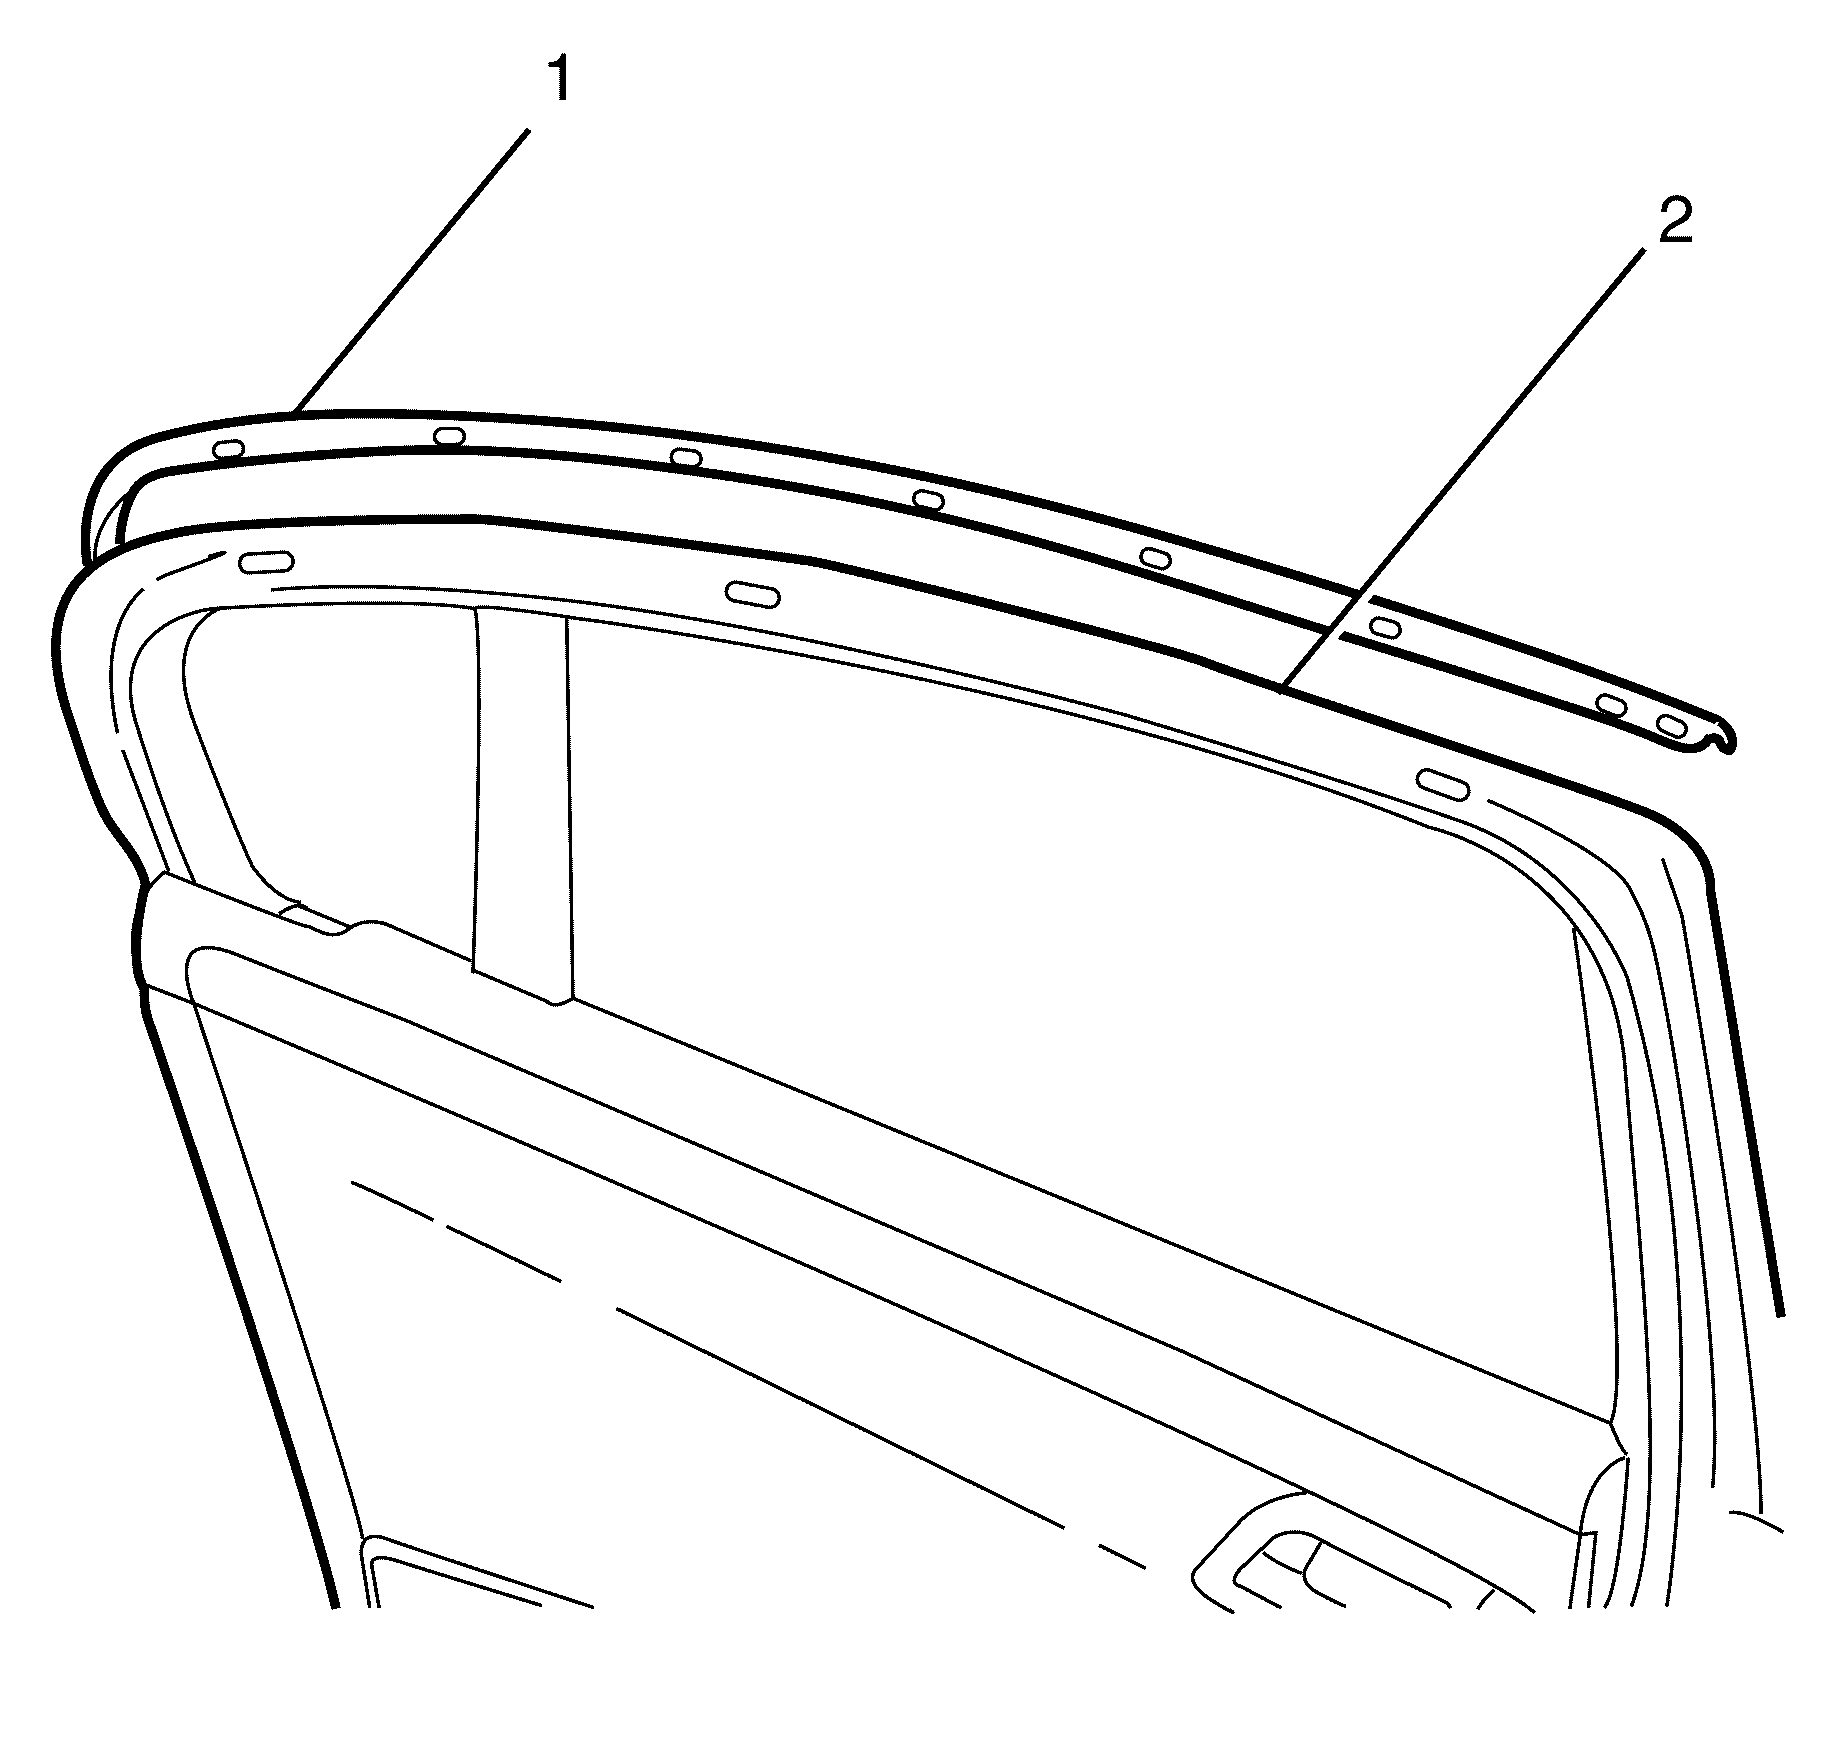
- Remove the door frame garnish molding (1) from the door (2).


Important: Detach the clips on the door frame garnish molding (1) with a suitable flat bladed tool.
Installation Procedure - Rear
- Install the door frame garnish molding (1) to the door (2).
- Attach the door frame garnish molding locking tab (1) from the door frame (2).
- Install the rear door bottom auxiliary weatherstrip. Refer to Rear Side Door Bottom Auxiliary Sealing Strip Replacement.


Important: Push the door frame garnish molding until the locking tab (1) locates in the door frame (2).
