For 1990-2009 cars only
Removal Procedure
- Remove the shift control assembly. Refer to Shift Control Assembly Replacement .
- Remove the propeller shaft. Refer to Propeller Shaft Replacement .
- Disconnect the following electrical connector:
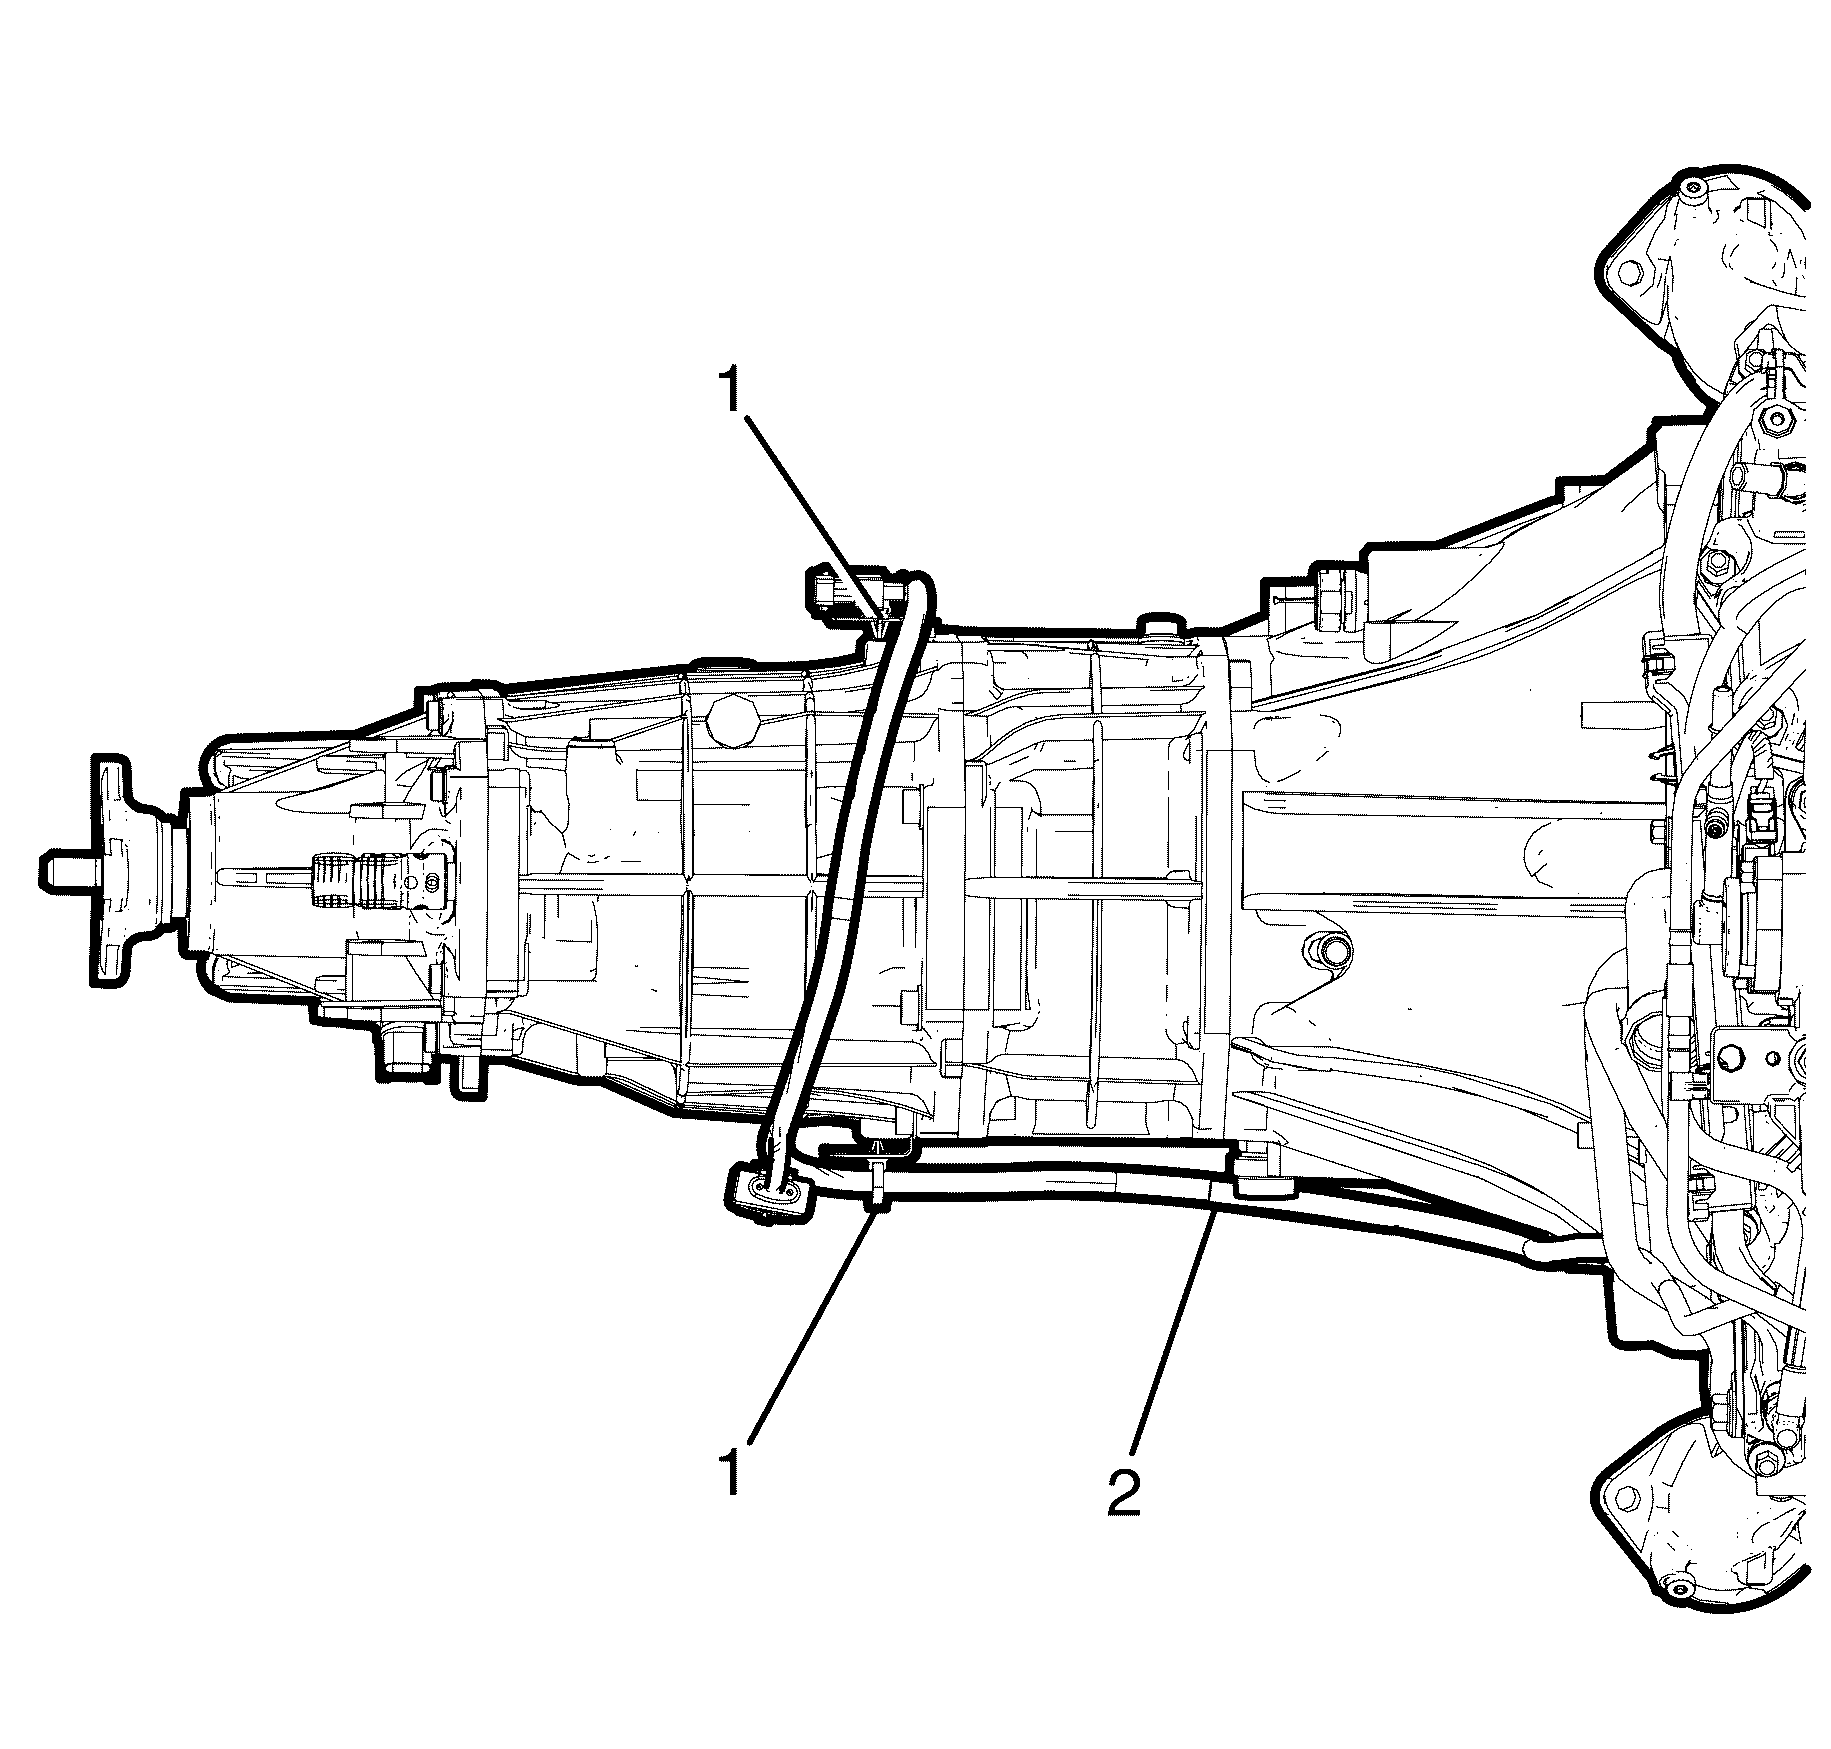
- Disconnect the oxygen sensor connectors (1) from the transmission.
- Disconnect the clutch slave cylinder. Refer to Clutch Concentric Actuator Cylinder Replacement .
- Remove the starter motor. Refer to Starter Motor Replacement .
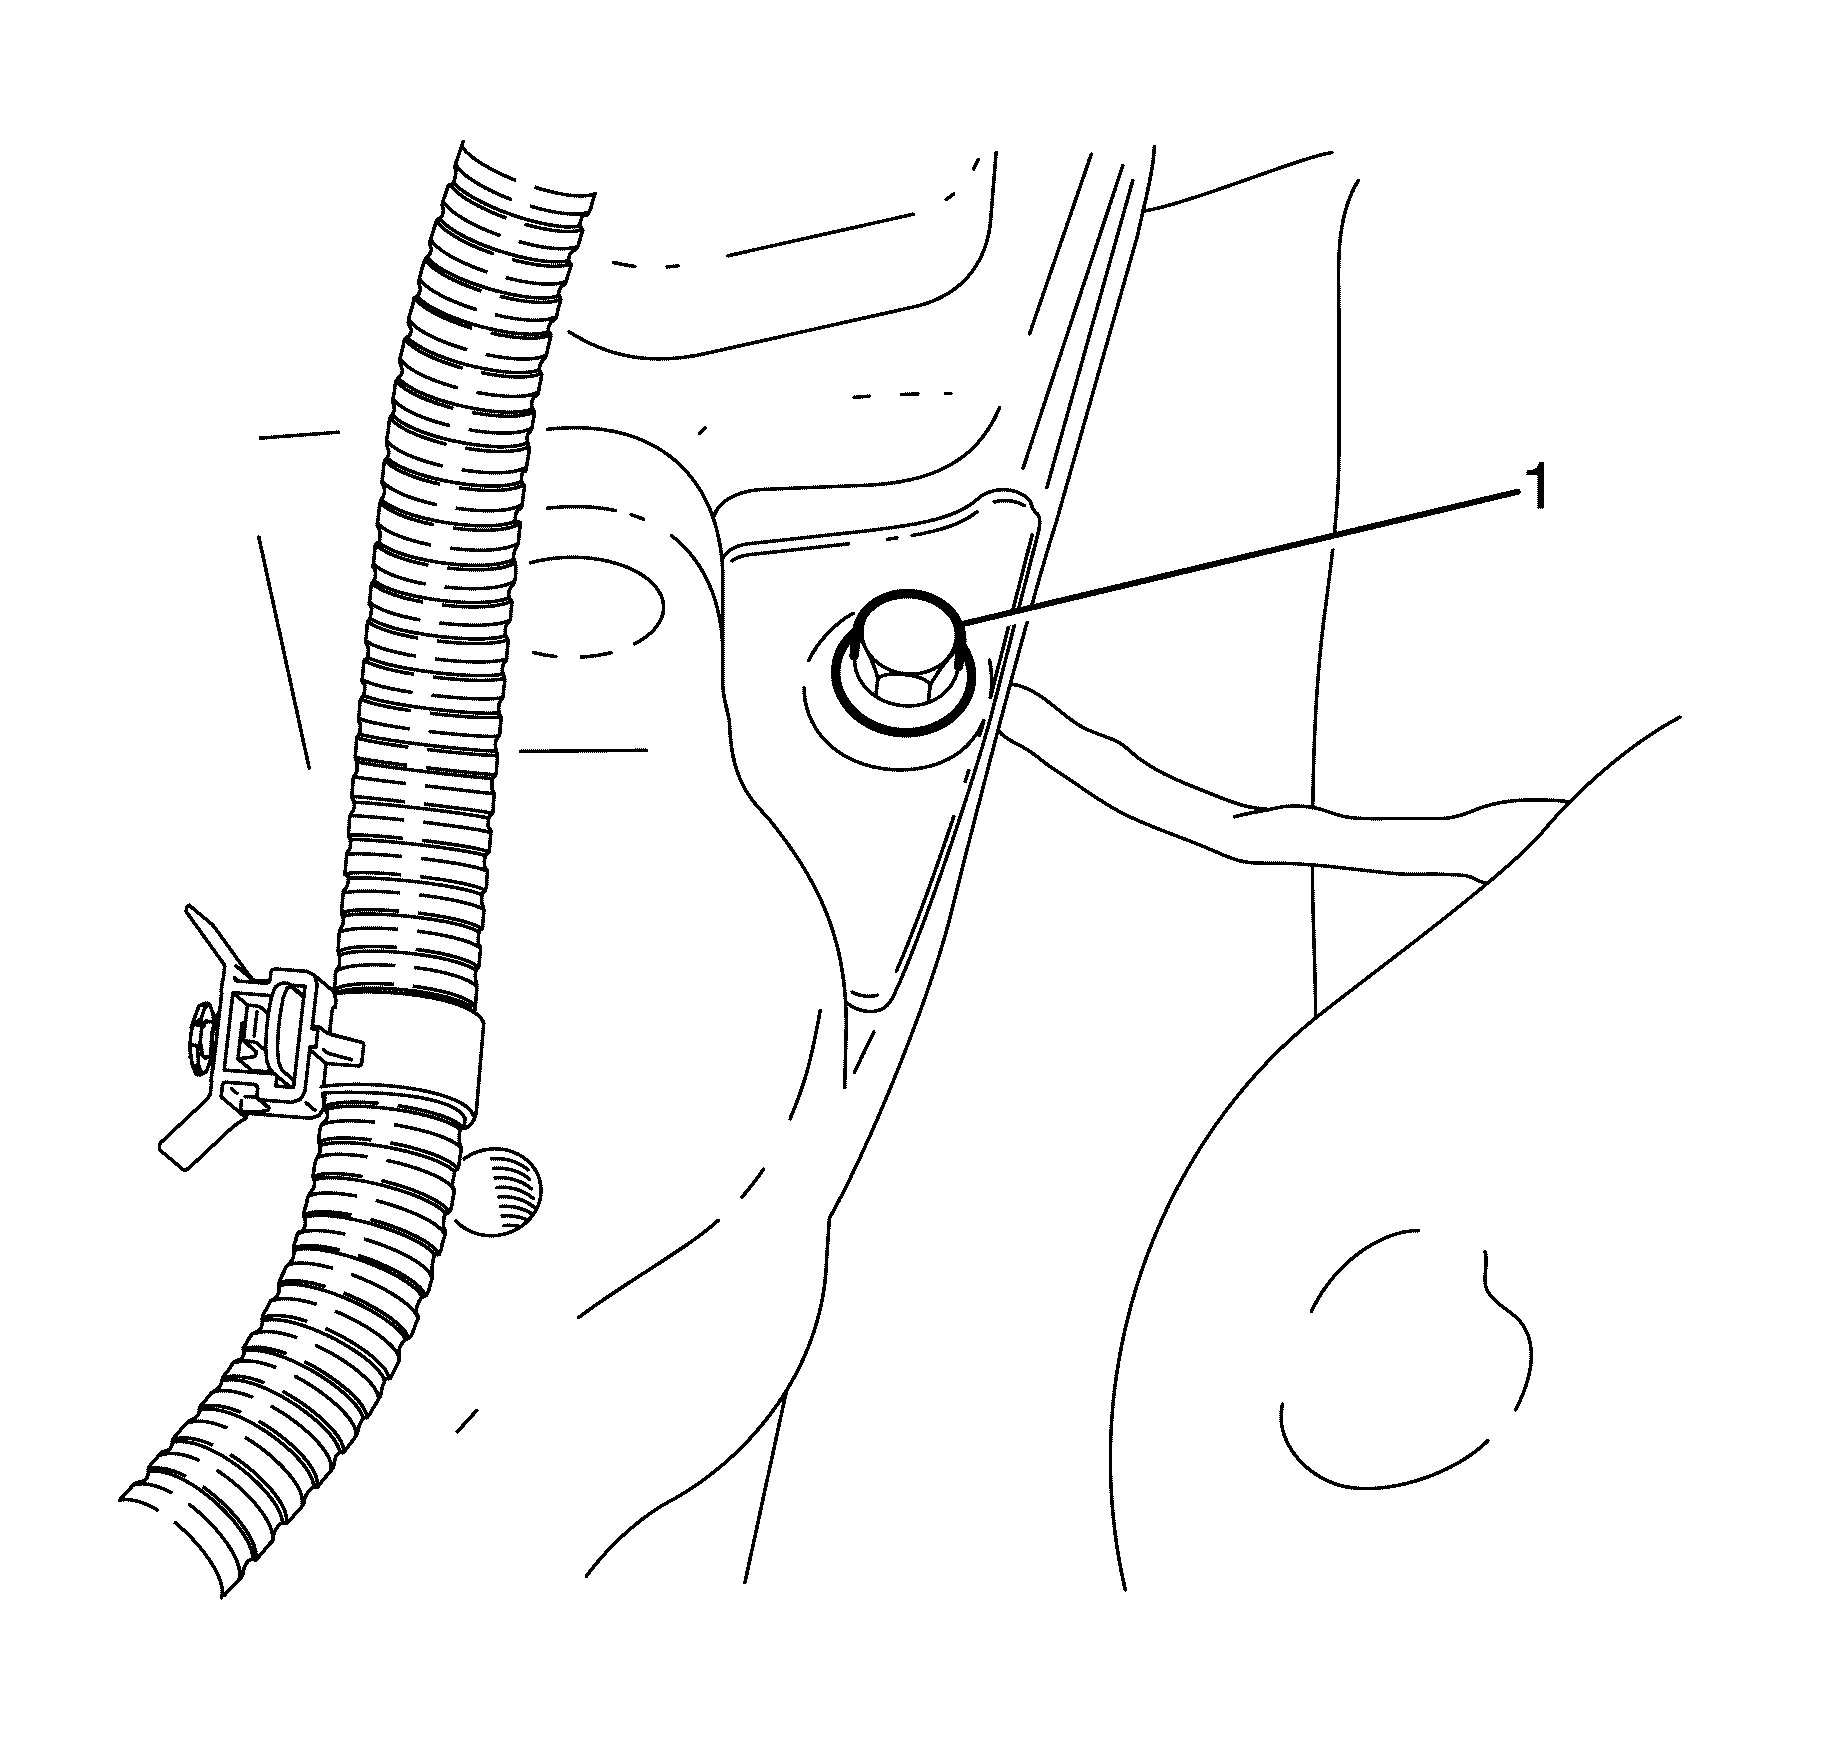
- Remove the transmission close out panel to transmission retaining bolt (1).
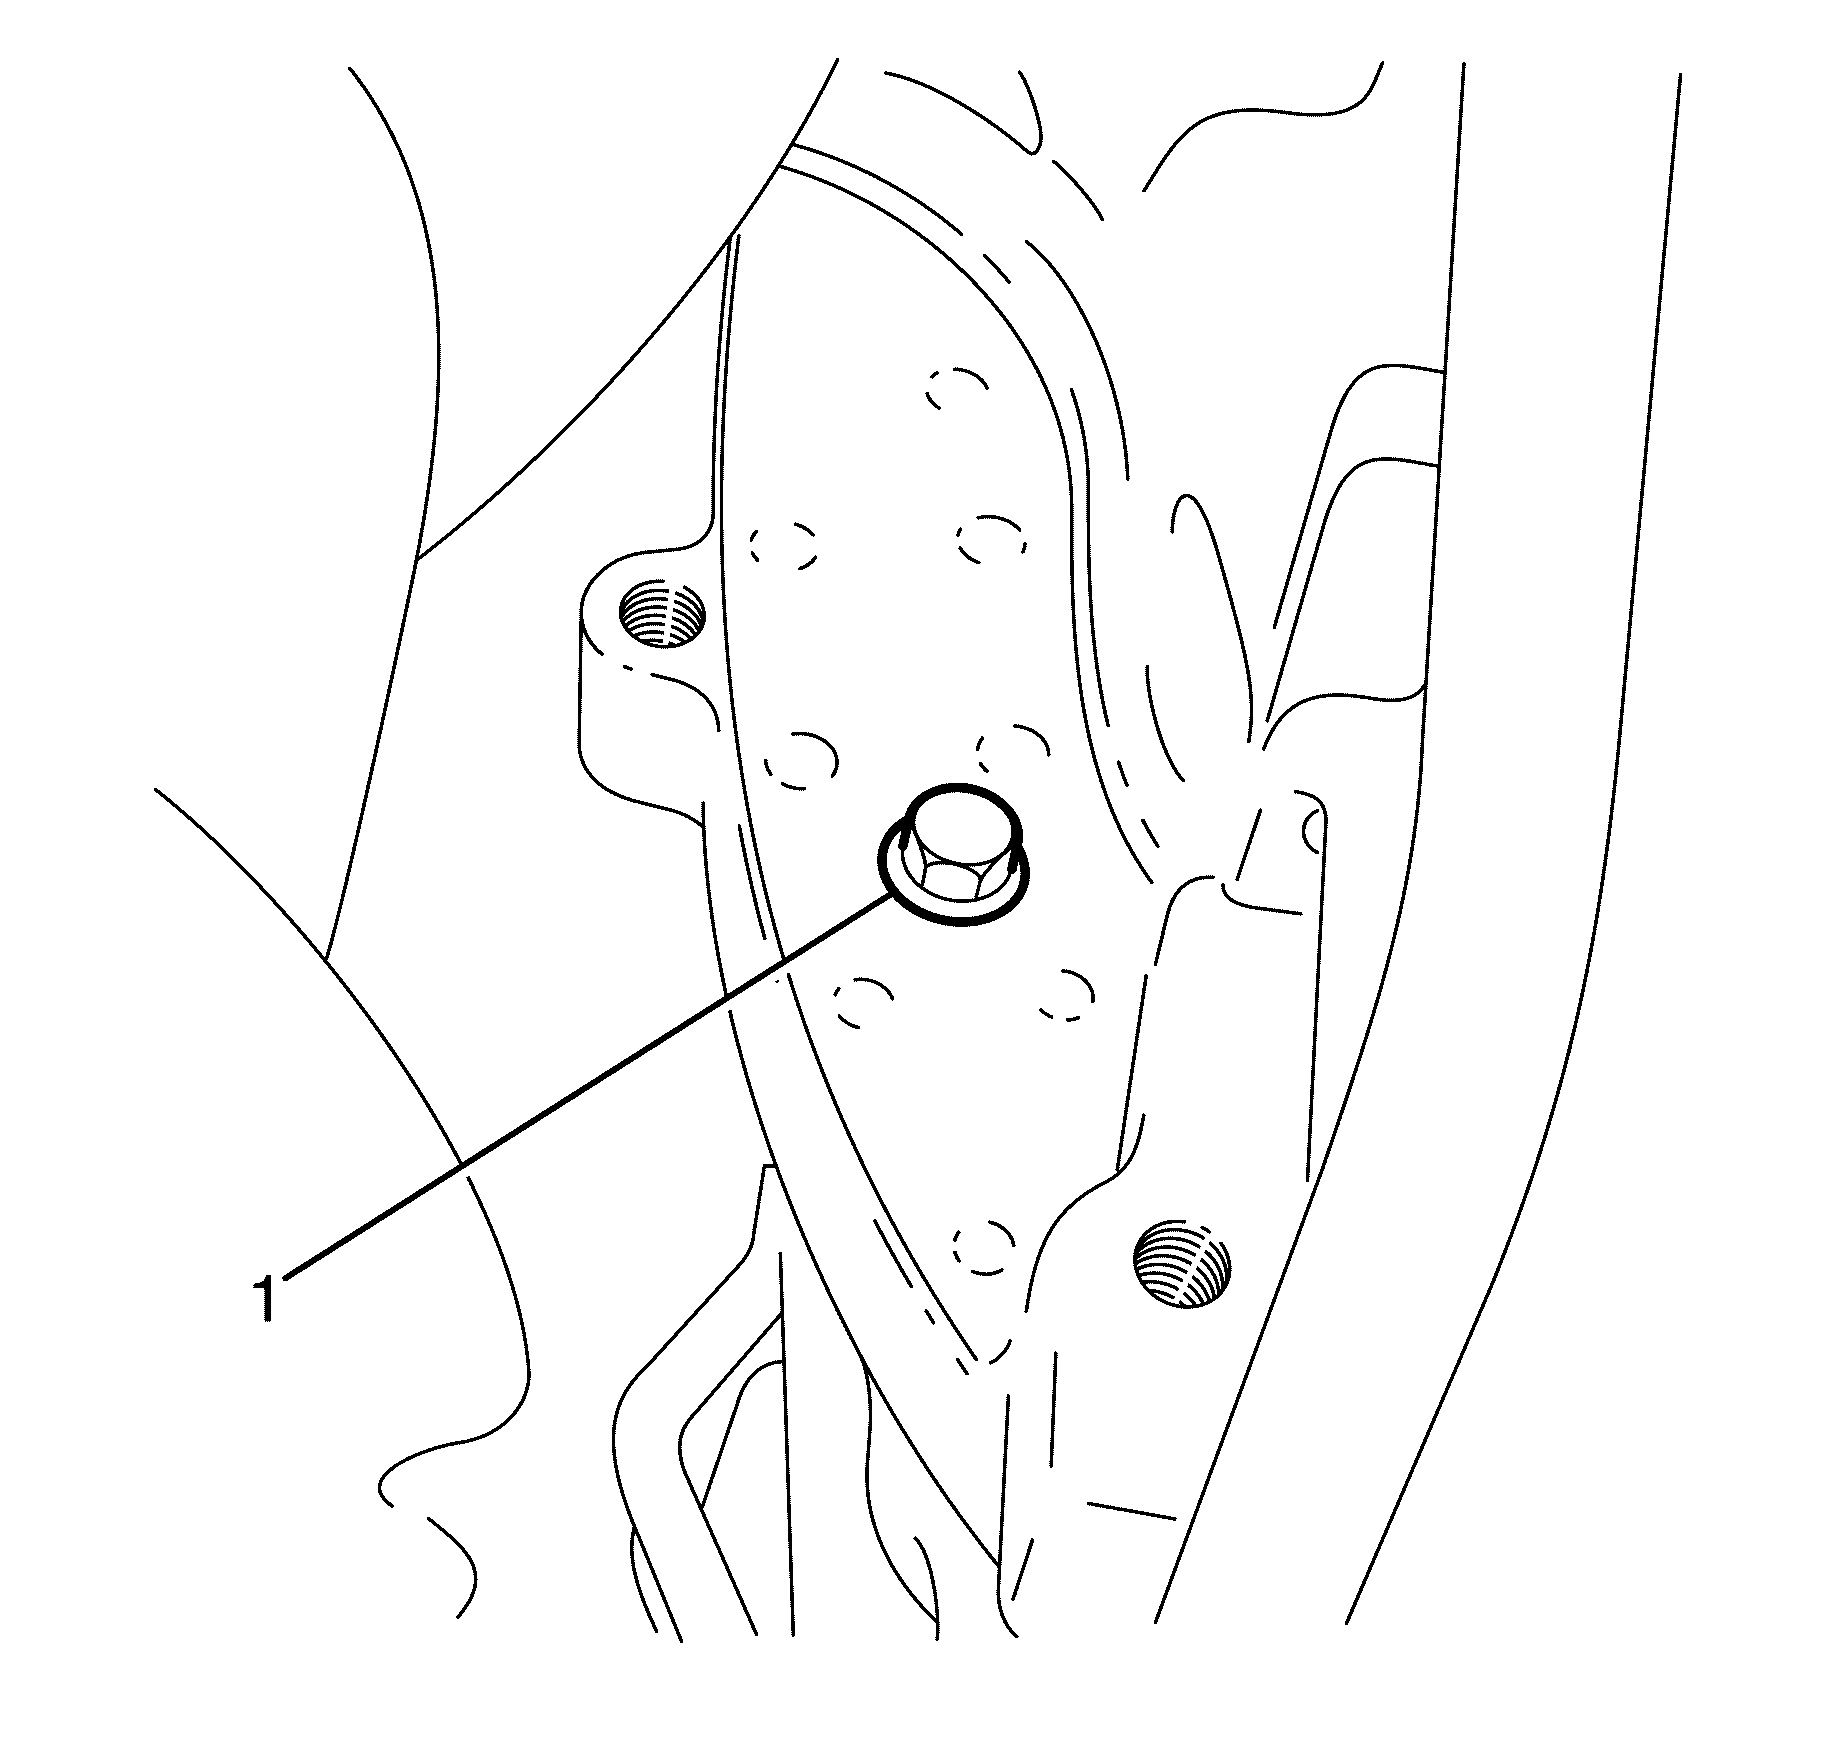
- Remove the transmission close out panel to transmission retaining bolt (1).
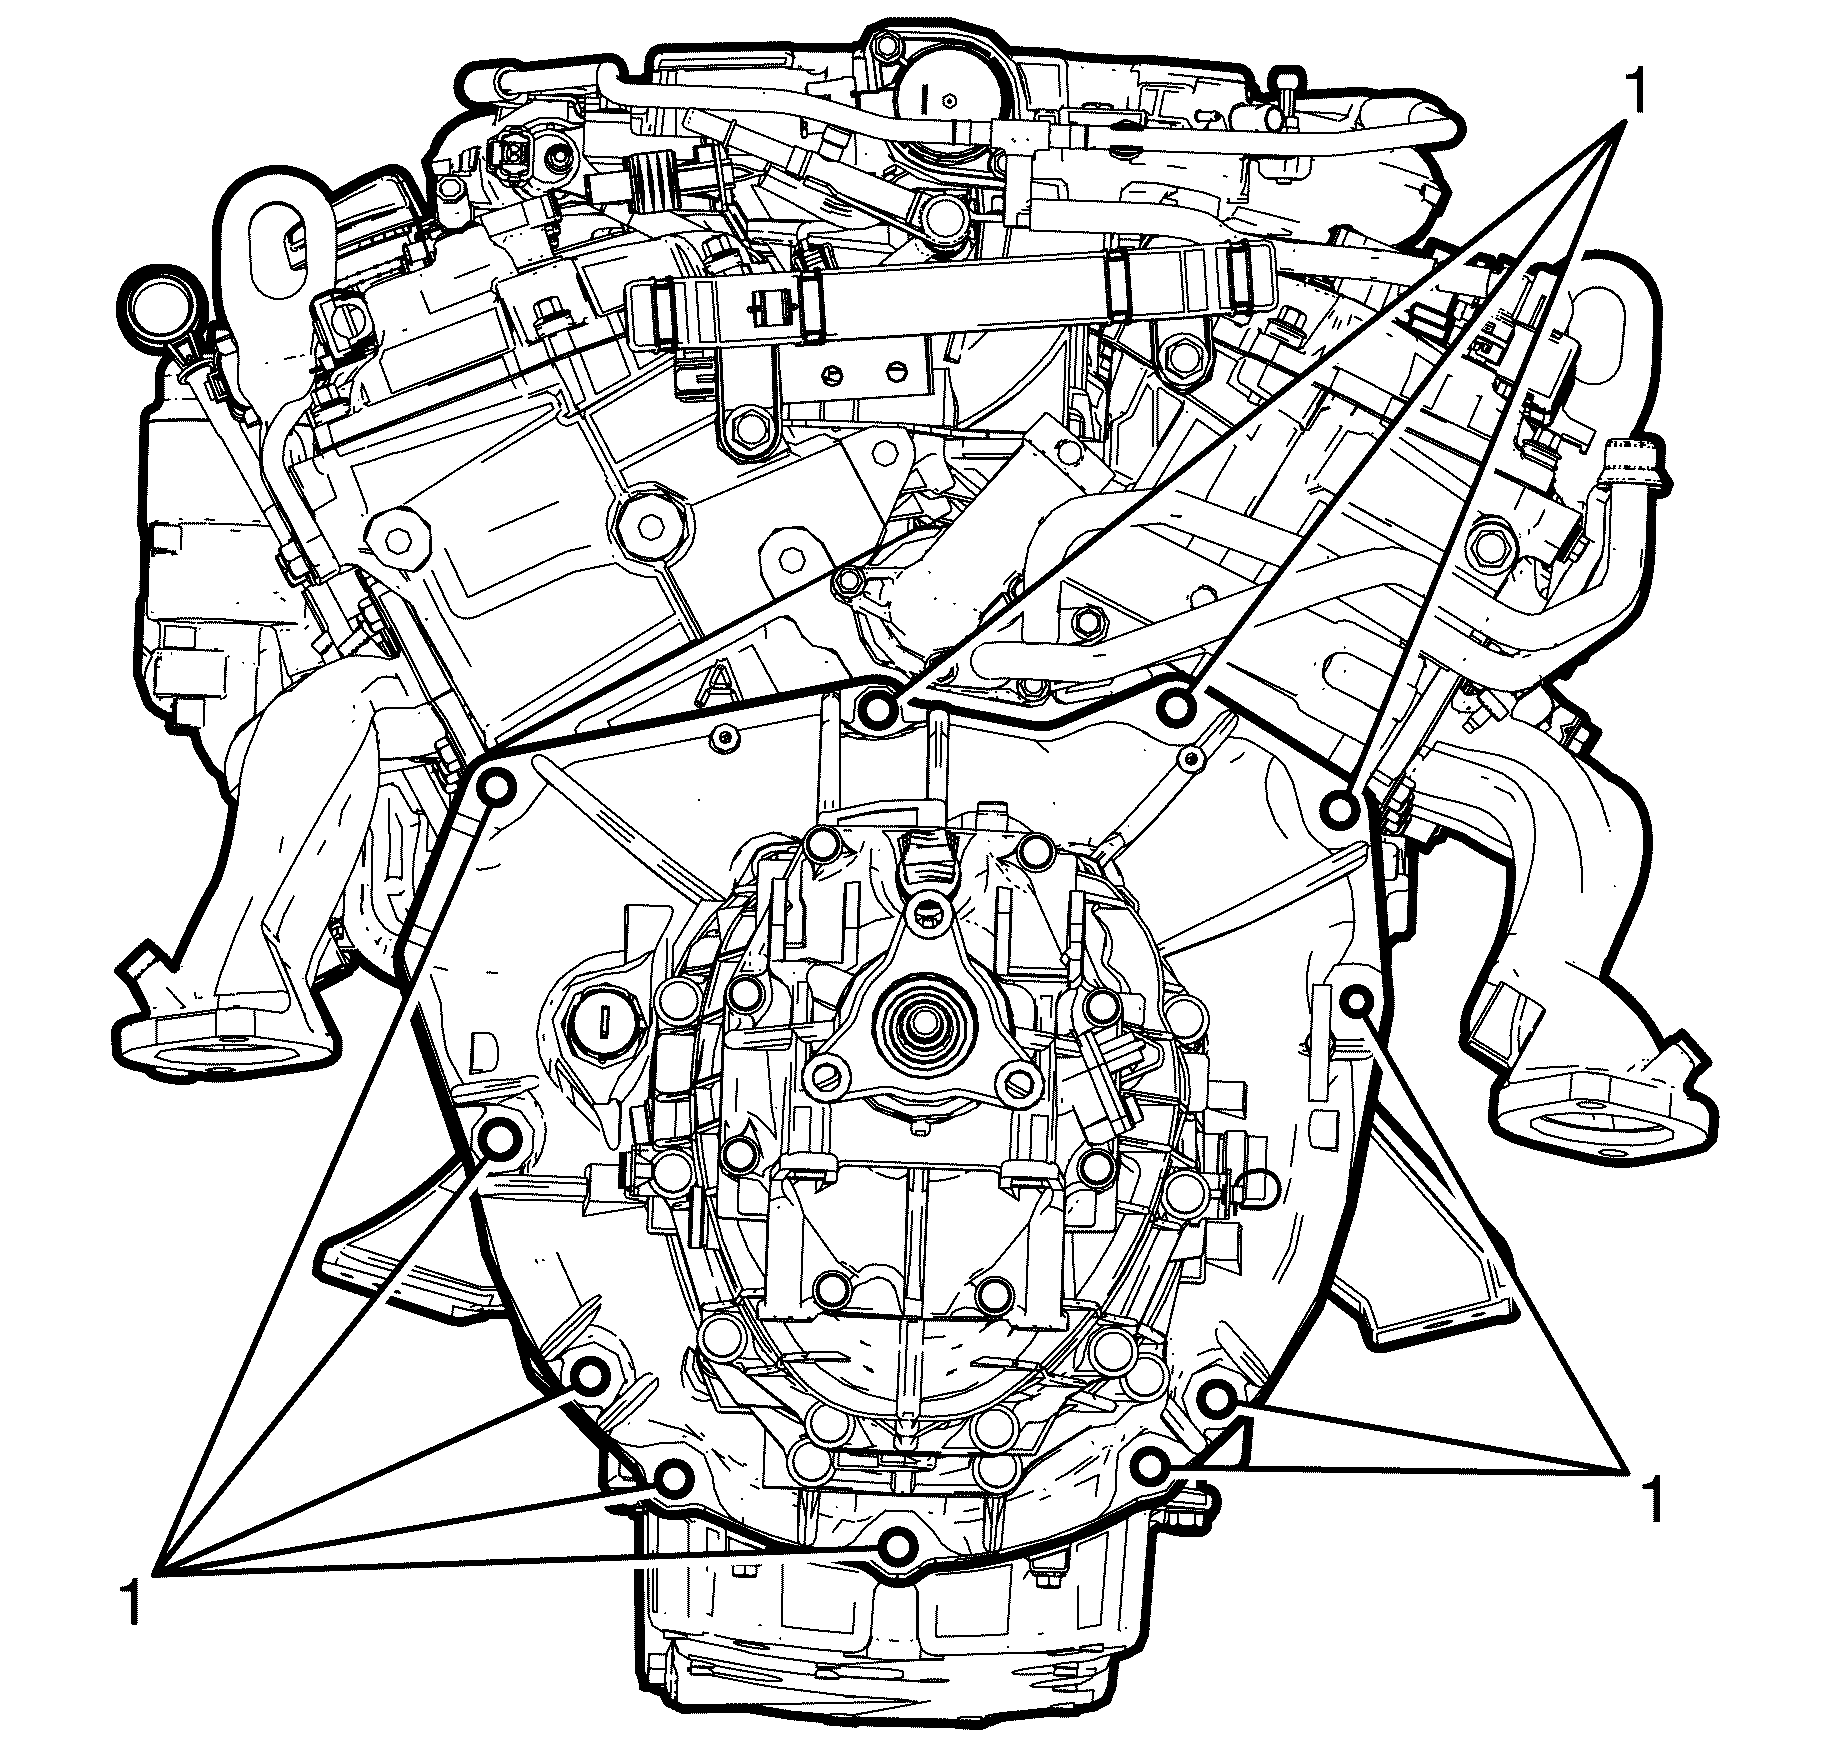
- Remove the transmission to engine block retaining bolts (1)
- Remove the transmission from the vehicle.
Caution: Refer to Vehicle Lifting Caution in the Preface section.
Caution: Refer to Safety Glasses Caution in the Preface section.

Backup lamp switch (2).


Installation Procedure
- Install the transmission to the vehicle.
- Install the transmission to engine block retaining bolts (1)
- Install the transmission close out panel to transmission retaining bolt (1).
- Install the transmission close out panel to transmission retaining bolt (1).
- Connect the clutch slave cylinder. Refer to Clutch Concentric Actuator Cylinder Replacement .
- Install the starter motor. Refer to Starter Motor Replacement .
- Connect the following electrical connector:
- Connect the oxygen sensor connectors (1) from the transmission.
- Install the shift control assembly to the transmission. Refer to Shift Control Assembly Replacement .
- Install the propeller shaft. Refer to Propeller Shaft Replacement .
- Check the transmission fluid and fill as necessary. Refer to Transmission Fluid Level Inspection and Transmission Fluid Replacement .
- Install the exhaust system. Refer to Exhaust System Replacement .
- Lower the vehicle.
Important: Engage third gear on the transmission to allow for alignment of the input spline of the transmission to the clutch assembly.

Tighten
Tighten the bolts to 48 N·m (35 lb ft).

Tighten
Tighten the bolt to 20 N·m (15 lb ft).

Tighten
Tighten the bolt to 20 N·m (15 lb ft).

Backup lamp switch (1).
Transmission Final Test and Inspection
Complete the following procedure after the transmission is installed in the vehicle:
- With the ignition OFF or disconnected and clutch pedal depressed, crank the engine several times. Listen for any unusual noises or evidence that any parts are binding.
- Place transmission in neutral, start the engine and listen for any unusual noises or evidence that any parts are binding.
- While the engine continues to idle raise and support the vehicle. Refer to Lifting and Jacking the Vehicle .
- Perform a final inspection for the proper fluid level. Refer to Transmission Fluid Level Inspection .
- Lower the vehicle.
- Road test the vehicle.
