For 1990-2009 cars only
Radiator Replacement Gasoline Engines
Removal Procedure
- Disconnect the negative battery cable.
- Drain the engine cooling system. Refer to Cooling System Draining and Filling .
- Remove the main and the auxiliary cooling fans. Refer to Engine Cooling Fan Replacement .
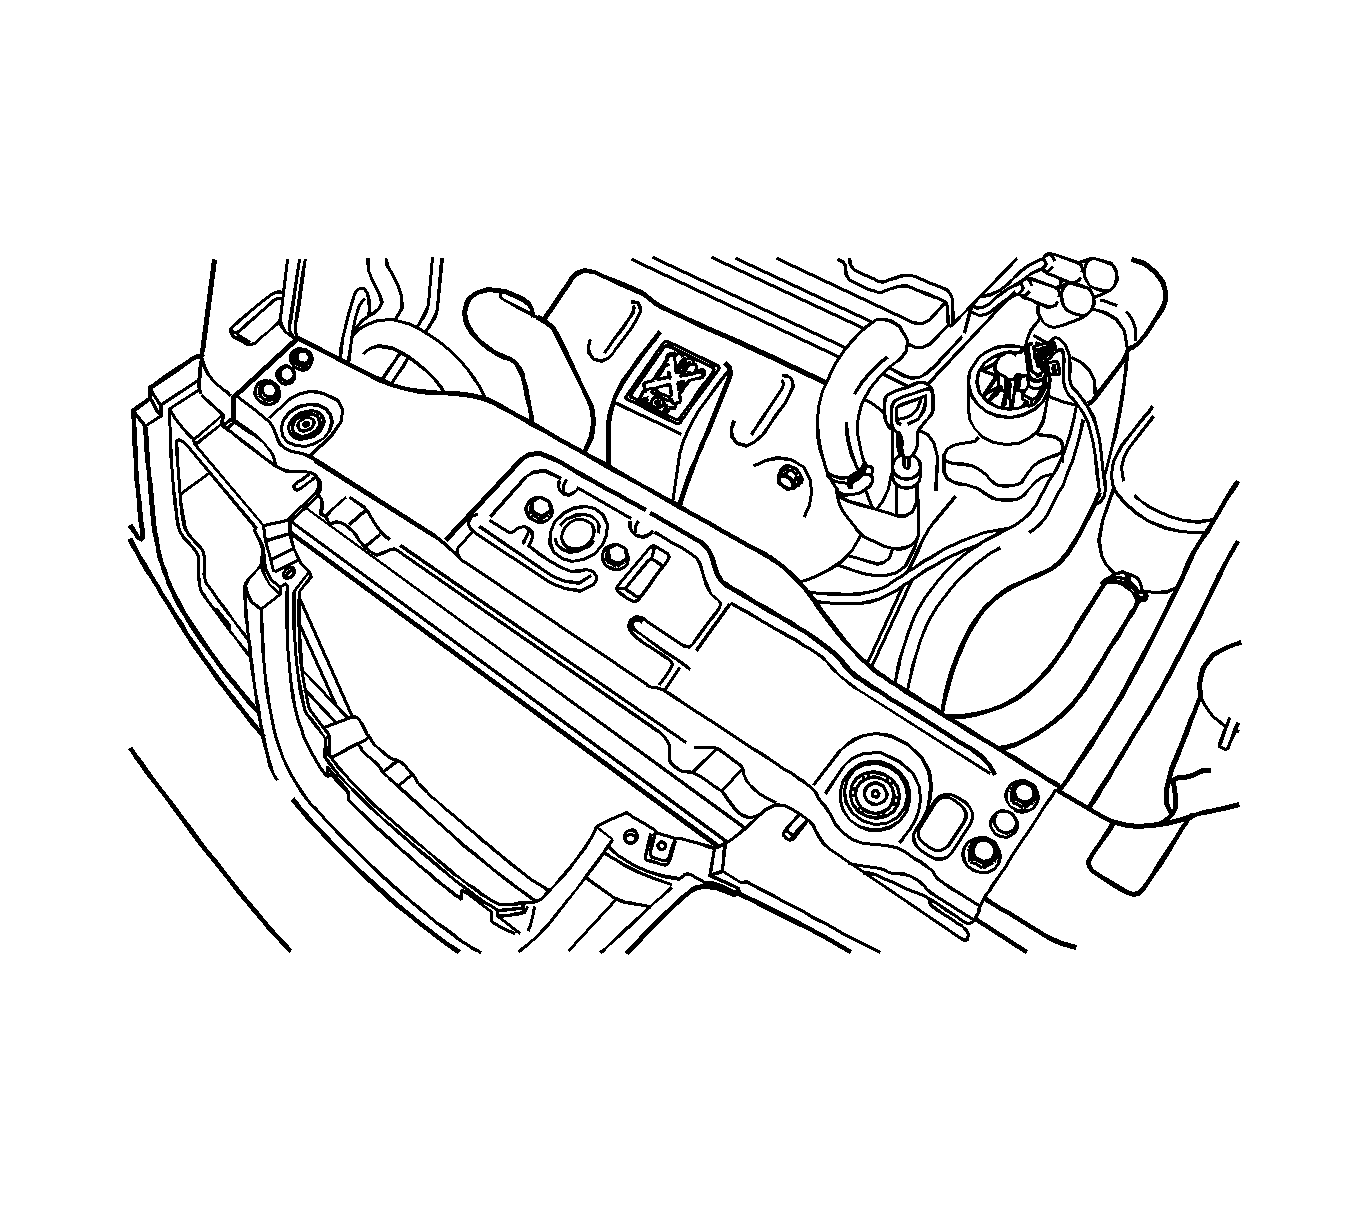
- Remove the upper radiator retaining bolt.
- Remove the upper radiator retaining bracket.
- Remove the upper radiator hose clamp.
- Disconnect the upper radiator hose from the radiator.
- Remove the hose clamp from the surge tank hose at the radiator.
- Disconnect the surge tank hose from the radiator.
- Remove the lower radiator hose clamp.
- Disconnect the lower radiator hose from the radiator.
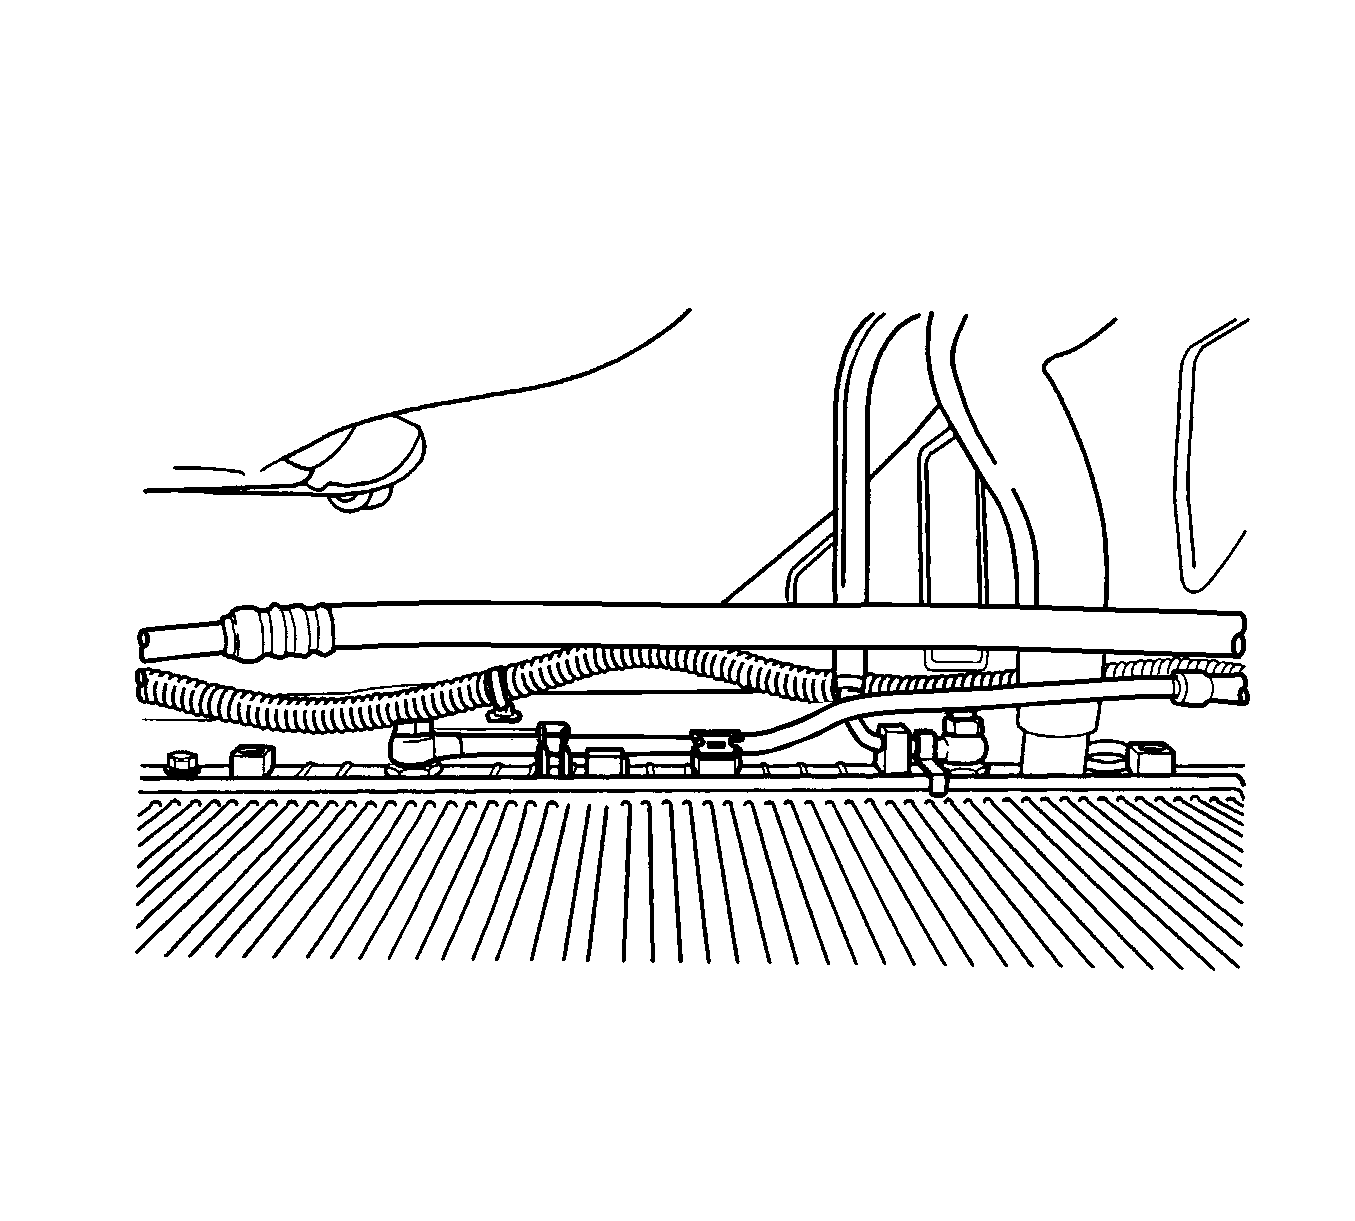
- Disconnect the transaxle cooler pipes from the lower radiator tank, if equipped.
- Remove the bolt and the transaxle pipe support clamp from the radiator.
- Remove the radiator from the vehicle.
Caution: Refer to Battery Disconnect Caution in the Preface section.


Important: The radiator still contains a substantial amount of coolant. Drain the remainder of the coolant from the radiator into a drain pan.
Installation Procedure
- Set the radiator into place in the vehicle with the radiator bottom posts in the rubber shock bumpers.
- Connect the transaxle cooler pipes to the lower radiator tank, if equipped.
- Install the transaxle pipe and support clamp to the radiator with a bolt.
- Connect the surge tank hose to the radiator.
- Secure the surge tank hose with a hose clamp.
- Connect the upper radiator hose and the lower radiator hose to the radiator.
- Secure each hose with a hose clamp.
- Position the radiator retainers in place.
- Install the upper radiator retainer bracket.
- Install the upper radiator retaining bolt.
- Install the main and the auxiliary cooling fans. Refer to Engine Cooling Fan Replacement .
- Refill the engine cooling system. Refer to Cooling System Draining and Filling .
- Connect the negative battery cable.


Notice: Refer to Fastener Notice in the Preface section.
Tighten
Tighten the radiator retaining bolt to 8 N·m (71 lb in).
