For 1990-2009 cars only
Removal Procedure
- Disconnect the negative battery cable.
- Remove the timing belt. Refer to Timing Belt Replacement .
- Remove the rear timing belt cover. Refer to Timing Belt Cover Replacement .
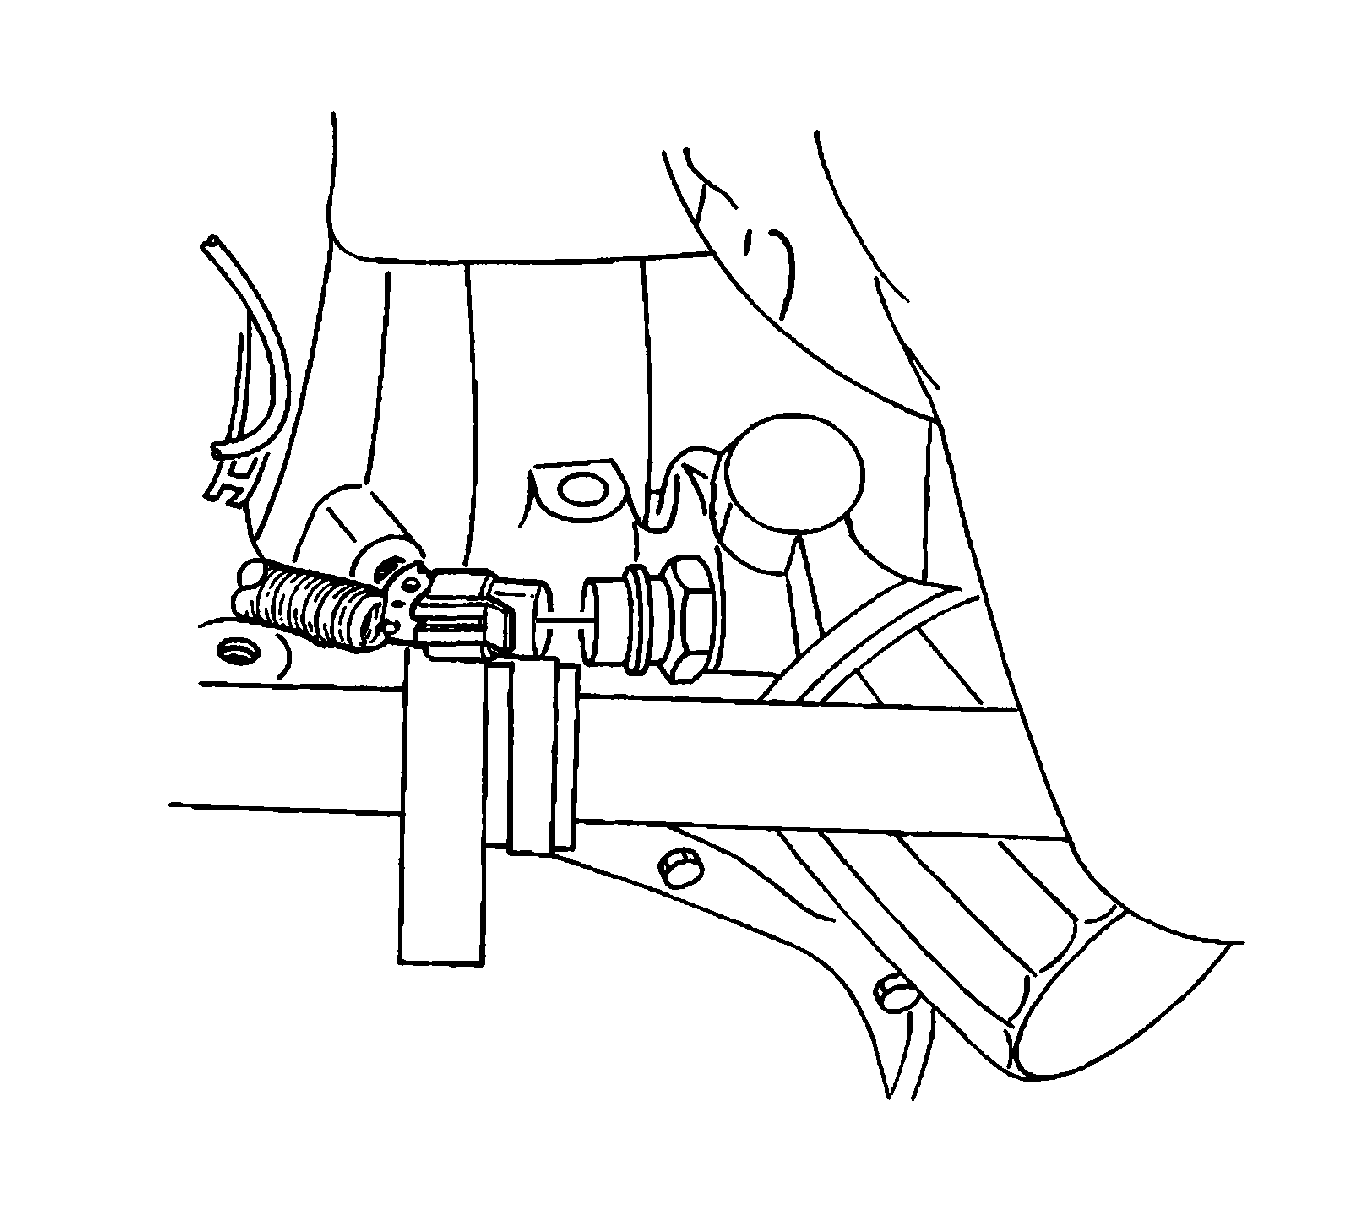
- Disconnect the oil pressure switch connector.
- Remove the oil pan. Refer to Oil Pan Replacement .
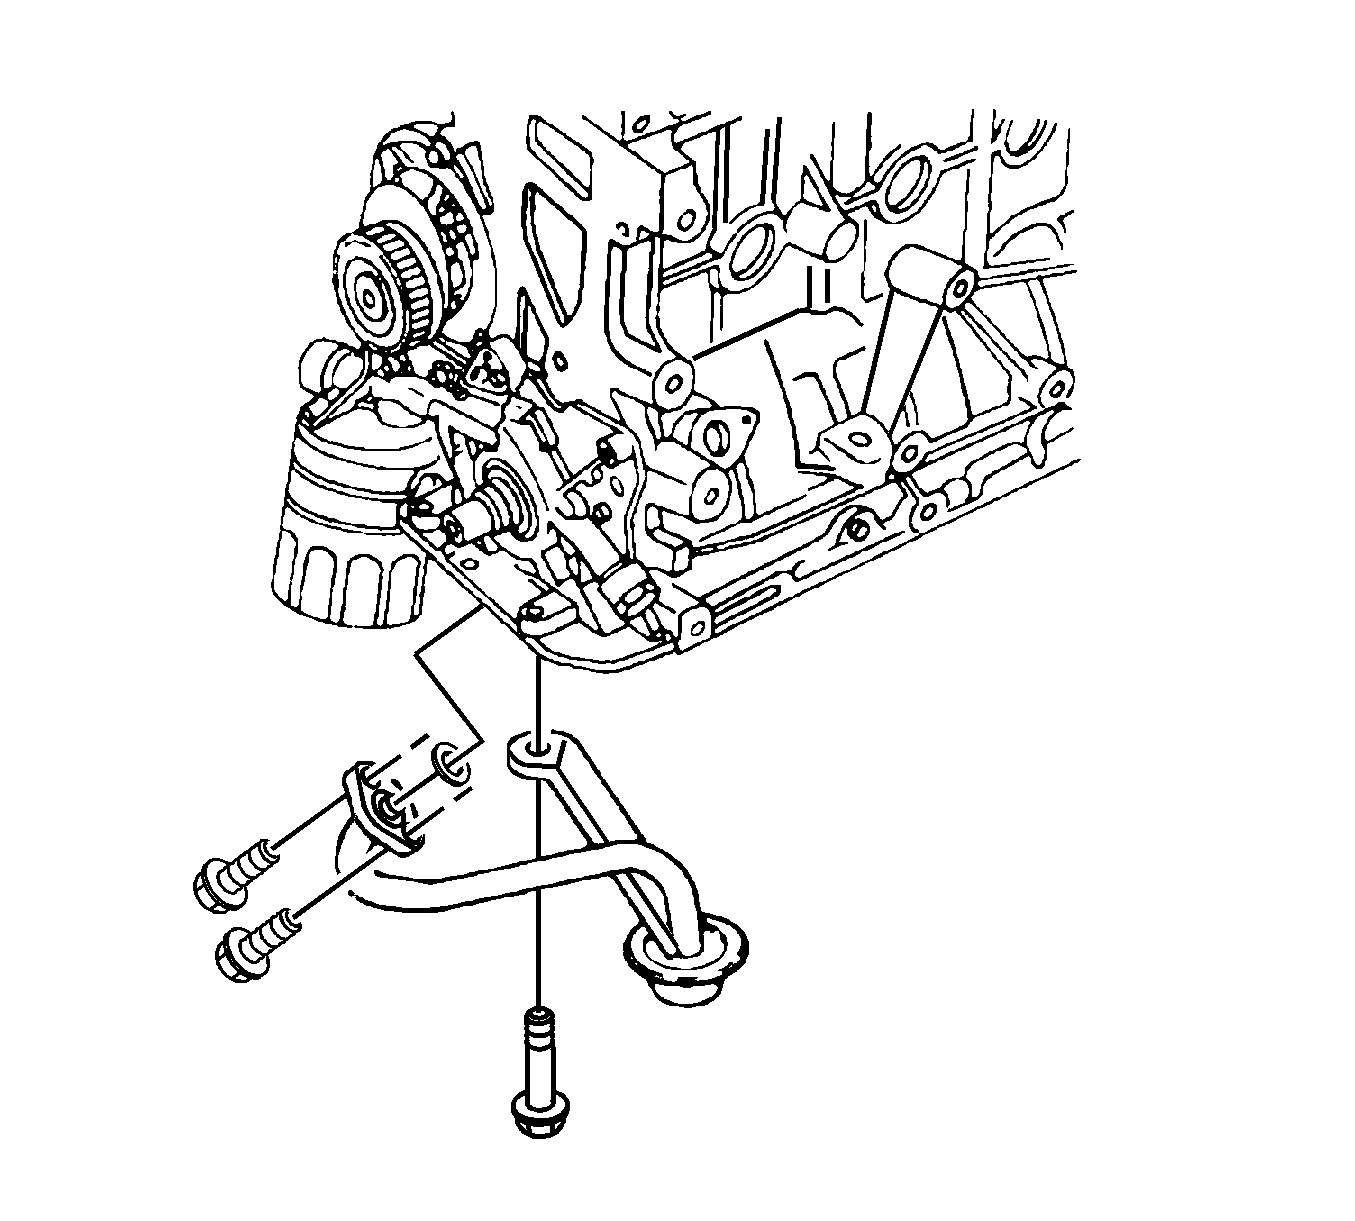
- Remove the oil suction pipe and support bracket bolts.
- Remove the oil suction pipe.
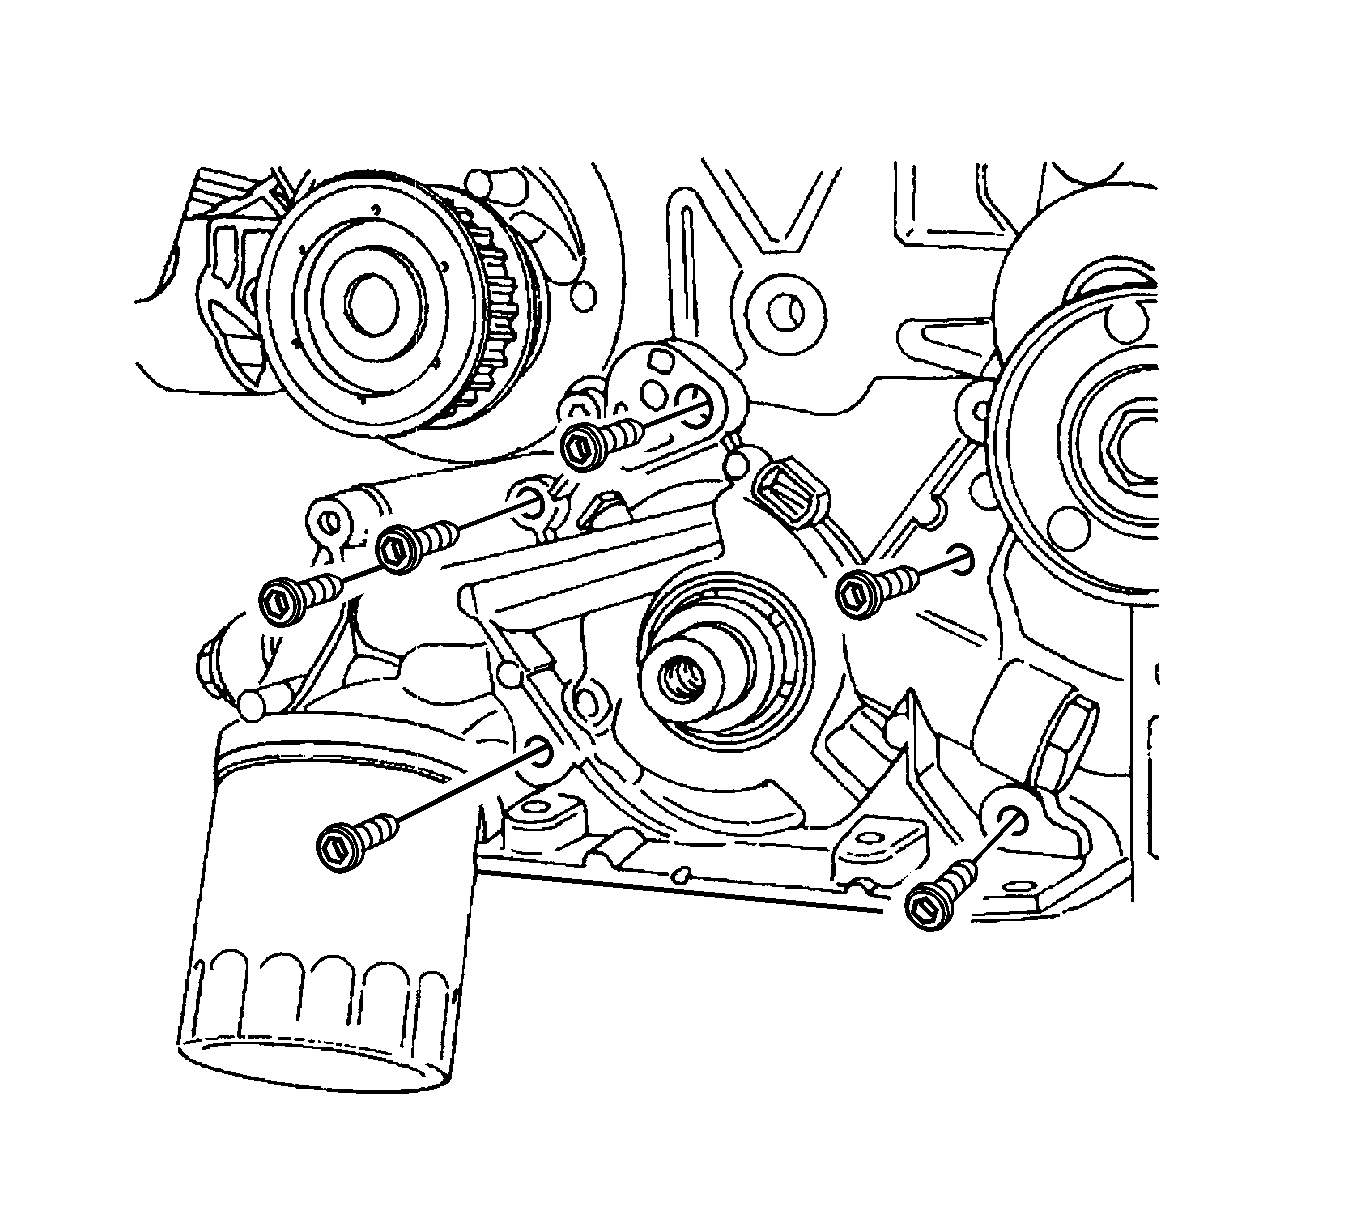
- Remove the oil pump retaining bolts.
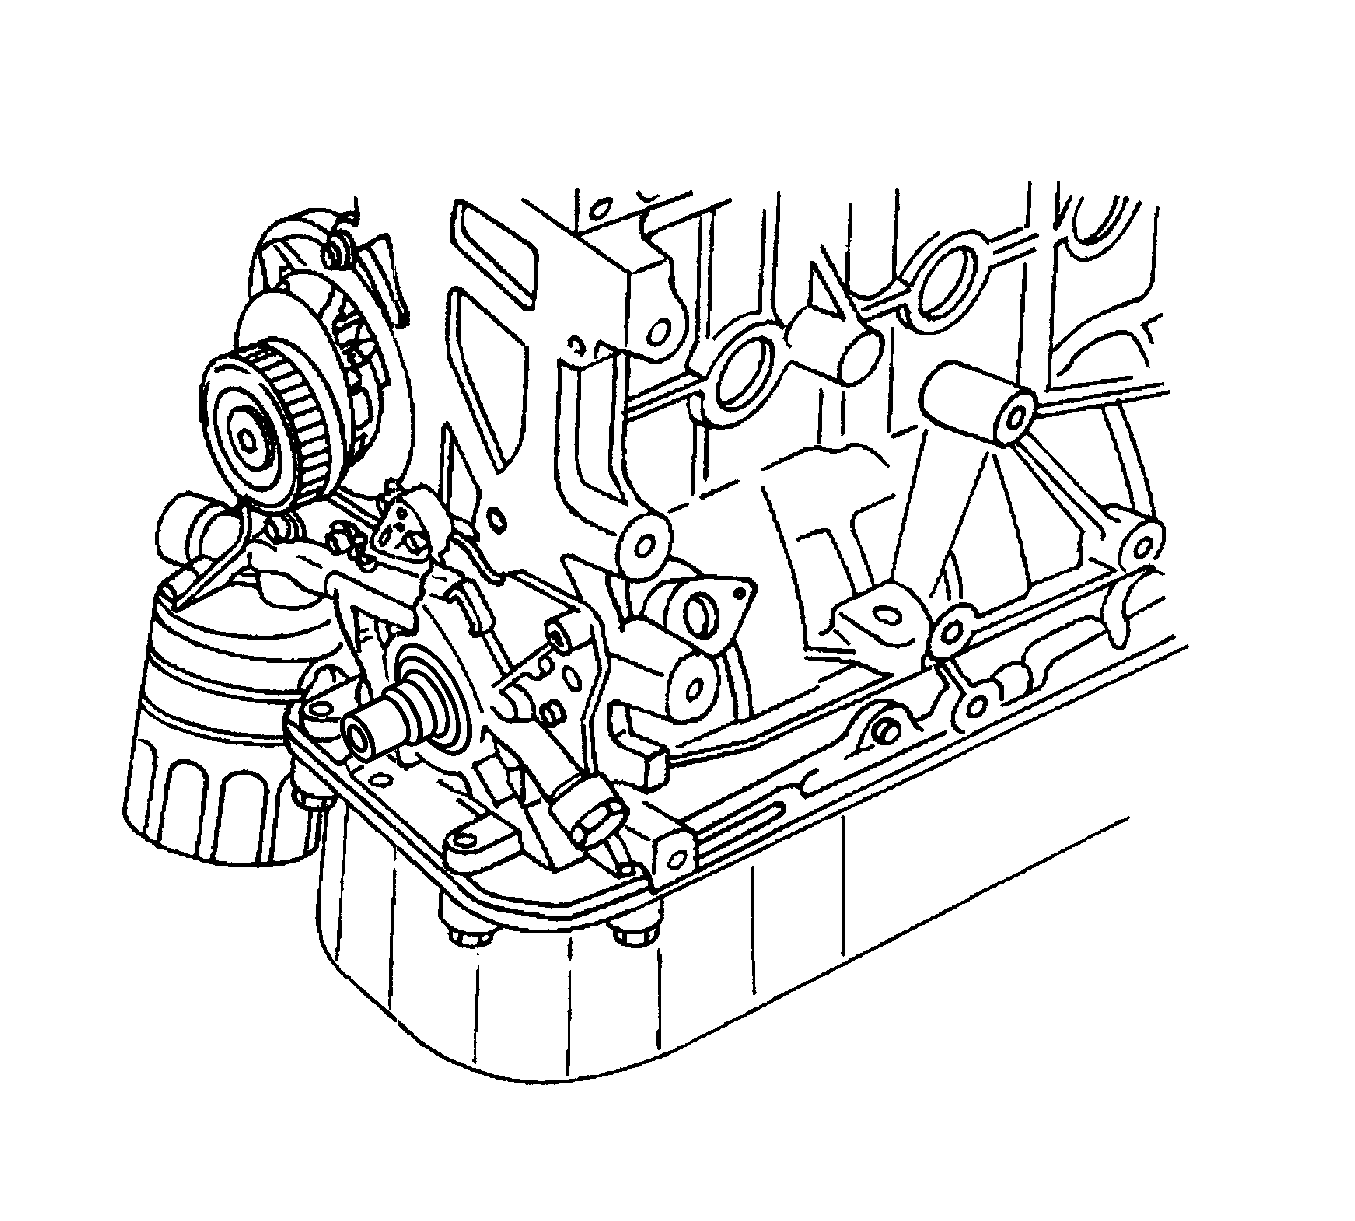
- Carefully separate the oil pump and gasket from the engine block and oil pan.
- Remove the oil pump.
Caution: Refer to Battery Disconnect Caution in the Preface section.


Installation Procedure
- Apply Loctite® 242 to the oil pump bolts and room temperature vulcanizing (RTV) sealant to the new oil pump gasket.
- Install the gasket to the oil pump and install the oil pump to the engine block with the bolts.
- Install a new oil pump-to-crankshaft seal. Coat the lip of the seal with a thin coat of grease.
- Coat the threads of the oil suction pipe and support the bracket bolts with Loctite® 242.
- Install the oil suction pipe and the bolts.
- Install the oil pan. Refer to Oil Pan Replacement .
- Connect the oil pressure switch connector.
- Install the rear timing belt cover. Refer to Timing Belt Cover Replacement .
- Install the timing belt. Refer to Timing Belt Replacement .
- Connect the negative battery cable.

Notice: Refer to Fastener Notice in the Preface section.
Tighten
Tighten the oil pump retaining bolts to 10 N·m (89 lb in).


Tighten
| • | Tighten the oil suction pipe bolts to 10 N·m (89 lb in). |
| • | Tighten the support bracket bolts to |

