For 1990-2009 cars only
Removal Procedure
- Disconnect the negative battery cable.
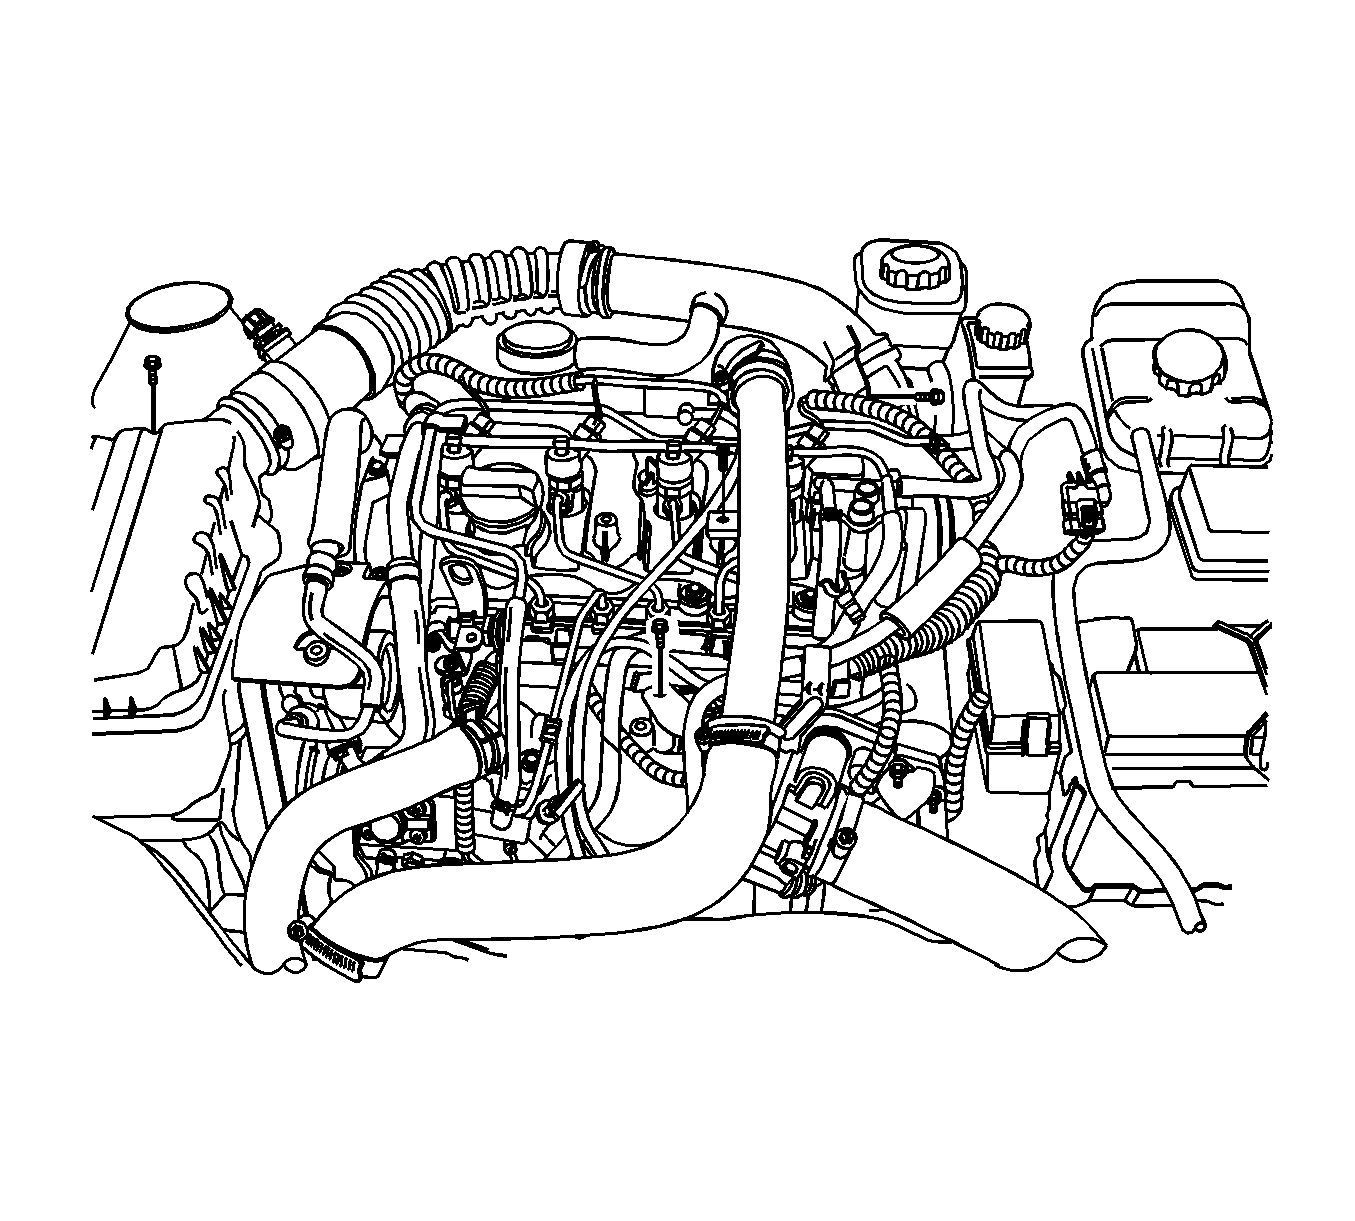
- Remove engine cover. Refer to Engine Cover Replacement .
- Remove the charge air system hoses and ducts. Refer to Charge Air Cooler Inlet Pipe and Outlet Pipe Replacement .
- Remove the PCV valve and adapter. Refer to Positive Crankcase Ventilation Hose/Pipe/Tube Replacement .
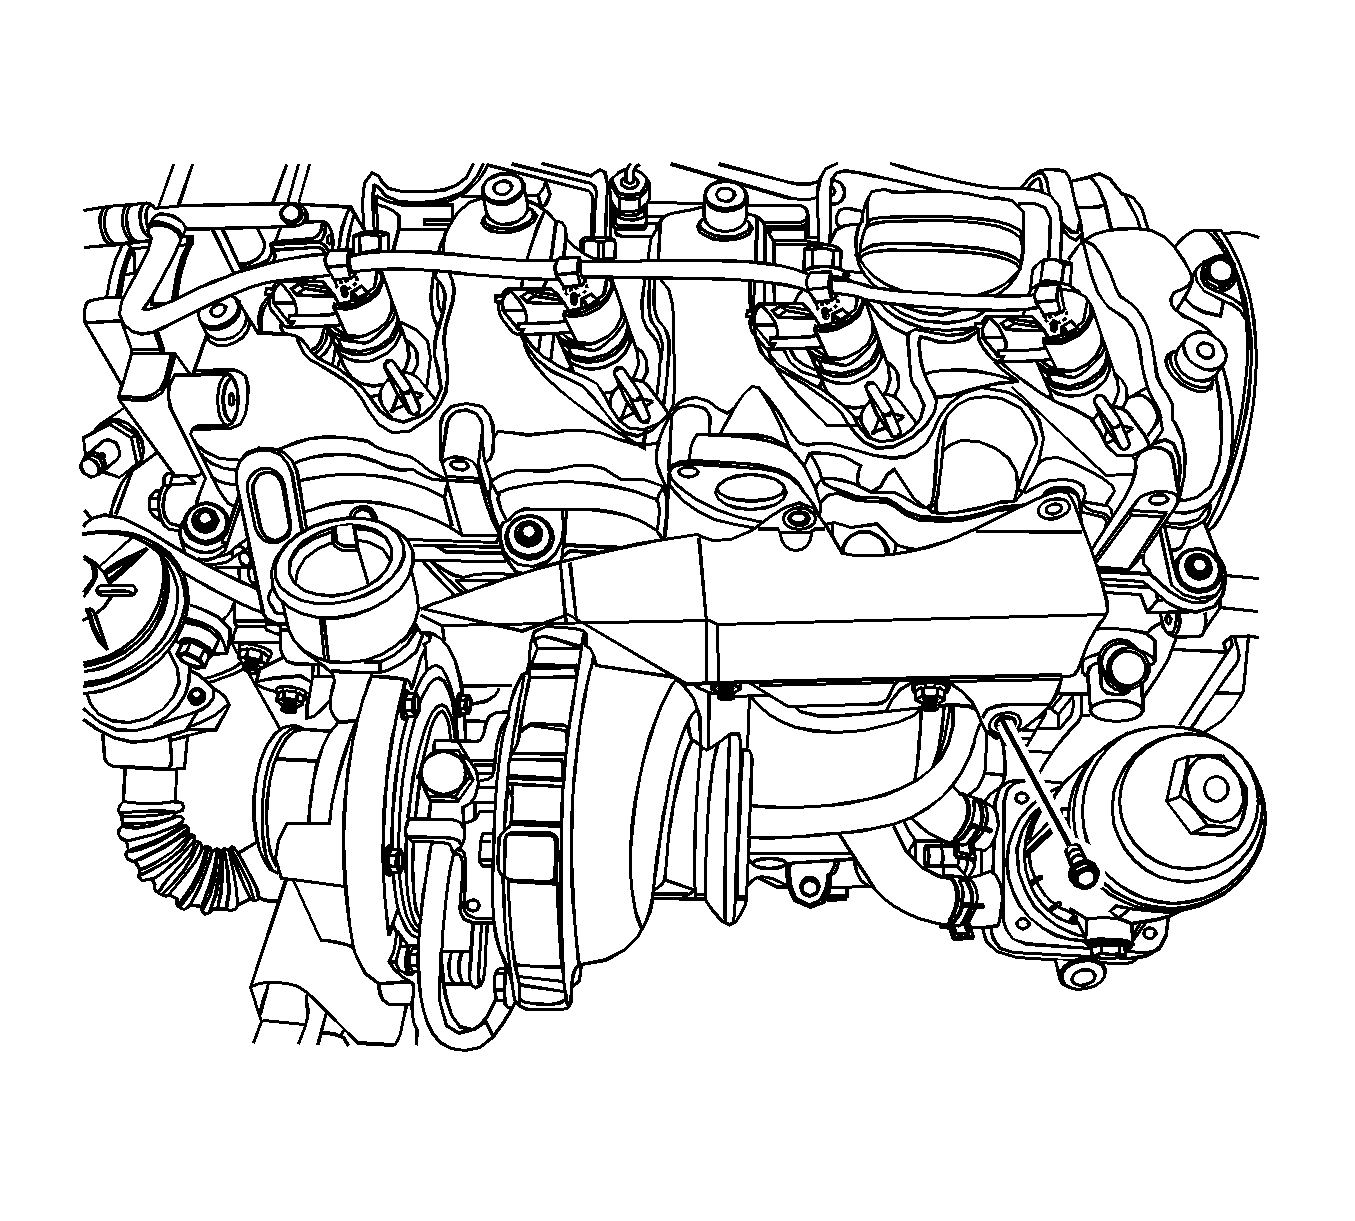
- Remove the glow plug heat shield.
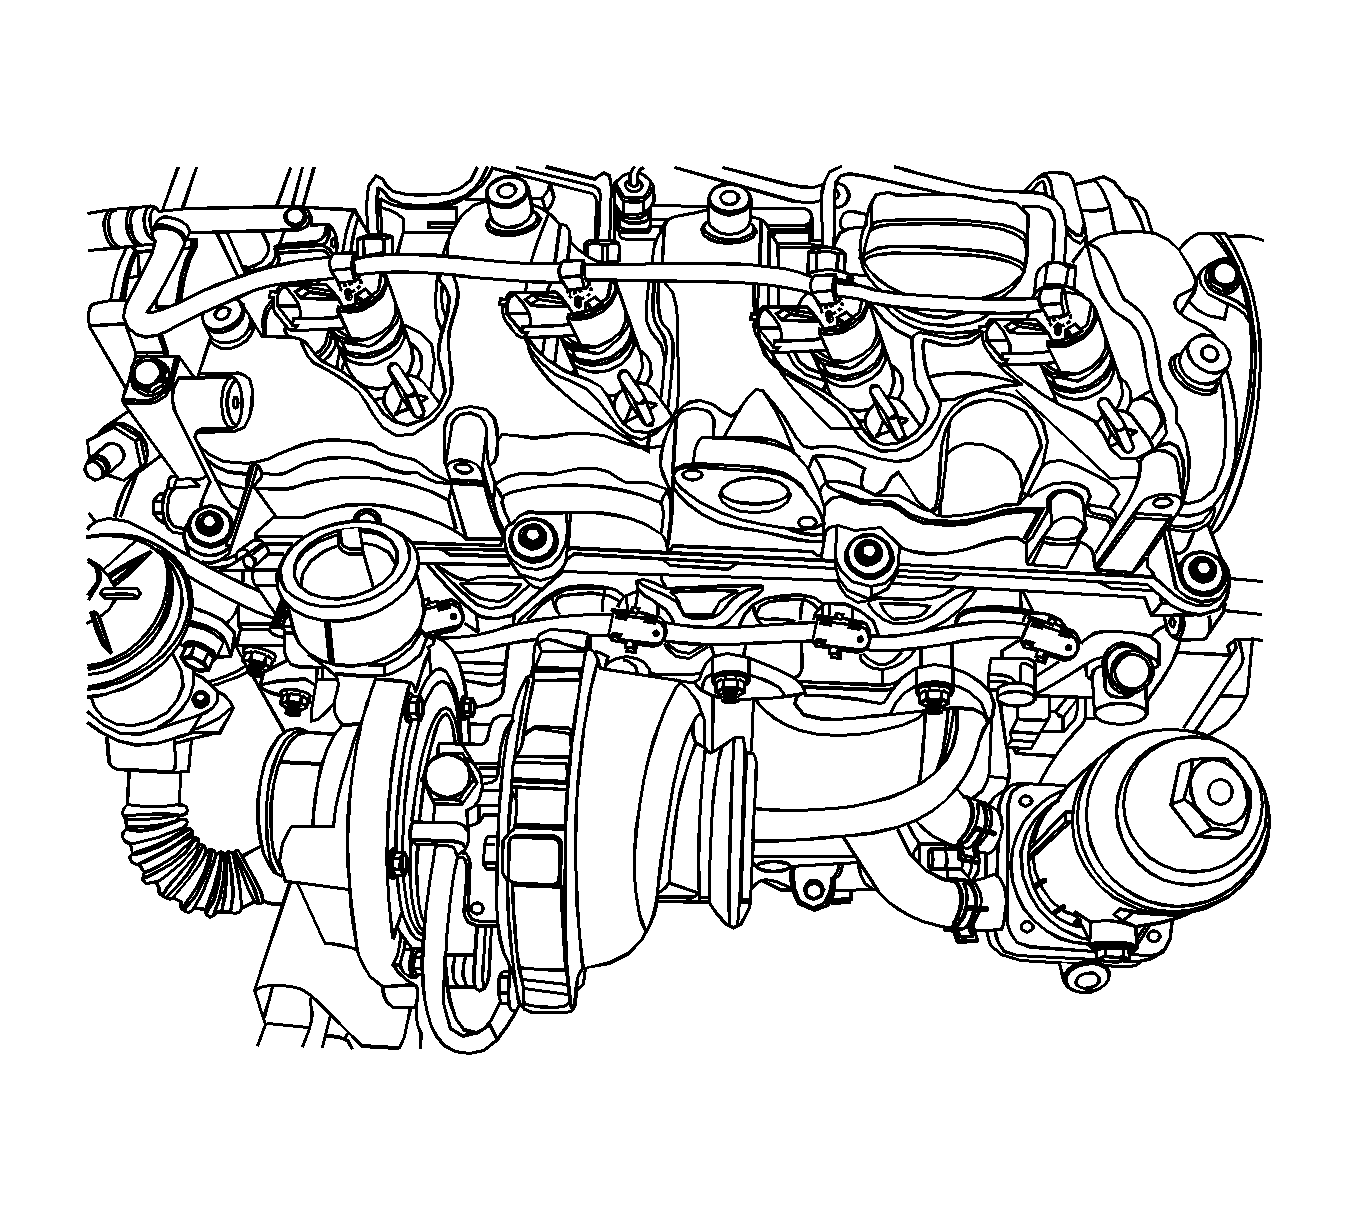
- Disconnect the glow plug wiring harness.
- Remove the glow plug.
Caution: Refer to Battery Disconnect Caution in the Preface section.


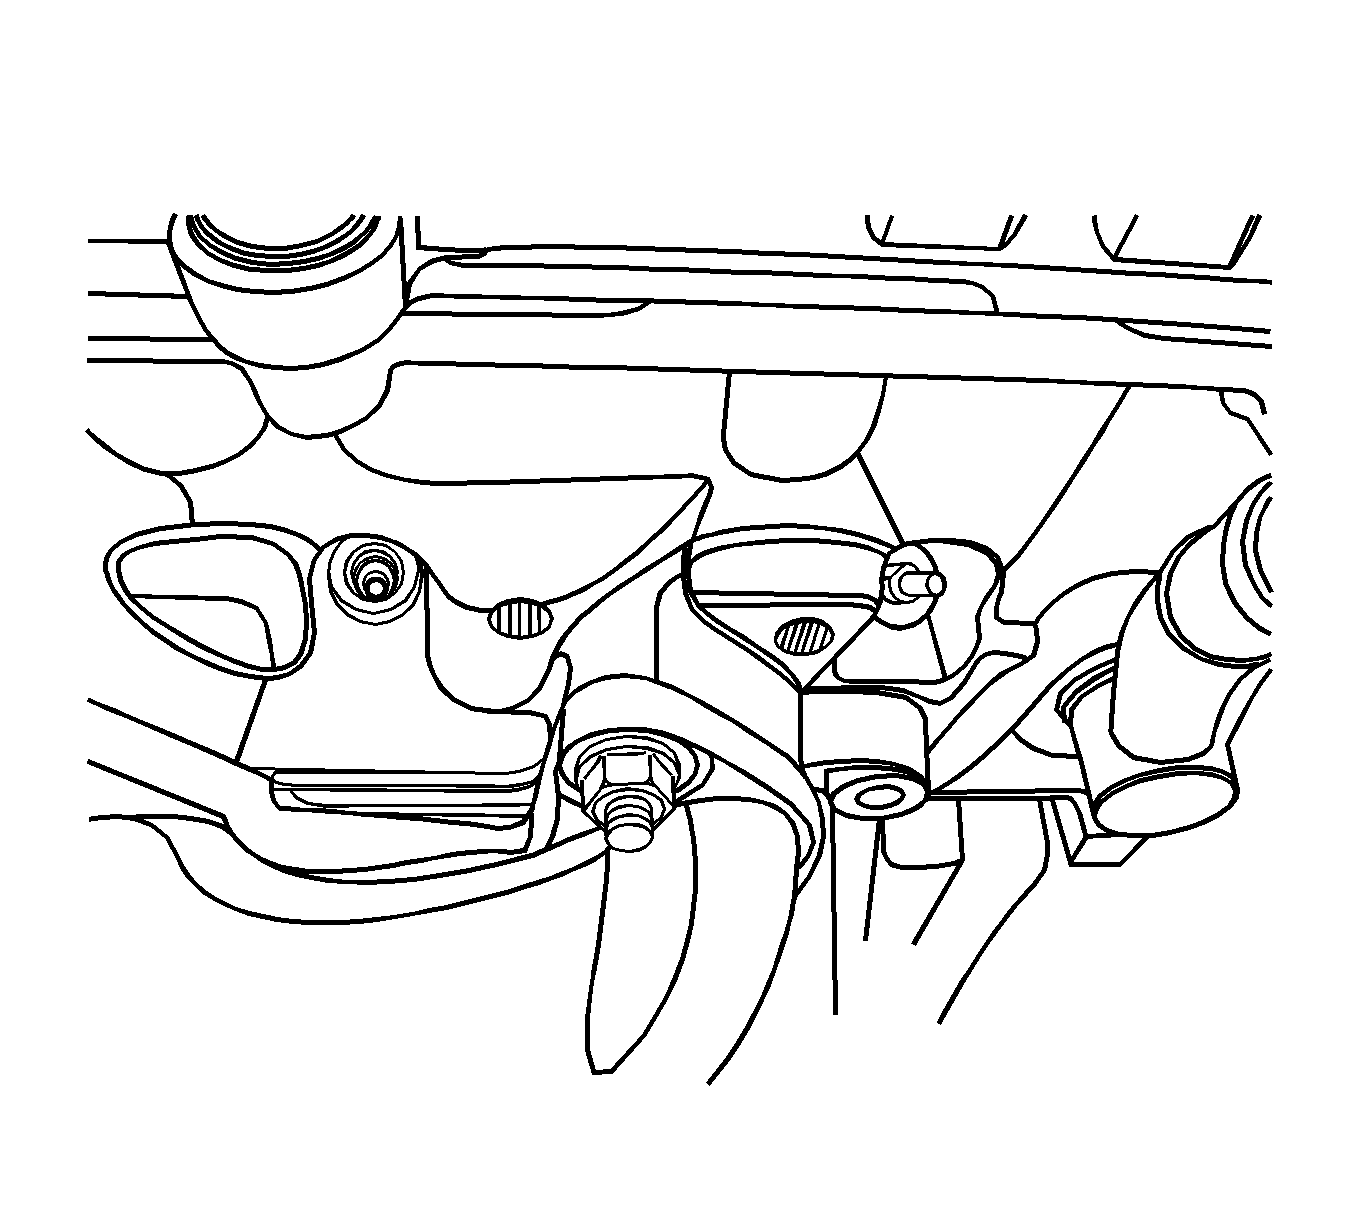
Important: If it is necessary to remove the No. 3 and No. 4 glow plugs, the turbocharger must be removed to gain access. Refer to Turbocharger Replacement .
Installation Procedure
- Install the glow plug.
- Install the glow plug heat shield.
- Connect the glow plug wiring harness.
- Install the PCV valve and adapter. Refer to Positive Crankcase Ventilation Hose/Pipe/Tube Replacement .
- Install the glow plug heat shield.
- Install the charge air system hoses and ducts. Refer to Charge Air Cooler Inlet Pipe and Outlet Pipe Replacement .
- Install engine cover. Refer to Engine Cover Replacement .
- Connect the negative battery cable.
Notice: Refer to Fastener Notice in the Preface section.

Tighten
Tighten the glow plug to 9 N·m (79.7 lb in).

Tighten
| • | Tighten the glow plug heat shield bolt to 20 N·m (14.8 lb ft). |
| • | Tighten the glow plug heat shield nut engine lift bracket retaining nut to 28 N·m (20.6 lb ft). |


