Special Tools
J 8087 Cylinder Bore Gage
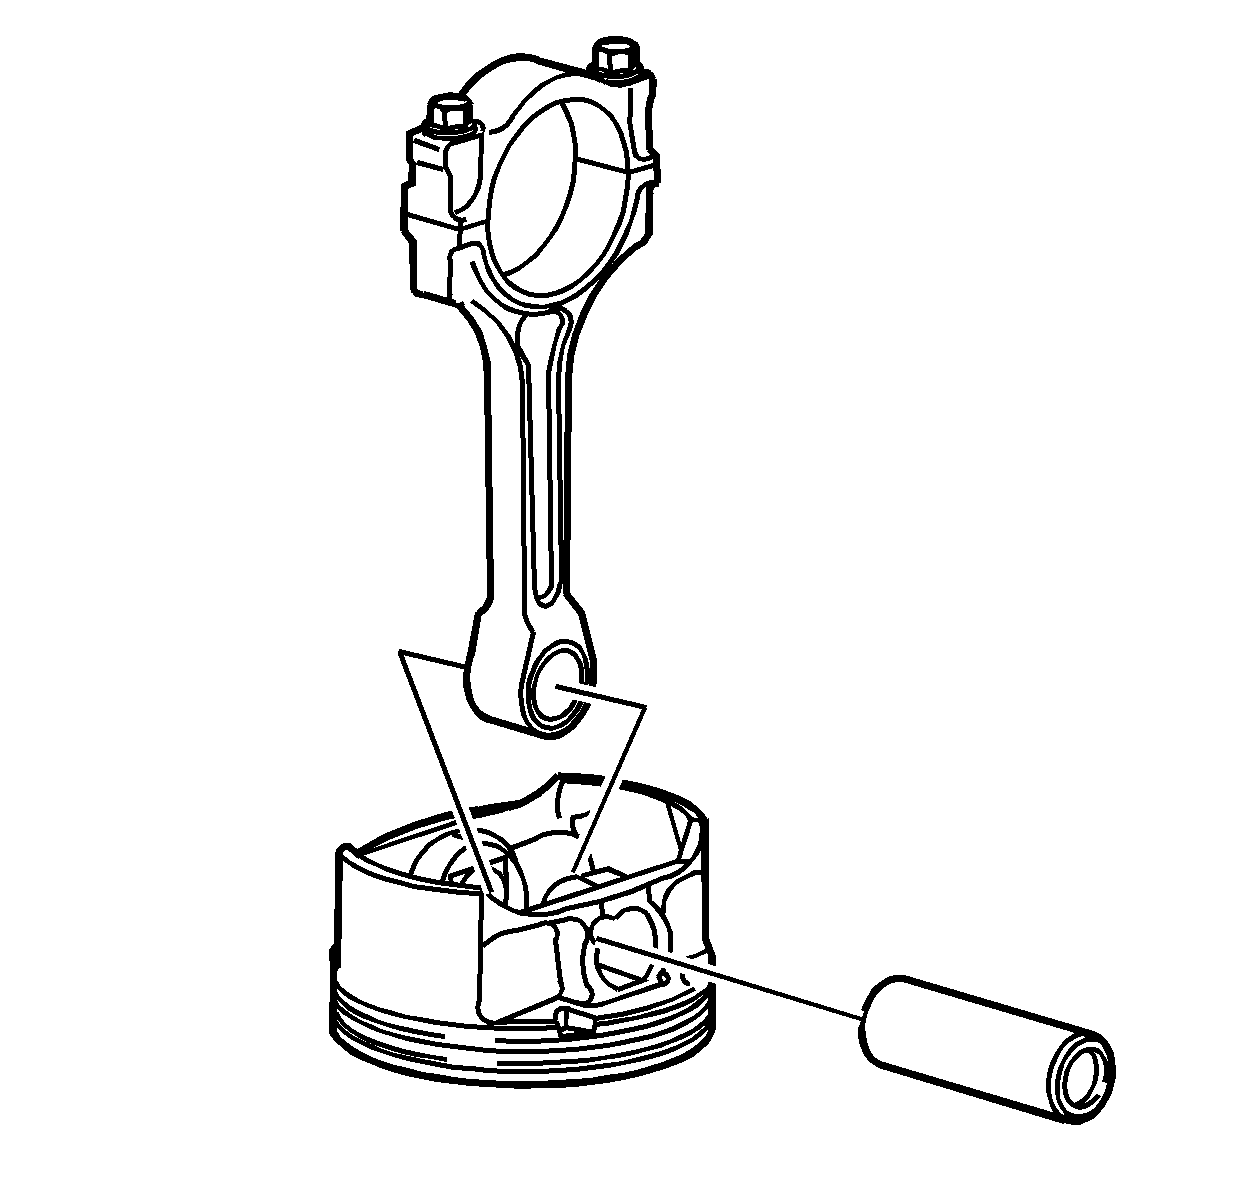
- Clean and soak the following components in a carburetor cleaning solution to remove carbon, sludge, and varnish:
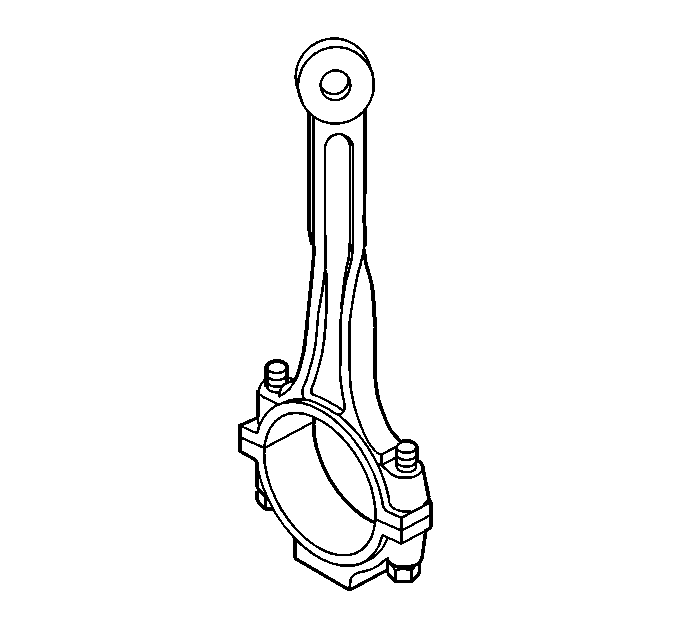
- Install the connecting rod cap.
- Place the connecting rod assembly on a checking fixture.
- Inspect the connecting rod assembly for bending or twisting.
- Replace any bent or twisted connecting rods.
- If the connecting rod large bore contains minor scratches or abrasions, clean the bore in a circular direction with light emery paper. DO NOT scrape the connecting rod or cap.
- Measure the piston pin to connecting rod bore using the following procedure:
| • | Using an outside micrometer, take two measurements of the piston pin in the area of the connecting rod contact. |
| • | Using an inside micrometer, measure the connecting rod piston pin bore. |
| • | Subtract the piston pin diameter from the piston pin bore diameter. |
| • | The clearance should not be more than 0.018 mm (0.0007 in). |
- If there is excessive clearance, replace the piston pin.
- If there is still excessive clearance, replace the connecting rod.
- If there is evidence of pin bore or pin scoring, replace the rod and pin assembly.
- Inspect the connecting rod bearings for the following conditions:
| • | Excessive scoring or discoloration. |
| • | Bright, polished sections |
- Inspect the inside of the connecting rod bearing and outside diameter of the connecting rod bearing journal for wear. This indicates high spots.
- Inspect the connecting rod bearing bore for taper and out-of-round.
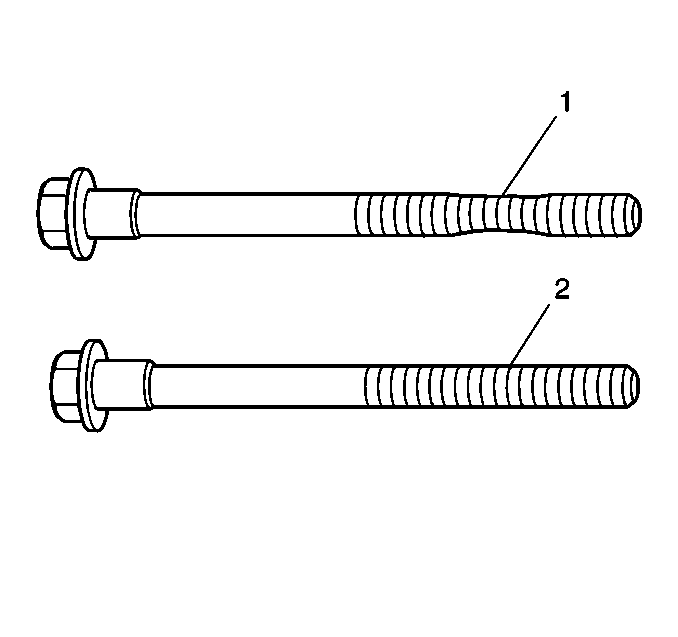
- Inspect the connecting rod bolts for stretching (compare to new or known good bolt). The callout (1) is a stretched bolt, (2) is a new or good bolt.
- Clean the piston skirts and the pins with a cleaning solvent. DO NOT wire brush any part of the piston.
- Clean the piston ring grooves. Ensure that the oil ring holes and slots are clean.
- Inspect the pistons for the following conditions:
| • | Cracked ring lands, skirts, or pin bosses |
| • | Ring grooves for nicks, burrs that may cause binding |
| • | Warped or worn ring lands |
| • | Eroded areas at the top of the piston |
| • | Scuffed or damaged skirts |
- Replace pistons that show any signs or damage or excessive wear.
Note: When fitting pistons, consider both the piston and the cylinder bore conditions together. Production and service pistons have the same nominal weight and may be intermixed without affecting engine balance. If necessary, used pistons
may be fitted selectively to any cylinder of the engine, providing the pistons are in good condition and the same weight. Do not cut oversize pistons down or the engine balance may be affected. Finish hone when selecting the piston.
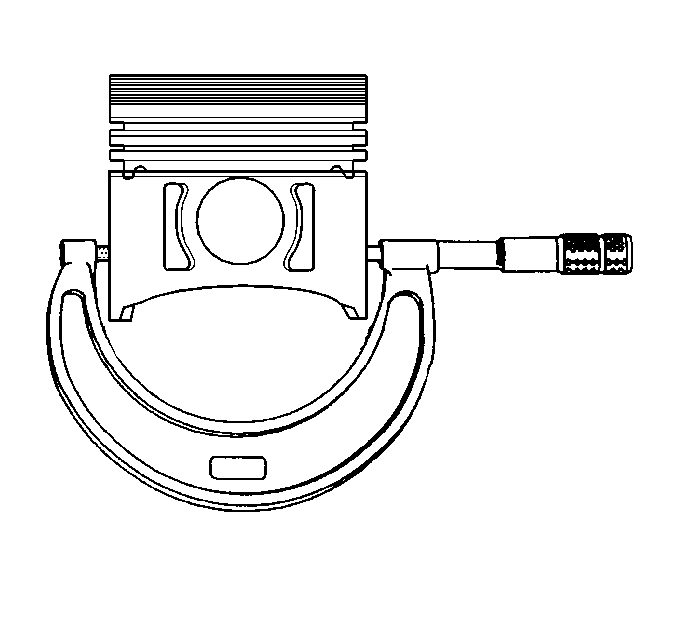
- Measure the piston diameter for size with a micrometer or caliper at a right angle to the pin center line, across the skirts, 38 mm (1.50 in) from the top of the piston.
- Replace the piston if worn beyond specifications or if damaged.
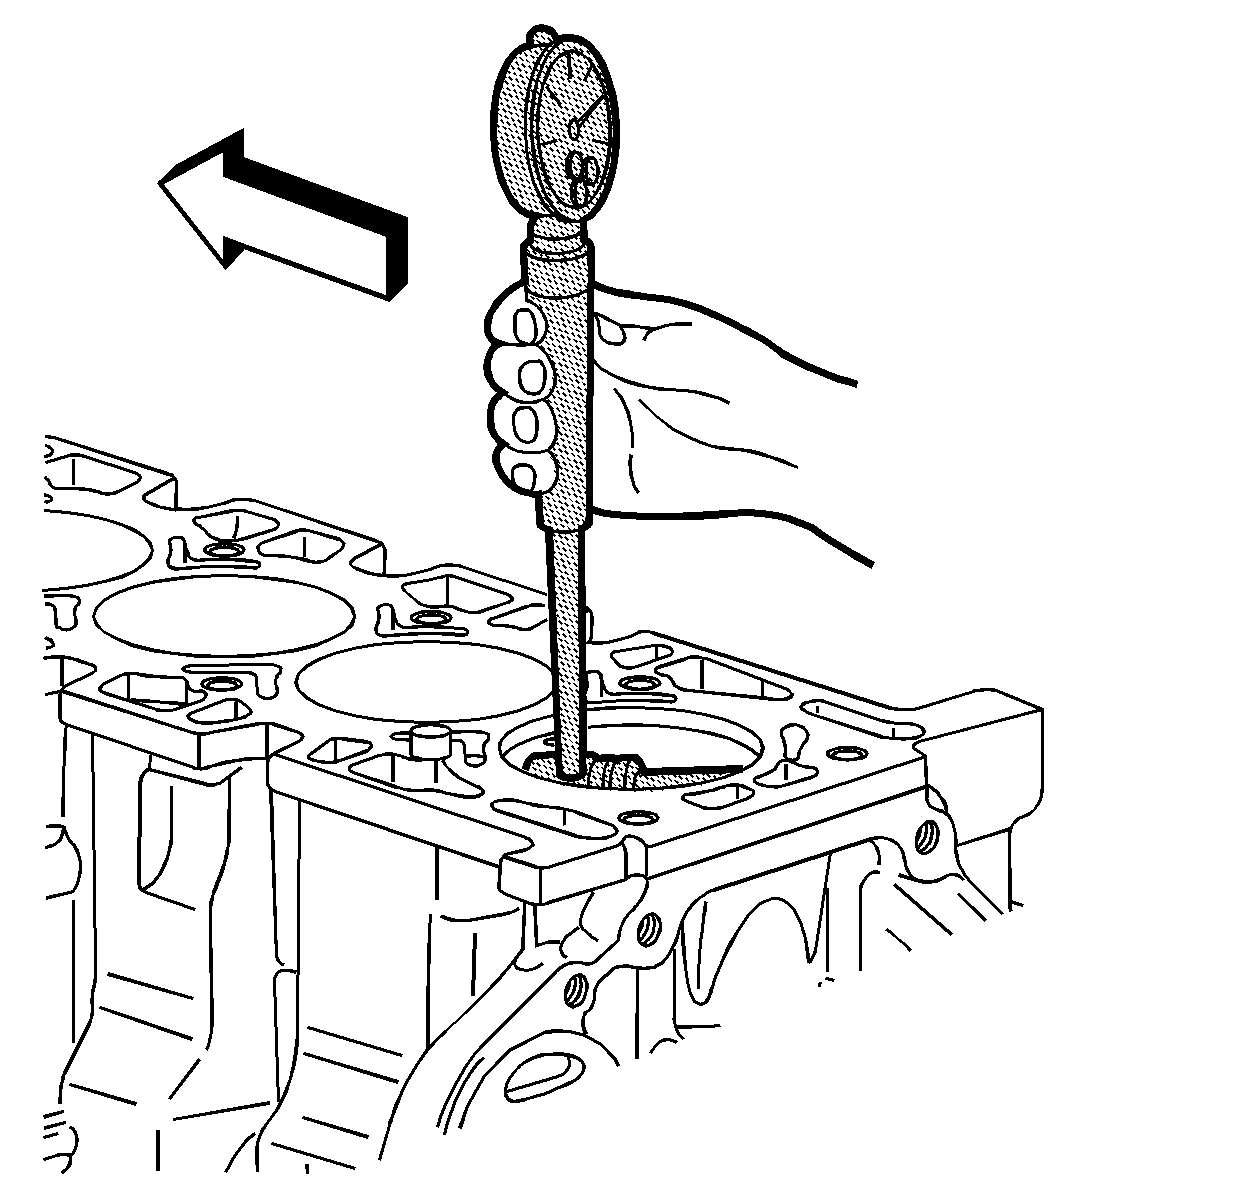
- Use
J 8087 gage
to measure the cylinder bore.
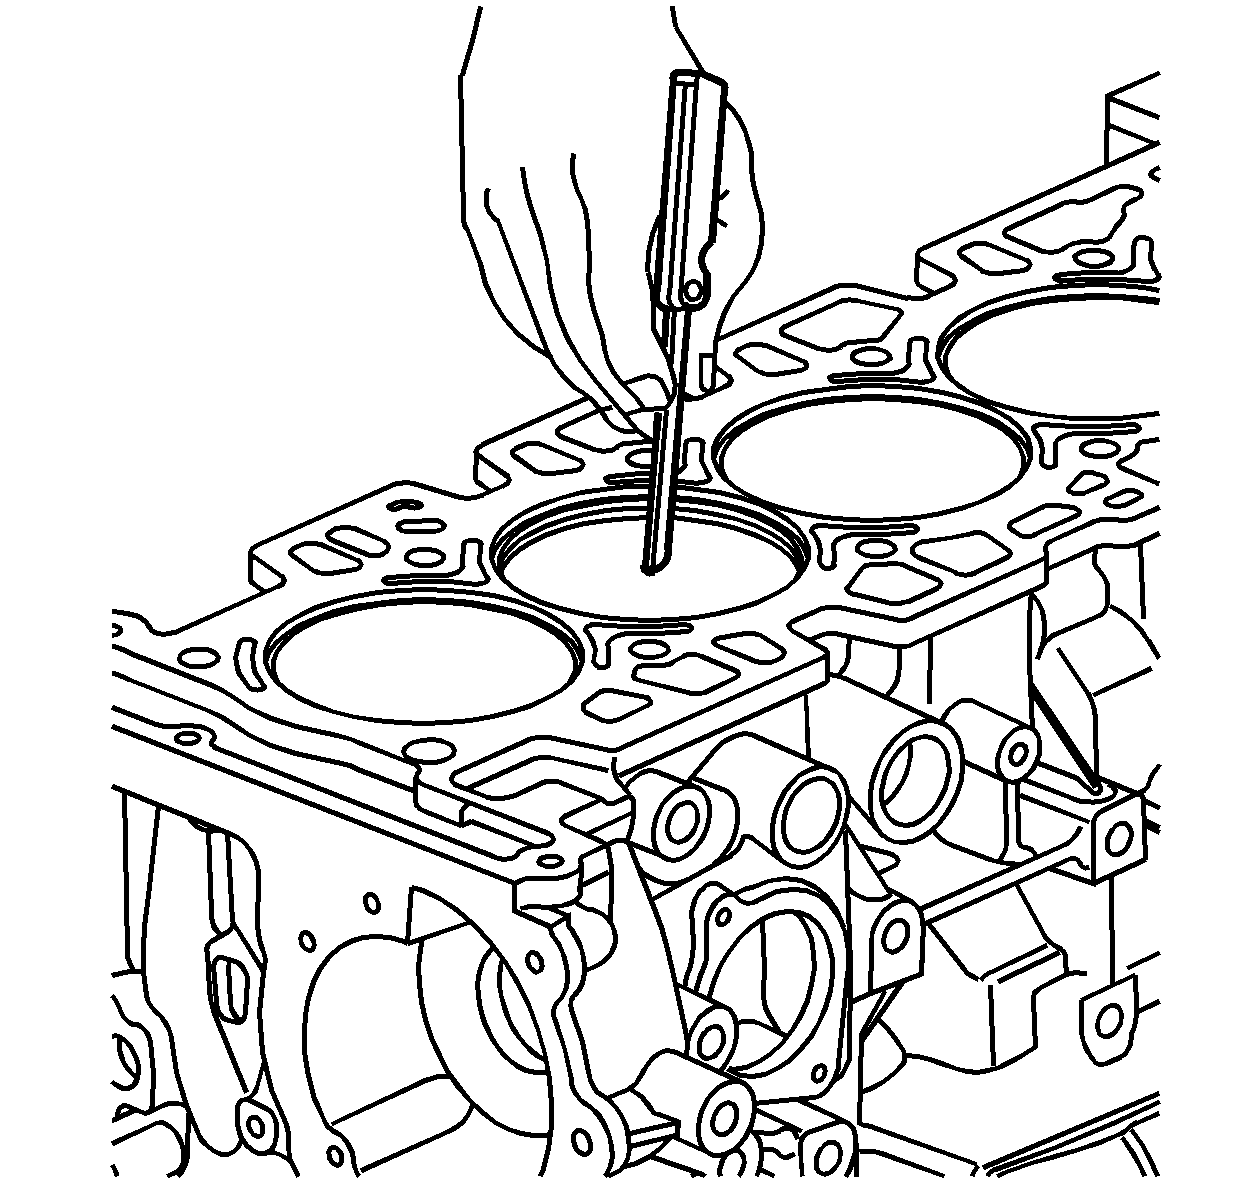
- Hone to size if necessary. Use the following procedure to hone the cylinder bore to the correct size.
| 22.2. | Hone the cylinder bore to obtain the recommended clearance. |
| 22.3. | Clean the piston and cylinder bore with soap and water. Dry the cylinder bore and piston. Lubricate the cylinder bore with clean engine oil. |
- Use the following procedure to measure the piston-to-cylinder bore clearance.
| 23.1. | Subtract the piston diameter from the cylinder bore diameter to determine the piston-to-bore clearance. |
| 23.2. | Compare the piston-to-bore clearance using the specifications to determine if the clearance is in the acceptable range. |
| 23.3. | If the used piston is not acceptable, a new service piston may be selected. |
- When a piston has been selected, mark the piston to identify the cylinder for which the piston was fitted.
- Select a set of new piston rings.
- Install each ring, one at a time, into the corresponding cylinder.
- Install the piston for that cylinder, upside down (top of piston pushing on the ring) and push the ring to approximately 25 mm (1 in) down from the deck surface.
- Remove the piston.
- Measure the ring end gap with a feeler gage.
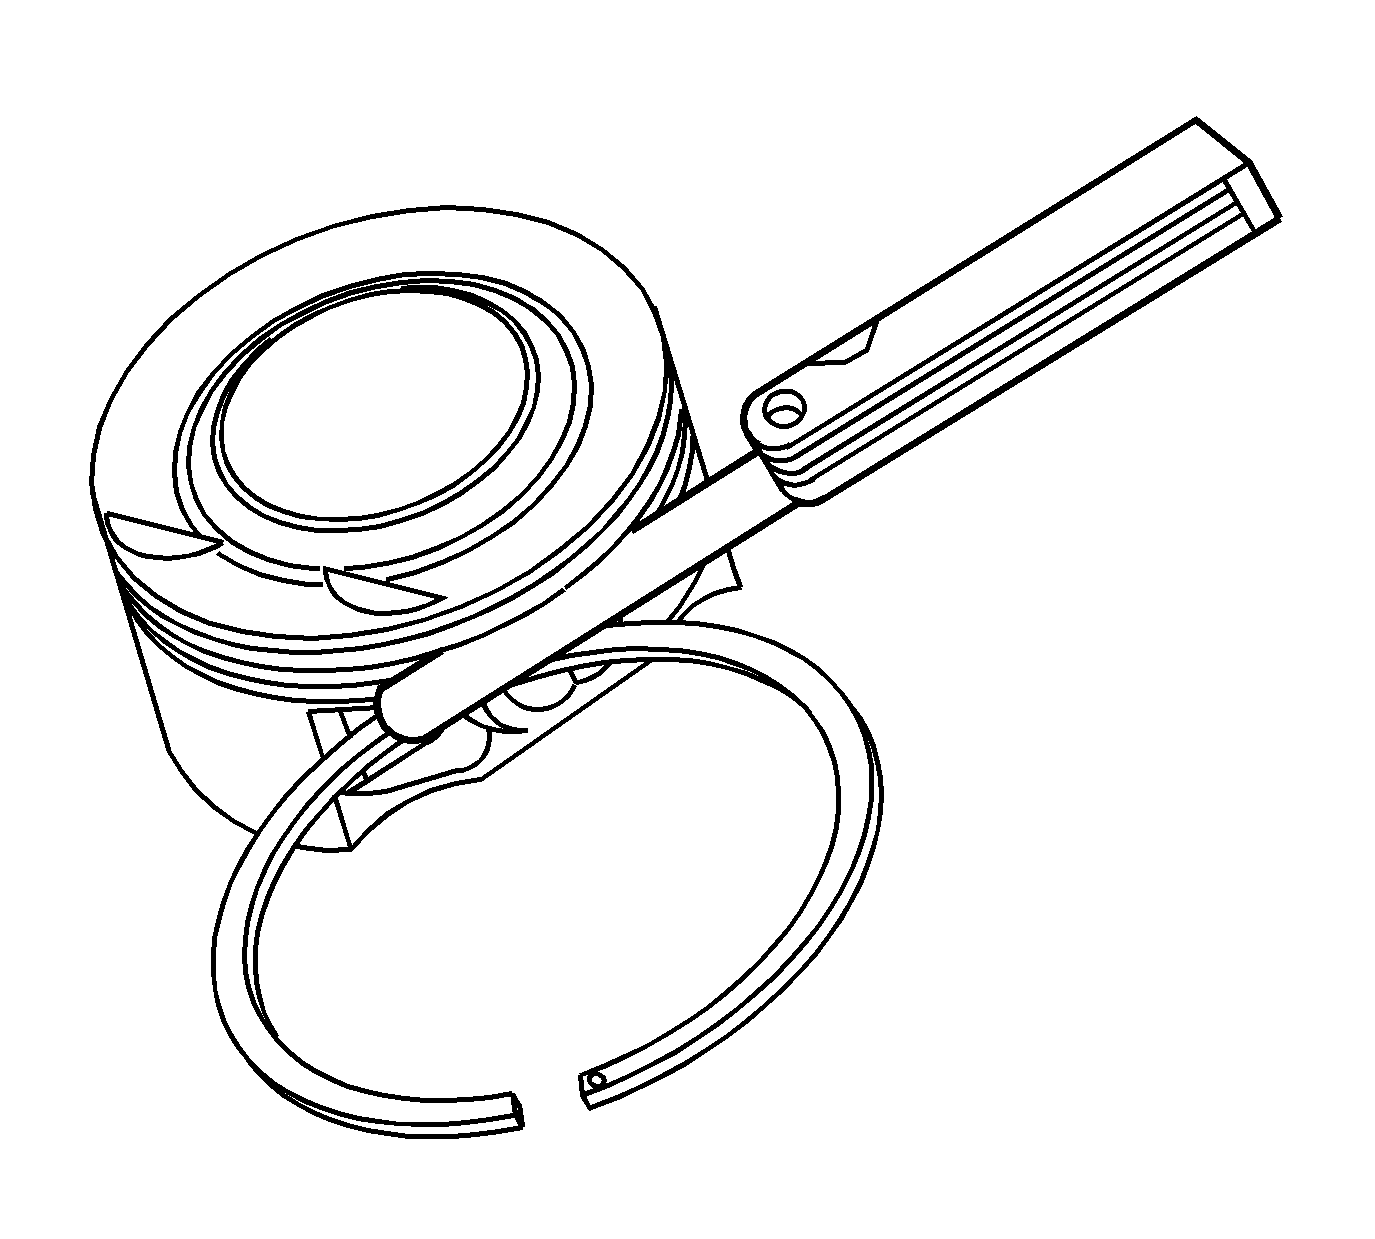
- If the ring gap is not within the specification range, replace the rings.
- Measure the piston ring side clearance - compression rings.
Caution: The piston ring groove must only be cleaned with a ring groove cleaning tool. Proper engine performance and durability depends on the straightness and smoothness of the ring groove. Cleaning the
piston ring groove with an improper tool can damage the piston ring groove and effect the performance and durability of the engine.
- Use the following procedure to measure the compression ring side clearance.
| 32.1. | Roll the piston ring around the groove. |
| 32.2. | Measure the side clearance with a feeler gage. |
| 32.3. | If the ring is too tight, inspect the piston ring groove for nicks, burrs, or damage. Use emery cloth to remove any minor burrs. |
| 32.4. | If the ring side clearance is greater than the specification, replace the piston. |


