For 1990-2009 cars only
Removal Procedure
- Remove the seat from the vehicle. Refer to Front Seat Replacement - Bucket or Split Bench Seat Replacement .
- Remove the seat back recliner handle. Refer to Driver Seat and Passenger Seat Recliner Handle Replacement .
- Remove the seat cushion outer trim panel. Refer to Seat Cushion Outer Trim Panel Replacement .
- Remove the switch bezel. Refer to Driver Seat and Passenger Seat Adjuster Switch Bezel Replacement .
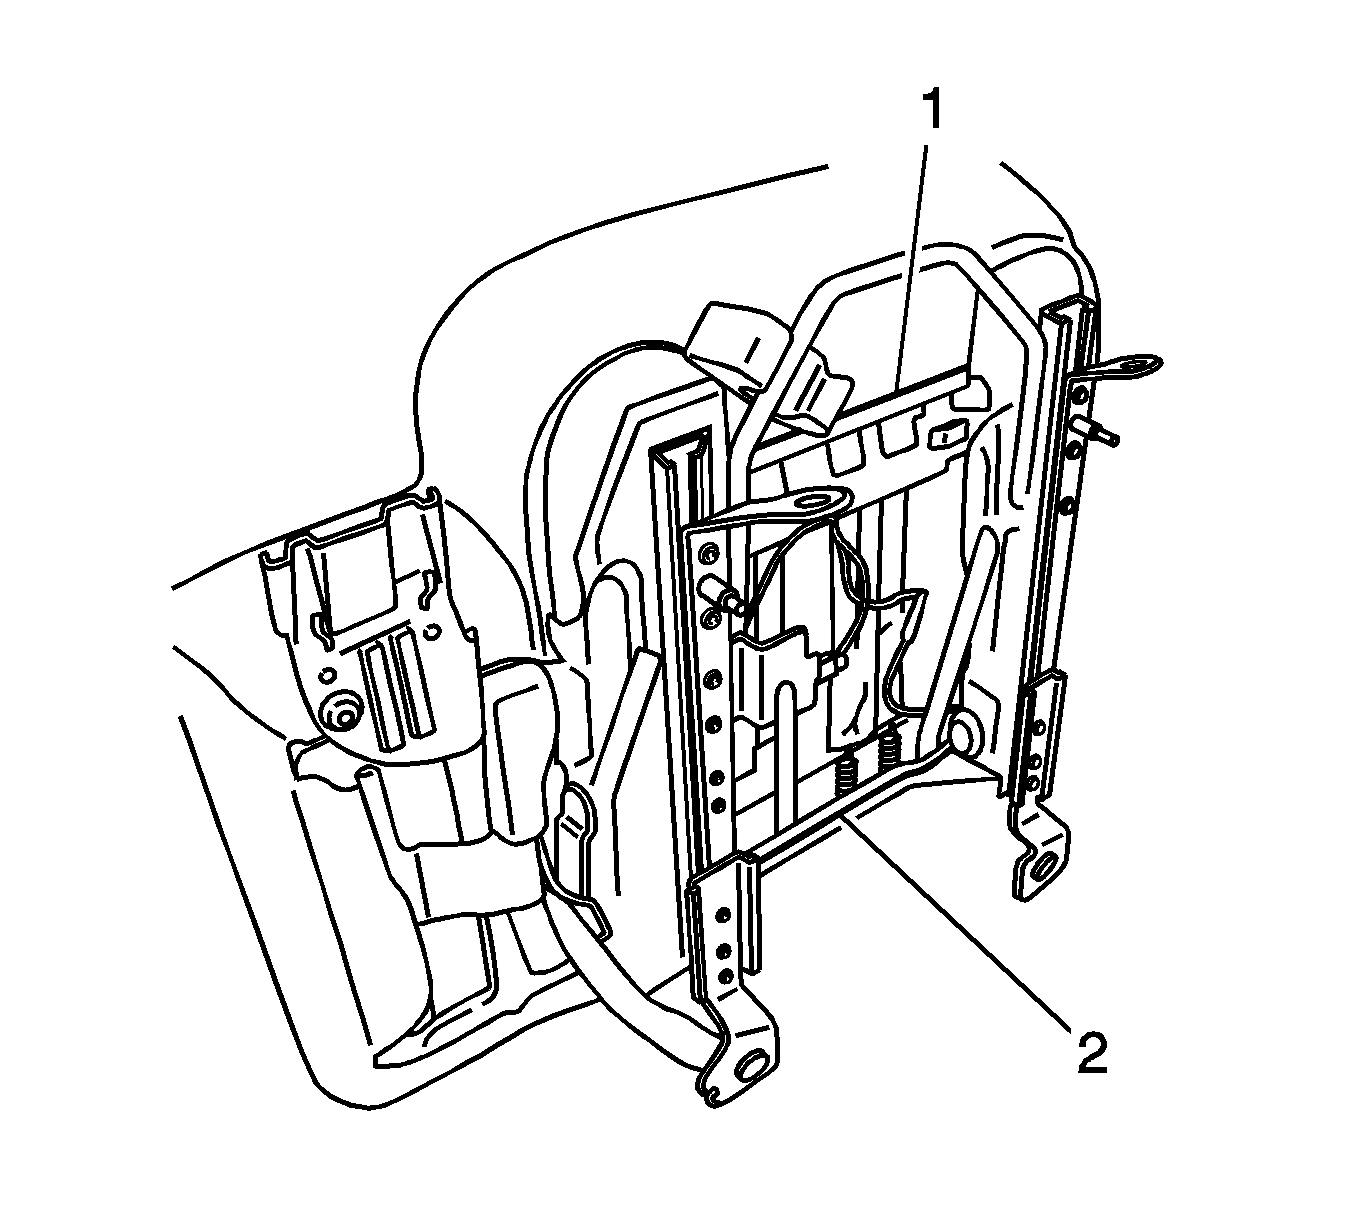
- Unclip the front, rear, and side J-strips (1, 2) on the underside of the seat.
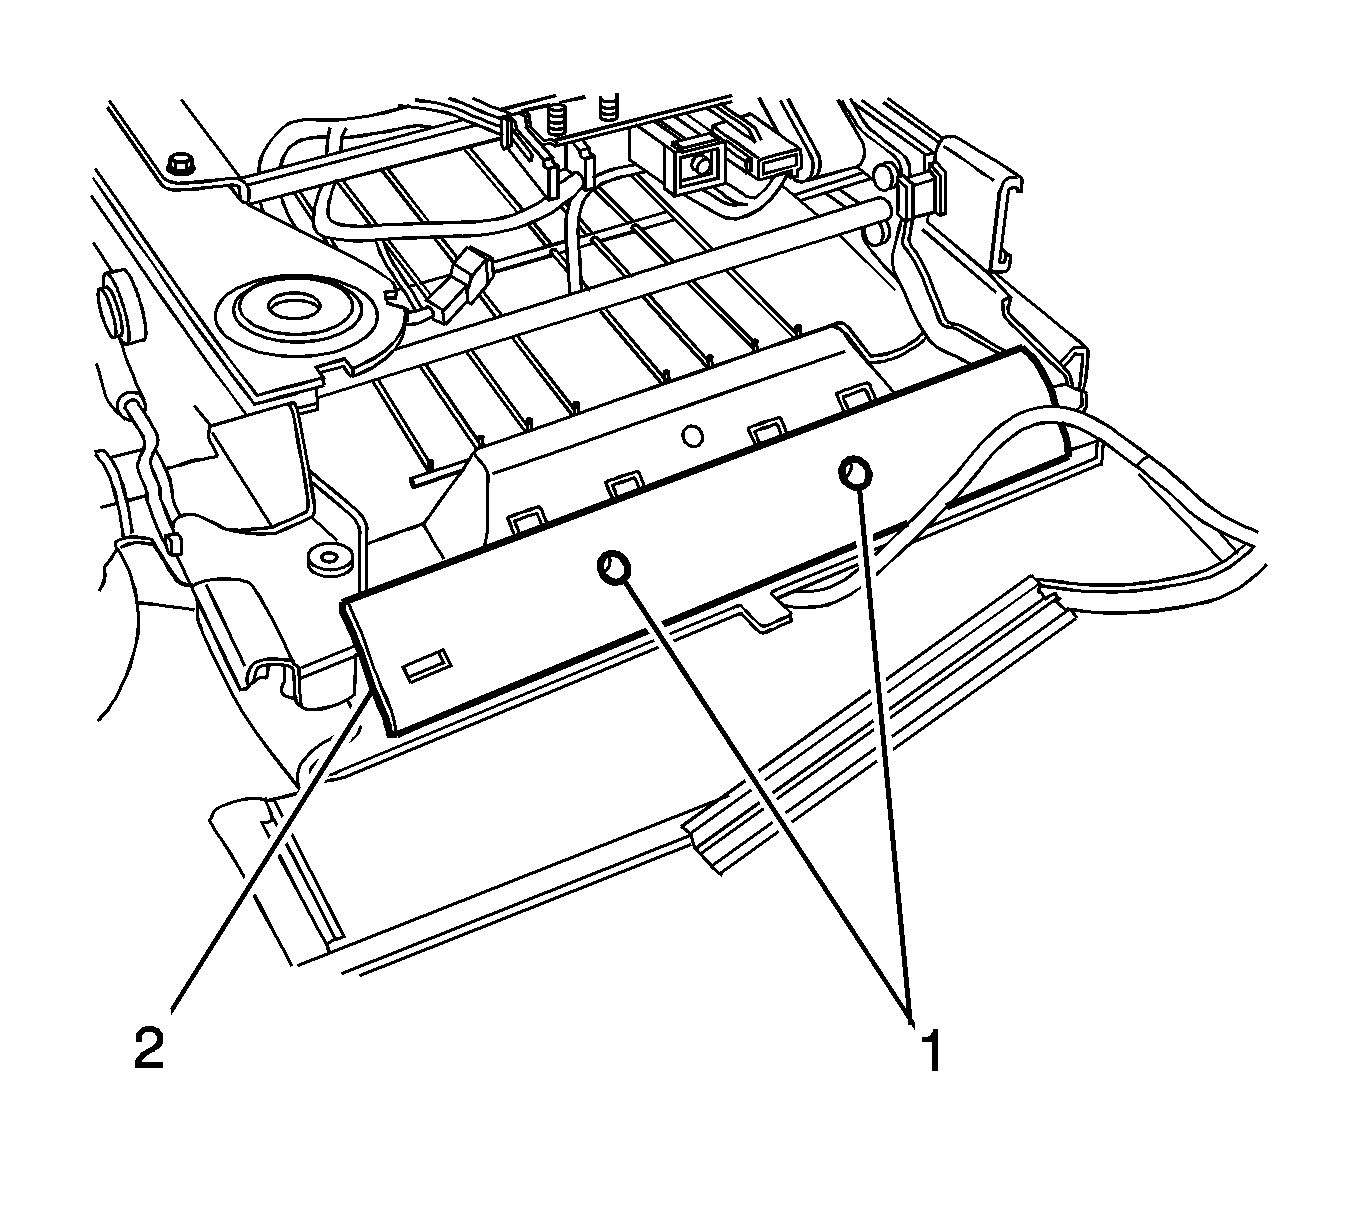
- Remove the 2 push pins (1) securing the seat cushion spacer (2) to the seat adjuster.
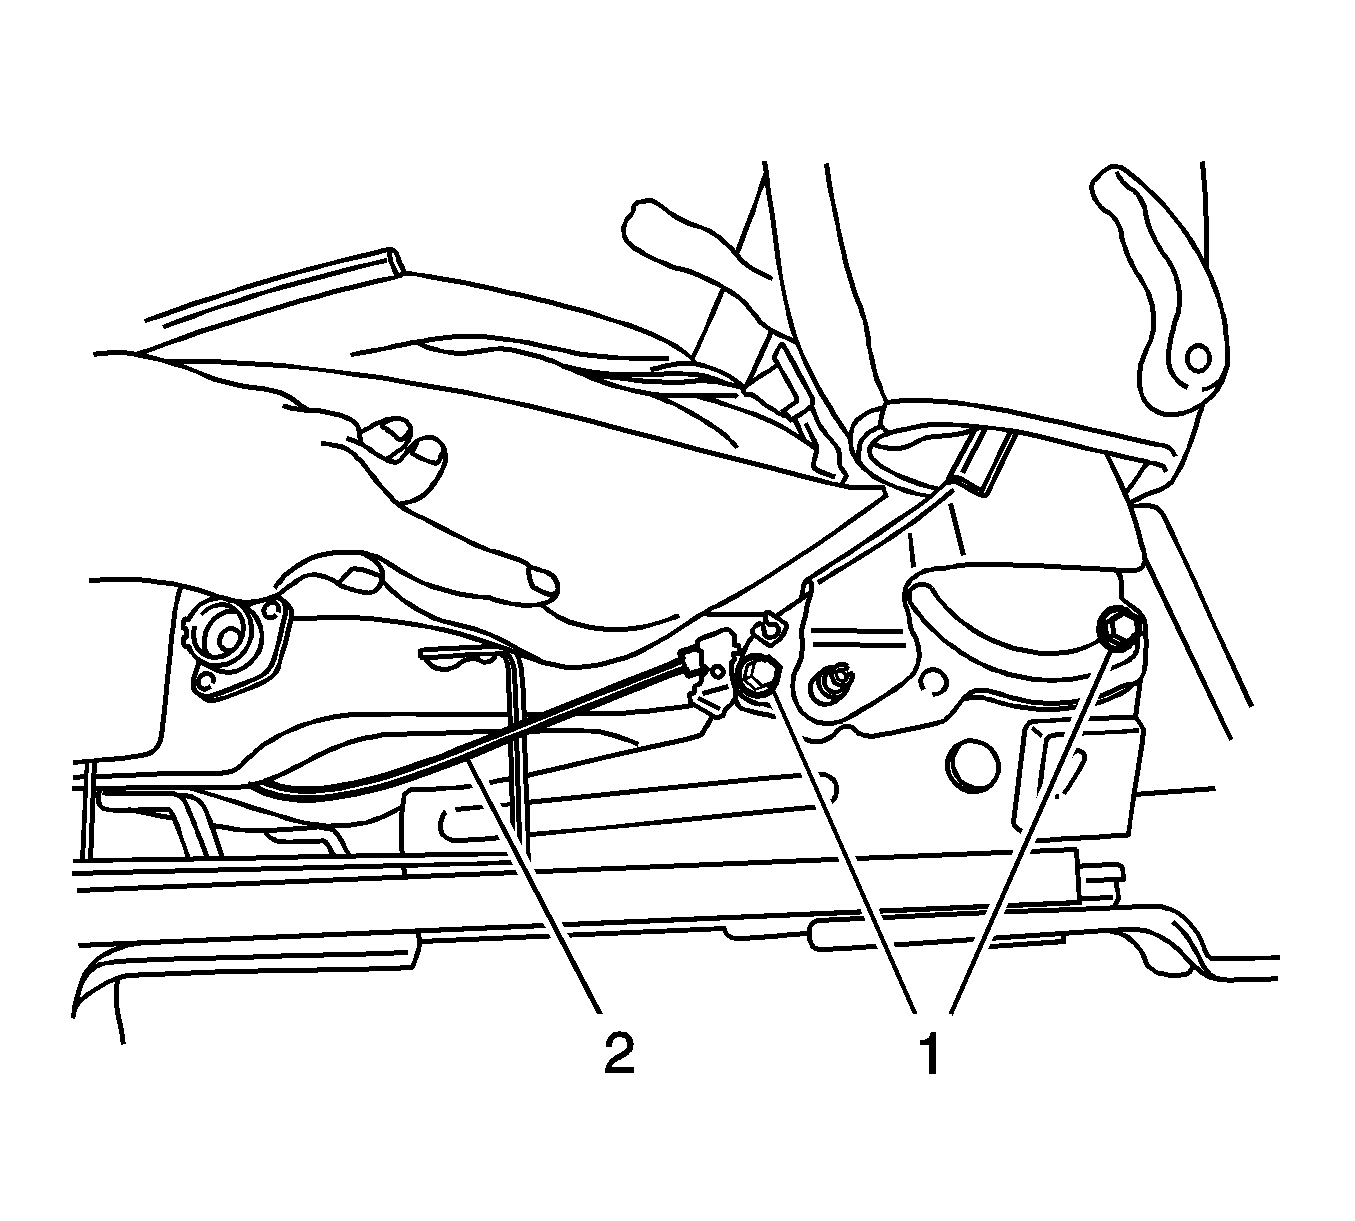
- Remove the 2 bolts (1) securing the seat recliner to the seat adjuster.
- Remove the seat back and recliner assemblies from the seat adjuster.
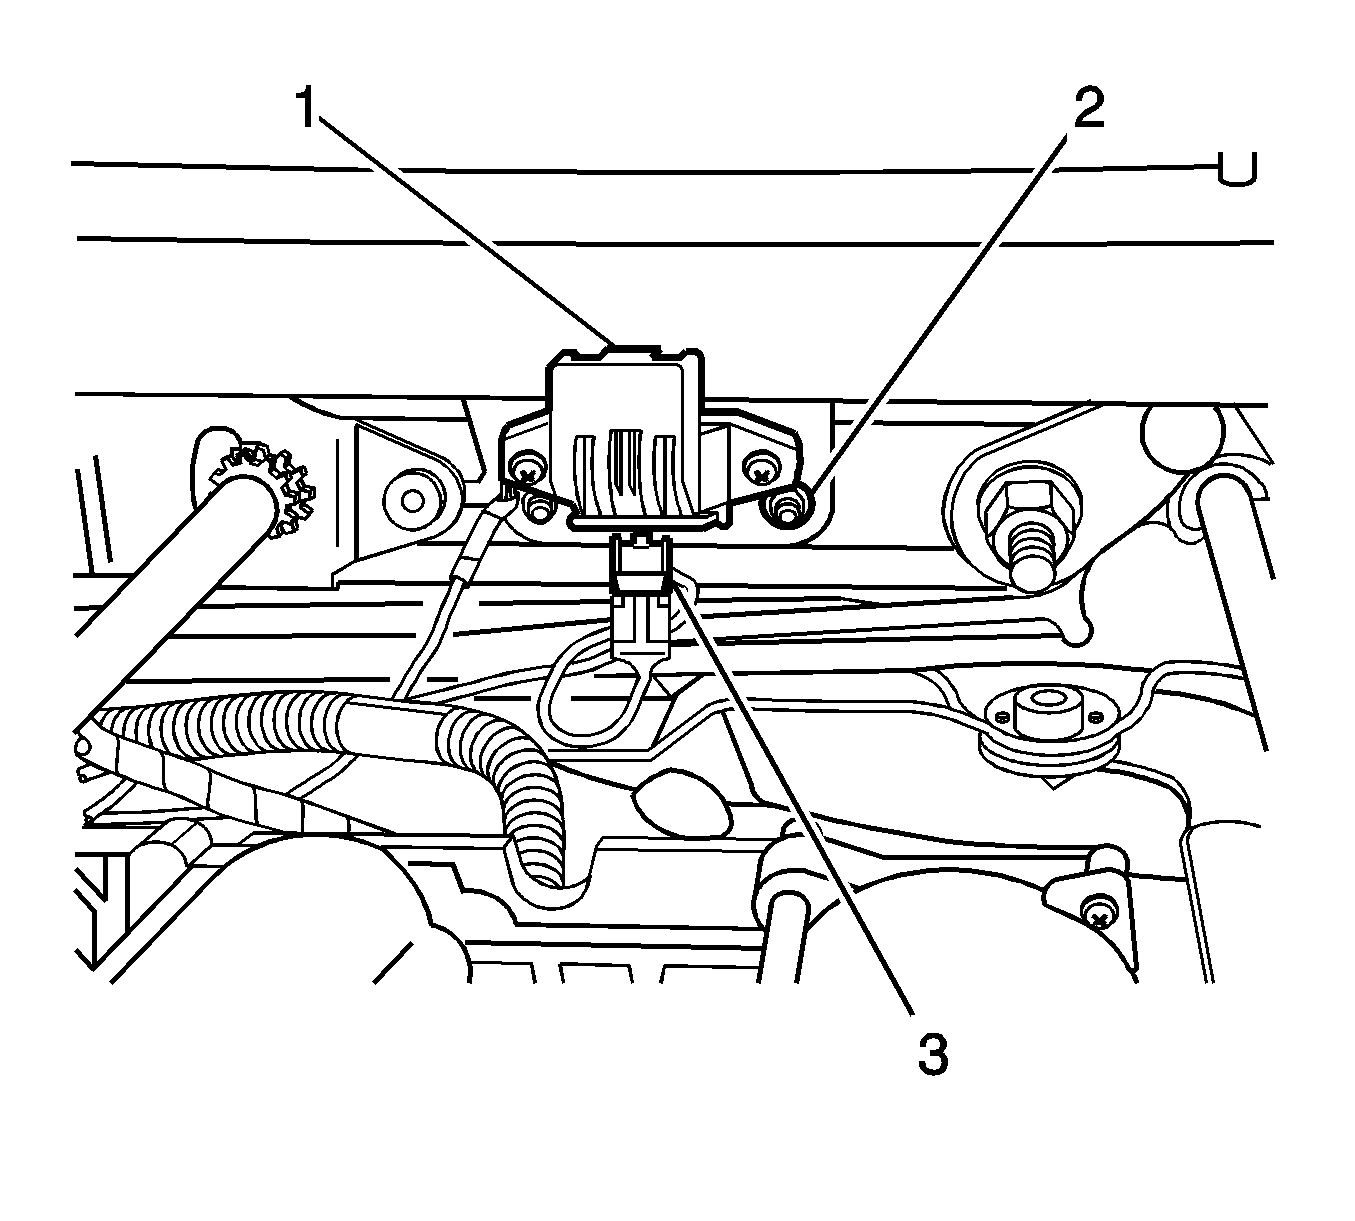
- Disconnect the harness (3) from the seat position sensor (1).
- Remove the 2 nuts (2) securing the seat position switch (1) to the seat adjuster.
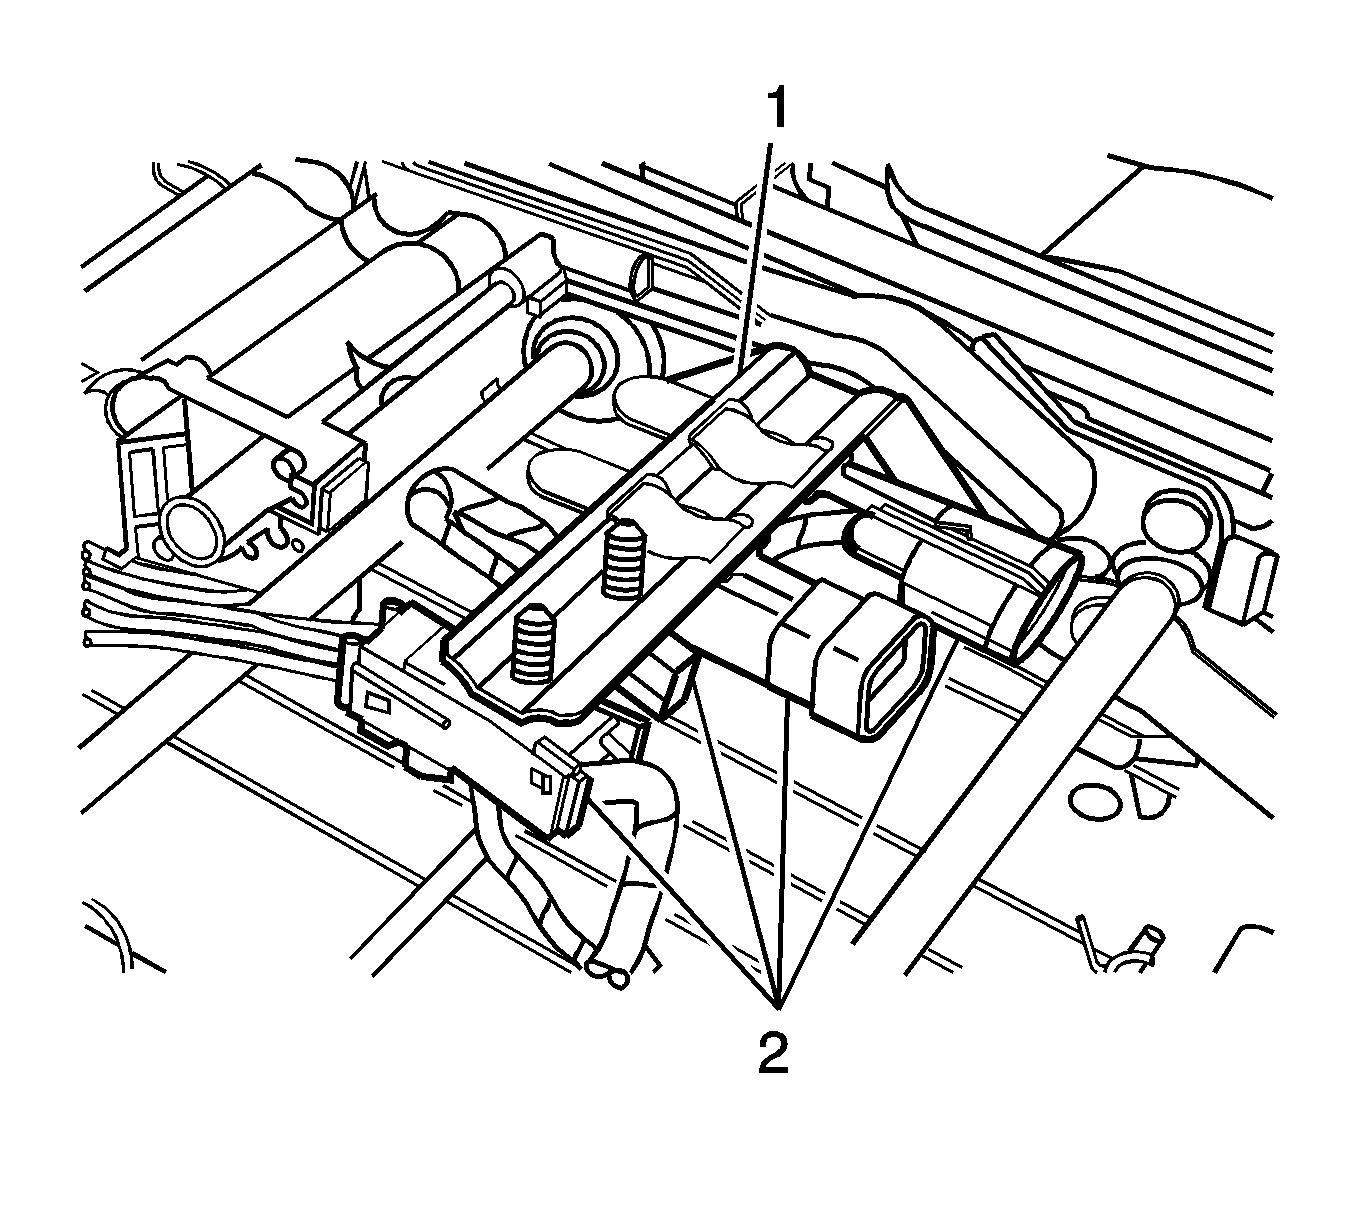
- Remove the seat harness connectors (2) from the power seat adjuster (1).
- Remove the seat harness from the seat adjuster assembly.
- Disconnect the seat belt buckle electrical connector.
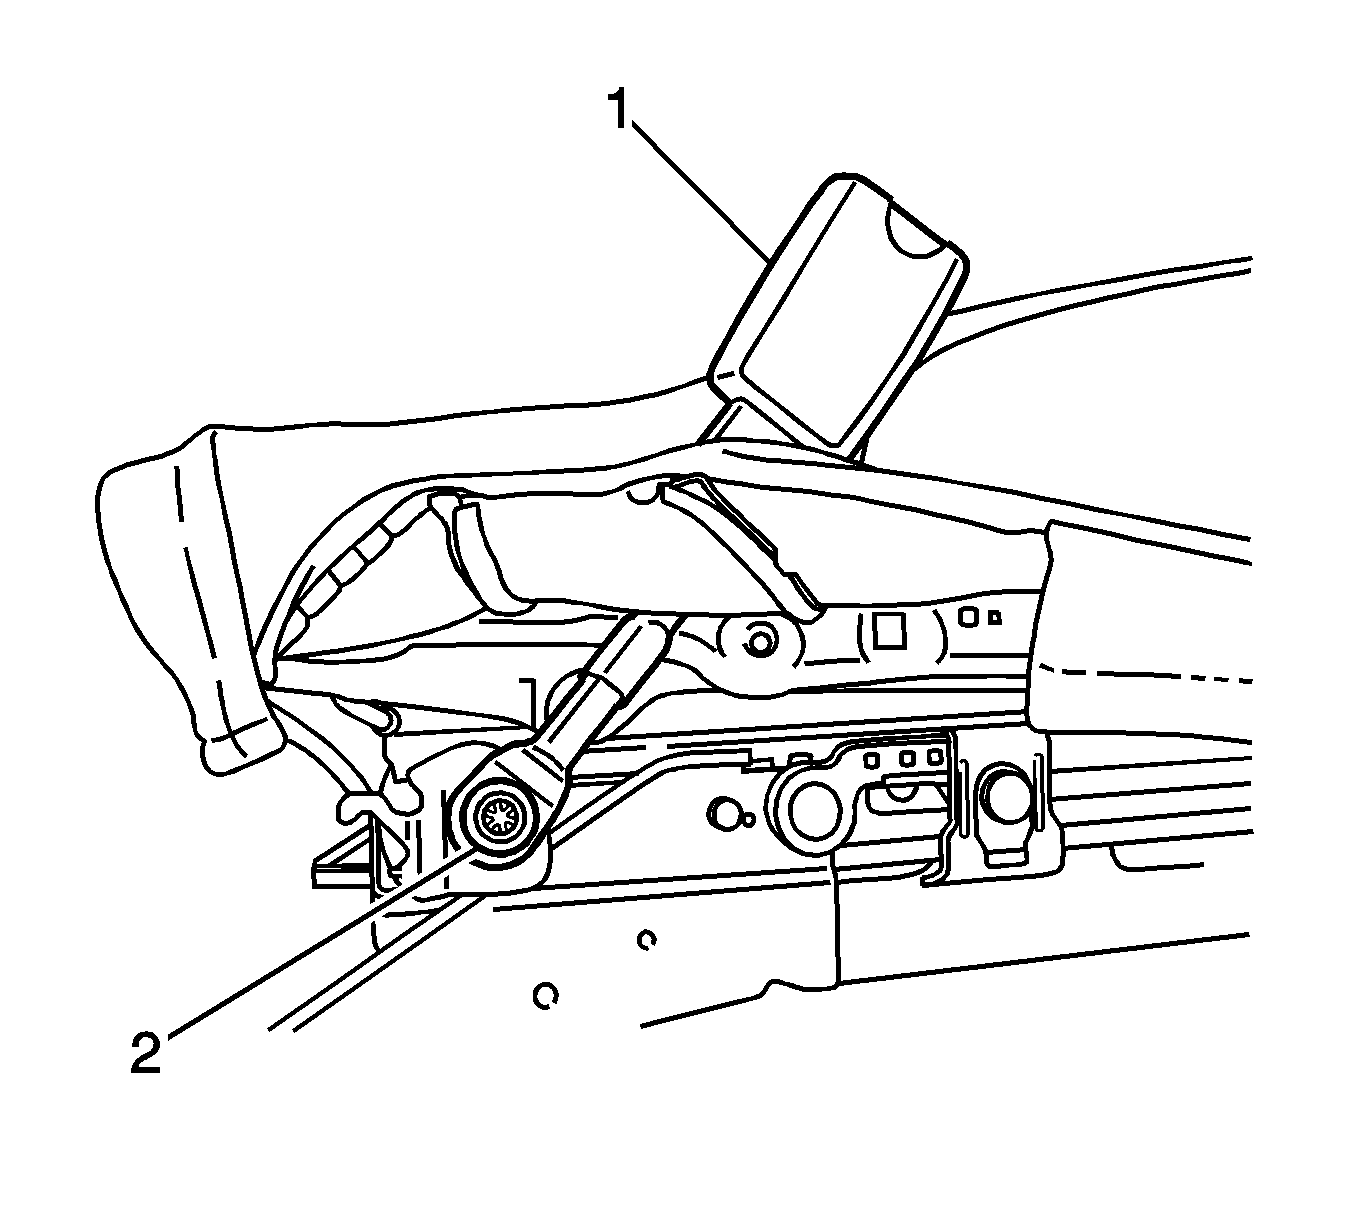
- Remove the bolt (2) securing the seat belt buckle assembly (1) to the seat adjuster.
- Remove the seat cushion cover and foam.
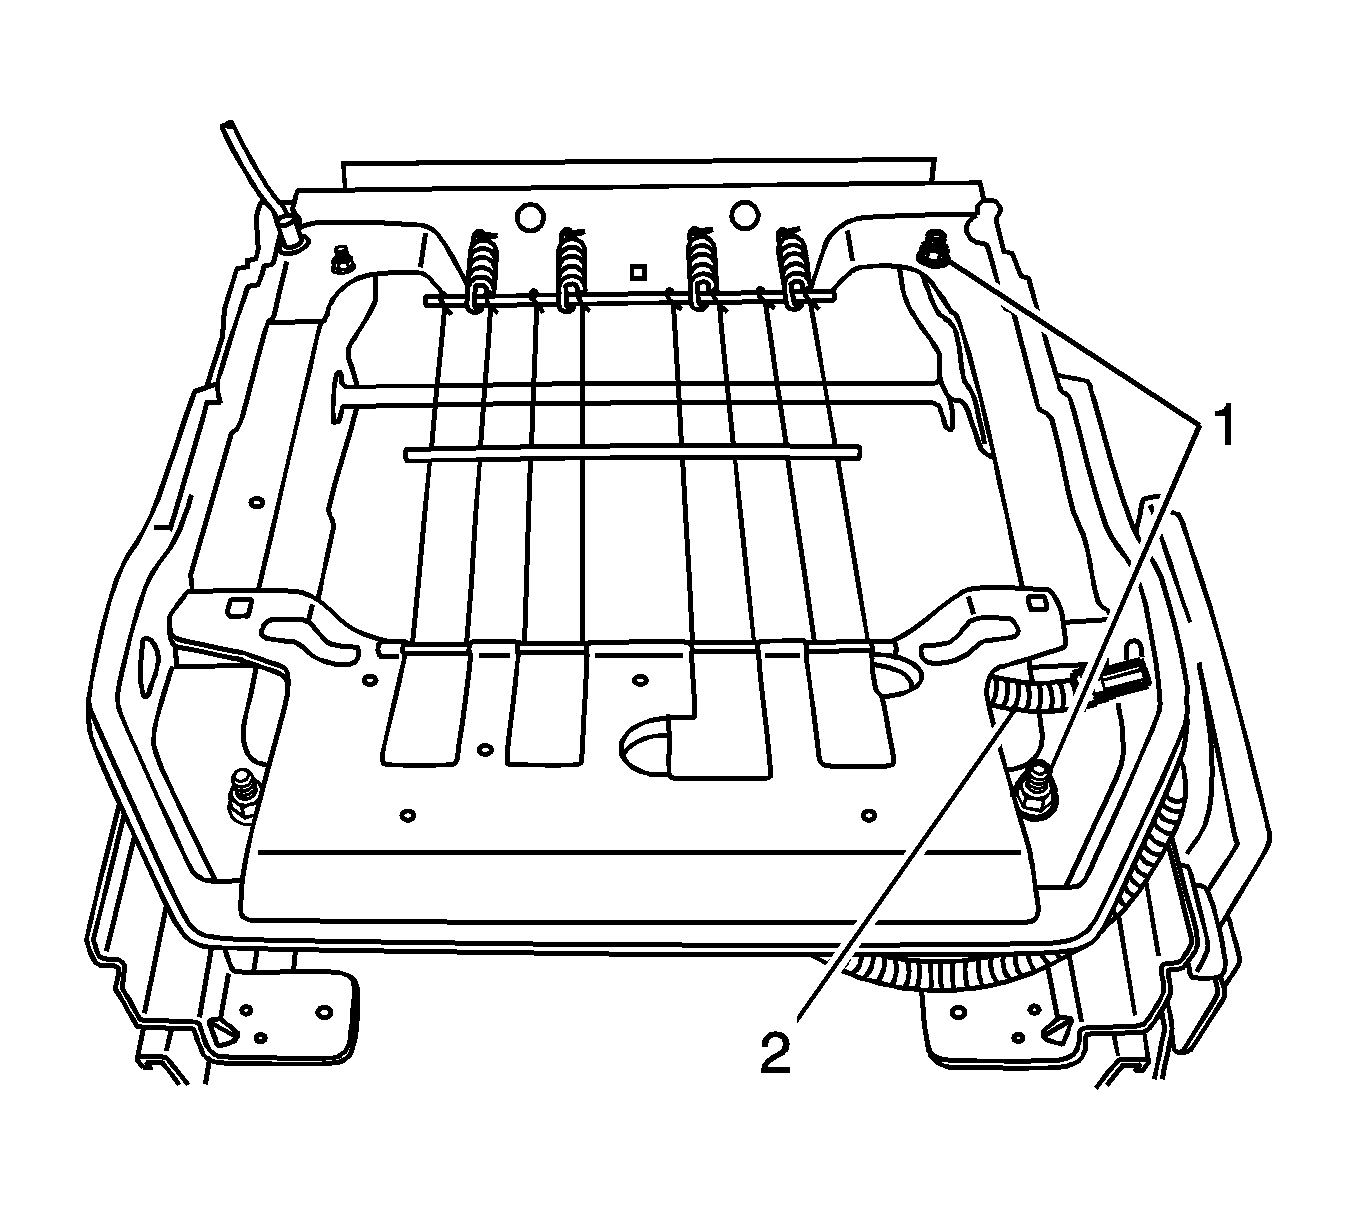
- Remove the 4 nuts (1) securing the seat cushion frame to the seat adjusters.
- Remove the power seat adjuster.
Installation Procedure
- Install the seat cushion spacer (2) to the seat adjuster with the 2 push pins (1).
- Install the seat harness connectors (2) to the power seat adjuster (1).
- Install the seat position switch (1) to the seat adjuster with 2 nuts (2).
- Connect the wiring harness (3) to the seat position switch (1).
- Install the power seat adjuster to the seat cushion frame with 4 nuts (1).
- Install the seat cushion foam pad and cover to the frame.
- Install the seat belt buckle assembly (1) through the seat cushion pad.
- Install the seat belt buckle assembly (1) to the seat adjuster with the bolt (2).
- Connect the seat belt buckle electrical connector (1).
- Position the seat back assembly on the seat cushion assembly.
- Install the 2 bolts (1) securing the seat back and recliner assemblies to the seat adjuster.
- Install the front, rear, and side J-strips (1, 2) to the underside of the seat.
- Install the switch bezel. Refer to Driver Seat and Passenger Seat Adjuster Switch Bezel Replacement .
- Install the seat cushion outer trim panel. Refer to Seat Cushion Outer Trim Panel Replacement .
- Install the seat back recliner handle. Refer to Driver Seat and Passenger Seat Recliner Handle Replacement .
- Install the seat in the vehicle. Refer to Front Seat Replacement - Bucket or Split Bench Seat Replacement .


Notice: Refer to Fastener Notice in the Preface section.

Tighten
Tighten the seat position switch nuts to 24 N·m (18 lb ft).

Tighten
Tighten the seat cushion frame mounting nuts to 24 N·m (18 lb ft).

Tighten
Tighten the seat belt buckle bolt to 55 N·m (41 lb ft).


