Tools Required
| • | J 8001 Dial Indicator Set |
| • | J 8614-01 Flange and Pulley Holding Tool |
| • | J 21128 Axle Pinion Oil Seal Installer |
| • | J 22536 Pinion Driver |
| • | J 22779 Side Bearing Backlash Gage |
| • | J 25025 Guide Pins |
| • | J 25588 Side Bearing Shim Installer |
Removal Procedure
- Raise the vehicle. Refer to Lifting and Jacking the Vehicle .
- Remove the differential carrier assembly. Refer to Differential Carrier Assembly Replacement .
- Remove the drive pinion yoke and the oil seal. Refer to Front Differential Drive Pinion Flange/Yoke, Seal, and Dust Deflector Replacement .
- Install the J 22536 as shown.
- Drive the pinion out using the J 22536 and a hammer.
- Remove the collapsible spacer from the pinion. Discard the spacer.
- Remove the pinion bearings and the cups. Refer to Drive Pinion Bearings Replacement .
- Remove the ring gear. Refer to Differential Case Assembly Disassemble .
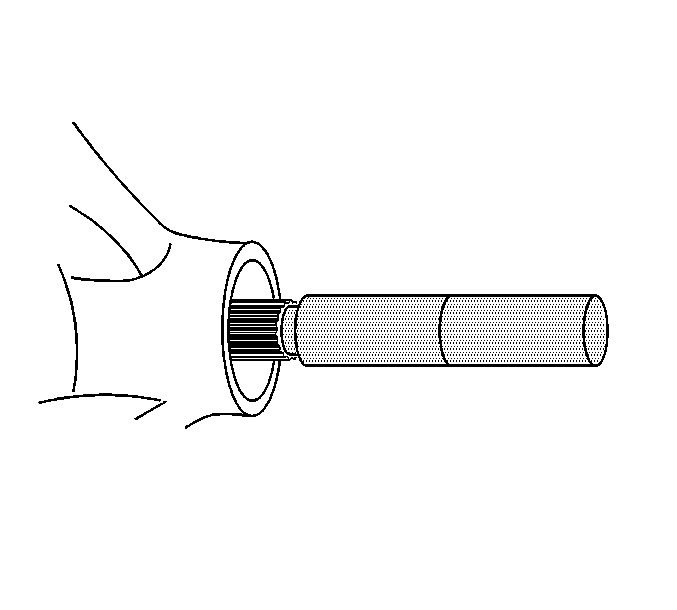
Ensure that the J 22536 is firmly seated on the pinion.
Strike the J 22536 slowly. Do not let the pinion fall out of the rear axle housing.
Installation Procedure
- Install the ring gear to the differential case. Refer to Differential Case Assembly Disassemble .
- Install the new ring gear bolts.
- Tighten the new ring gear bolts alternately and in stages, gradually pulling the ring gear onto the differential case.
- Install the drive pinion bearing cups. Refer to Drive Pinion Bearings Replacement .
- Determine the selective shim thickness for the pinion gear. See Differential Side Bearing Preload Adjustment Procedure below.
- Install the selective shim onto the pinion.
- Install the inner pinion bearing onto the pinion. Refer to Drive Pinion Bearings Replacement .
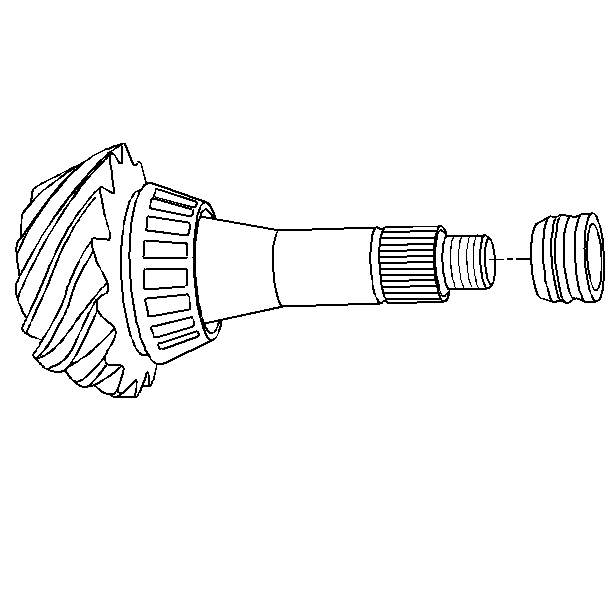
- Install a new collapsible spacer.
- Lubricate the pinion bearings with axle lubricant. Refer to Fluid and Lubricant Recommendations .
- Install the pinion to the axle housing.
- Install the outer pinion bearing.
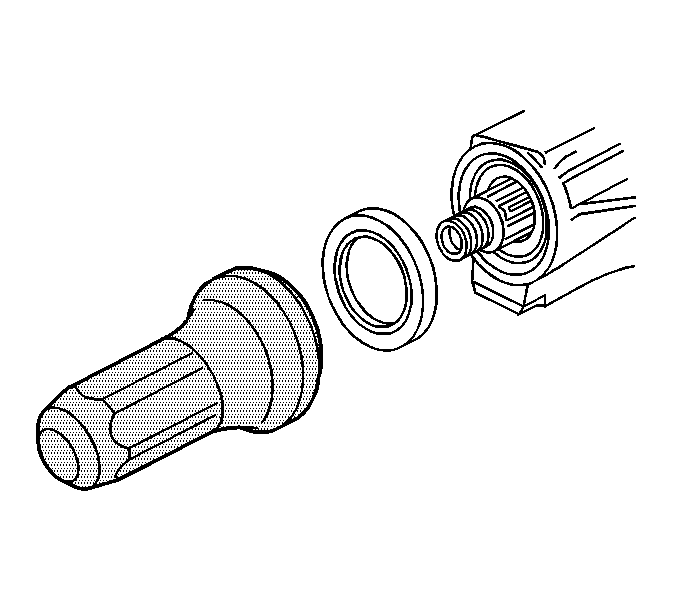
- Install a new pinion oil seal using the J 21128 .
- Apply sealant, GM P/N 12346004 (Canadian P/N 10953480) or equivalent, to the splines of the pinion yoke.
- Install the pinion yoke.
- Seat the pinion yoke onto the pinion shaft by tapping it with a soft-faced hammer until a few pinion shaft threads show through the yoke.
- Install the washer and a new pinion nut.
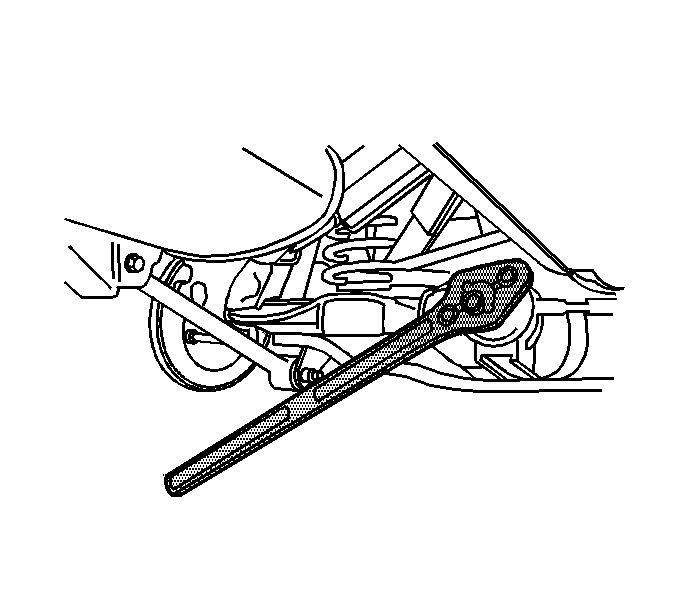
- Install the J 8614-01 onto the pinion yoke as shown.
- Tighten the pinion nut while holding the J 8614-01 .
- Measure the rotating torque of the pinion using an inch-pound torque wrench.
- If the rotating torque measurement is below 1.0 N·m (10 lb in) for used bearings, or 1.7 N·m (15 lb in) for new bearings, continue to tighten the pinion nut.
- Once the specified torque is obtained, rotate the pinion several times to ensure the bearings have seated.
- Install the differential carrier assembly. Refer to Differential Carrier Assembly Replacement .
- Perform a gear tooth contact pattern check on the pinion and the ring gear. Refer to Gear Tooth Contact Pattern Inspection .
- Lower the vehicle.
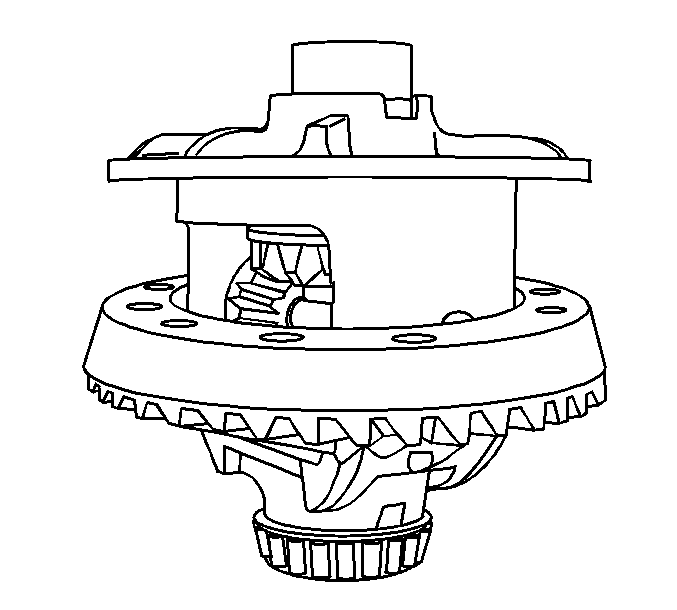
Important: The mating surface of the ring gear and the differential case must be clean and free of burrs before installing the ring gear.
Hand start each bolt to ensure that the ring gear is properly installed to the differential case.
Notice: Refer to Fastener Notice in the Preface section.
Tighten
Tighten the ring gear bolts in sequence to 120 N·m (89 lb ft).

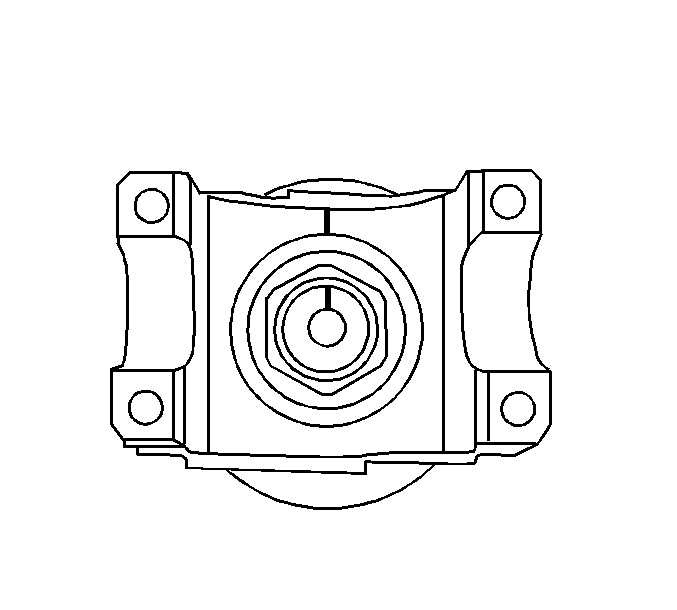
Align the marks made during removal.
Important: If the rotating torque is exceeded, the pinion will have to be removed and a new collapsible spacer installed.
Tighten
Tighten the pinion nut until the pinion end play is just taken up. Rotate the pinion while tightening the nut to seat the bearings.
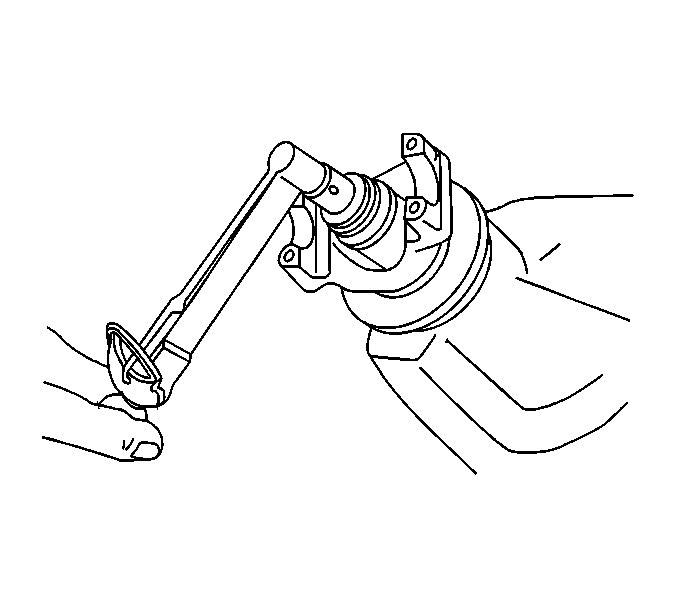
Specification
The rotating torque of the pinion should be 1.0-2.3 N·m (10-20 lb in) for used bearings or 1.7-3.4 N·m (15-30 lb in) for new bearings.
Tighten
Tighten the pinion nut, in small increments, as needed, until the torque required in order to rotate the pinion is 1.0-2.3 N·m (10-20 lb in) for used bearings or 1.7-3.4 N·m
(15-30 lb in) for new bearings.
Recheck the rotating torque and adjust if necessary.
Differential Side Bearing Preload Adjustment Procedure
Important:
• The differential side bearing preload adjustment must be completed before the backlash adjustment can be started. • In order to maintain the original backlash, adjust the differential case side bearing preload by changing the thickness of the left and the right side shim packs equally. • Measure the service shims and the spacers one at a time. Add the measurements together in order to obtain the total thickness of the left or the right side shim pack. • Do not use or reuse the original cast iron production shims. Use service shims and spacers instead.
- Install the drive pinion, if necessary. Refer to Drive Pinion and Ring Gear Replacement .
- Measure the rotating torque of the drive pinion using an inch-pound torque wrench.
- Record the measurement.
- Install the differential assembly with the side bearings and bearing cups into the axle housing.
- Insert one 4.318 mm (0.170 in) thick service spacer into the left side of the axle housing.
- Side the differential assembly towards the service spacer in order to hold the spacer in place.
- Install the J 22779 between the right side differential side bearing cup and the axle housing.
- Tighten the knob on the J 22779 until there is moderate drag when the J 22779 is moved.
- Remove the J 22779 .
- Remove the service spacer.
- Using a micrometer, measure the thickness of the J 22779 in 3 locations.
- Calculate the average of the 3 measurements.
- Using a micrometer, measure the thickness of the service spacer.
- Add the thickness of the service spacer to the average thickness of the J 22779 .
- Insert one 1.016 mm (0.040 in) service shim between the right side differential side bearing cup and the axle housing.
- Insert one BENT 1.016 mm (0.040 in) service shim between the right side differential side bearing cup and the service shim.
- Install the J 22779 on the left side of the differential assembly.
- While rotating the ring gear back and forth, tighten the knob on the J 22779 until there is approximately 0.025-0.051 mm (0.001-0.002 in) of backlash between the ring gear and the drive pinion.
- Once the amount of backlash is obtained, remove the J 22779 .
- Remove the differential case with the differential side bearings and the bearing cups.
- Remove the service shims.
- Using a micrometer, measure the thickness of the J 22779 in 3 locations.
- Calculate the average of the 3 measurements.
- Subtract the service shim thickness for the left side of the axle, calculated in step 23, from the total service shim thickness, calculated in step 14.
- In order to initially set the preload of the differential side bearings and the backlash to approximately 0.013-0.023 mm (0.005-0.009 in), take the value determined in step 24 and add 0.0203 mm (0.008 in) service shim thickness to this amount.
- Assemble the left side shim pack using one 4.318 mm (0.170 in) service spacer and the appropriate amount of selective service shims equaling the thickness determined in step 23.
- Assemble the right side shim pack using one 4.318 mm (0.170 in) service spacer and the appropriate amount of selective service shims equaling the thickness determined in step 25.
- Install the differential assembly with the differential side bearings and the differential side bearing cups.
- Install the left side service spacer between the axle housing and the differential assembly.
- Install the left side selective service shim or shims.
- Install the right side service spacer between the axle housing and the differential assembly.
- Install the right side selective service shim or shims using the J 25588 , if necessary.
- Install the differential bearing caps and the bolts.
- Measure the drive pinion and differential side bearing preload using an inch-pound torque wrench.
- Record the measurement.
- Calculate the differential side bearing preload by subtracting the drive pinion preload, measured in Step 2, from the drive pinion and differential case bearing preload, measured in Step 33.
- If the differential side bearing preload is not within specifications, add or subtract shim thickness equally from each shim pack as necessary in order to increase/decrease the side bearing preload.
- Once the differential side bearing preload is correct, measure the backlash and adjust, if necessary. Refer to Backlash Inspection and Adjustment .
- Once the differential side bearing preload and backlash is correct, perform a gear tooth contact pattern check in order to ensure proper alignment between the ring and pinion gears. Refer to Gear Tooth Contact Pattern Inspection .
Specification
The rotating torque of the drive pinion should be 1.7-3.4 N·m (15-30 lb in) for new bearings or 1.1-2.3 N·m(10-20 lb in) for used bearings.
Important: Before installation of the differential assembly, ensure that the side bearing surfaces in the axle housing are clean and free of burrs. If the original bearings are to be reused, the original bearing cups must also be used.
Important: Over-tightening may spread the housing and result in incorrect shim selection.
Record the measurement.
Record the measurement.
The resulting value is the total service shim thickness without preload for the axle.
This value is the left side service shim thickness without preload.
This value is the service shim thickness for the right side of the axle without preload.
Measure the service spacer and the service shims separately.
Add the measurements together in order to determine the total shim pack thickness.
Measure the service spacer and the service shims separately.
Add the measurements together in order to determine the total shim pack thickness.
The service shim or shims must be installed between the service spacer and the differential side bearing cup.
The service shim or shims must be installed between the service spacer and the differential side bearing cup.
Tighten
Tighten the differential bearing cap bolts to 63 N·m (46 lb ft).
Rotate the pinion several times to ensure the differential side bearings have seated.
Specification
The rotating torque of the drive pinion and differential side bearings should be 3.9-6.2 N·m (30-55 lb in) for new bearings or 2.8-5.1 N·m (25-45 lb in)
for used bearings.
Multiply the value obtained by the axle ratio.
Specification
The differential case side bearing preload should be 1.7-4.0 N·m (15-35 lb in).
