Removal Procedure
Caution: Refer to Brake Fluid Irritant Caution in the Preface section.
Caution: Refer to Brake Dust Caution in the Preface section.
Notice: Refer to Brake Fluid Effects on Paint and Electrical Components Notice in the Preface section.
Notice: Refer to Brake Caliper Notice in the Preface section.
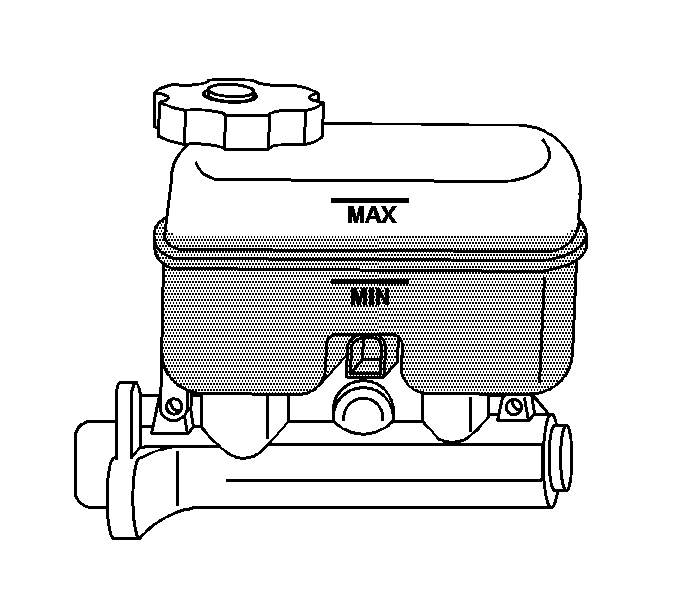
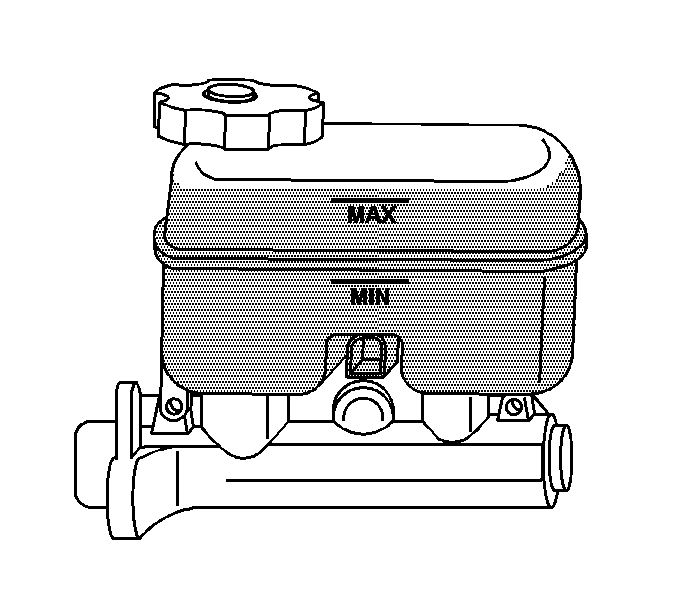
- If the brake fluid is midway between the maximum-full and the minimum allowable level, no brake fluid needs to be removed from the reservoir before proceeding.
- If the brake level is higher than midway between the maximum-full and minimum allowable level, remove the brake fluid with the appropriate tool to the midway point before proceeding.
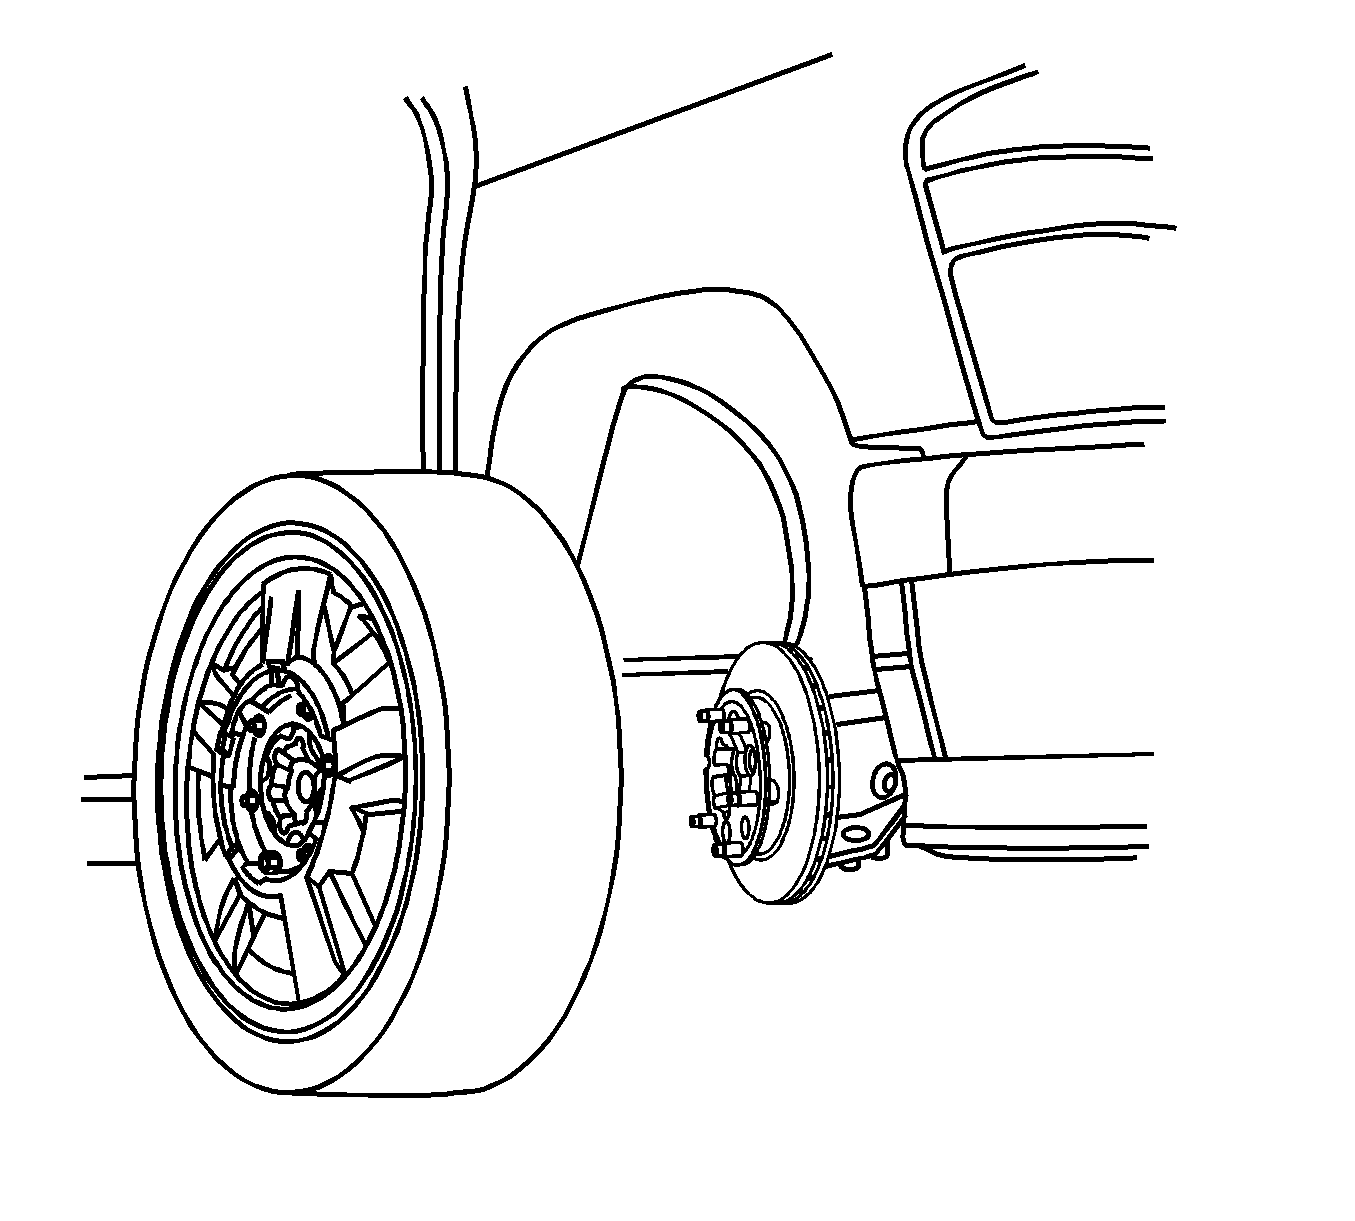
- Remove the tire and wheel assembly. Refer to Tire and Wheel Removal and Installation .
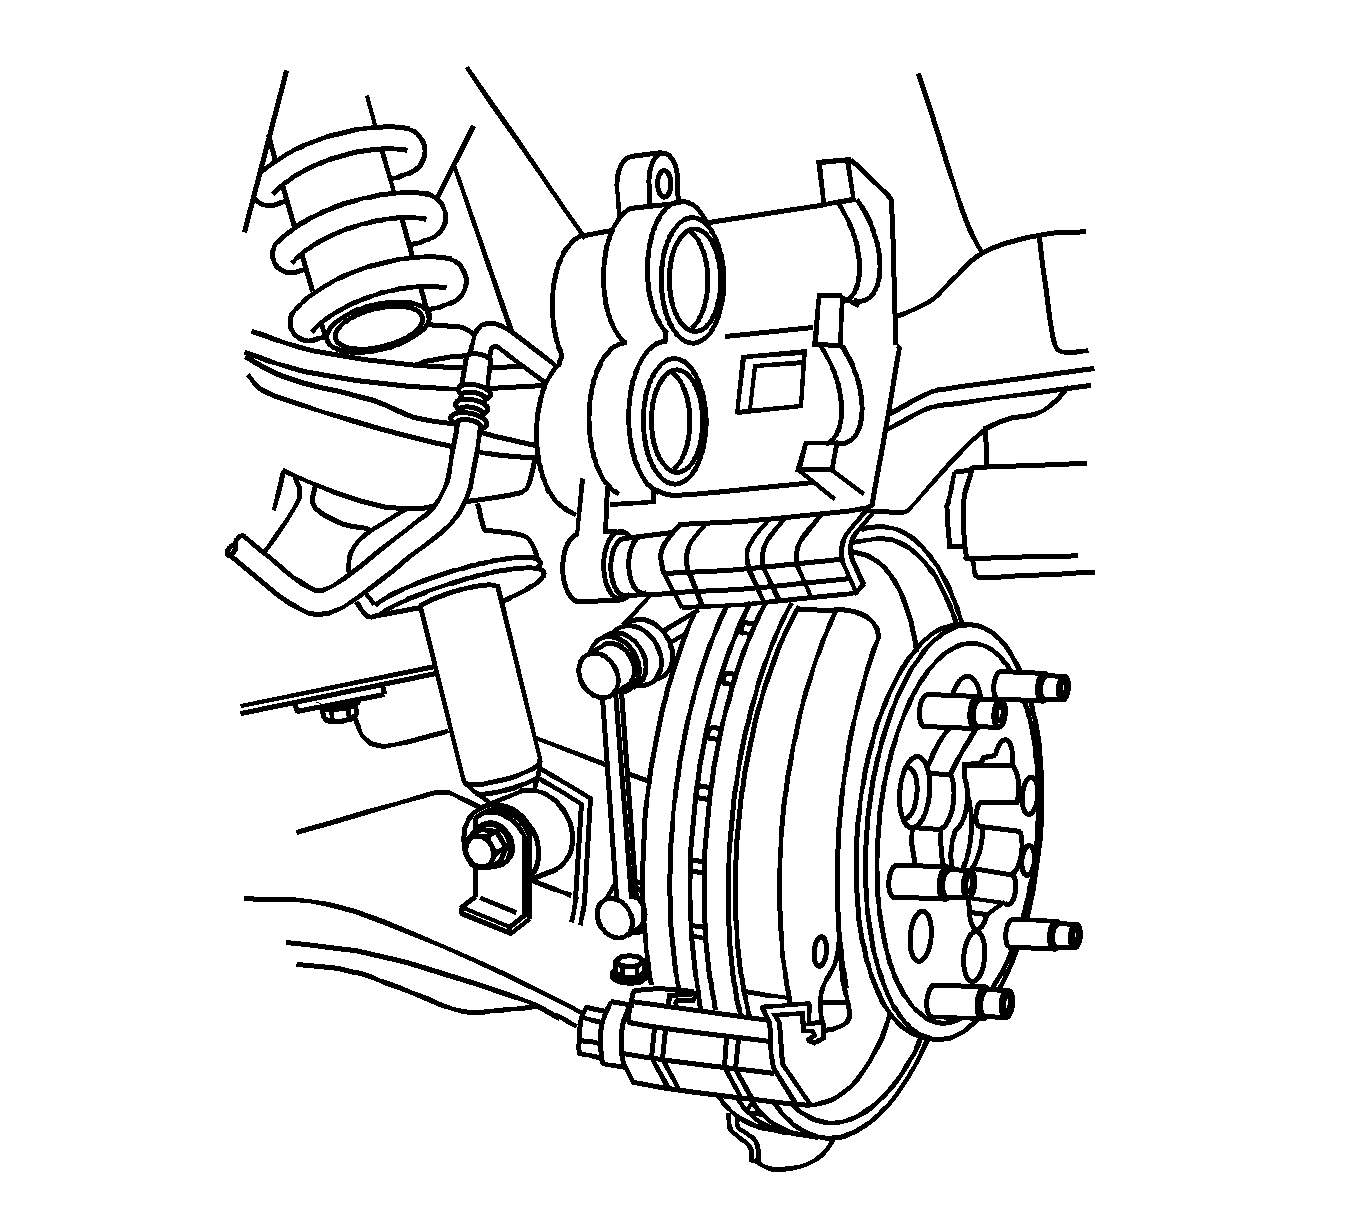
- Using denatured alcohol, clean the front caliper assembly.
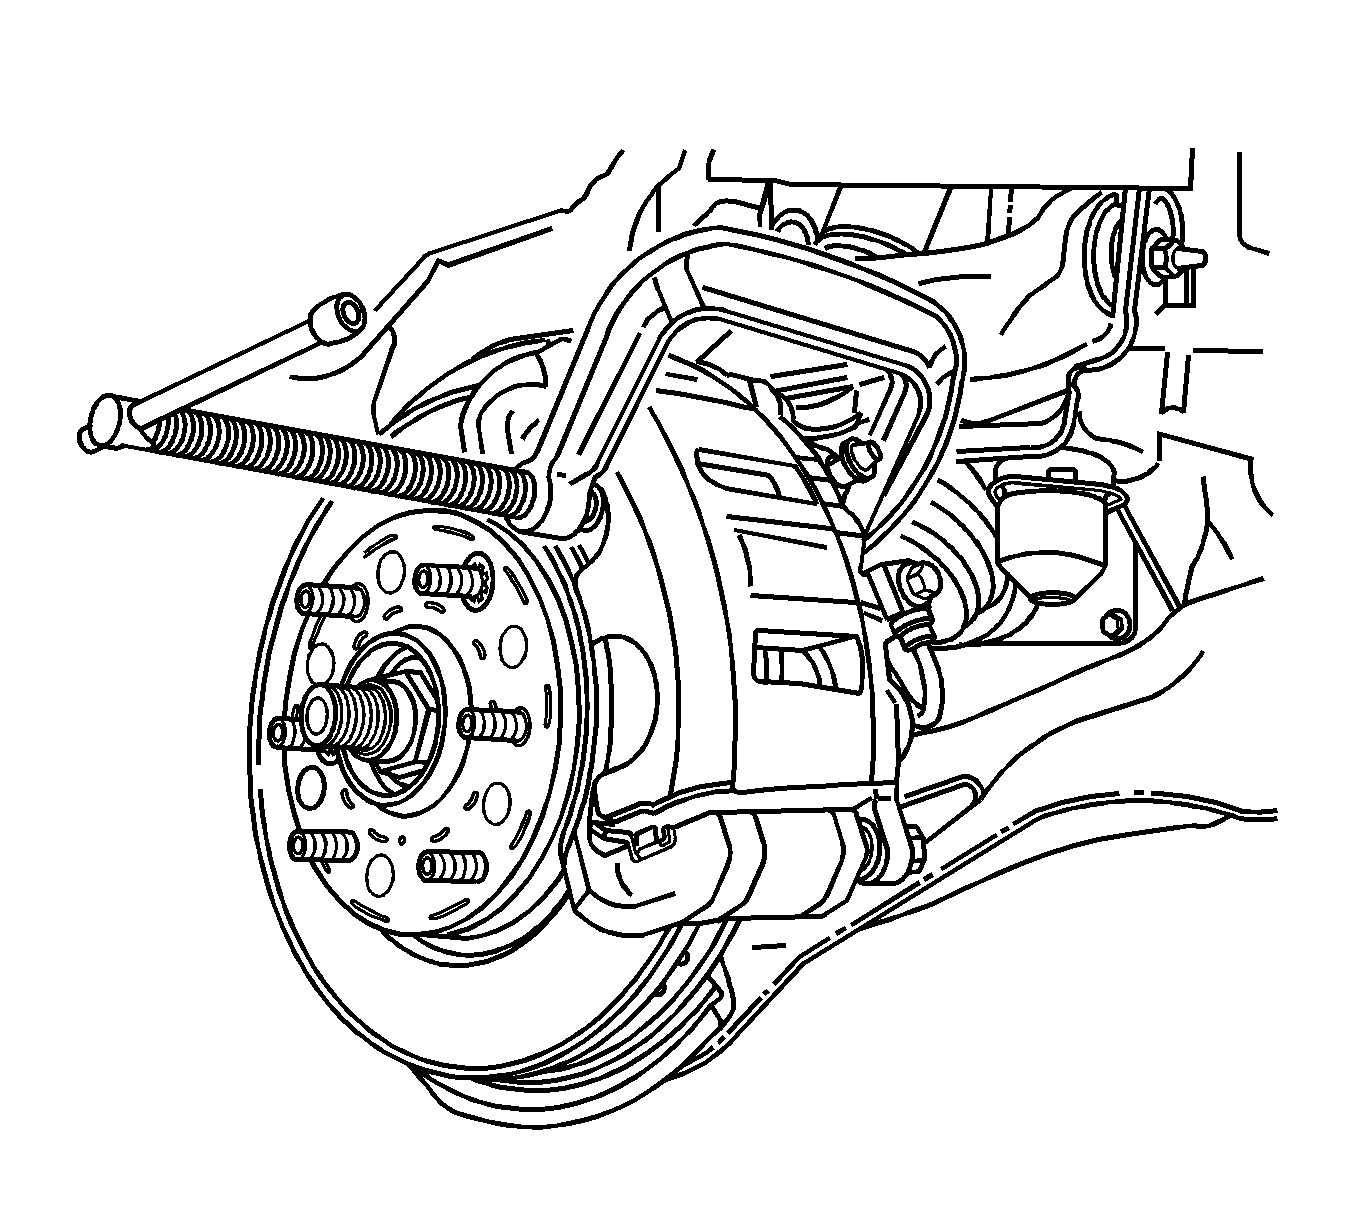
- Install a large C-clamp over the top of the brake caliper housing and against the back of the of the outboard brake pad.
- Slowly tighten the C-clamp until the pistons are fully seated in the brake caliper bore.
- Remove the C-clamp from the brake caliper.
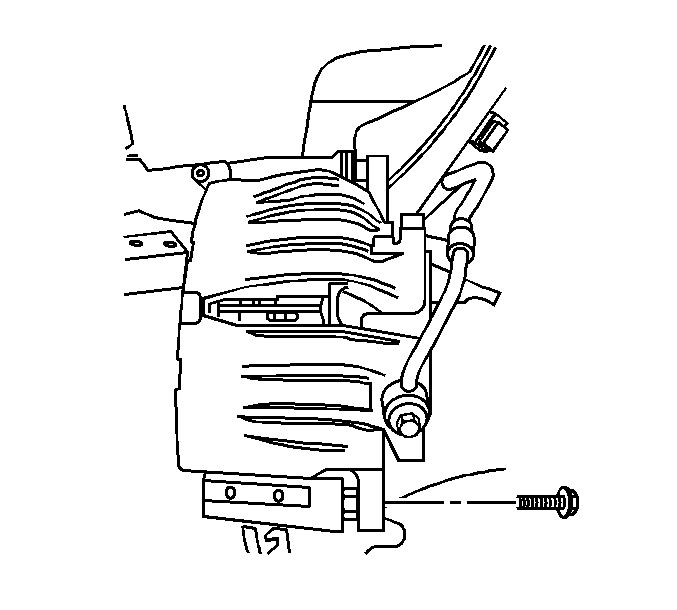
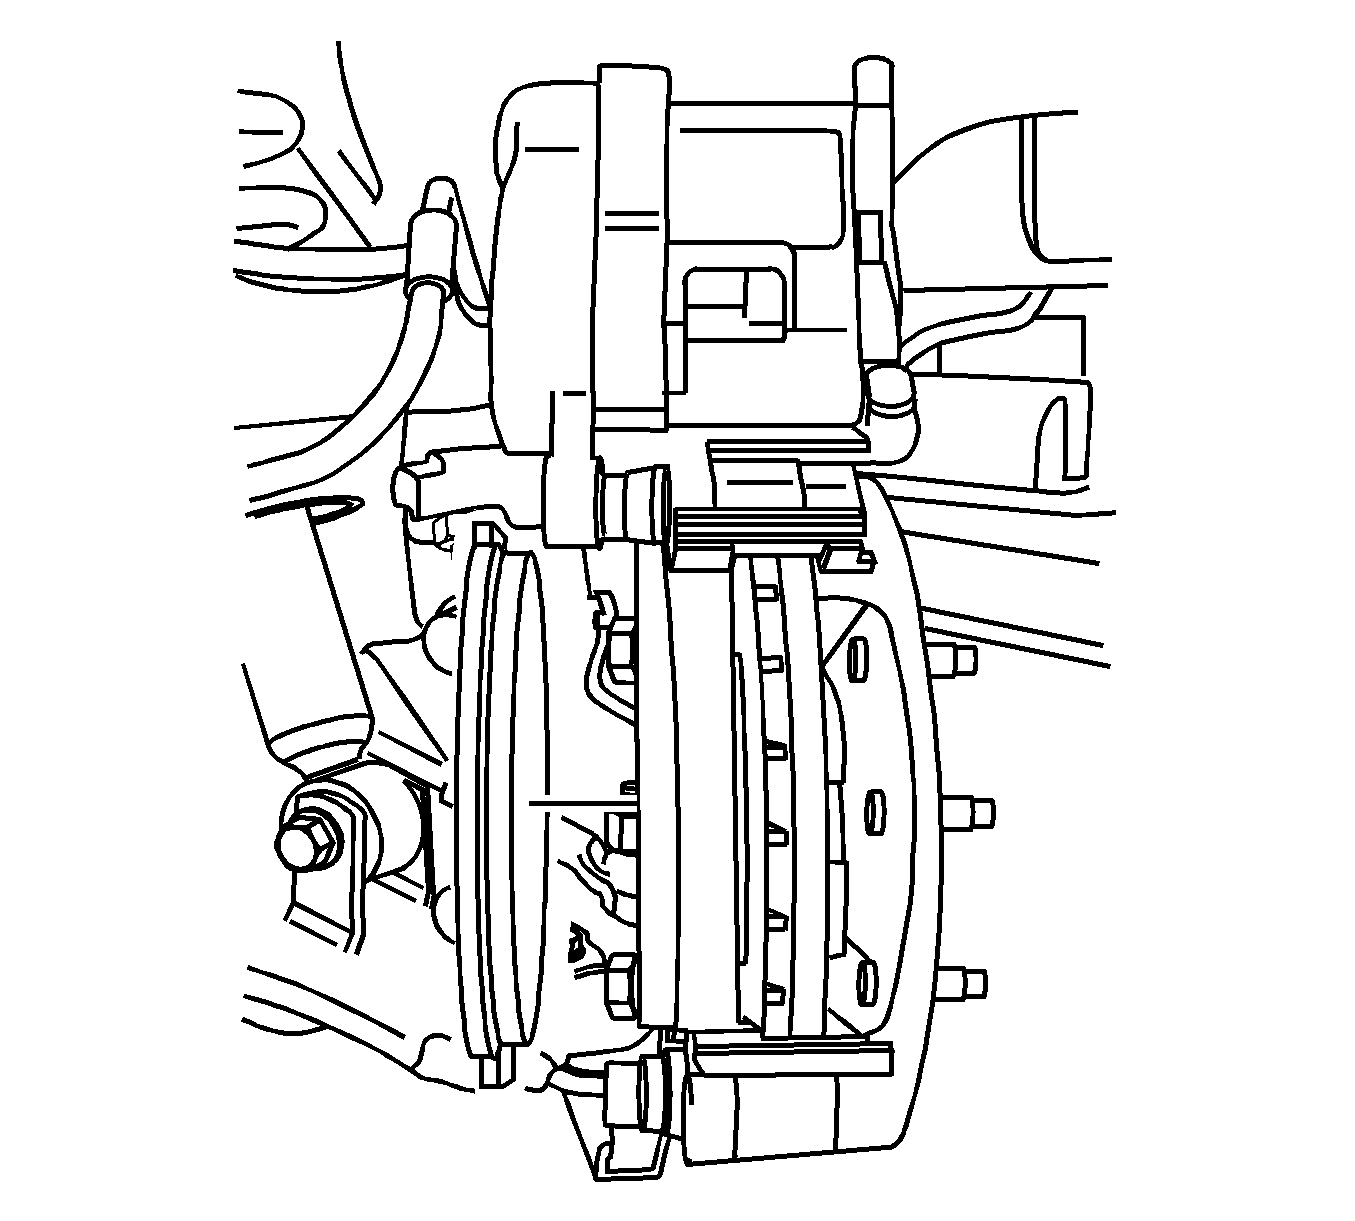
- Remove the lower brake caliper mounting bolt.
- Rotate the brake caliper upward until it stops on the brake caliper mounting bracket.
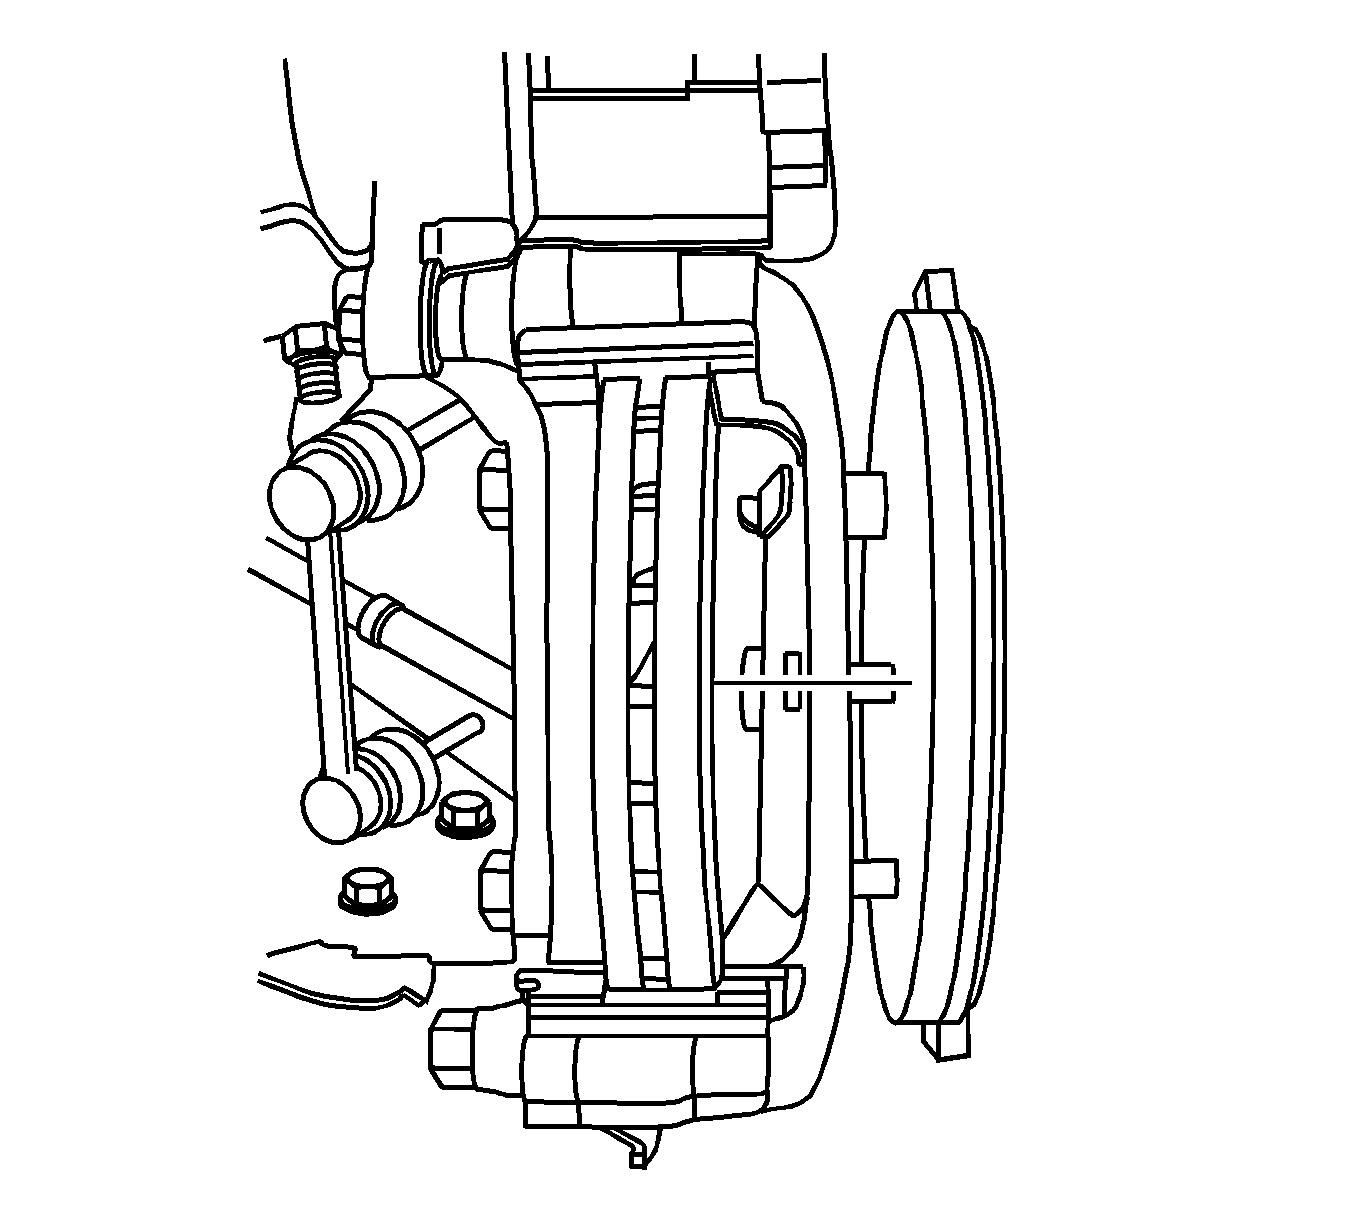
- Remove the inboard brake pad.
- Remove the outboard brake pad.
- Remove the brake pad shims from the mounting bracket and discard.
Important: It is not necessary to remove the slide pins to remove the brake pads.
Installation Procedure
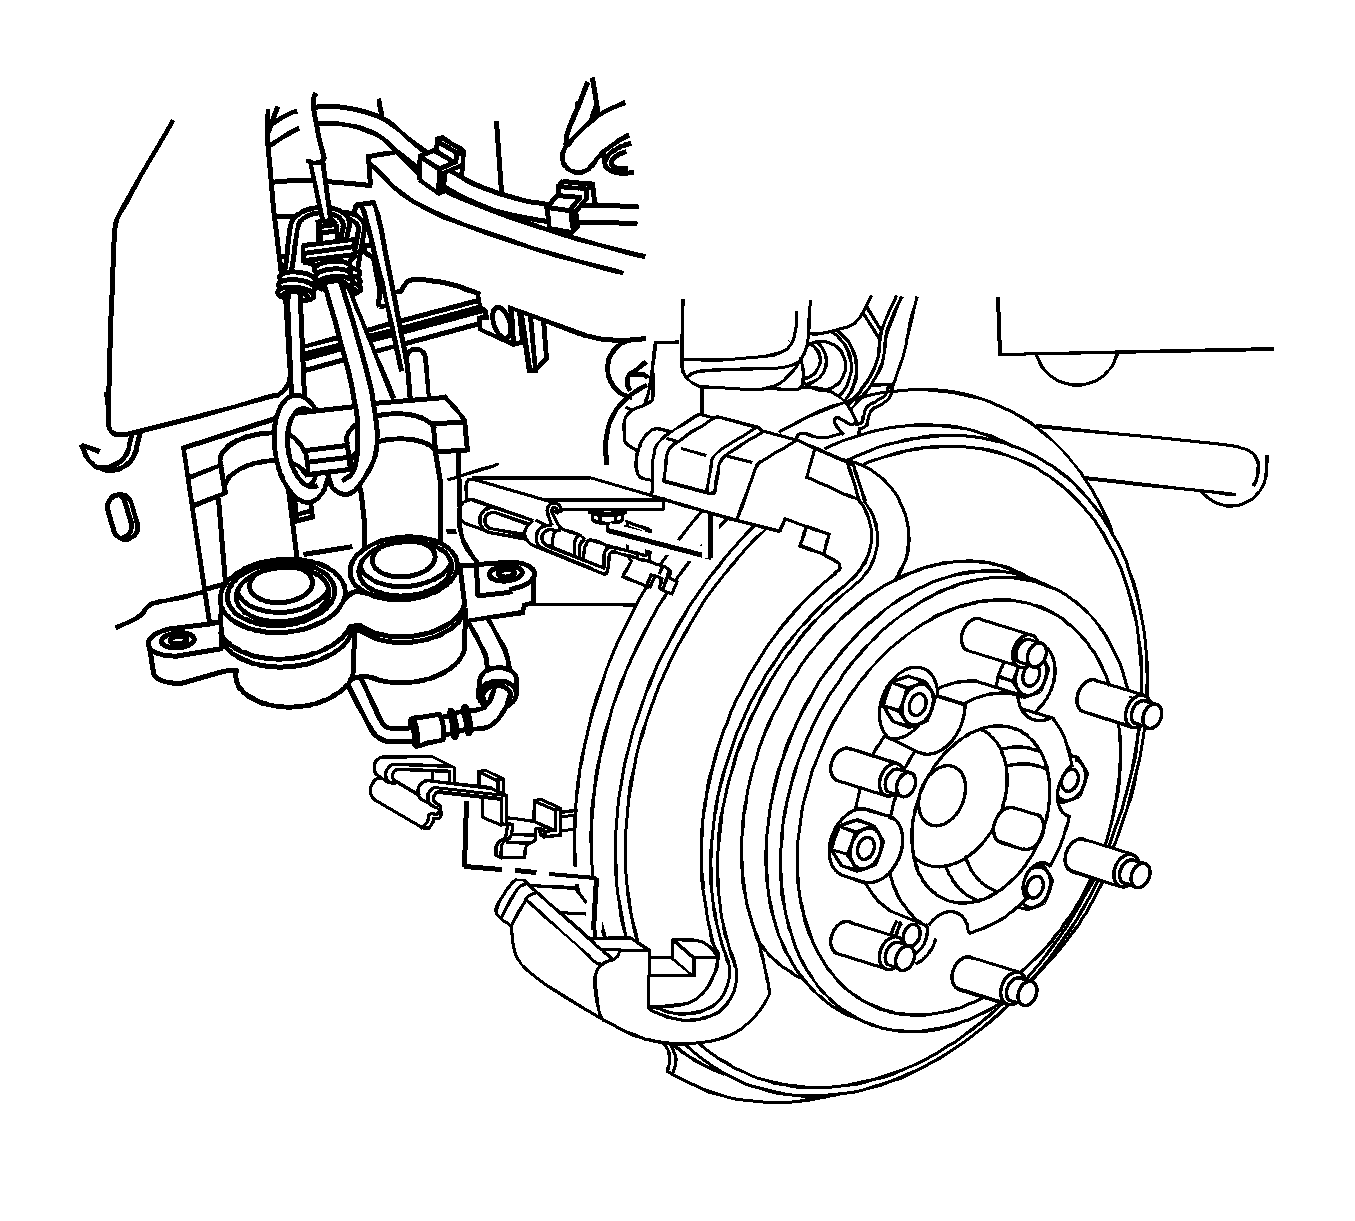
- Install the NEW brake pads retaining clips.
- Install the outboard brake pad.
- Install the inboard brake pad.
- Lower the brake caliper back into it's proper location.
- Install the lower brake caliper guide pin bolt.
- Install the tire and wheel assembly. Refer to Tire and Wheel Removal and Installation .
- Lower the vehicle.
- Add brake fluid to the master cylinder if needed, so the fluid is between the maximum and minimum level.
- Pump the brake slowly and firmly to seat the brake pads.
- Pump the brakes slowly and firmly to seat the brake pads.
- Fill the master cylinder to the required level. Refer to Master Cylinder Reservoir Filling .
- Burnish the new brake pads. Refer to Brake Pad and Rotor Burnishing .

Important: When installing the new brake pads, DO NOT reuse the old retaining clips. Use only the NEW retaining clips that come with the brake pads.


Notice: Refer to Fastener Notice in the Preface section.
Tighten
Tighten the brake caliper guide pin bolt to 40 N·m (29 lb ft).
Caution: Refer to Firm Brake Pedal Caution in the Preface section.
Important: The following service procedure may need to be repeated to obtain a firm brake pedal.
| 10.1. | With the engine OFF, gradually apply the brake pedal to approximately 2/3 of its travel distance. |
| 10.2. | Slowly release the pedal. |
| 10.3. | Wait 15 seconds, apply the pressure to check for a firm pedal. This will properly seat the brake caliper pistons and brake pads. |

