For 1990-2009 cars only
Rear Bumper Step Pad Replacement Canyon
Removal Procedure
- Remove the license plate.
- Remove the license lamp. Refer to Rear License Plate Lamp Bulb Replacement.
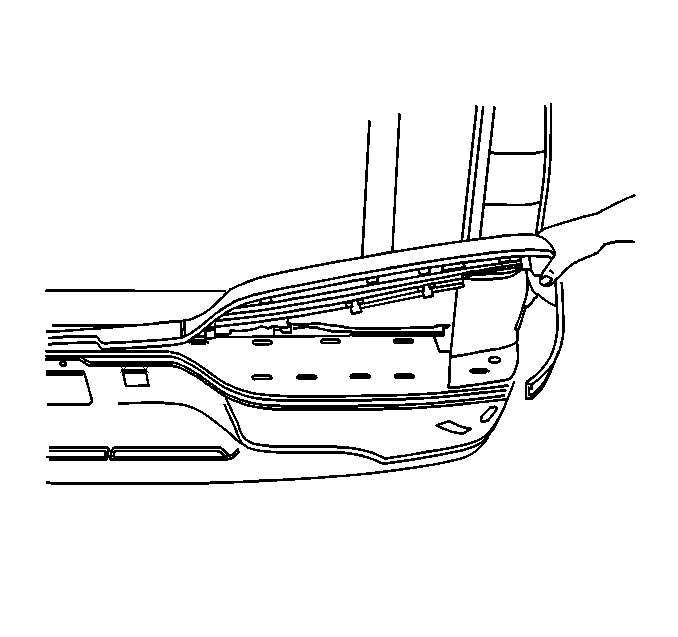
- Remove the right step pad first , insert a plastic tool at the edge of the step pad, and lift upward until fully released from the fascia.
- Remove the step pad from the fascia.
- Remove all the adhesive tape from the back of the step pad using a 3M™ Scotch Brite adhesive remover disk 3M™ P/N 07501 or equivalent.
- Clean the surface using Varnish Makers and Painters (VMP) naptha.
Installation Procedure
- Install the left step pad first
- Warm the surface with a heat gun 152 mm (6 in) from the surface to a minimum of 21°C (70°F).
- Apply one side of the adhesive strip backing to the step pad on the outer edge.
- Replace the adhesive strip tape on the left and right sides, top 13 mm (1/2in) long and 13 mm (1/2in) wide.
- Peel off the tape liner from the adhesive strip backing.
- Position the step pad to the bumper.
- Install the step pad to the fascia, ensuring that the retaining tabs are engaged.
- Hand roll the edge of the step pad in order to ensure proper adhesion.
- Install the license lamp. Refer to Rear License Plate Lamp Bulb Replacement.
- Install the license plate.
Important: Do NOT touch the adhesive backing.
