For 1990-2009 cars only
Tools Required
J 42971 Quick Disconnect Tool
Removal Procedure
- Apply the parking brake.
- Block the wheels.
- Remove the exhaust air from the lines. Refer to Draining Reservoirs .
- Remove the clips or the tubing clamps as needed.
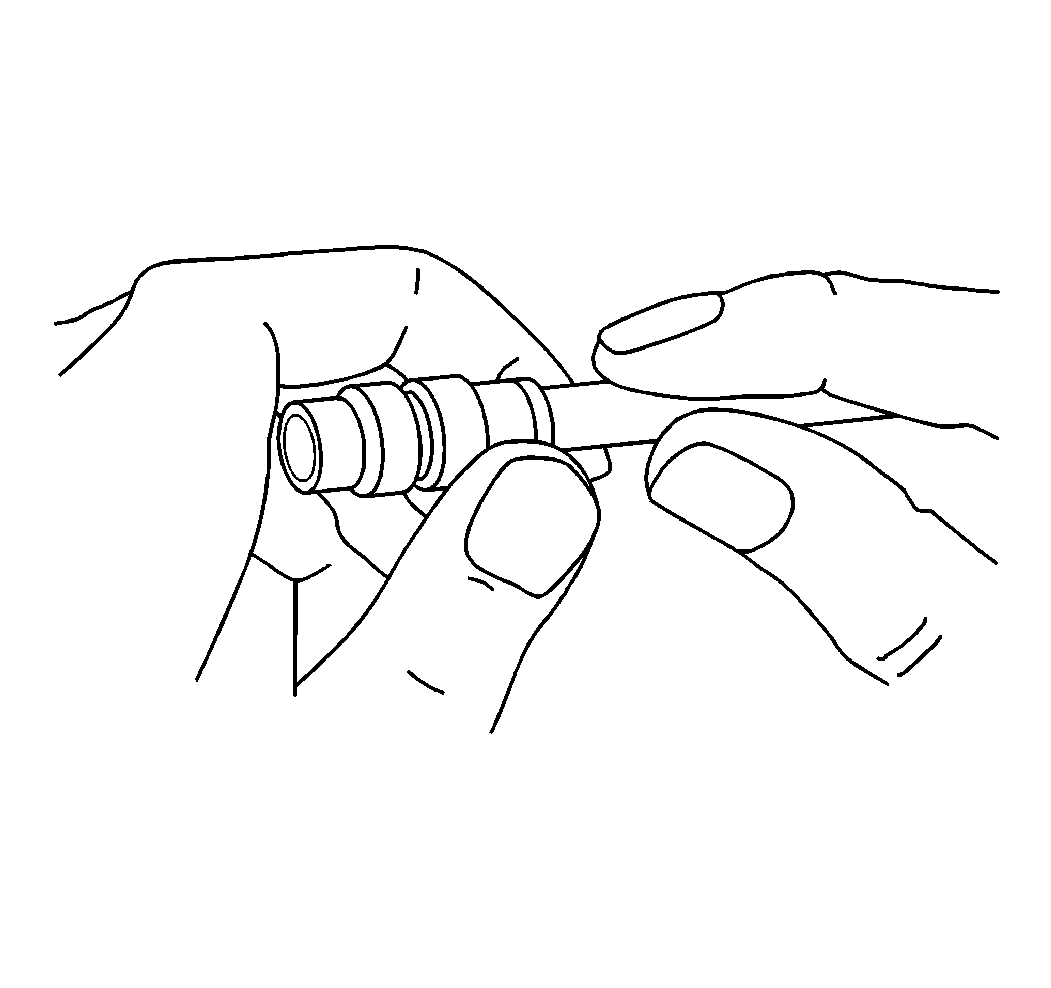
- Remove the nylon tube from the fitting using a J 42971 .
- Push the nylon tube into the fitting until the tube bottoms on the tube stop.
- Depress the collet.
- Remove the tube from the fitting while the collet is depressed.
- Inspect the fitting for nicks, burrs, and wear spots. Replace the fittings as needed.
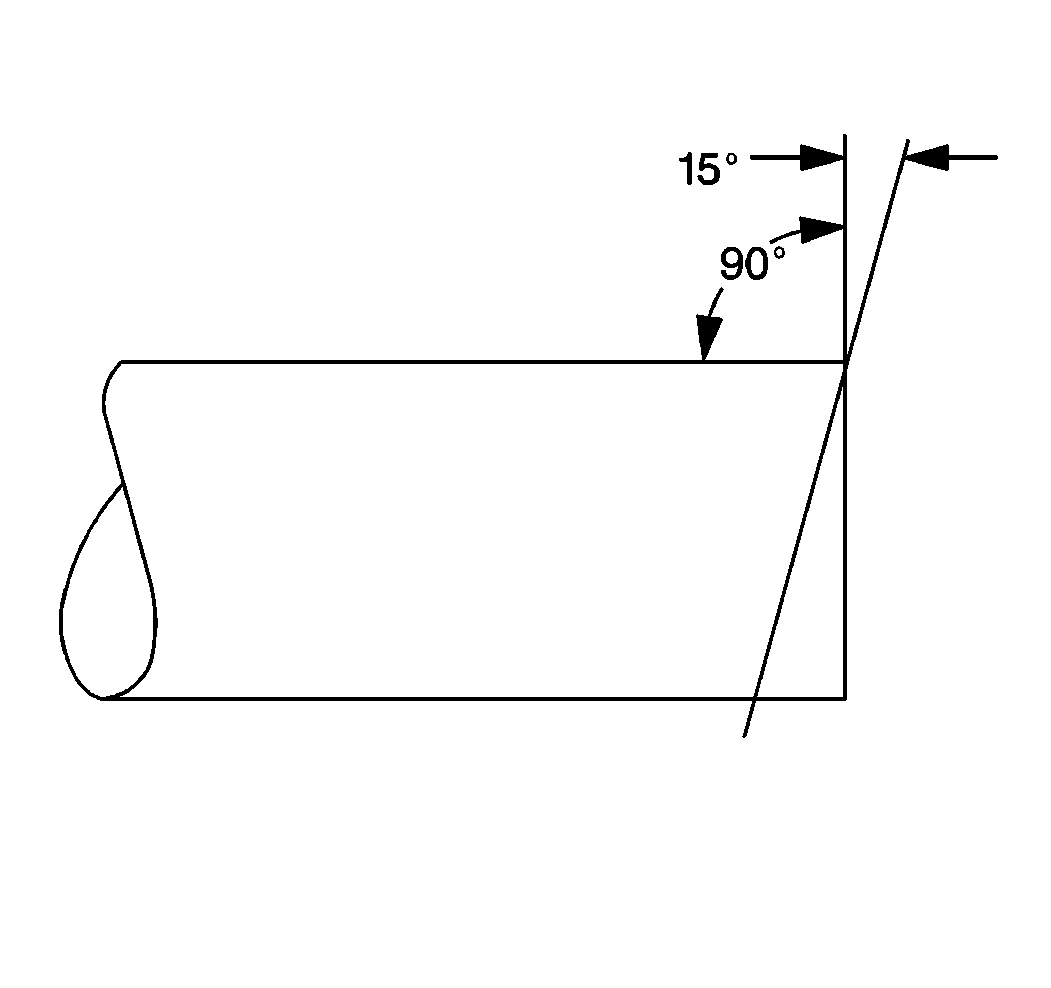
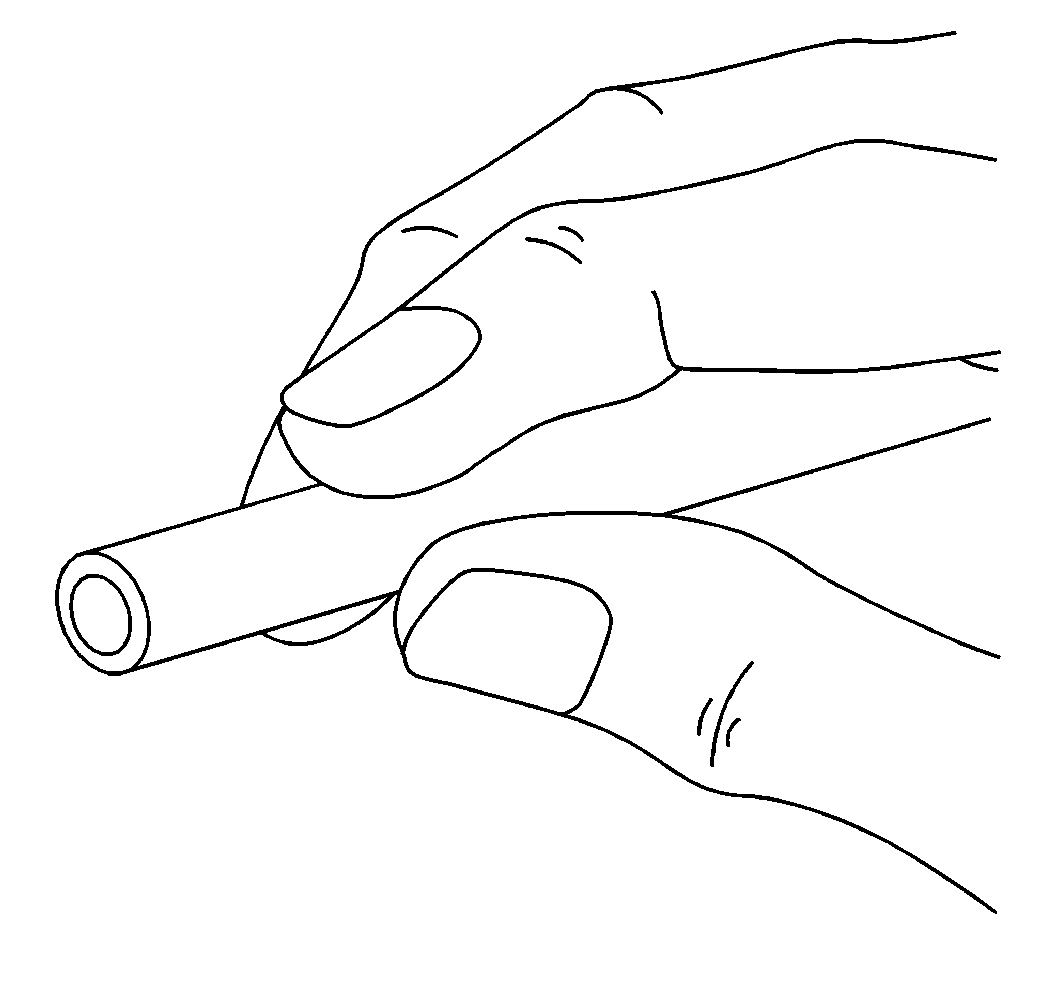
- Cut the nylon tube with a sharp tube cutter.
- Check that the nylon tube is cut square and is free of burrs.
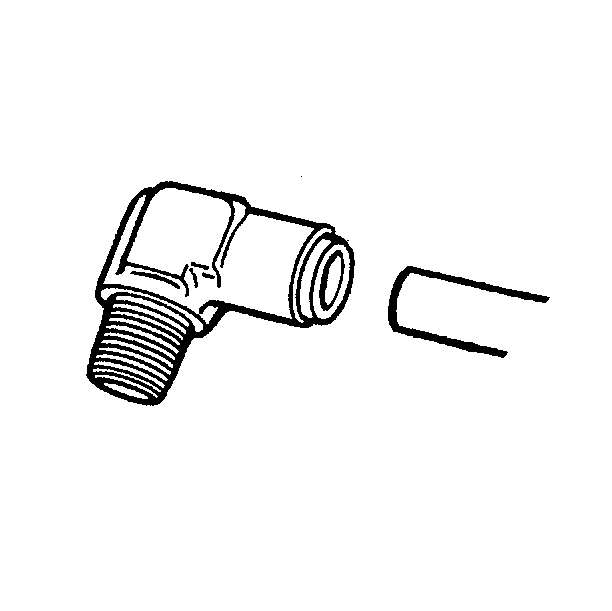
- Assemble the nylon tube into the fitting. Push the tube firmly into the fitting until the tube bottoms on the tube stop.

Important: Once removed, the nylon tube can be reinserted up to 5 times before the tube must be replaced.

Notice: Nylon air line should be used to replace existing nylon lines only. Do not route nylon air lines in areas where temperatures could exceed 93°C (200°F). Damage to the nylon lines could occur.


Notice: When replacing air lines connected to the push-in type fittings, be certain that the nylon air line is pushed-in and seated in the fitting. Install the tube into the fitting until no tube color is visible between the gauge band and the fitting. The air line may blow out if the tube is not properly seated in the fitting.
Installation Procedure
- Place the tape around the air line to bundle the air line with the other air lines.
- Start the engine.
- Charge the system air pressure to the governor cut-out point.
- Stop the engine.
- Check for leaks with a soap solution around the fittings.
- Check for the proper brake operation.
- Remove the wheel blocks.

Leakage is not permissible.
