Tools Required
Removal Procedure
Notice: If a fan blade is bent or damaged, do not repair and use the damaged
part. Replace a bent or damaged fan assembly with a new fan assembly. Using
a fan with a different diameter, pitch, number of blades, or type of blade
material may effect the cooling efficiency, performance and engine noise level.
- If a fan assembly fails, inspect the hub and the drive components. A fan assembly may fail due to an imbalance in the hub. This type of failure may not be the fault of the blades.
- Tilt the cab. Refer to
Cab Tilting
.

- Insert the
J 38426
around the pulley in order to secure the pulley.
Insert the
J 38425
onto the fan clutch nut.
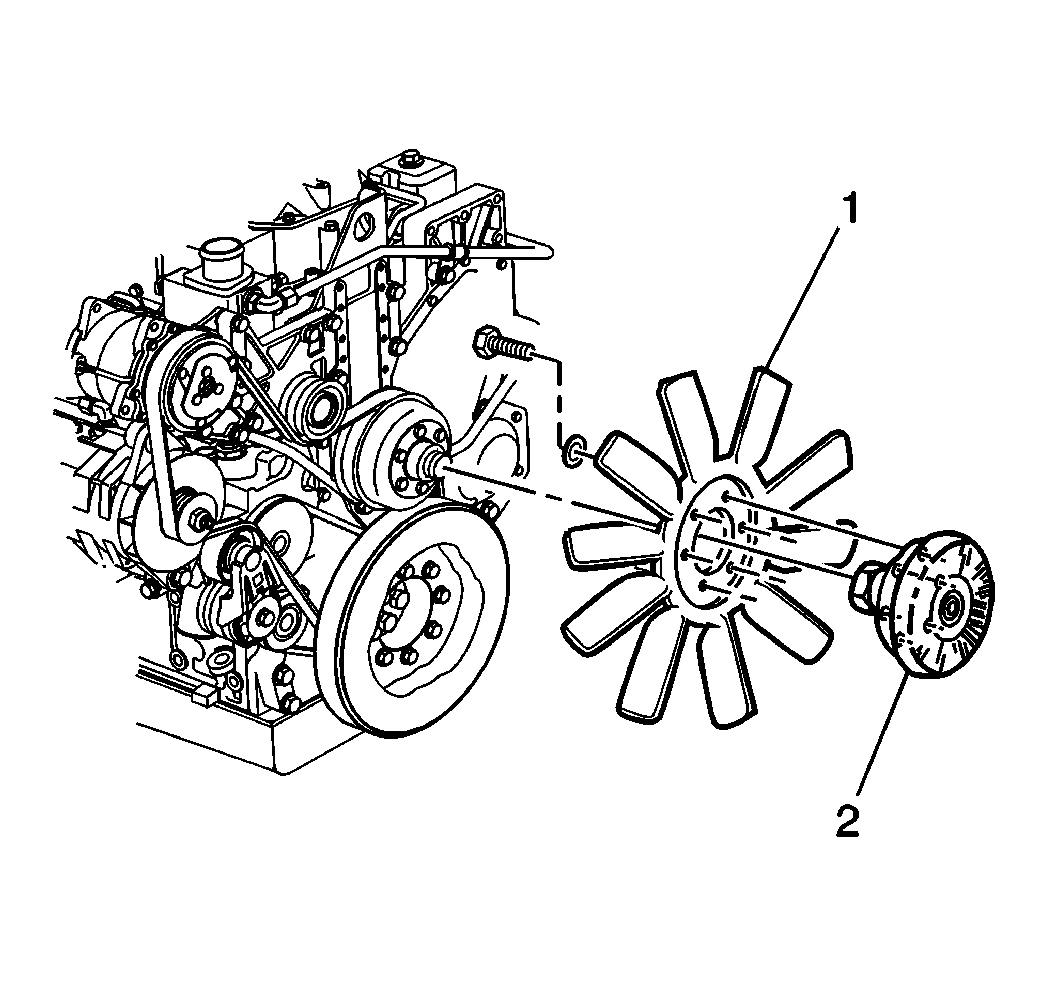
- Remove the following components:
- Inspect the following components for cracks, distortion, or other damage:
- Replace the components, as necessary.
Installation Procedure
Notice: Use the correct fastener in the correct location. Replacement fasteners
must be the correct part number for that application. Fasteners requiring
replacement or fasteners requiring the use of thread locking compound or sealant
are identified in the service procedure. Do not use paints, lubricants, or
corrosion inhibitors on fasteners or fastener joint surfaces unless specified.
These coatings affect fastener torque and joint clamping force and may damage
the fastener. Use the correct tightening sequence and specifications when
installing fasteners in order to avoid damage to parts and systems.

- Install the following components:
Tighten
Tighten the fan clutch nut to 145 N·m (107 lb ft).
- Lower the cab. Refer to
Cab Tilting
.


