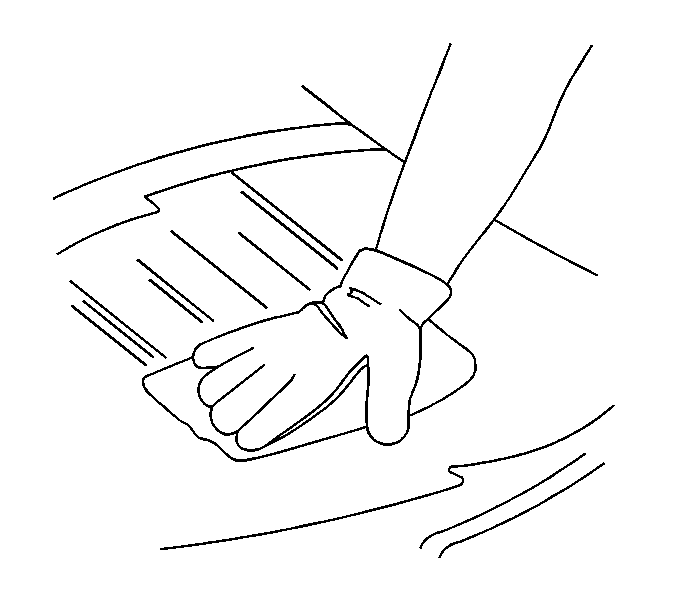
Removal Procedure
- Open the hood.
- Remove the windshield wiper arms. Refer to Windshield Wiper Arm Replacement .
- Cover to protect the following parts from broken glass:
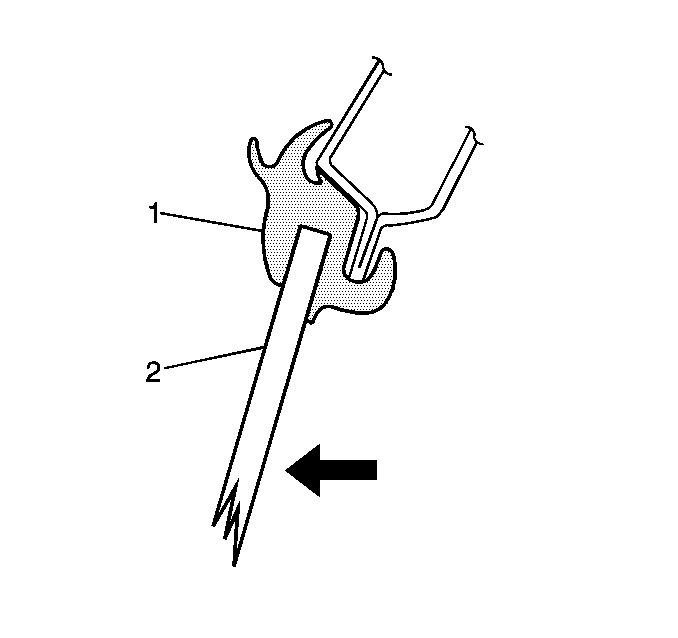
- Cut the weatherstrip (1) using a utility knife.
- With the aid of an assistant push the windshield out from the inside of the vehicle.
- Remove the weatherstrip from the body.
Important: Before cutting out a stationary window, apply a double layer of masking tape around the perimeter of the painted surfaces and the interior trim.
Caution: When working with any type of glass or sheet metal with exposed or rough edges, wear approved safety glasses and gloves in order to reduce the chance of personal injury.
Caution: If broken glass falls into the defroster outlets, it can be blown into the passenger compartment and cause personal injury.
| • | The upper dash pad |
| • | The defroster outlets and A/C outlets |
| • | The seats and carpeting |
Installation Procedure
- Install the new weatherstrip to the windshield.
- Insert a string, approximately 5-6 mm (0.2 in) diameter, between the lips of the weatherstrip.
- After installing the string around one full turn, leave the string crossed at the bottom center of the windshield approximately 400 mm (15.7 in).
- Apply a consistent bead of urethane adhesive completely around the windshield in between the lips of the weatherstrip.
- Apply a consistent bead of urethane adhesive (1) across a top of the weatherstrip where the weatherstrip contacts the sheet metal.
- Align the center of the windshield with the body and hold the windshield from the outside.
- With the aid of an assistant, pull the string from the inside toward the center of the windshield.
- Use a soft spray of warm water in order to immediately water test the windshield window.
- Inspect the windshield for leaks.
- If any leaks are found, use a plastic paddle in order to apply extra urethane adhesive at the leak point.
- Retest the windshield for leaks.
- The following conditions must be maintained to properly cure the urethane adhesive:
- Clean any excess urethane adhesive from the body.
- Install the windshield wiper arms. Refer to Windshield Wiper Arm Replacement .
- Remove the double layer of masking tape around the perimeter of the painted surfaces and the interior trim.
- Close the hood.
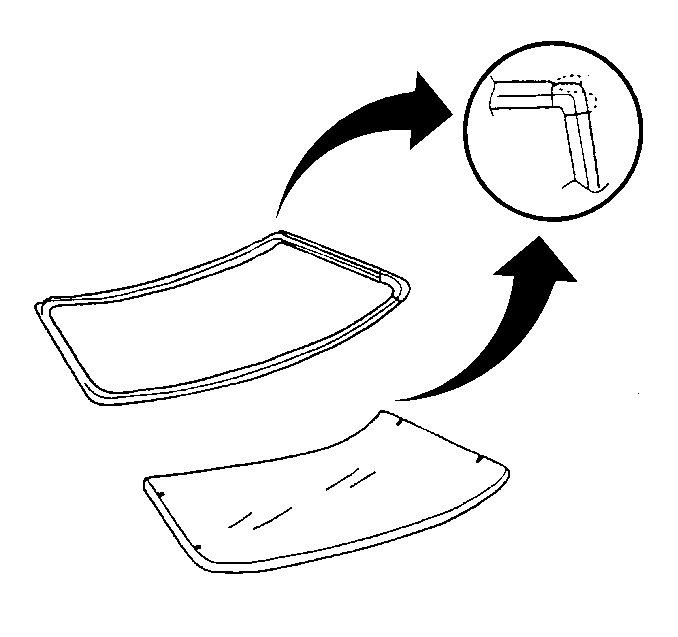
Important: When the weatherstrip and windshield are assembled together, keep the weatherstrip parallel with the windshield.
Caution: Insufficient curing of urethane adhesive may allow unrestrained occupants
to be ejected from the vehicle resulting in personal injury.
• For the moisture-curing type of urethane adhesive, allow a minimum
of 6 hours at 21°C (70°F) or greater and with at least 30 percent
relative humidity. Allow at least 24 hours for the complete curing
of the urethane adhesive. • For the chemical-curing type of urethane adhesive, allow a minimum
of 1 hour .
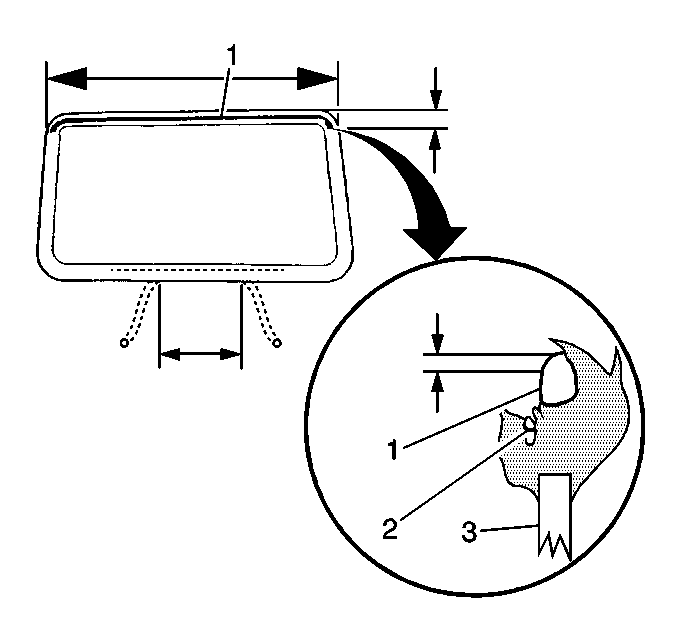
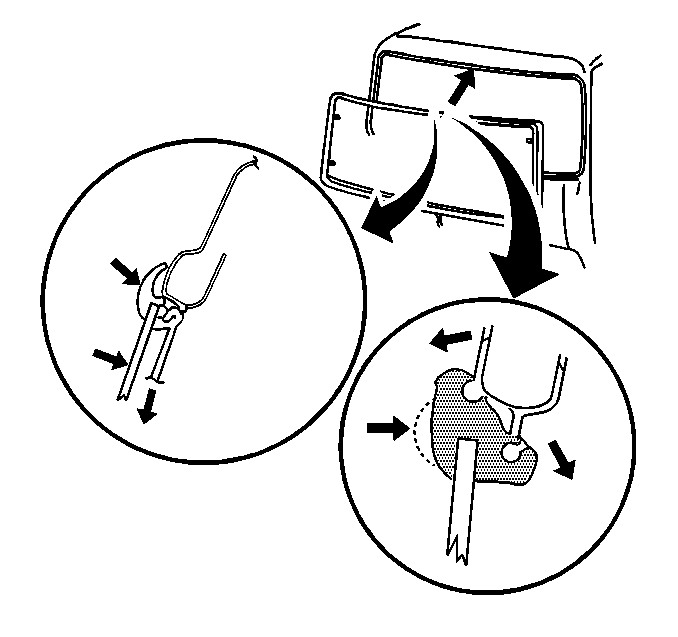
Important: If the weatherstrip swells in one area, tap lightly with a rubber mallet in order to distribute the weatherstrip evenly.
Fit the lips gradually into the body flange, in order to keep the windshield from shifting from side to side.
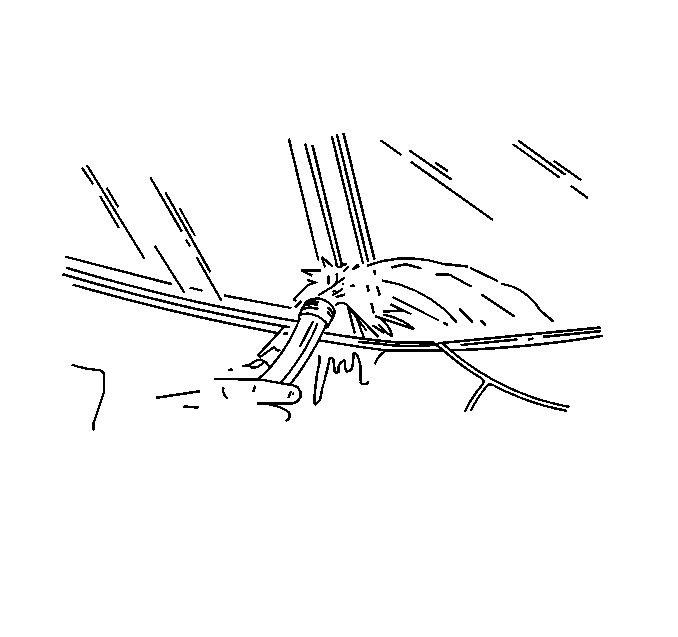
Important: Do not direct a hard stream of high pressure water to the freshly applied urethane adhesive.
| • | Partially lower a door window in order to prevent pressure buildups when closing doors before the urethane adhesive cures. |
| • | Do not drive the vehicle until the urethane adhesive is cured. Refer to the above curing times. |
| • | Do not use compressed air in order to dry the urethane adhesive. |
