For 1990-2009 cars only
Removal Procedure
- Recover the refrigerant. Refer to Refrigerant Recovery and Recharging .
- Remove the evaporator temperature sensor from the vehicle. Refer to Evaporator Temperature Sensor Replacement .
- Remove the lower air duct.
- Remove the blower motor. Refer to Blower Motor Replacement .
- Remove the right side module bolts.
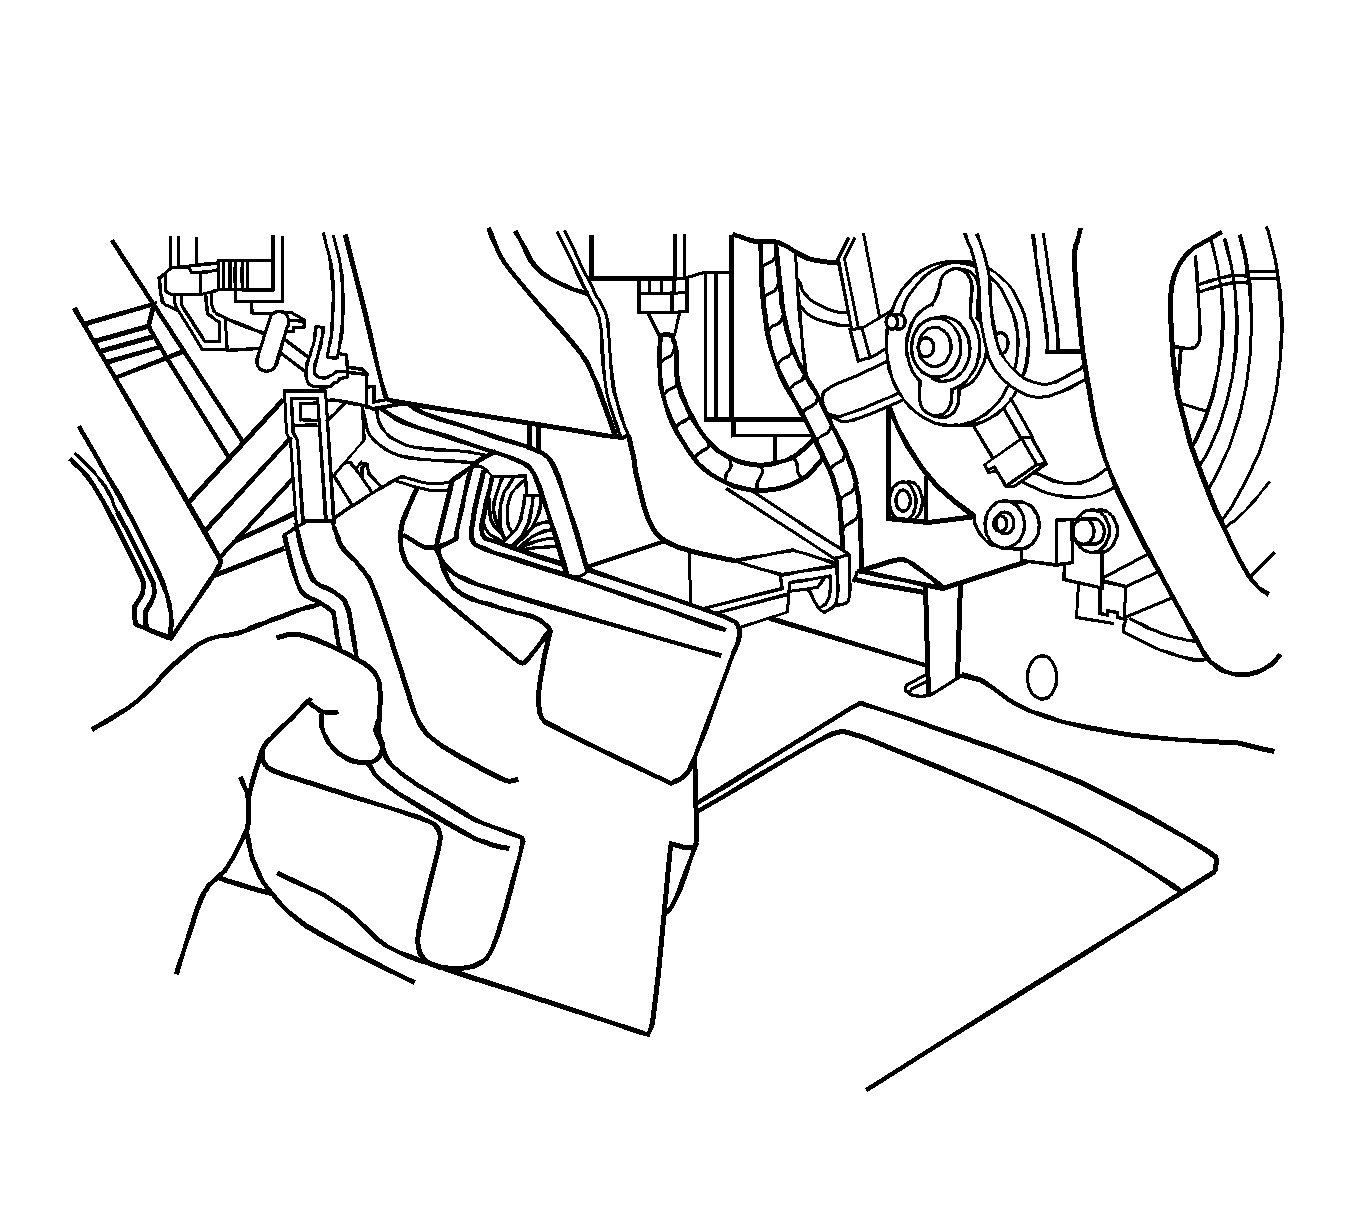
- Remove the right half of the module from the vehicle.
- Remove the recirculation actuator. Refer to Recirculation Actuator Replacement .
- Remove the evaporator cover from the blower module case.
- Separate the blower module case.
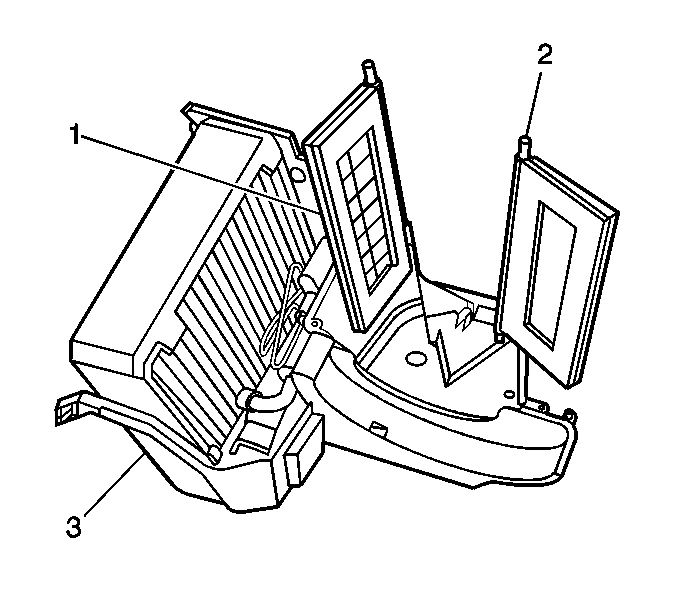
- Remove the recirculation doors (1, 2).


Installation Procedure
- Install the recirculation doors (1, 2).
- Assemble the blower module case.
- Install the evaporator cover to the blower module case.
- Install the recirculation actuator. Refer to Recirculation Actuator Replacement .
- Install the blower housing screws.
- Install the right heater module to the vehicle.
- Install the right module bolts.
- Install the blower motor. Refer to Blower Motor Replacement .
- Install the lower air duct.
- Install the evaporator temperature sensor into the vehicle. Refer to Evaporator Temperature Sensor Replacement .
- Evacuate and recharge the A/C system. Refer to Refrigerant Recovery and Recharging .
- Leak test the fitting of the repaired or reinstalled component using the J 39400-A .

Notice: Refer to Fastener Notice in the Preface section.
Tighten
Tighten the screws to 2 N·m (18 lb in).
Tighten
Tighten the bolts to 6 N·m (53 lb in).

