For 1990-2009 cars only
Special Tools
J 22888-D Side Bearing Remover Kit
Removal Procedure
- Tilt the cab. Refer to Cab Tilting .
- Disconnect the negative battery cable. Refer to Battery Negative Cable Disconnection and Connection .
- Remove the glow plugs. Refer to Glow Plug Replacement .
- Remove the valve rocker arm cover. Refer to Valve Rocker Arm Cover Replacement .
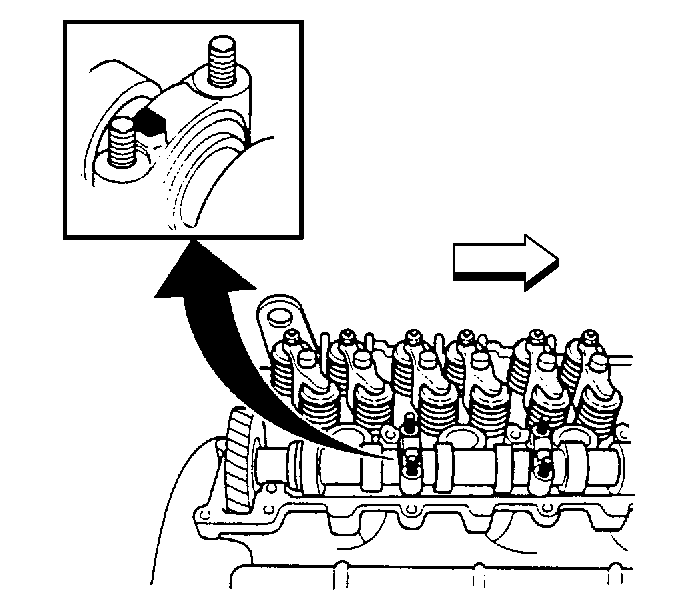
- Rotate the engine to top dead center and align the timing marks on the camshaft.
- Remove the fuel injector harness assembly.
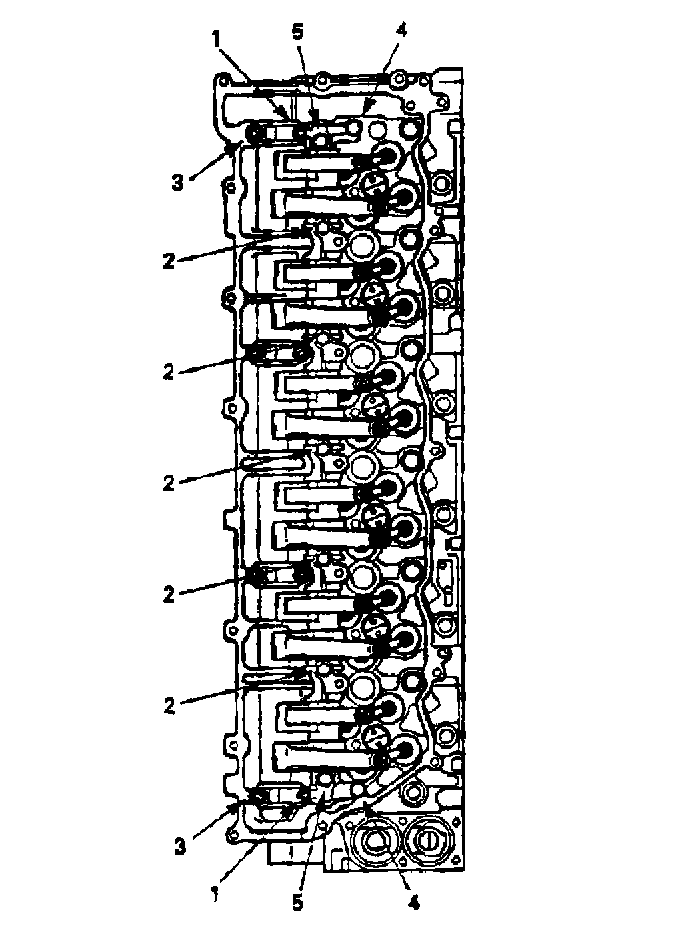
- Remove the valve rocker arm shaft assembly.
- Loosen the camshaft main bearing caps evenly starting from the outer nut moving to the inner nut.
- Remove the camshaft assembly with the gear.
- Using the J 22888-D on the gear, remove the camshaft gear.
- Measure the lobes and bearing surfaces of the camshaft for excessive wear.
Important: Do not remove the rocker arm shaft bracket bolts from the valve rocker arm shaft assembly.

Important: If the camshaft and the gear are to be reused, inspect the camshaft for excessive wear and the camshaft gear for chipped or broken teeth.
Installation Procedure
- Install the camshaft gear bolt and gear to the camshaft.
- Install the camshaft, bearing caps and bolts to the cylinder head.
- Install the valve rocker arm shaft assembly.
- Install the valve rocker arm cover. Refer to Valve Rocker Arm Cover Replacement .
- Install the fuel injector harness assembly.
- Install the glow plugs. Refer to Glow Plug Replacement .
- Connect the negative battery cable. Refer to Battery Negative Cable Disconnection and Connection .
- Lower the cab.
Notice: Refer to Fastener Notice in the Preface section.

Tighten
Tighten the camshaft gear bolt to 142N·m (105 lb ft).

Tighten
Tighten the camshaft bearing cap bolts to 27 N·m (20 lb ft).
