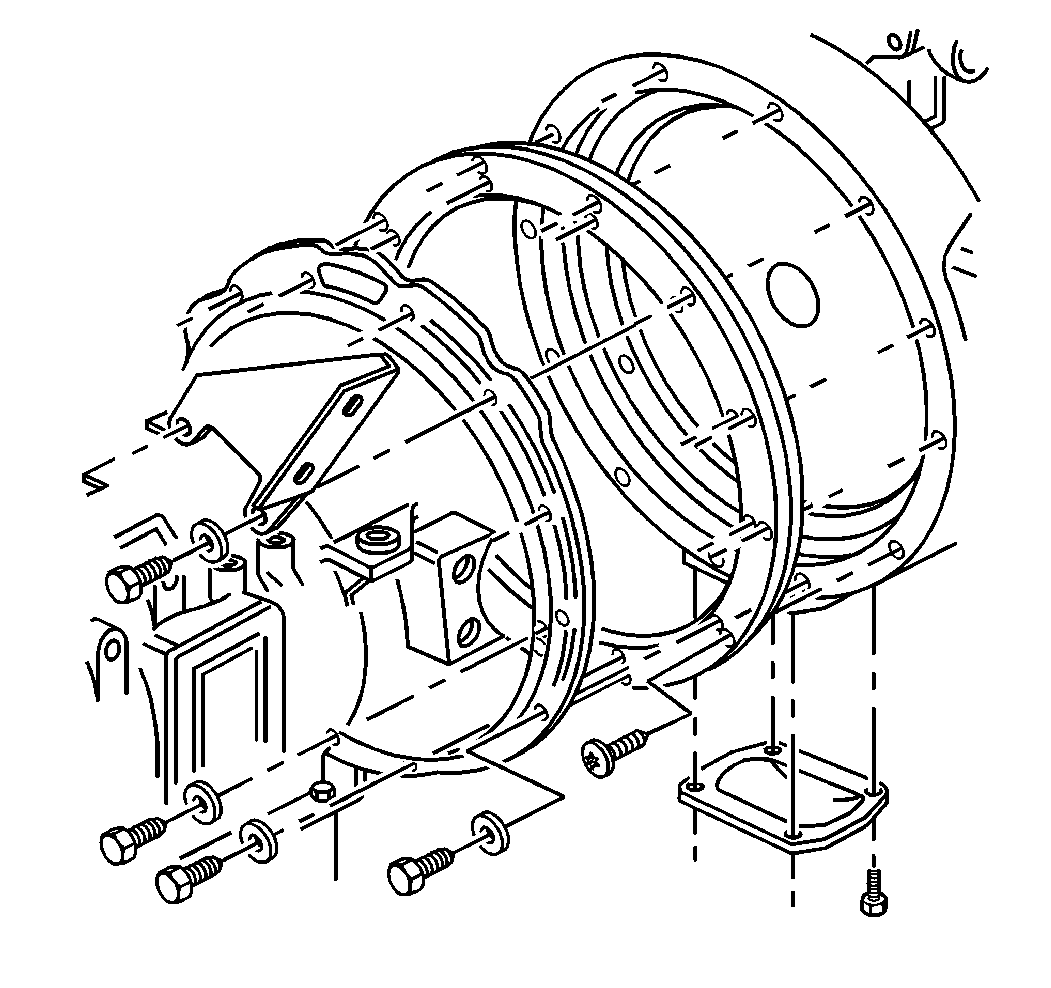
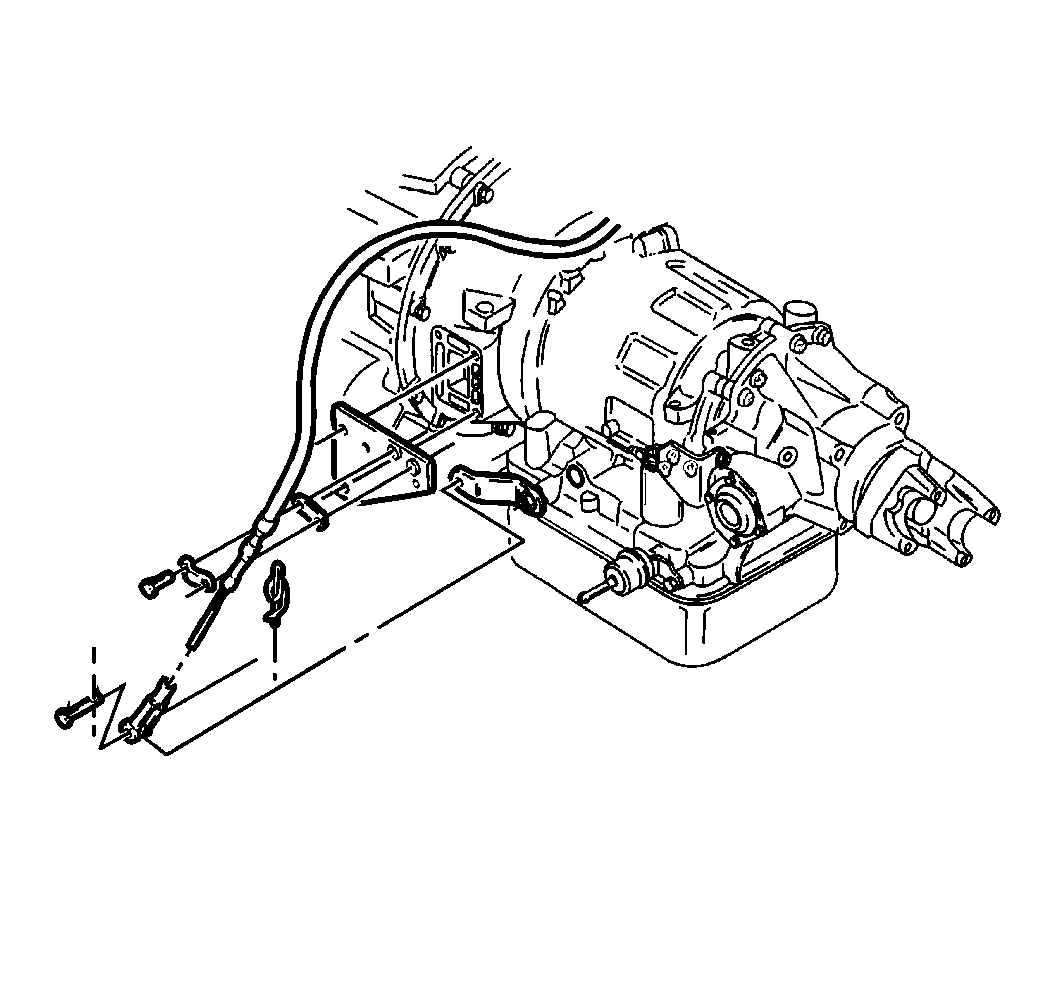
Removal Procedure
- Block the wheels.
- Disconnect the negative battery cable. Refer to Battery Negative Cable Disconnection and Connection .
- Drain the transmission oil. Refer to Automatic Transmission Fluid and Filter Replacement .
- Remove the transmission oil level indicator and the oil level indicator tube. Refer to Transmission Fluid Filler Tube and Seal Replacement .
- Remove the starter motor. Refer to Starter Motor Replacement .
- Remove the exhaust clamp at the exhaust hanger bracket.
- If equipped, remove the exhaust brake hose P-clamp bolt and the P-clamp.
- Disconnect the oil cooler lines from the transmission. Refer to Oil Cooler Hose/Pipe Replacement .
- If equipped, disconnect the shift cable from the transmission. Refer to Shift Cable Replacement .
- If equipped with an MD transmission, disconnect the speed sensor connector from the speed sensor.
- Disconnect the wiring harness and the connectors from the transmission.
- If equipped with an MD transmission, disconnect the transmission harness at the connector plug.
- Remove the propeller shaft. Refer to the necessary procedure:
- If equipped, disconnect the parking brake cable. Refer to Park Brake Cable Replacement .
- If equipped, remove the flywheel housing access cover.
- Turn the flex plate using a pry bar in order to align the torque convertor bolts with the access hole.
- Remove the torque convertor bolts.
- If required, raise the vehicle. Refer to Lifting and Jacking the Vehicle .
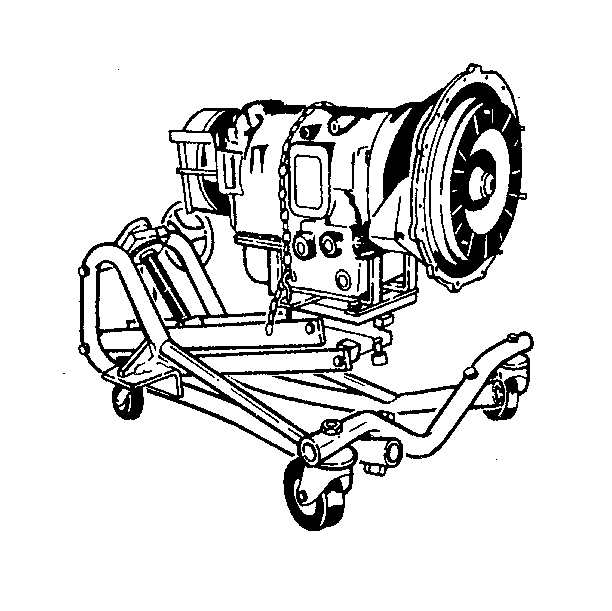
- Support the transmission with a transmission dolly that can support a load of at least 349 kg (750 lb).
- Position the dolly in order to ensure the transmission oil pan does not support the weight of the transmission.
- Fasten a safety chain over the top of the transmission. Fasten the chain on both sides of the dolly.
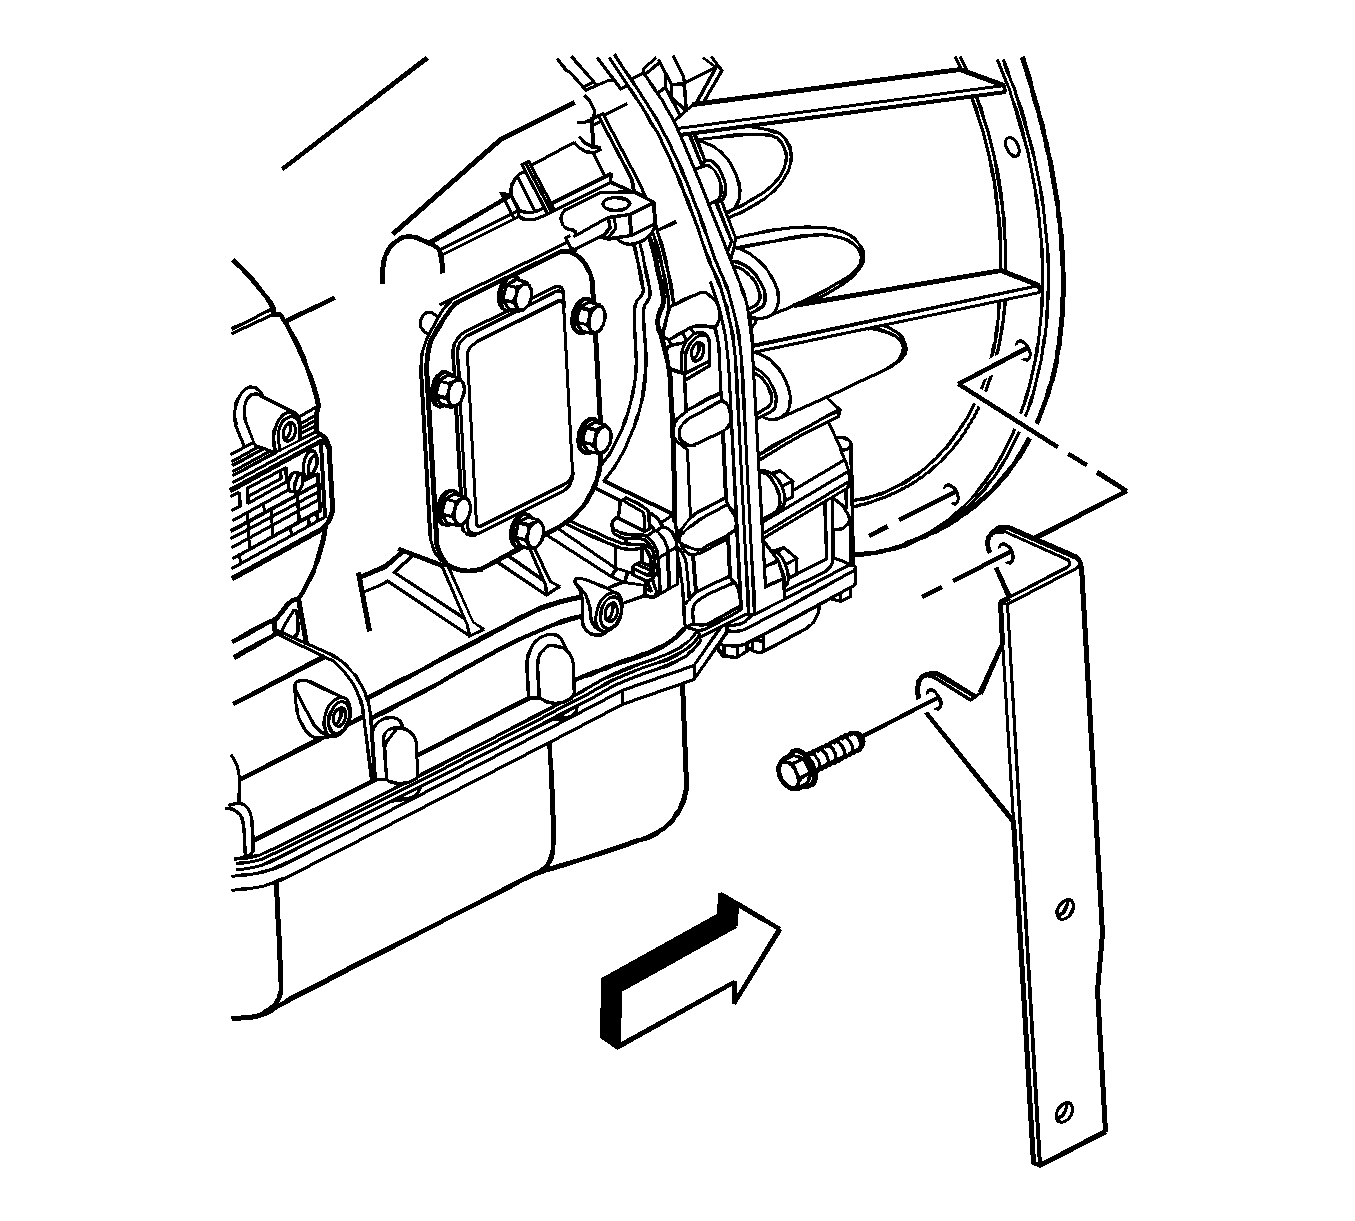
- Remove the bolts securing the transmission to the engine and the exhaust hanger bracket, if equipped.
- Pull the transmission straight back and then lower the transmission.
- Remove the transmission from the vehicle.
Important: The following transmission replacement procedure serves as a guide. In order to provide enough clearance for removal of the transmission, removal of other components may be necessary on some vehicles. Information on the removal of other components are not included in this transmission replacement procedure.
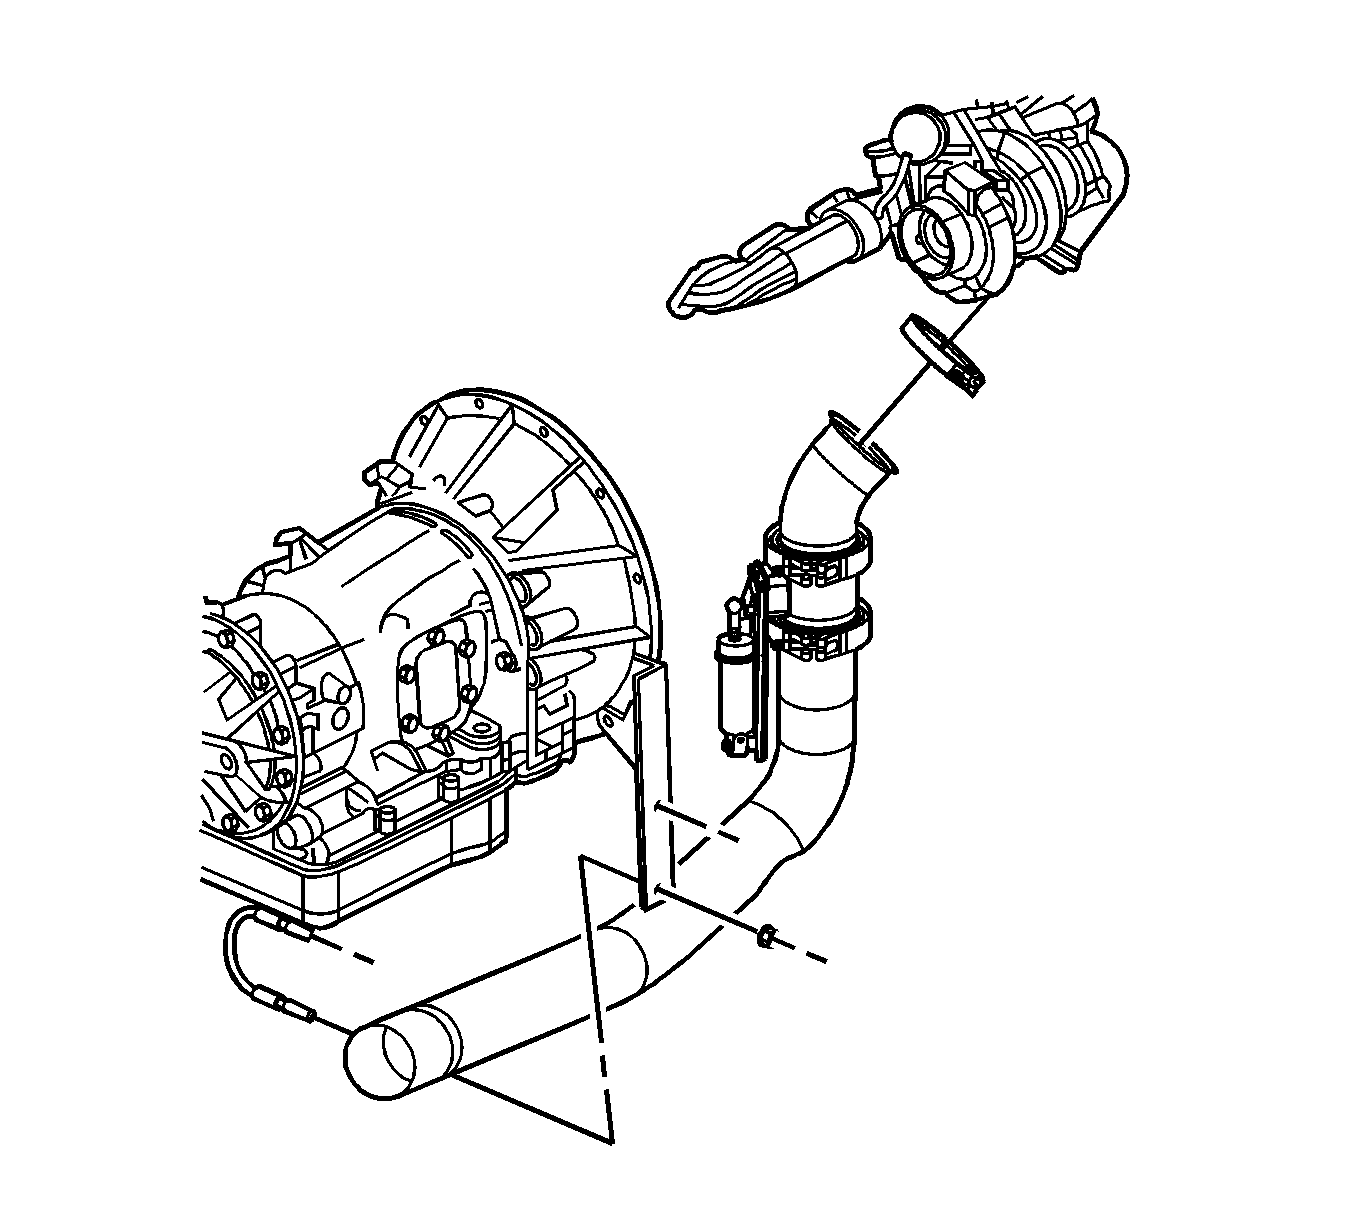
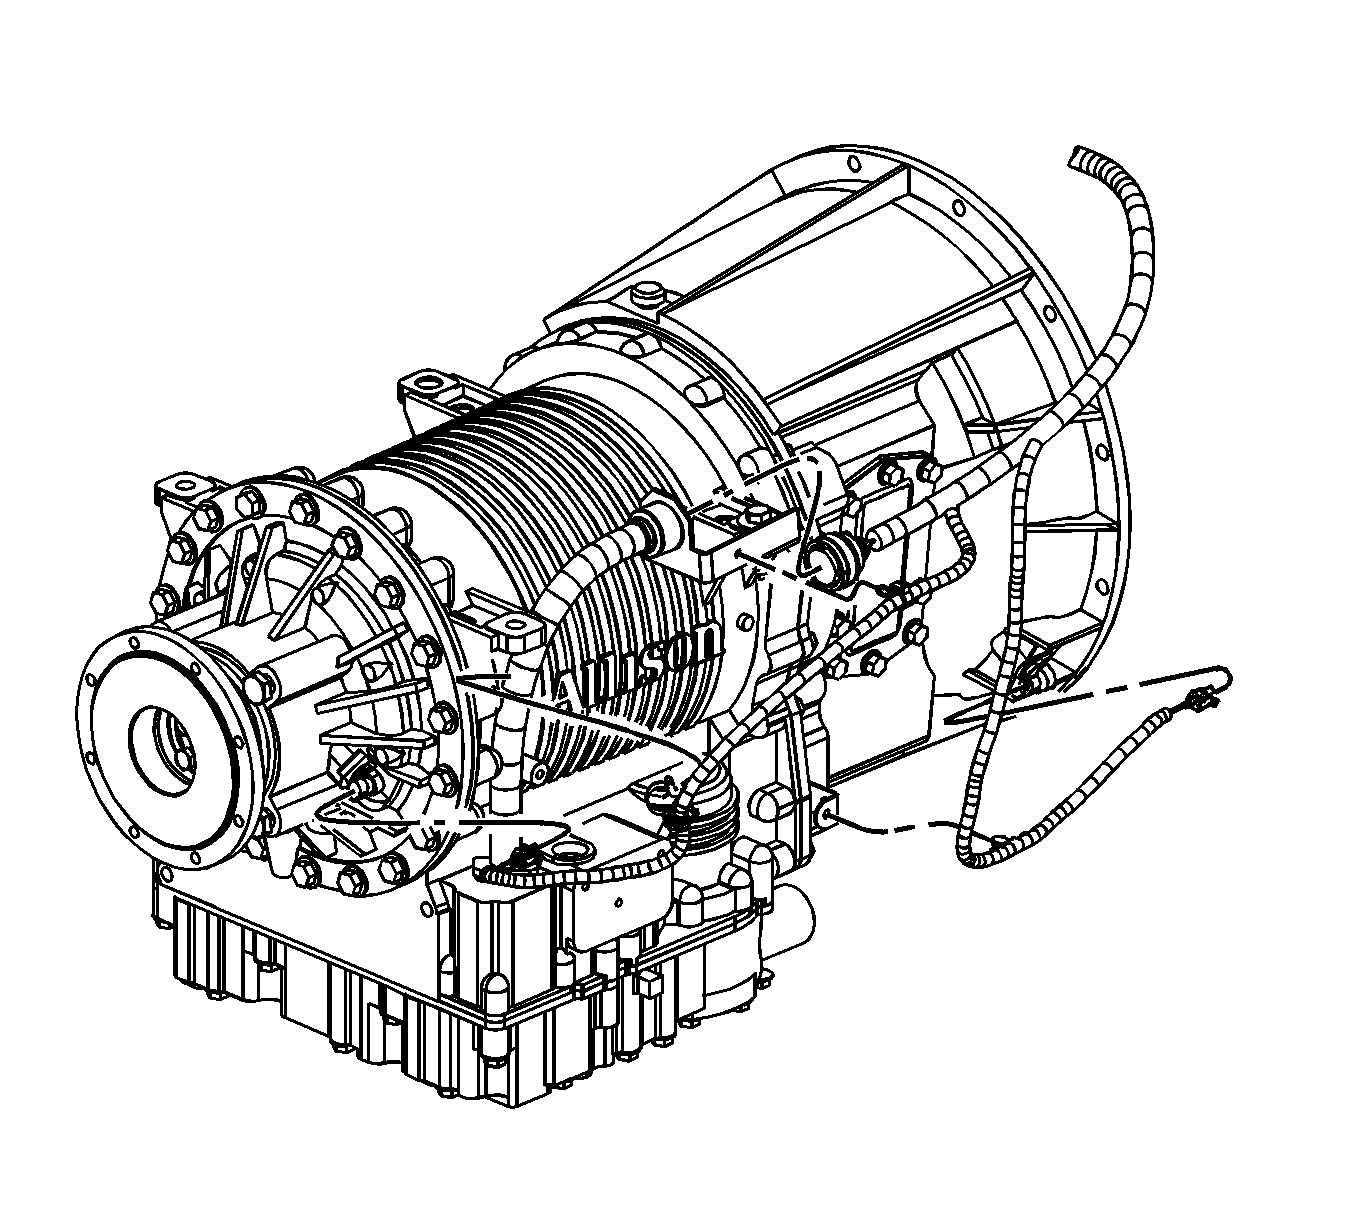
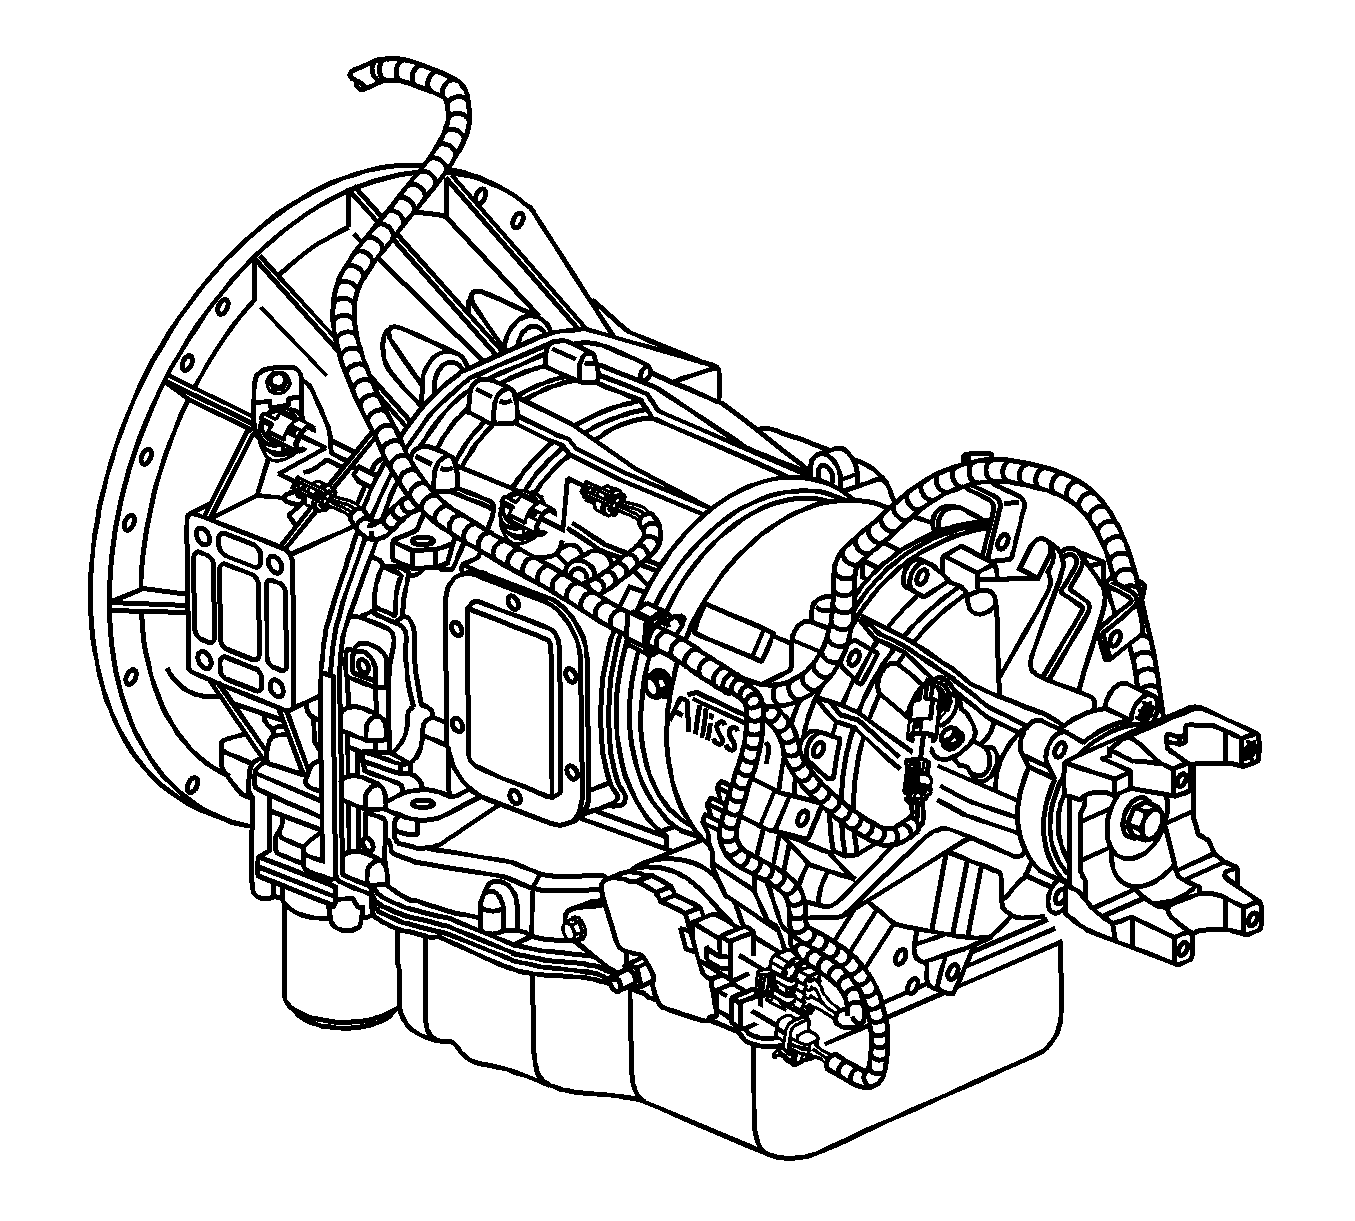

NOTICE: Carefully inspect the transmission and the surrounding areas to be sure no lines, hoses or wires will interfere with the transmission removal. In order to avoid damage to the transmission or the torque converter, support the transmission with a dolly jack. Do not let the torque converter fall.
Installation Procedure
- Use a transmission dolly that can support a load of at least 349 kg (750 lb) to lift the transmission into place.
- Install the transmission to engine bolts and, if equipped, the exhaust hanger bracket.
- Install the exhaust clamp.
- Turn the engine flex plate using a pry bar in order to install the torque converter to flywheel bolts.
- Install the torque converter to flywheel bolts.
- Install the starter motor. Refer to Starter Motor Replacement .
- If equipped, install the flywheel housing access cover.
- If equipped, install the transmission rear support beam.
- If equipped, connect the parking brake cable. Refer to Park Brake Cable Replacement .
- Connect the oil cooler lines to the transmission. Refer to Oil Cooler Hose/Pipe Replacement .
- Install the oil level indicator tube. Refer to Transmission Fluid Filler Tube and Seal Replacement .
- Install the propeller shaft to the transmission. Refer to the necessary procedure:
- If equipped with an MD transmission, connect the speed sensor connector.
- If equipped with an MD transmission, connect the transmission harness plug connector.
- Connect all transmission harness connectors and secure the harnesses to the transmission.
- If equipped, install the exhaust brake P-clamp on the exhaust brake hose and to the bracket with the exhaust hose P-clamp bolt.
- If equipped, connect the shift cable to the transmission. Refer to Shift Cable Replacement .
- Connect any additional lines, hose, or wires, as required.
- Fill the transmission with oil. Refer to Automatic Transmission Fluid and Filter Replacement .
- Connect the negative battery cable. Refer to Battery Negative Cable Disconnection and Connection .
- Inspect the transmission oil level. Refer to Fluid Capacity Specifications .
- Remove the wheel blocks.

NOTICE: Carefully inspect the transmission and the surrounding area to be sure no lines, hoses or wires will interfere with the transmission installation. When raising and moving the transmission, do not let the torque converter slip off the shaft. The transmission or torque converter can be damaged.
| 1.1. | Move the transmission forward. |
| 1.2. | Align the torque converter with the pilot hole in the engine flex plate. |
| 1.3. | Secure the transmission to the engine. |
Notice: Refer to Fastener Notice in the Preface section.

Tighten
Tighten the transmission to engine bolts to 55 N·m (41 lb ft).

Tighten
Tighten the torque converter to flywheel bolts to 67 N·m (49 lb ft).
