Tools Required
| • | J 36221 Hydraulic Clutch Line Separator |
| • | J 42371 Hydraulic Clutch Line Separator |
Removal Procedure
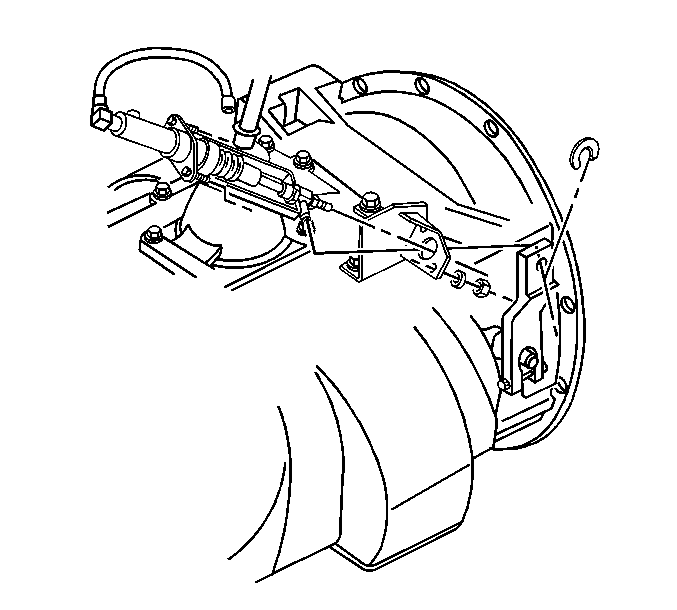
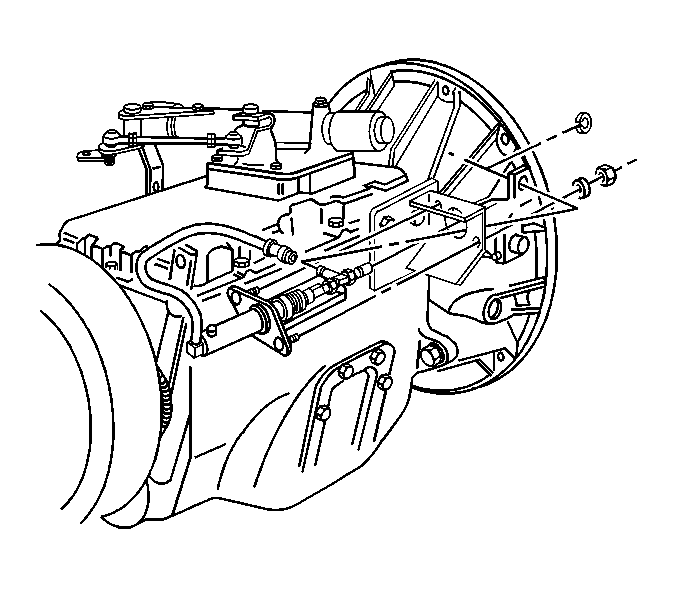
- Remove the 2 nuts securing the actuator to the support bracket.
- Remove the nuts securing the clutch actuator to the swivel.
- Remove the clip securing the swivel to the clutch lever.
- Remove the clutch actuator cylinder hose from the hose retaining clip at the rear of the engine.
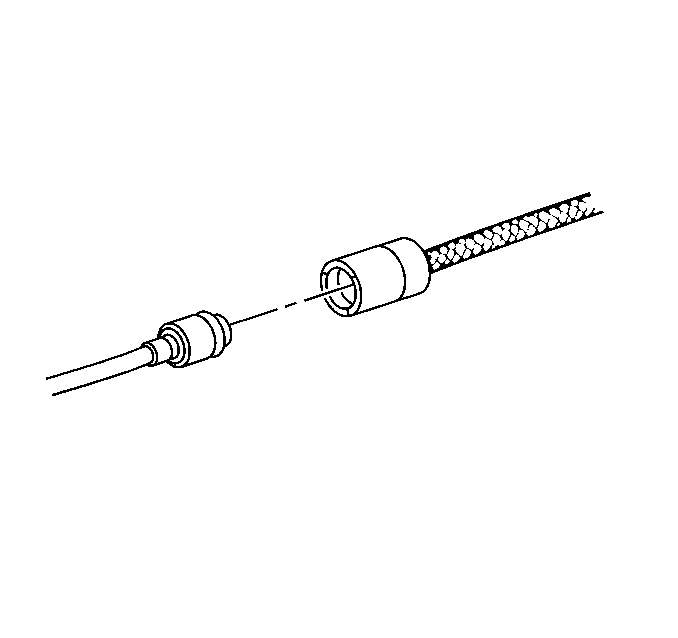
- Using the J 36221 or the J 42371 , depress the white circular release ring on the actuator hose and simultaneously pull lightly on the master cylinder hose to disconnect.
- Protect both hose coupling ends from dirt and damage.
- Remove the actuator.


Important: Immediately after the actuator cylinder has been removed, a retaining strap must be installed to keep the actuator rod in the same position, as it was before removal. The retaining strap must remain in place until the actuator cylinder has been reinstalled. Failure to retain the actuator rod in its normal operating position during cylinder removal, could result in air, entering the hydraulic system.
Installation Procedure
- Remove the retaining strap from the actuator rod.
- Install the actuator to the bracket.
- Install the 2 nuts securing the actuator to the support bracket.
- Install the 2 nuts securing the swivel to the actuator.
- Install the clip securing the swivel to the clutch lever.
- Connect the clutch actuator cylinder hose to the clutch master cylinder hose.
- Check the hydraulic hoses for twists or kinks.
- Install the clutch actuator cylinder hose to the hose retaining clip.

Notice: Refer to Fastener Notice in the Preface section.

Tighten
Tighten the nuts to 40 N·m (30 lb ft).
Important: DO NOT rely on an audible click or a visual verification of the clutch hydraulic hose quick connect fitting connection.
Push together the clutch hydraulic hose quick connect fittings, then pull back on the fittings to verify engagement.
