For 1990-2009 cars only
Removal Procedure
Important:
• Block all of the wheels on the vehicle. • Apply the park brake. • Ensure that the shift control lever is in the N (neutral) position before you remove the shift cables.
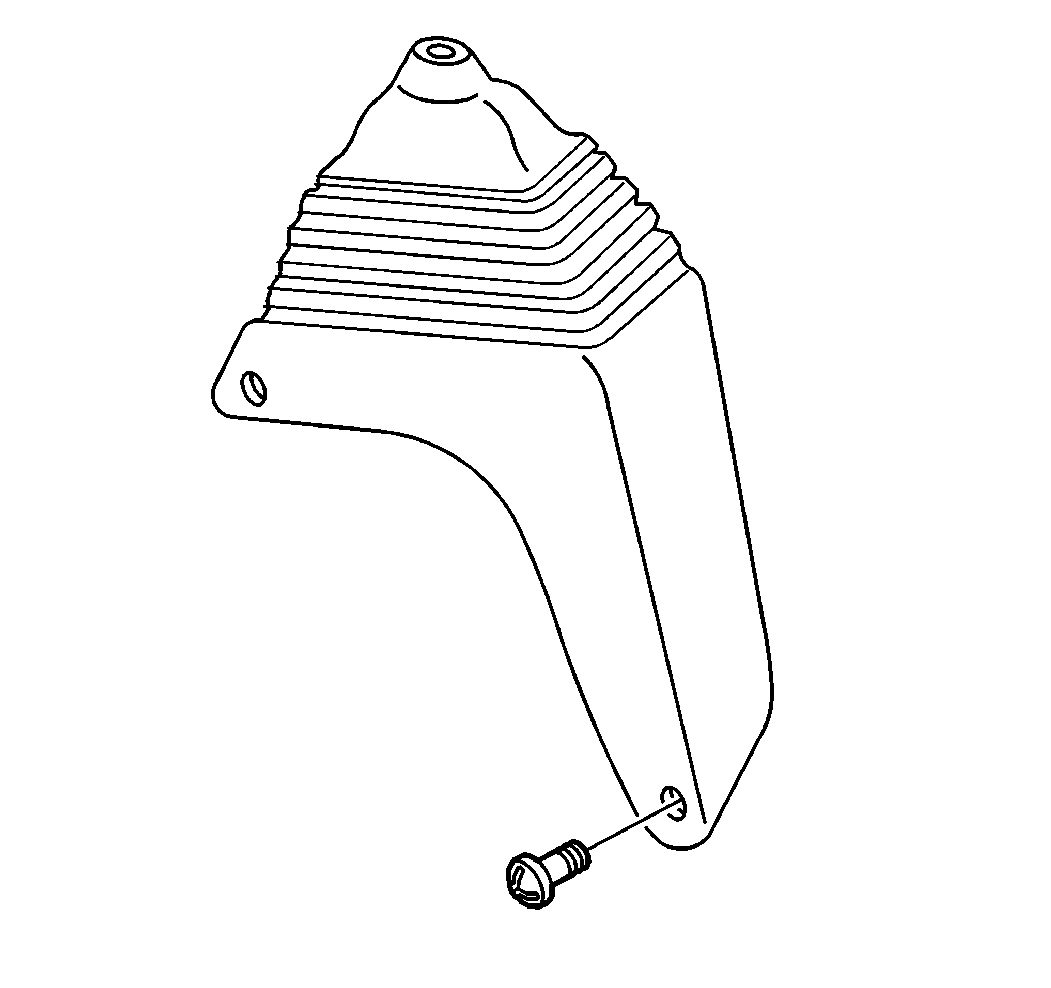
- Remove the 4 fasteners that secure the shift boot to the shift control. Position the shift boot away for access.
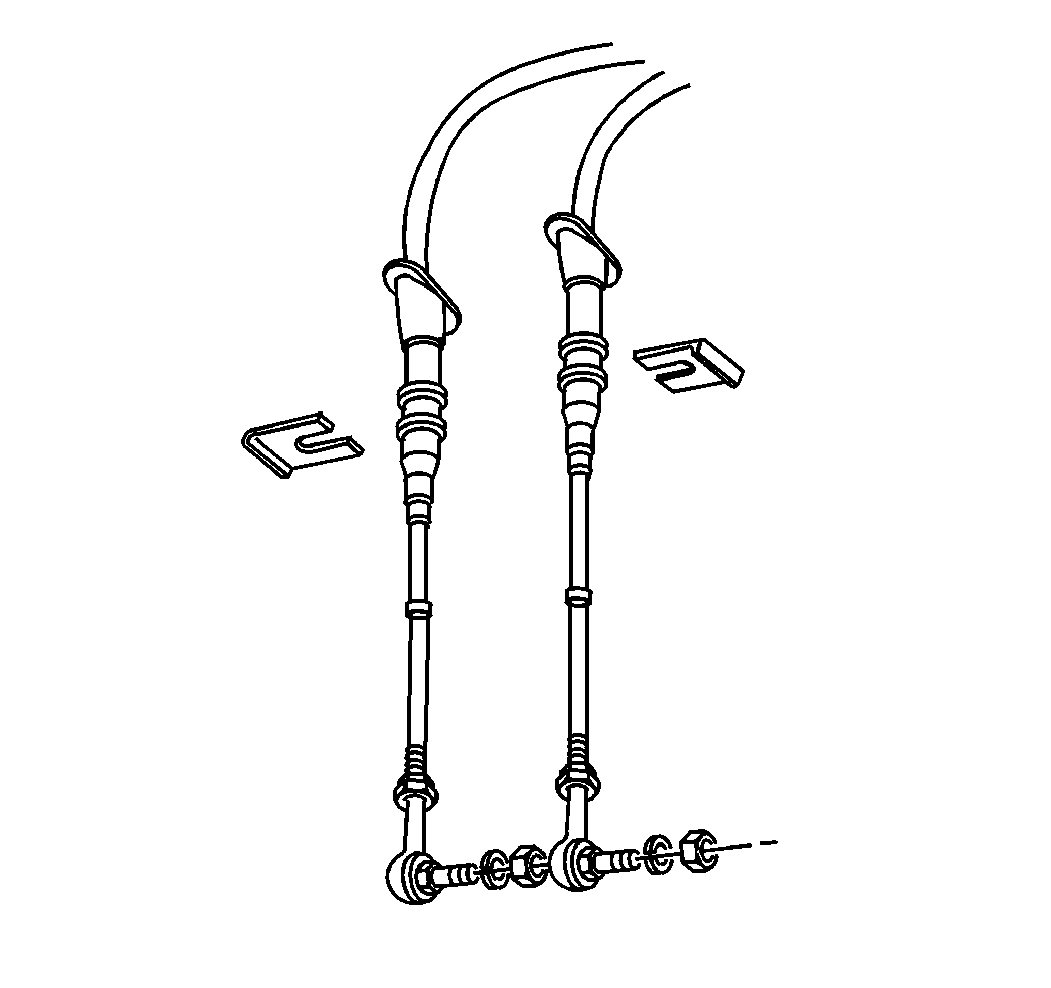
- Remove the 2 nuts, washers, and clips that secure the shift and select cables to the shift control.
- Remove the 4 nuts and washers and U-bolts that secure each shift control to the panel.
- Remove the shift and select cables from the panel.
- Tilt the cab. Refer to Cab Tilting .
- Pull the cables through the cab.
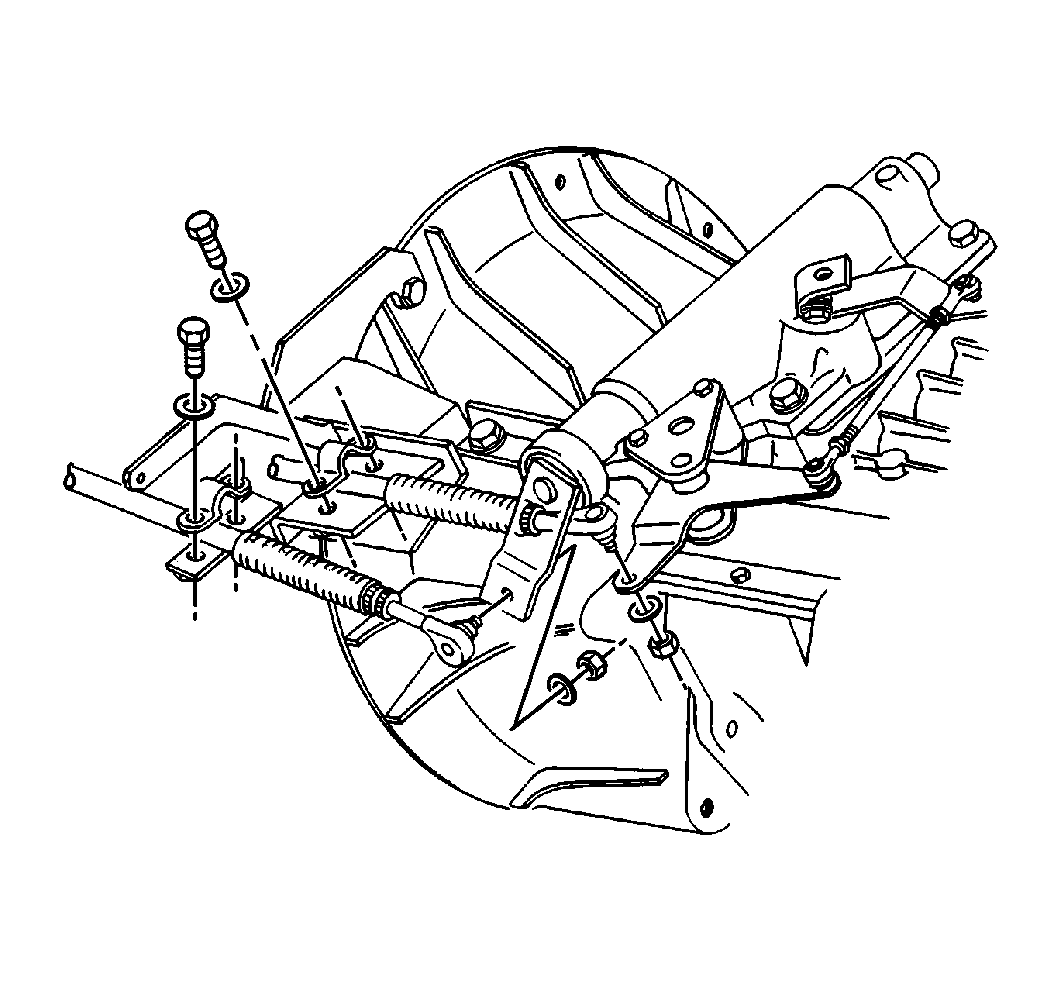
- If equipped with the Eaton® RT transmission, remove the following fasteners securing the shift and select cables to the transmission select and shift levers:
- If equipped with the Eaton® FS transmission, remove the following fasteners securing the shift and select cables to the transmission select and shift levers:
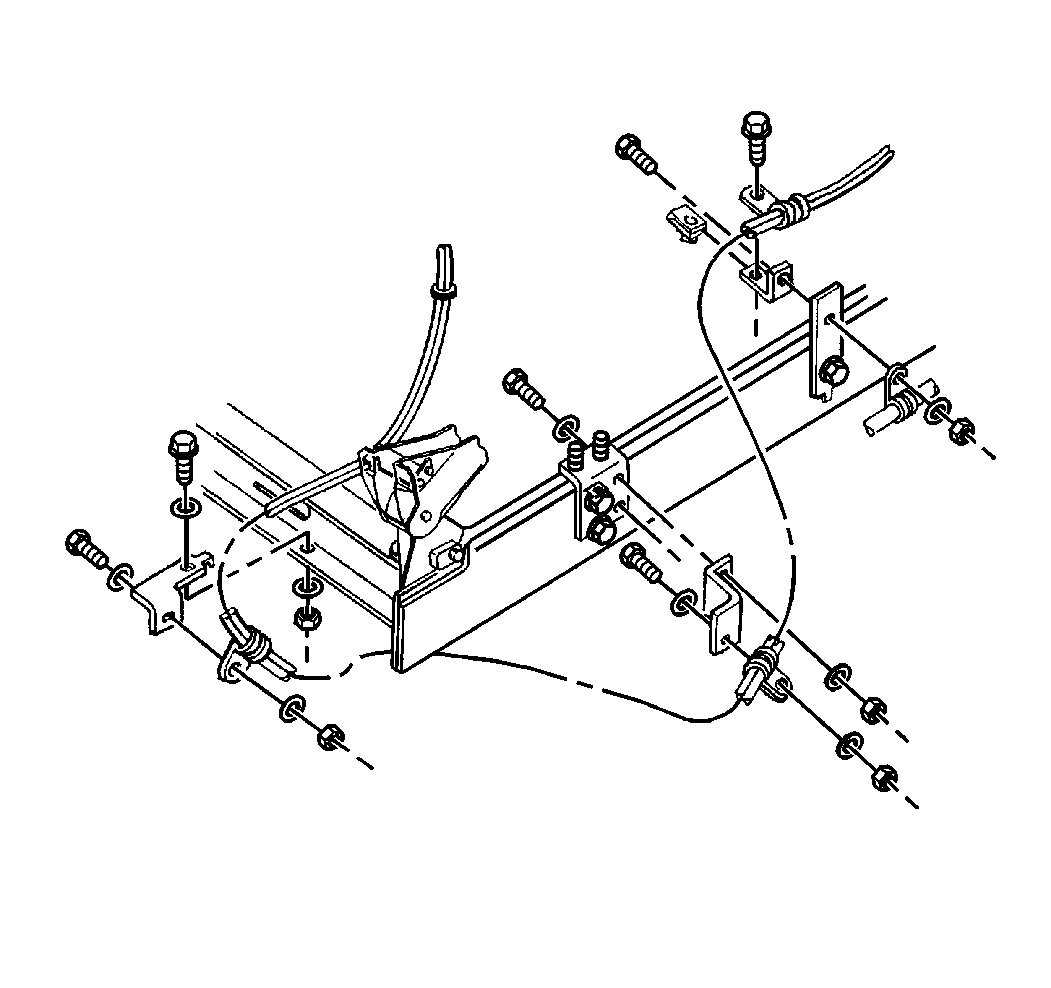
- Remove the following fasteners securing the shift and select cables to the left frame rail. Note the routing of the shift and select cables:


| • | The 2 bolts |
| • | The 4 washers |
| • | The 2 nuts |
| • | The 2 clips |
| • | The 2 nuts |
| • | The 4 bolts |
| • | The 2 cable blocks |

| • | The bolts |
| • | The nuts |
| • | The brackets |
| • | The clips |
Installation Procedure
- Install the following fasteners securing the shift and select cables to the left frame rail:
- Route the shift and select cables through the cab.
- Install the 2 U-bolts, 4 nuts and washers securing the shift control cables to the panel.
- Install the following fasteners securing the shift and select cables to the shift control:
- Install the 4 fasteners that secure the shift boot to the shift control.
- Install the cables to the frame with the 2 clamps and fasteners.
- Lower the cab.
- Install the cables to the transmission with the 2 nuts.
- If equipped with a RT Eaton® transmission, install the cables to the cable brackets with 2 clamps, washer and 4 bolts.
- If equipped with a Eaton® FS transmission, install the cables to the cable brackets with 2 blocks and 4 bolts and washers.
Notice: Refer to Fastener Notice in the Preface section.

| • | The bolts |
| • | The nuts |
| • | The brackets |
| • | The clips |
Tighten
Tighten the frame rail bracket bolts and nuts to 22 N·m (16 lb ft).

| • | The 2 nuts |
| • | The washers |
Tighten
| • | Tighten the shift and select cable nuts to 45 N·m (33 lb ft). |
| • | Tighten the shift control panel nuts to 22 N·m (16 lb ft). |

