For 1990-2009 cars only
Air Distributor Duct Replacement Lower
Removal Procedure
- Remove the instrument panel. Refer to Instrument Panel Carrier Replacement in Instrument Panel and Gauges.
- Remove the clutch pedal, brake pedal, and the steering column support. Refer to Brake Pedal Replacement in Hydraulic Brakes.
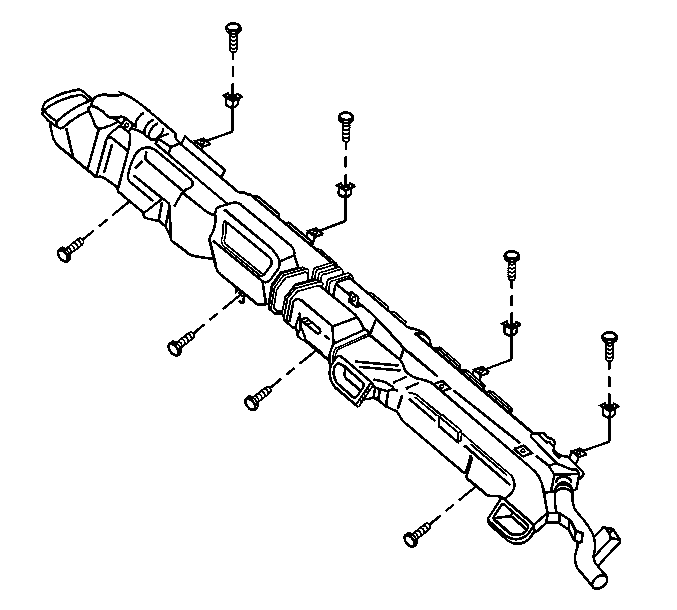
- Remove the air distributor duct lower screw (2).
- Remove the air distributor duct lower fasteners.
- Disconnect the wiring harness.
- Remove the air distributor duct lower bracket nut (1).
- Remove the air distributor lower duct.

Installation Procedure
- Install the air distributor lower duct.
- Install the air distributor lower duct nut (1).
- Install the air distributor lower duct screw (2).
- Install the air distributor duct lower fasteners.
- Connect the wiring harness.
- Remove the clutch pedal, brake pedal, and the steering column support. Refer to Brake Pedal Replacement in Hydraulic Brakes.
- Install the instrument panel. Refer to Instrument Panel Carrier Replacement in Instrument Panel and Gauges.

Air Distributor Duct Replacement Upper
Removal Procedure
- Remove the instrument panel. Refer to Instrument Panel Carrier Replacement in Instrument Panel and Gauges.
- Remove the air distributor upper duct screws.
- Remove the air distributor upper duct.

Installation Procedure
- Install the air distributor upper duct.
- Install the air distributor upper duct screws.
- Install the instrument panel. Refer to Instrument Panel Carrier Replacement in Instrument Panel and Gauges.

