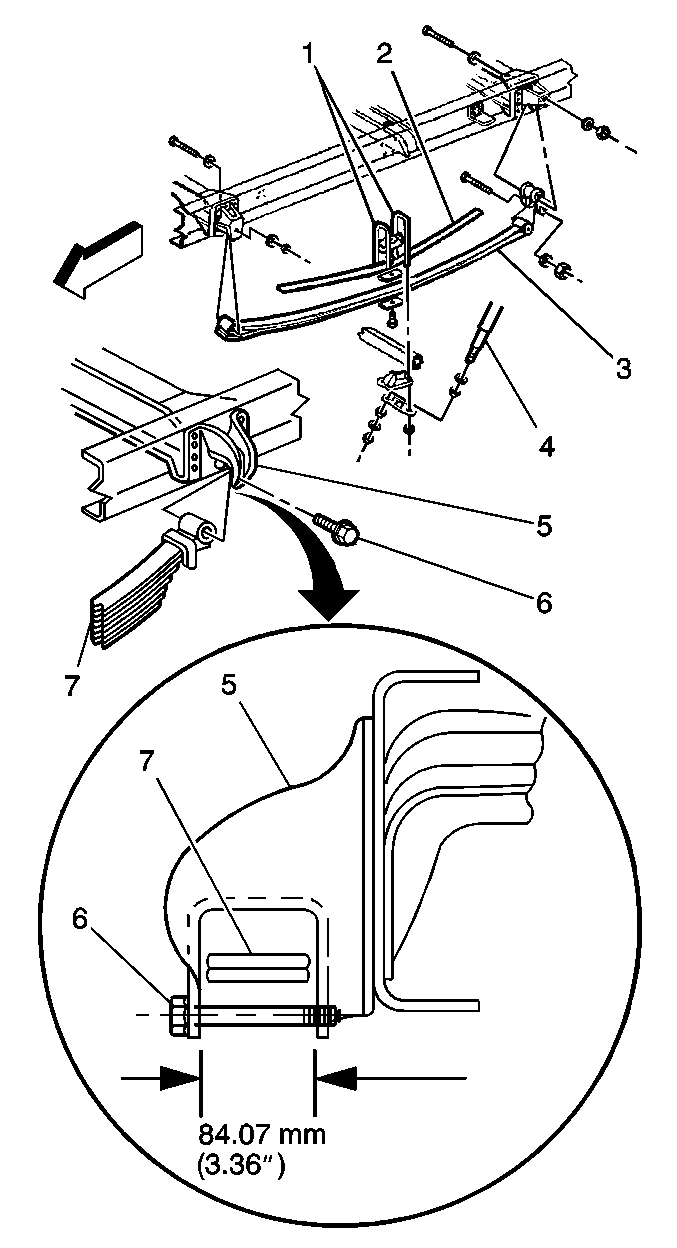
Removal Procedure
- Remove the spring assembly. Refer to Leaf Spring Replacement in Rear Suspension.
- Mark the spring assembly alignment on one side using a grease pencil or chalk.
- Secure the spring assembly in a vise or an arbor press.
- Remove the rebound clip bolts and the nuts.
- Remove the rebound clips.
- Remove the center bolt and the nut.
- Remove the center bolt.
- Clean the spring leaves using a brush, if necessary.
- Inspect the spring leaves for cracks or signs of fatique. Replace only the first or second main leaf.
- Inspect the rebound clips for cracks or breaks.
- Inspect the center bolt hole for distortion or wear.

Important: A leaf spring replacement is only possible on the multileaf spring. The leaf replacement is usually necessary on only the first or second, main leaf. If any of the secondary leaves need replacement, replace the complete spring assembly.
Notice: Do not use a machinist's scribe or a screwdriver to match/mark spring leaves. Marking the spring leaves with any sharp tool can cause metal stress and could contribute to early fatigue and malfunction.
Caution: Relieve the spring tension slowly. Spring leaves are under great pressure and could fly apart causing serious injury.
File the peened portion of the center bolt.
Open the vise or arbor press slowly in order to let the spring assembly expand.
Do not disturb the alignment marks.
Replace the entire spring assembly if additional springs are broken.
Installation Procedure
- Install the spring.
- Install a new center bolt and nut.
- Peen the end of the center bolt.
- Remove the spring assembly from the vise or the arbor press.
- Install the rebound clips using new bolts and nuts.
- Peen the end of the bolts.
- Install the spring assembly. Refer to Leaf Spring Replacement in Rear Suspension.

| 1.1. | Apply a thin film of graphite grease to each leaf. |
| 1.2. | Stack the leaves in the correct order. |
| 1.3. | Align the center bolt holes in the spring leaves using a long drift. |
| 1.4. | Align the match marks. |
| 1.5. | Mount the assembled spring in a vise or an arbor press. |
Notice: Use the correct fastener in the correct location. Replacement fasteners must be the correct part number for that application. Fasteners requiring replacement or fasteners requiring the use of thread locking compound or sealant are identified in the service procedure. Do not use paints, lubricants, or corrosion inhibitors on fasteners or fastener joint surfaces unless specified. These coatings affect fastener torque and joint clamping force and may damage the fastener. Use the correct tightening sequence and specifications when installing fasteners in order to avoid damage to parts and systems.
Tighten
Tighten the spring center bolt nut to 81 N·m (60 lb ft).
Important: Ensure that the rebound clips are tight enough in order to hold the spring leaves in alignment, but not tight enough to restrict the free movement of the leaves.
Align the leaves using a soft faced hammer (if needed).
