Caution: Only use mounting equipment tools specifically designed for tire mounting. Do
not use improvised tools. Failure to observe this precaution could cause serious injury
to you or other personnel in the area.
Notice: When mounting the tires, use an approved tire mounting lubricant. DO
NOT use silicon or corrosive base compounds to lubricate the tire bead and
the wheel rim. A silicon base compound can cause the tire to slip on the
rim. A corrosive type compound can cause tire or rim deterioration.
Important: Use only proper size rims. Do NOT exceed the recommended air pressures
as specified on the vehicle certification label.
- Select tires and rims which are the correct size.
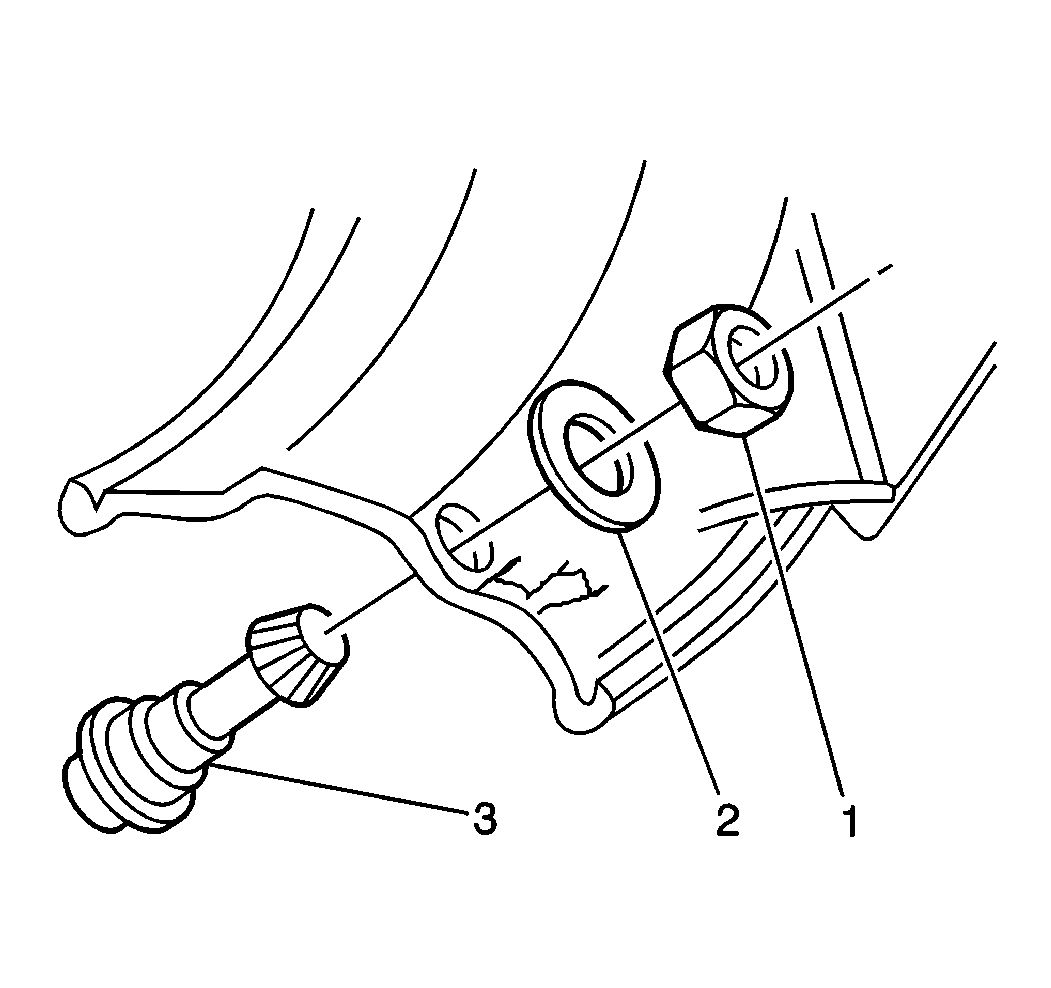
- Place the valve stem (3)
with the rubber washer through the valve hole from the tire side of the rim.
Notice: Use the correct fastener in the correct location. Replacement fasteners
must be the correct part number for that application. Fasteners requiring
replacement or fasteners requiring the use of thread locking compound or sealant
are identified in the service procedure. Do not use paints, lubricants, or
corrosion inhibitors on fasteners or fastener joint surfaces unless specified.
These coatings affect fastener torque and joint clamping force and may damage
the fastener. Use the correct tightening sequence and specifications when
installing fasteners in order to avoid damage to parts and systems.
- Screw on the valve
nut (1) from the opposite side. Center the rubber bushing, the metal collar,
and the nut snugly in the valve hole.
Tighten
Tighten the valve stem nut to 6 N·m (53 lb in).
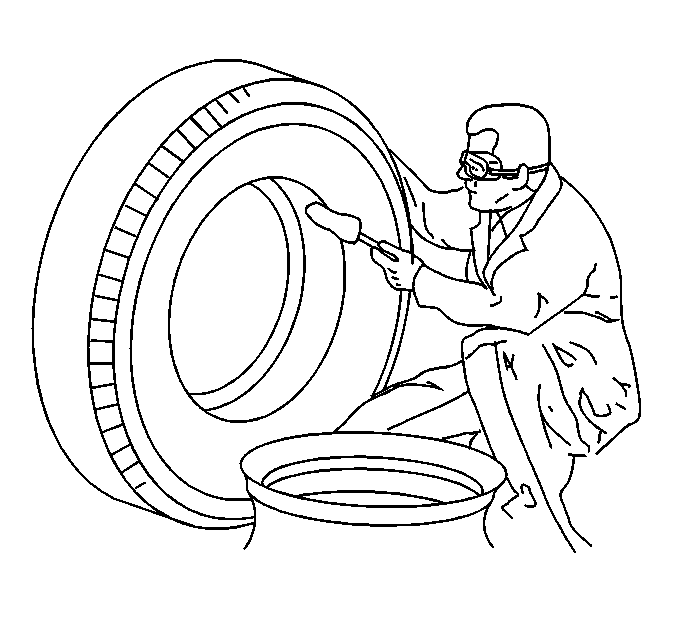
- Use an approved tire mounting
compound such as RU-Glyde®, Frey Lube II® or equivalent in order to
lubricate the following areas:
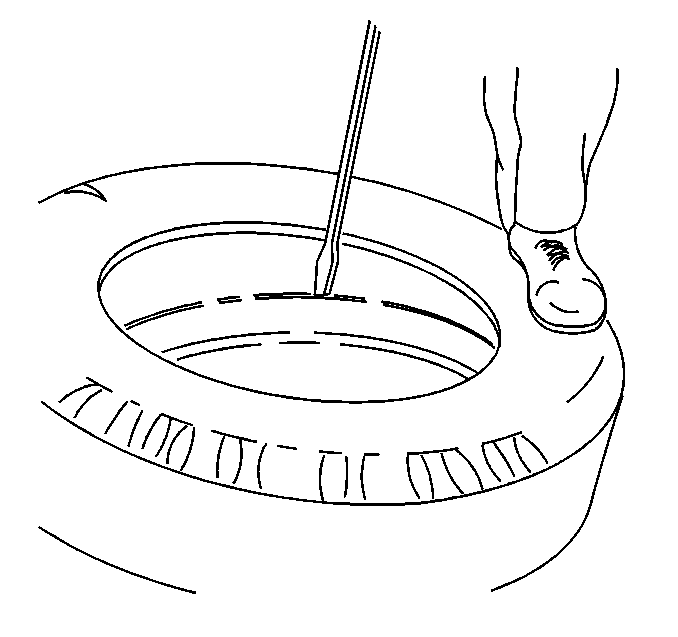
- Place the rim on the floor
with the wide end side down.
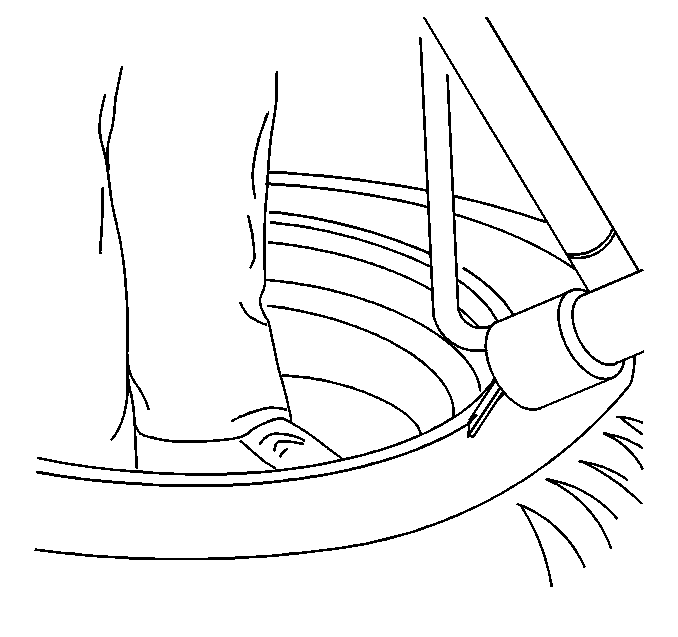
- Push the first bead over the flange and into the rim well.
- Using the straight end of a tool (with the stop resting on the
flange of the rim), take small bites in order to work the remaining section
of the bead onto the rim.
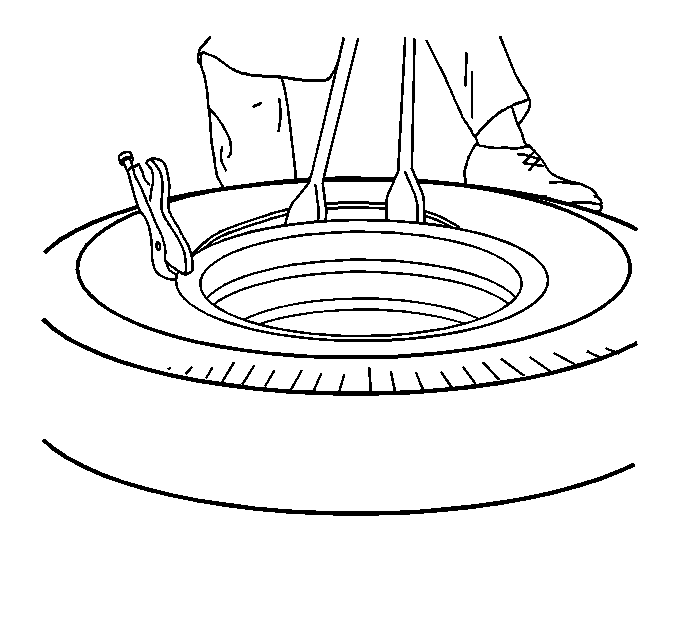
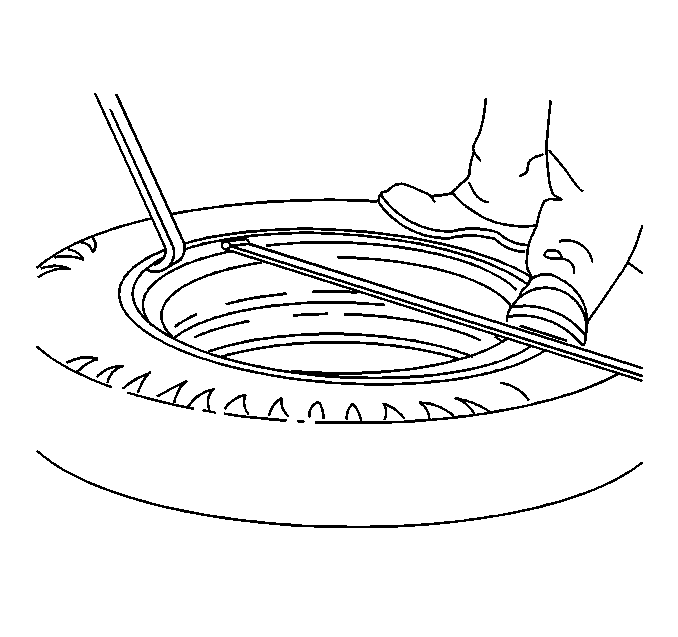
- Stand on the tire in order
to start the second bead over the rim flange into the well.
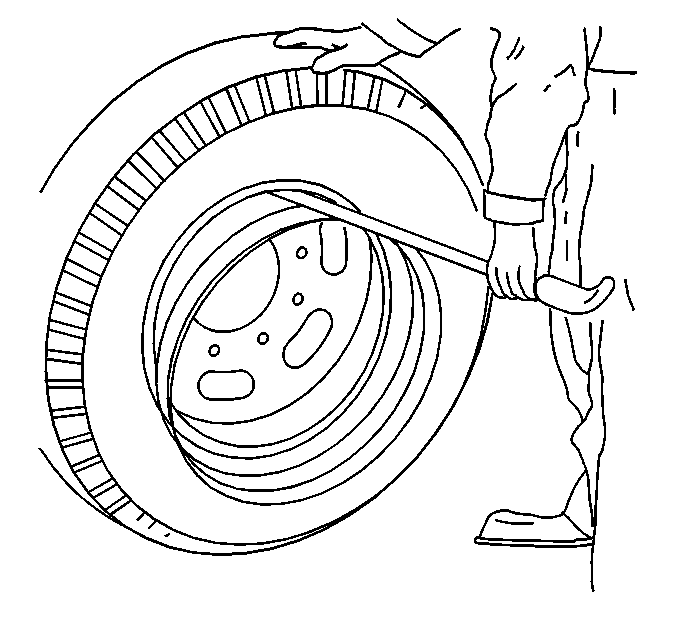
- Use the spoon end of a tire iron, with the stop toward the rim.
Work progressively around the bead using small bites until the bead slips
over the flange onto the rim base.
Caution: Be careful not to drop tire and wheel assemblies on your hands and feet. Lift
properly, using your legs as well as your body. Tires and wheels are heavy and can
cause injury if not handled correctly.
Caution: Allowing pressure to continue to build up within a tire in an attempt to seat
the bead is a dangerous practice that can result in a broken tire bead and possible
serious injury to the technician.
Important:
| • | Use dry air for tire inflation. Use moisture traps on the air
lines leading from the air compressor. |
| • | Do NOT overload the tires. Verify that the load and the vehicle
weights do not exceed the rated load of the tires used on the vehicle. The
rims are designed in order to sustain the maximum rated load of the
maximum tire size that is recommended for that rim. Refer to the
Vehicle Certification Label Description
in General Information for recommended rated load and tire size. |
| • | Do not exceed the maximum inflation pressures. Inflation pressures
are determined by the size and the ply rating of the tire. Refer to the manufacturer's
specification for proper inflation. Equally inflate both tires of
a dual assembly in order to equally distribute the weight. |
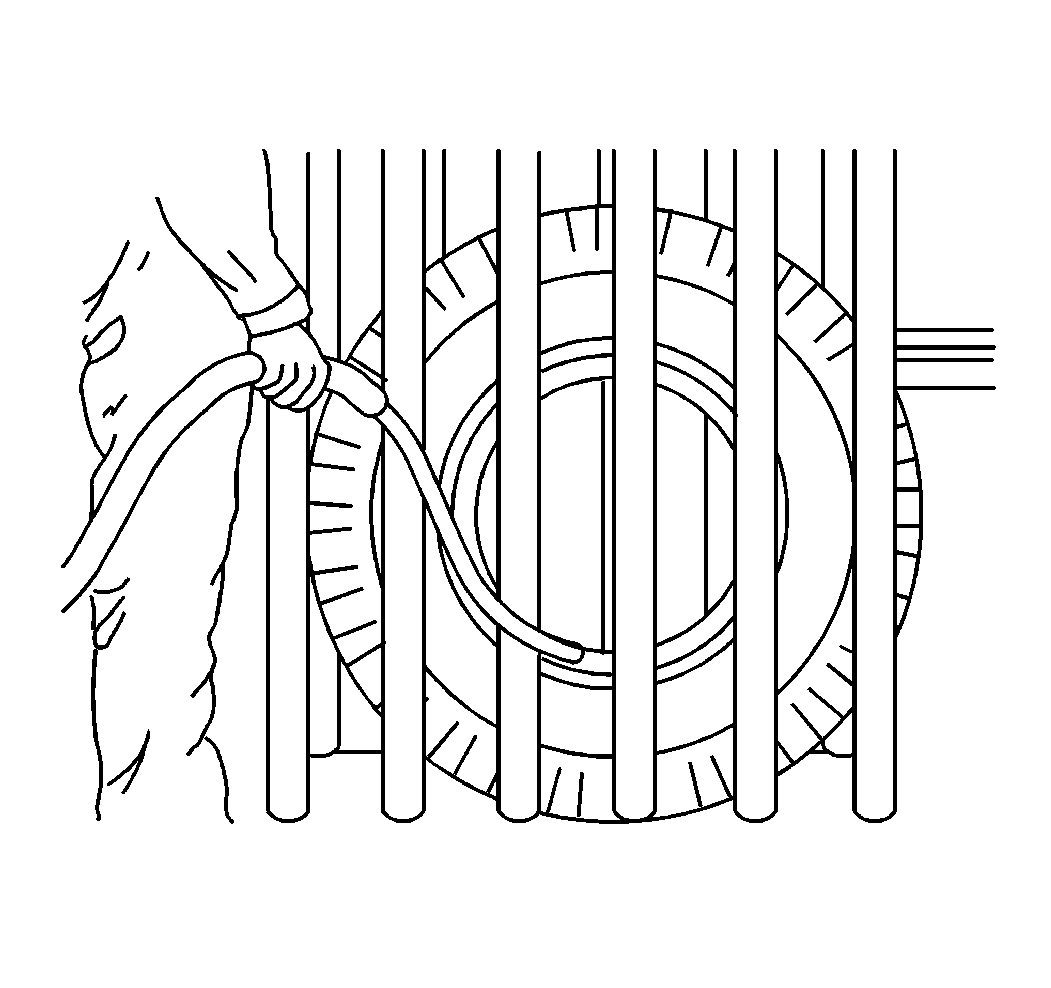
- Inflate the tire in a safety cage using an extension hose equipped with
an air gage and a chuck. Confirm that you have seated the bead properly by
referencing any circumferential design element on the tire and on
the top of the rim flange. These design elements should be equally
spaced around the tire.
