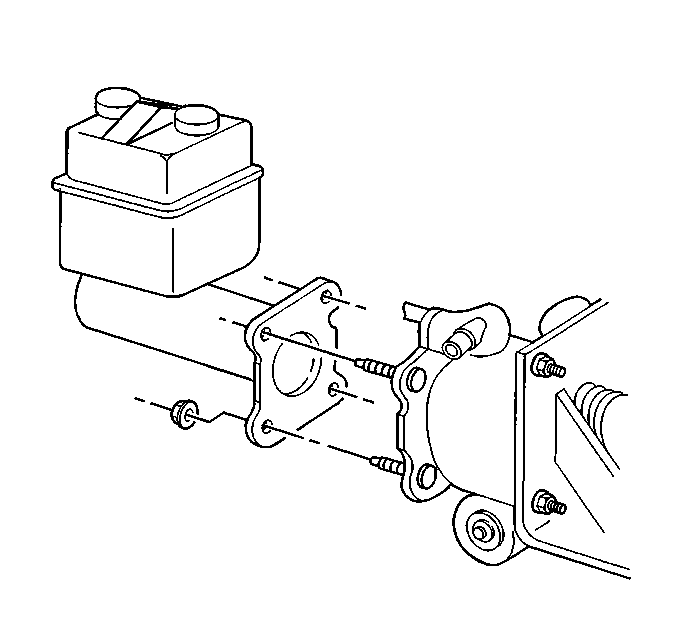
Removal Procedure
- Set the parking brake.
- Block the drive wheels.
- Place a suitable container under the master cylinder in order to catch the fluid.
- Remove the hydraulic pipes from the master cylinder.
- Cap or plug the hydraulic pipes.
- Remove the low fluid level sensor connector.
- Remove the mounting nuts.
- Remove the master cylinder.

Installation Procedure
- Install the master cylinder.
- Install the mounting nuts.
- Install the low fluid level sensor connector.
- Install the hydraulic pipes to the master cylinder.
- Bleed the brake system.
- Remove the wheel blocks.
- Release the parking brake.

Notice: Use the correct fastener in the correct location. Replacement fasteners must be the correct part number for that application. Fasteners requiring replacement or fasteners requiring the use of thread locking compound or sealant are identified in the service procedure. Do not use paints, lubricants, or corrosion inhibitors on fasteners or fastener joint surfaces unless specified. These coatings affect fastener torque and joint clamping force and may damage the fastener. Use the correct tightening sequence and specifications when installing fasteners in order to avoid damage to parts and systems.
Tighten
Tighten the mounting nuts to 36 N·m (27 lb ft).
Caution: After releasing the parking brake, be sure the vehicle will not roll forward or backwards when removing the wheel blocks. If the vehicle is not in gear, the vehicle may move possibly causing personal injury.
