Removal Procedure
- Remove the shift knob from the shift control lever.
- Remove the four screws securing the shift boot to the shift control.
- Remove the following fasteners securing the shift and select cables to the shift control:
- Remove the two nuts and the washers securing the shift control to the panel.
- Remove the shift and select cables from the panel.
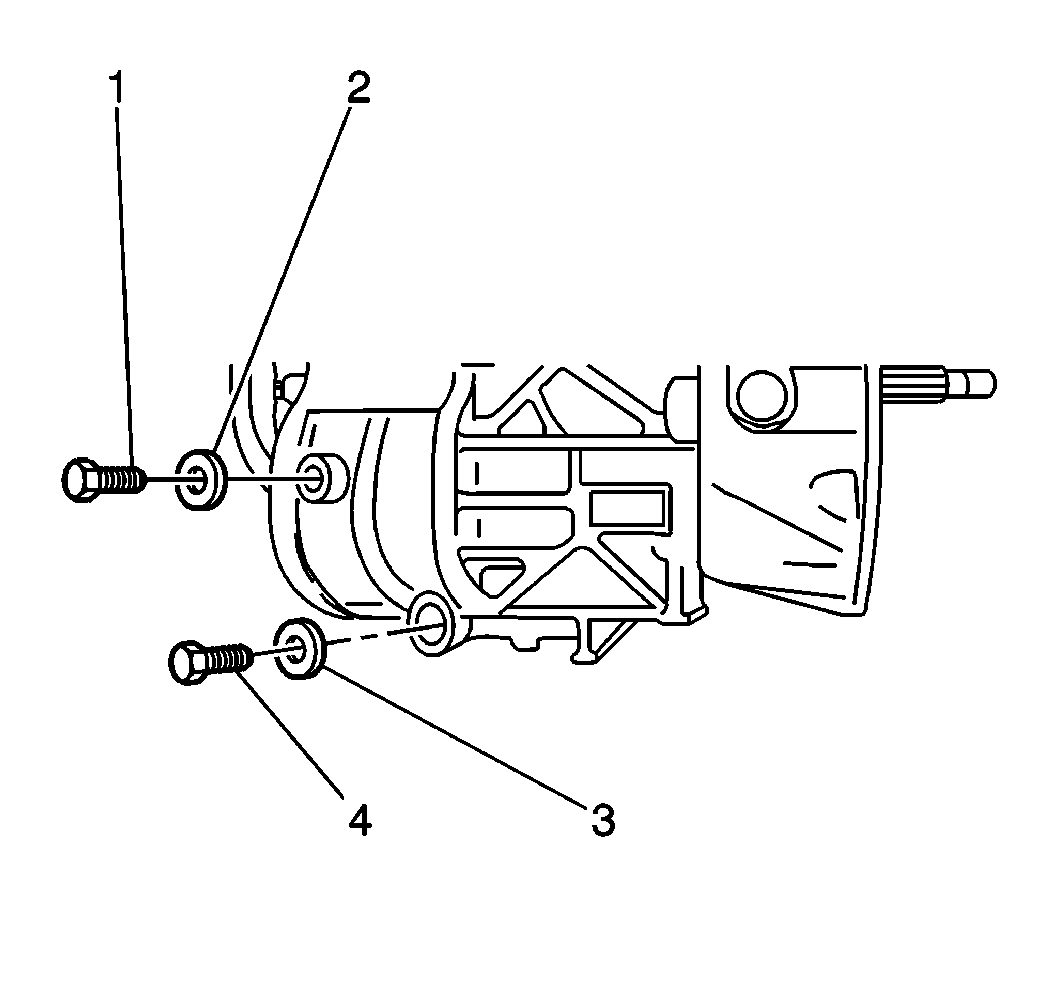
- Remove the fasteners securing the shift and select cables to the transmission control lever and clutch control lever as follows:
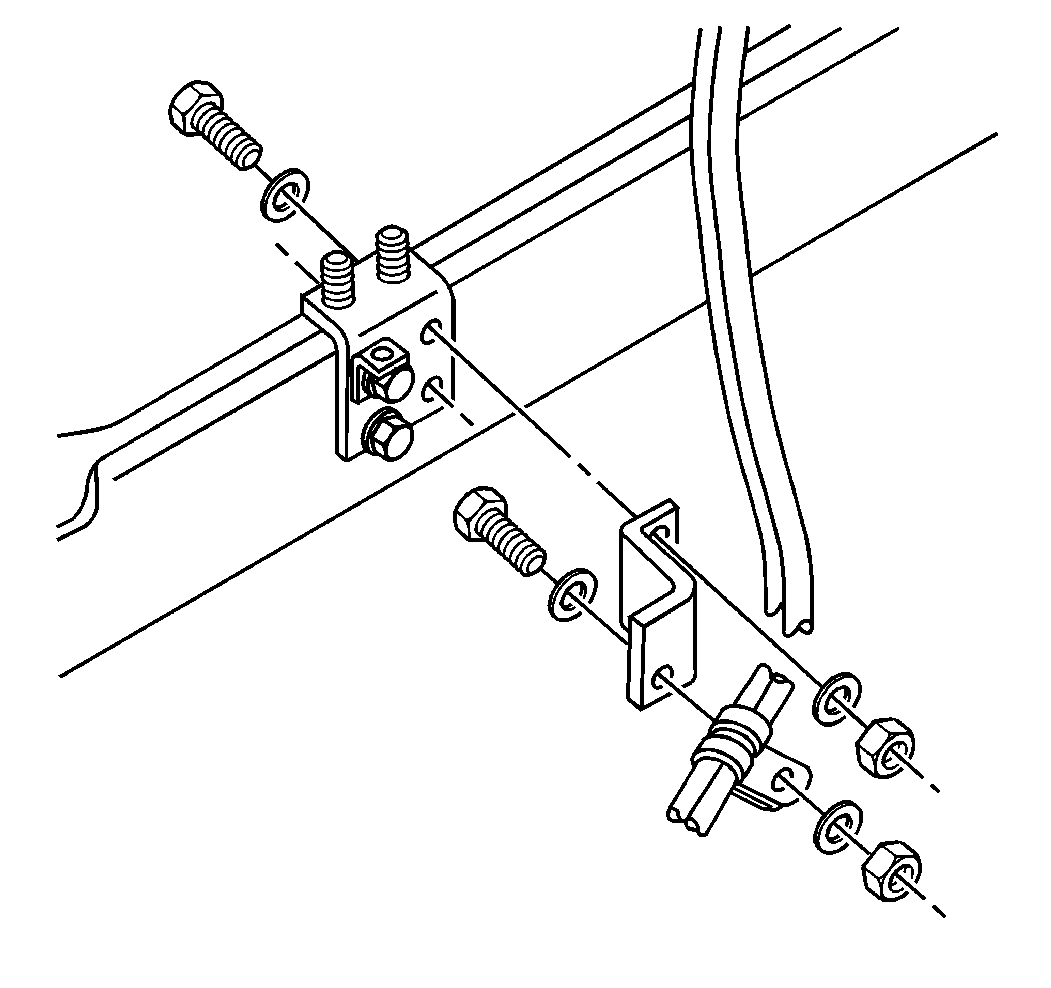
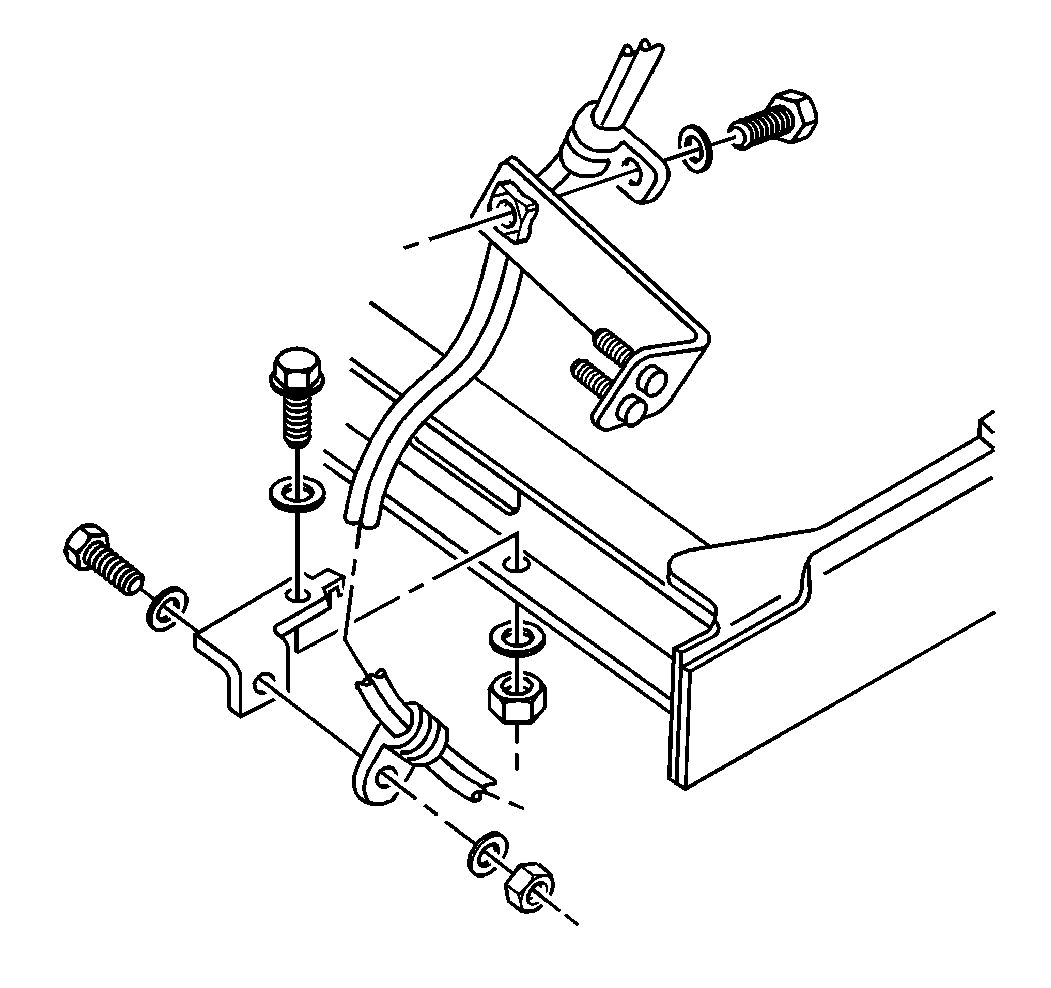
- Remove the bolts and the nuts that secure the shift and select cables to the frame rail brackets.
- Remove the bolts and nuts securing the shift and select cables to the frame rail brackets. Note the routing of the shift and select cables.
Important:
• Block all of the wheels on the vehicle prior to starting this
procedure. • Apply the park brake. • Ensure that the shift control lever is in the Neutral position
prior to removing the shift cables.
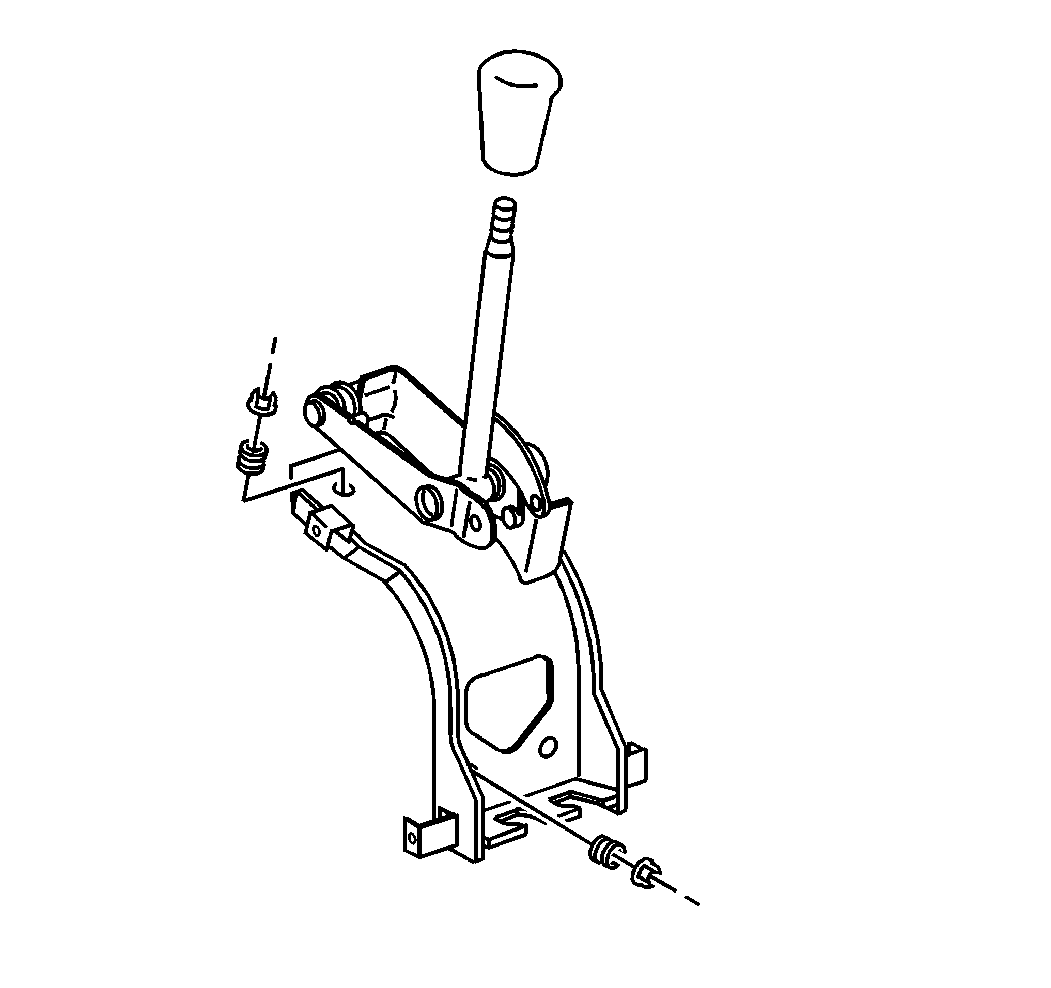
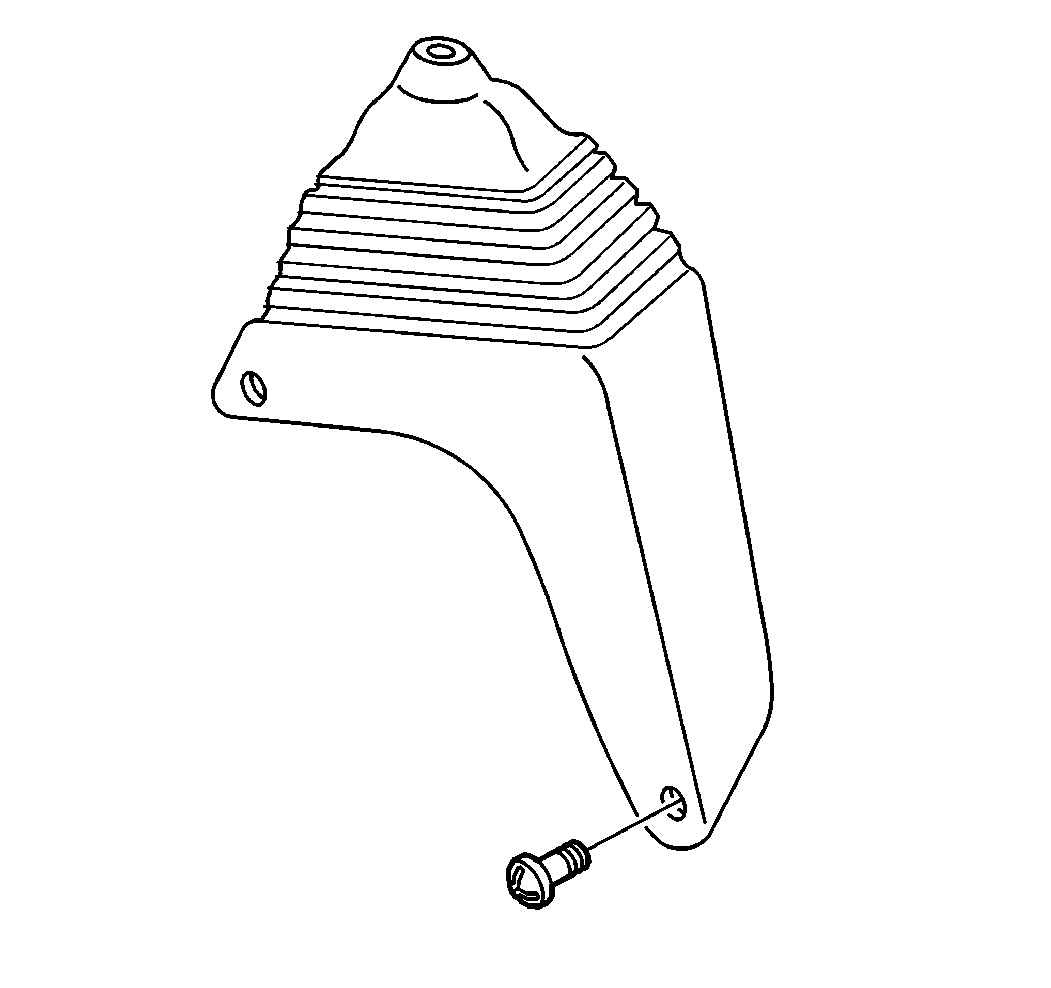
| • | The two nuts |
| • | The washers |
| • | The clips |
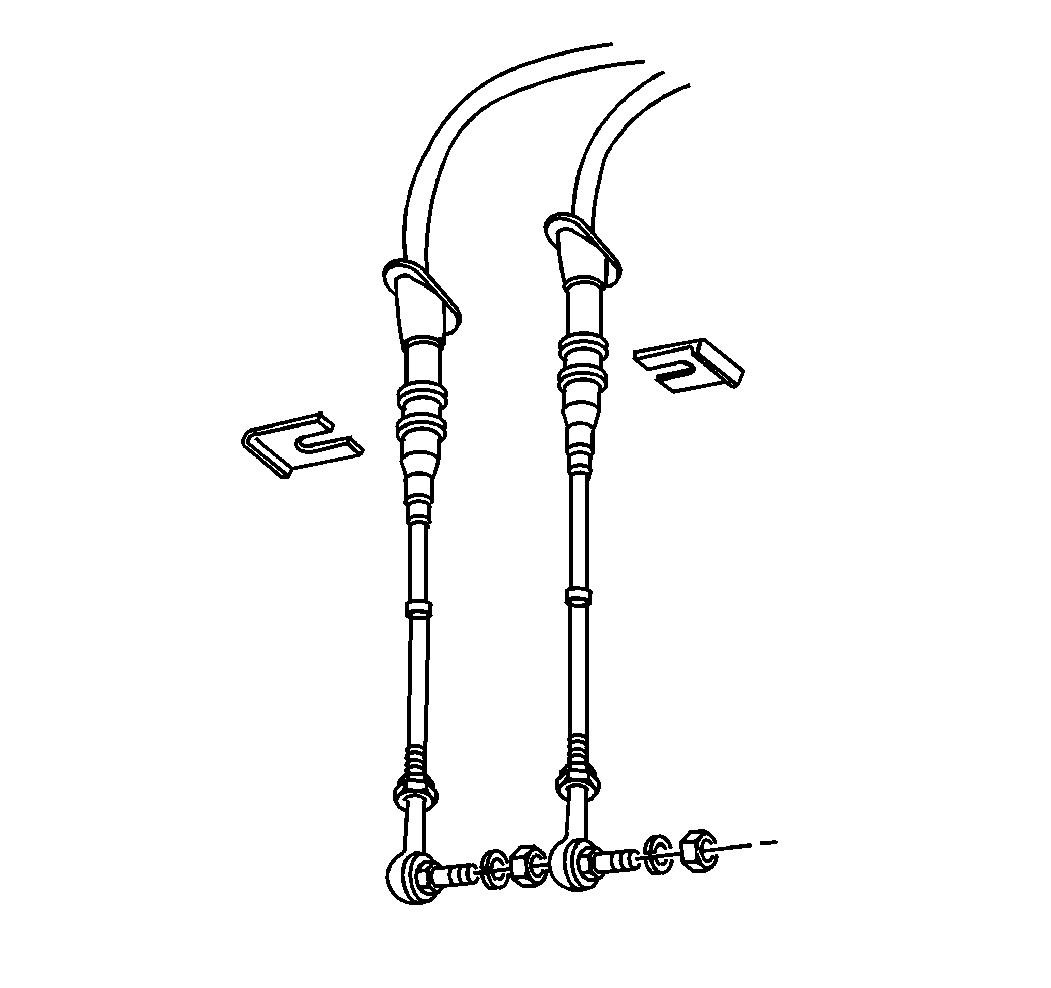
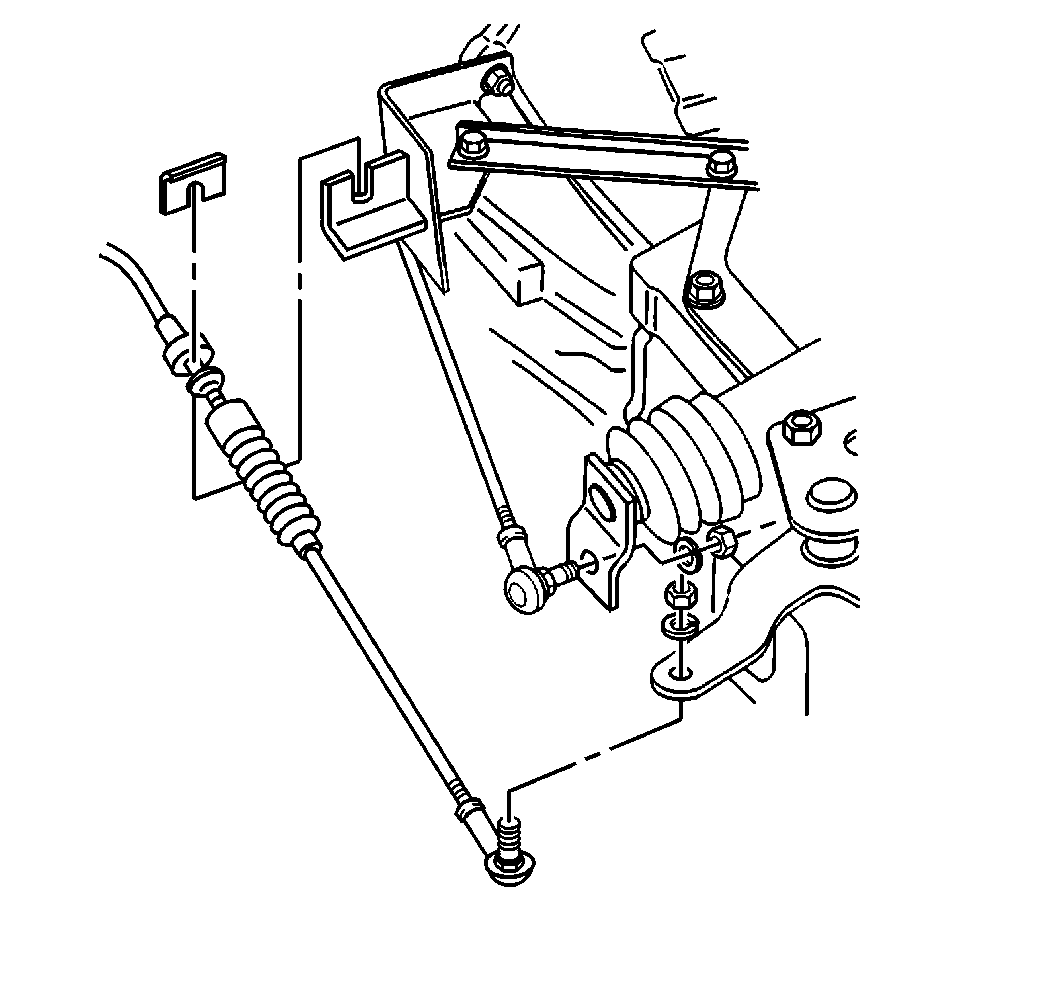
| • | The two nuts |
| • | The washers |
| • | The clip |
Installation Procedure
- Install the bolts and nuts securing the shift and select cables to the frame rail brackets.
- Install the bolts and nuts securing the shift and select cables to the frame rail brackets.
- Route the shift and select cables through the panels.
- Install the two nuts and washers securing the shift control to the panel.
- Install the following fasteners securing the shift and select cables to the shift control:
- Install the four screws securing the shift boot to the shift control.
- Install the shift knob to the shift control lever.
- Adjust the shift and select control cables. Refer to Shift Cable Adjustment .

Notice: Use the correct fastener in the correct location. Replacement fasteners must be the correct part number for that application. Fasteners requiring replacement or fasteners requiring the use of thread locking compound or sealant are identified in the service procedure. Do not use paints, lubricants, or corrosion inhibitors on fasteners or fastener joint surfaces unless specified. These coatings affect fastener torque and joint clamping force and may damage the fastener. Use the correct tightening sequence and specifications when installing fasteners in order to avoid damage to parts and systems.
Tighten
Tighten the frame rail bracket bolts and nuts to 22 N·m
(16 lb ft).
Tighten
Tighten the shift control panel nuts to 22 N·m (16 lb ft).
Tighten
Tighten the shift and select cable nuts to 45 N·m (33 lb ft).
| • | The two nuts |
| • | The washers |
| • | The clips |
