For 1990-2009 cars only
Removal Procedure
- Turn the ignition OFF.
- Unclip the lower trim panel and remove the panel.
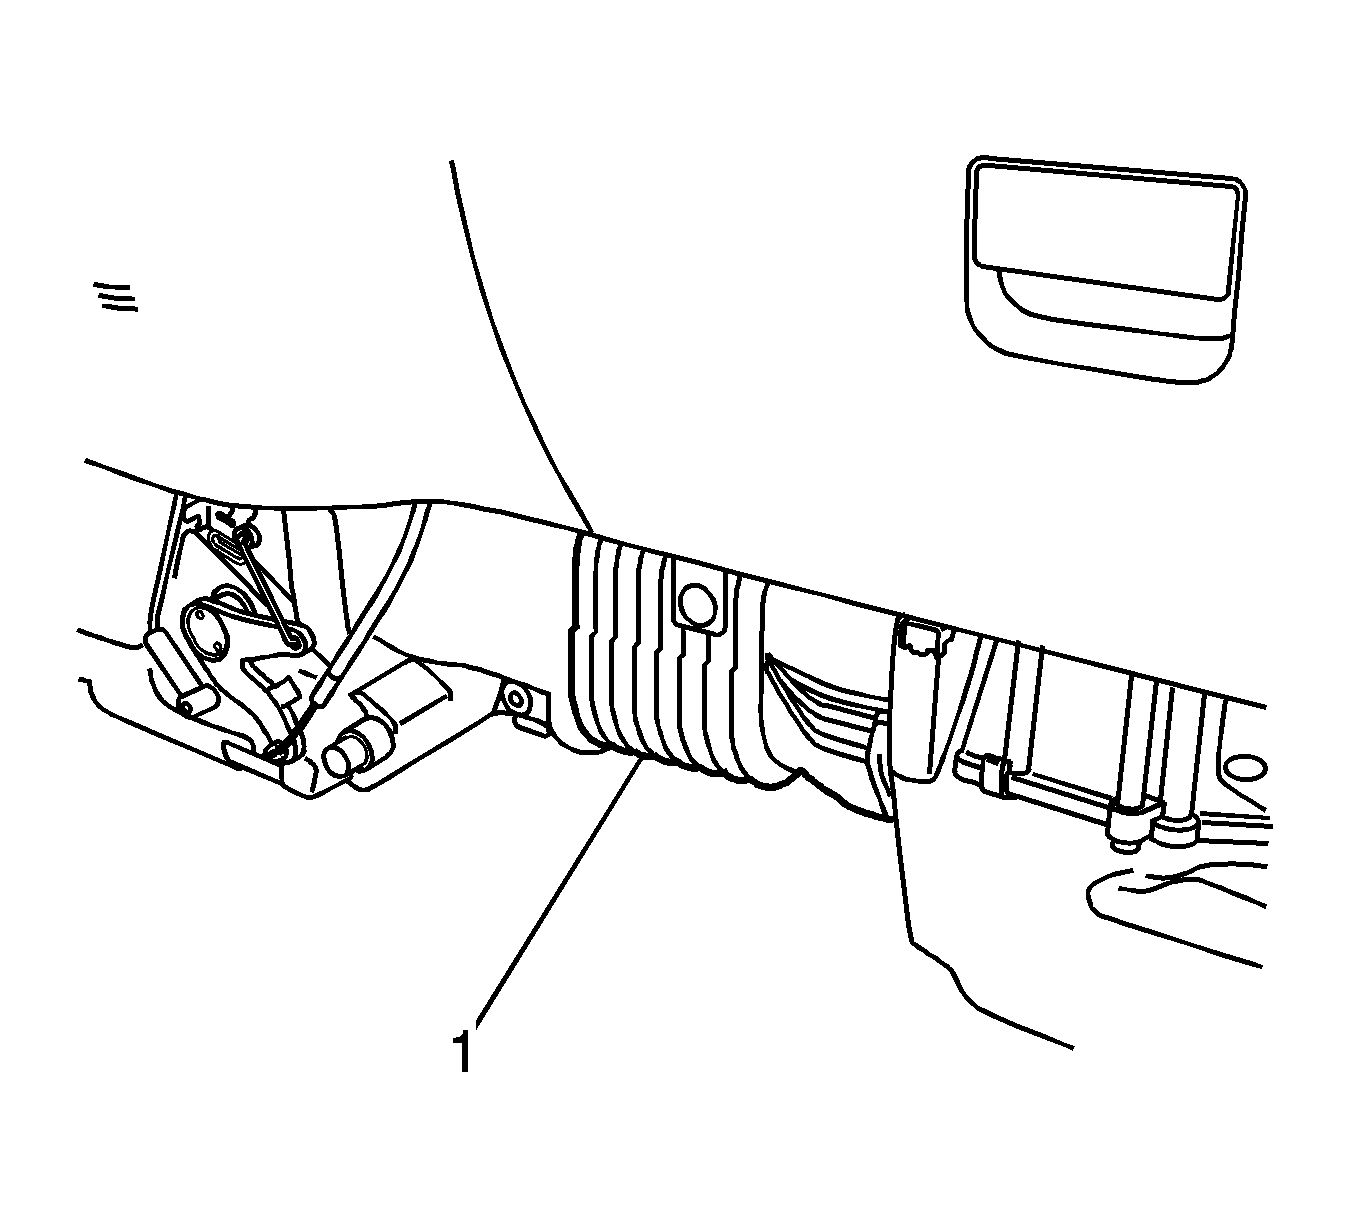
- Remove the center air duct (1).
- Remove the two TAC module attachment nuts from the right mounting studs (3, 4).
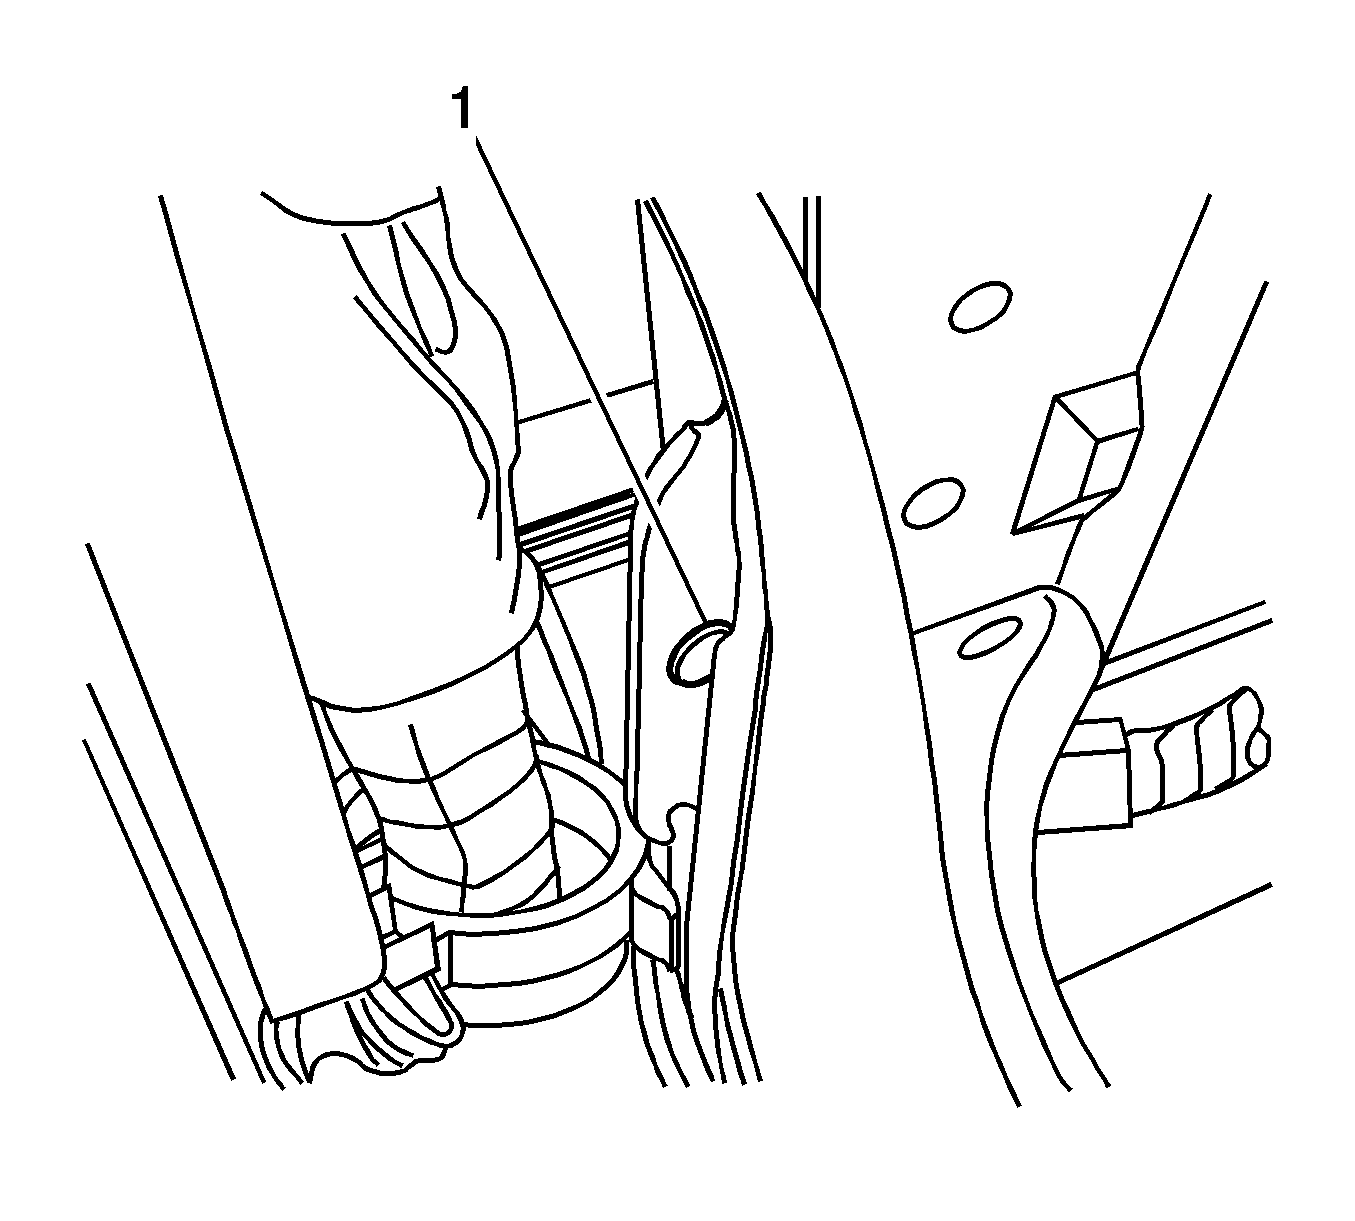
- Remove the TAC module attachment nut from the left mounting stud (1).
- Remove the TAC module from its I/P bracket enough to allow easy removal of the two electrical connectors.
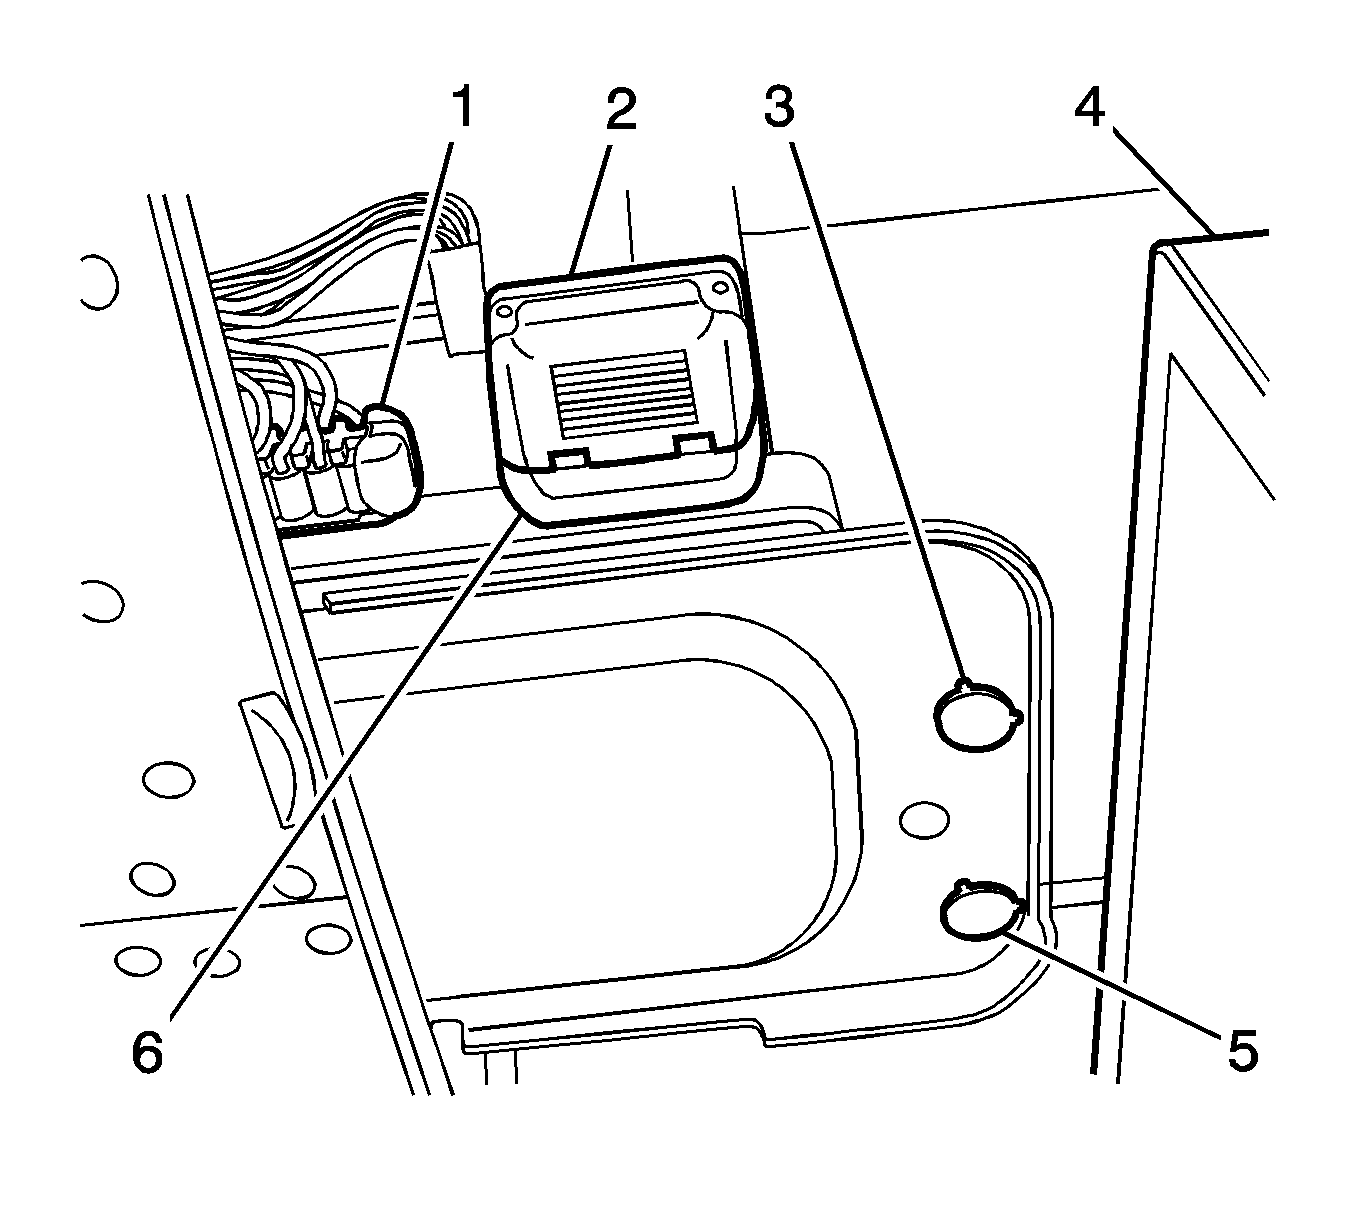
- Disconnect the TAC module electrical connectors (1, 2) and remove the TAC module.


Installation Procedure
- Install the TAC module and attachment nuts on the right TAC mounting studs (3, 4).
- Install the TAC module attachment nuts on the left TAC mounting stud (1).
- Connect the TAC module electrical connectors (1, 2).
- Install the center air duct (1).
- Install the lower trim panel.
- Refer to Control Module References for programming and setup information.


Tighten
Torque all of the mounting nuts to 4 N·m (35 in lbs).


