Removal Procedure
- Remove the negative battery cable. Refer to
Caution: Unless directed otherwise, the ignition and start switch must be in the OFF or LOCK position, and all electrical loads must be OFF before servicing any electrical component. Disconnect the negative battery cable to prevent an electrical spark should a tool or equipment come in contact with an exposed electrical terminal. Failure to follow these precautions may result in personal injury and/or damage to the vehicle or its components.
. - Raise the vehicle.
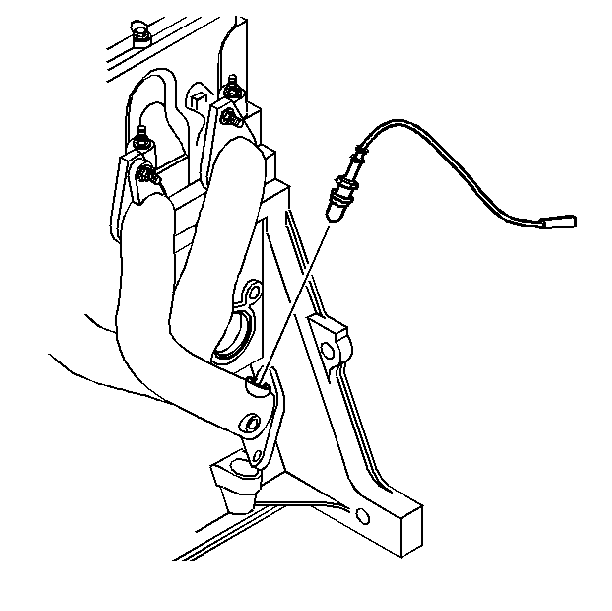
- Disconnect the oxygen sensor. Refer to Engine Controls.
- Disconnect the exhaust pipe from the exhaust manifold.
- Disconnect the braces from the engine and the transmission.
- Remove the transmission.
- Lower the vehicle.
- Disconnect the ground straps from the engine block. Refer to Engine Electrical.
- Remove the air conditioning compressor and bracket.
- Remove the radiator.
- Disconnect the power steering lines at the power steering pump.
- Disconnect the heater hose from the intake manifold.
- Disconnect the wiring harness from the engine.
- Disconnect the vacuum hoses.
- Disconnect the throttle cable and cruise control cable (if equipped) and bracket.
- Disconnect the fuel pipes.
- Install an approved engine lifting device to the engine lift brackets.
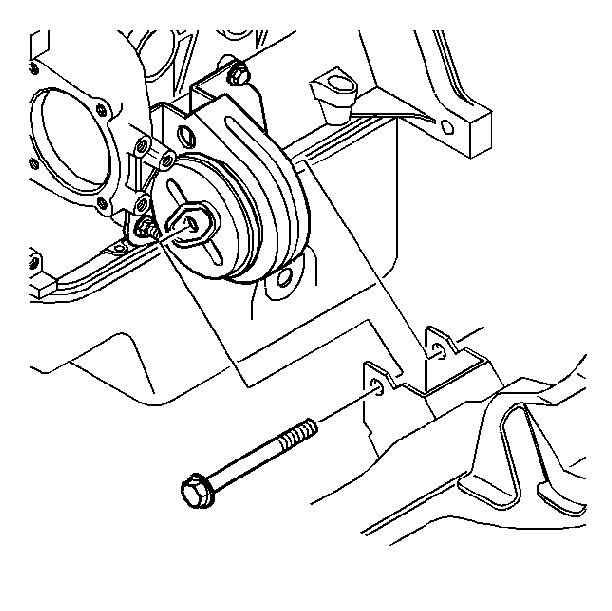
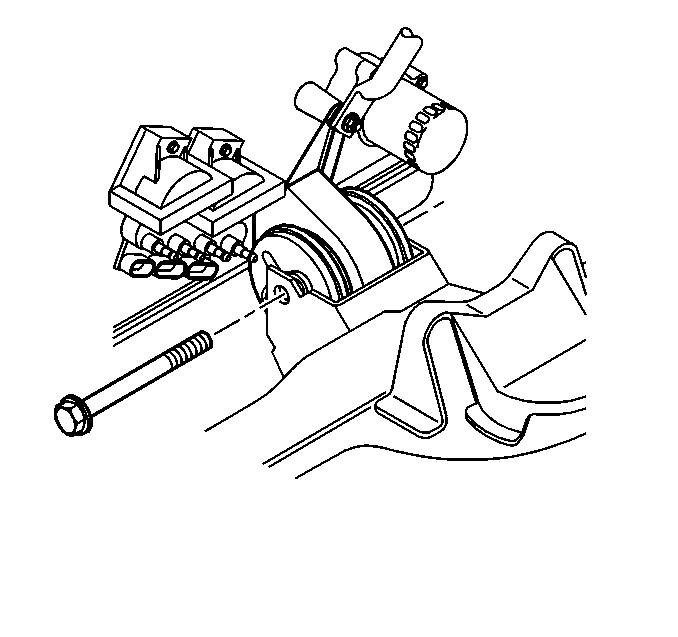
- Remove the left side engine mount through-bolt.
- Remove the right side engine mount through-bolt.
- Remove the engine from the vehicle.
| • | For vehicles equipped with manual transmissions, refer to SECTION 7B. |
| • | For vehicles equipped with automatic transmissions, refer to SECTION 7A. |
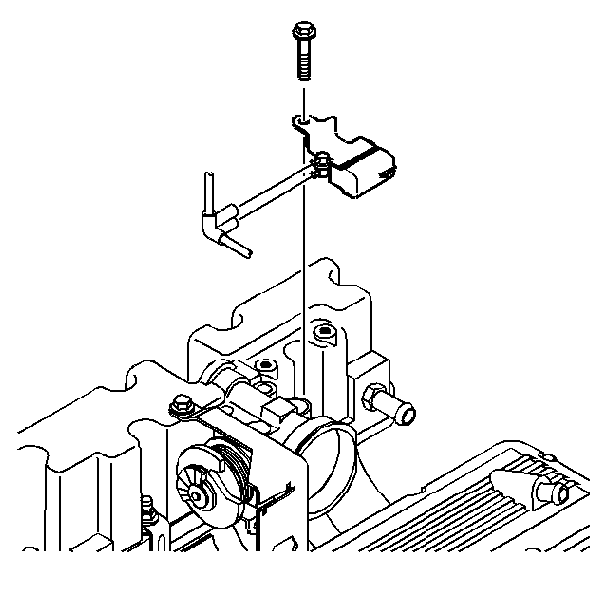
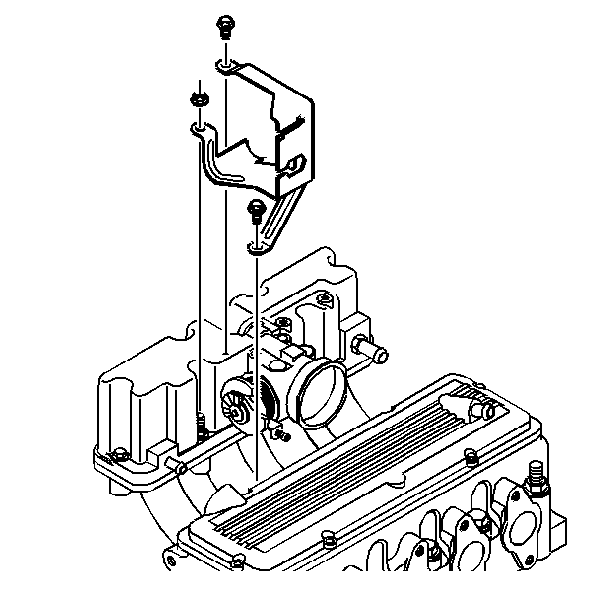
Set the cables and bracket aside.
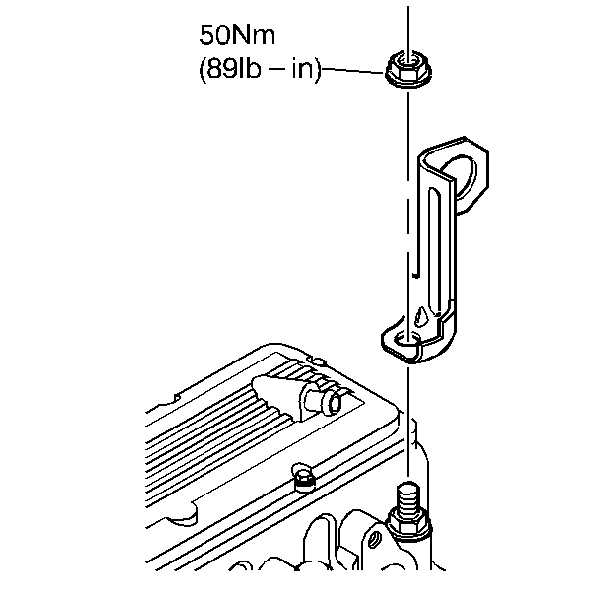
Installation Procedure
- Install the engine into the vehicle.
- Install the left side engine mount through-bolts.
- Install the right side engine mount through-bolts.
- Disconnect the engine lifting device.
- Connect the fuel pipes.
- Connect the throttle linkage and cruise control cable (if equipped).
- Connect the vacuum hoses.
- Connect the wiring harness to the engine.
- Connect the heater hose to the intake manifold.
- Connect the power steering lines to the power steering pump.
- Install the radiator.
- Install the air conditioning compressor.
- Raise the vehicle.
- Install the transmission.
- Connect the ground strap to the engine block.
- Install the transmission inspection cover.
- Connect the braces to the engine and the transmission.
- the exhaust pipe to the exhaust manifold.
- Install the oxygen sensor. Refer to Engine Controls.
- Lower the vehicle.
- Install the negative battery cable. Refer to
Caution: Unless directed otherwise, the ignition and start switch must be in the OFF or LOCK position, and all electrical loads must be OFF before servicing any electrical component. Disconnect the negative battery cable to prevent an electrical spark should a tool or equipment come in contact with an exposed electrical terminal. Failure to follow these precautions may result in personal injury and/or damage to the vehicle or its components.
.


| • | For vehicles equipped with manual transmissions, refer to SECTION 7B. |
| • | For vehicles equipped with automatic transmissions, refer to SECTION 7A. |

