For 1990-2009 cars only
Exhaust Manifold Replacement 2.2L
Removal Procedure
- Disconnect the negative battery cable. Refer to in General Information.
- Remove the air cleaner and the air inlet duct.
- Remove the oxygen sensor (O2S). Refer to Engine Controls.
- Remove the oil level indicator tube.
- Remove the exhaust manifold nuts.
- Remove the exhaust manifold.
- Remove the exhaust manifold gasket.
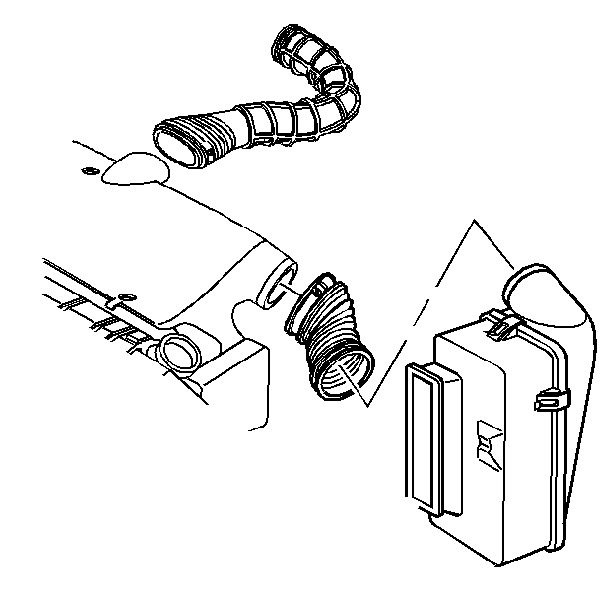
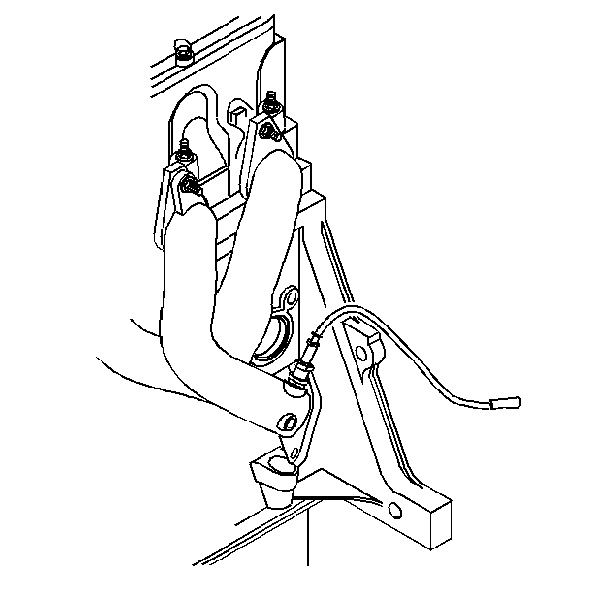
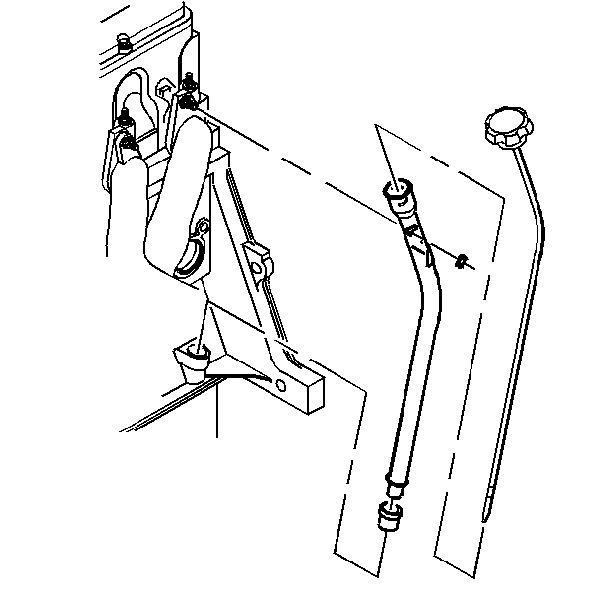
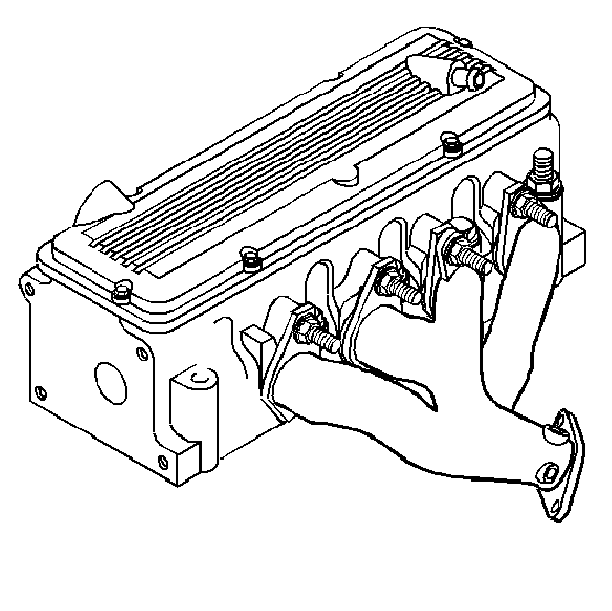
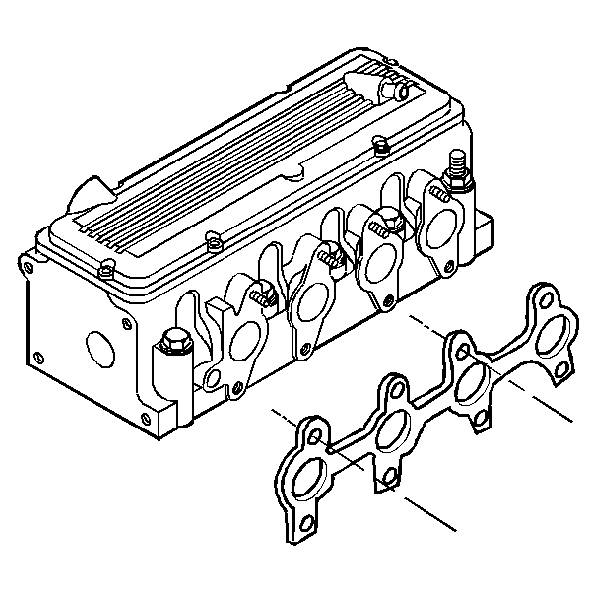
Cleaning Procedure
Clean the following items:
- Clean the threads of the exhaust manifold studs.
- Clean the threads of the exhaust manifold nuts, or replace.
- Clean the gasket sealing surface on the cylinder head.
- Clean the gasket sealing surface on the exhaust manifold.
Inspection Procedure
- Inspect the manifold for the following problems:
- Inspect the flatness of the exhaust manifold mating surfaces. Use a straight edge and a feeler gage. Replace the exhaust manifold if sealing surfaces are warped.
| • | Cracks |
| • | Broken flanges |
| • | Gasket sealing surface damage |
Installation Procedure
- Install a new exhaust manifold gasket.
- Install the exhaust manifold.
- Install the exhaust manifold nuts.
- Install the oil level indicator tube.
- Install the oxygen (O2S) sensor.
- Install the air cleaner and the air inlet duct.
- Connect the negative battery cable.


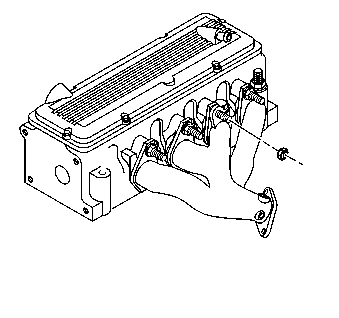
Tighten
Tighten the exhaust manifold nuts to 13 N·m (115 lb in).
Refer to General Information.

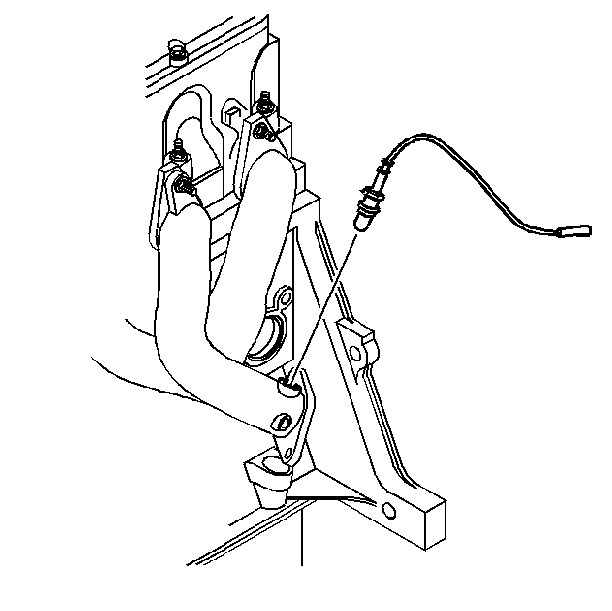
Tighten
Tighten the oxygen (O2S) sensor to 42 N·m (31 lb ft).

Exhaust Manifold Replacement 4.3L
Removal Procedure
- Disconnect the negative battery cable. Refer to General Information.
- Raise the vehicle.
- Disconnect the exhaust pipe from the exhaust manifolds.
- Lower the vehicle.
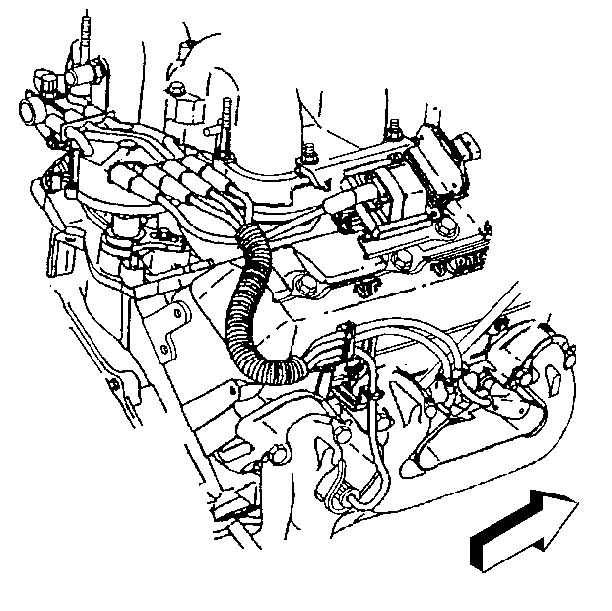
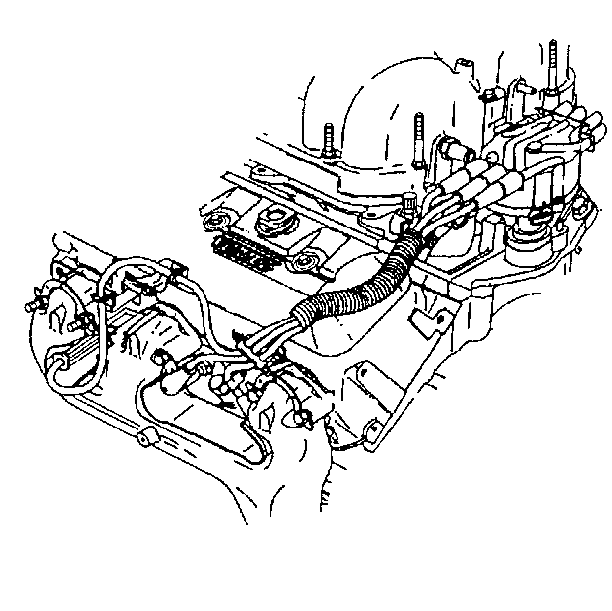
- Remove the retaining clips and the spark plug wires at the spark plugs.
- Remove the spark plug wires and the clips from the other side.
- Remove the following components from the left side of the engine:
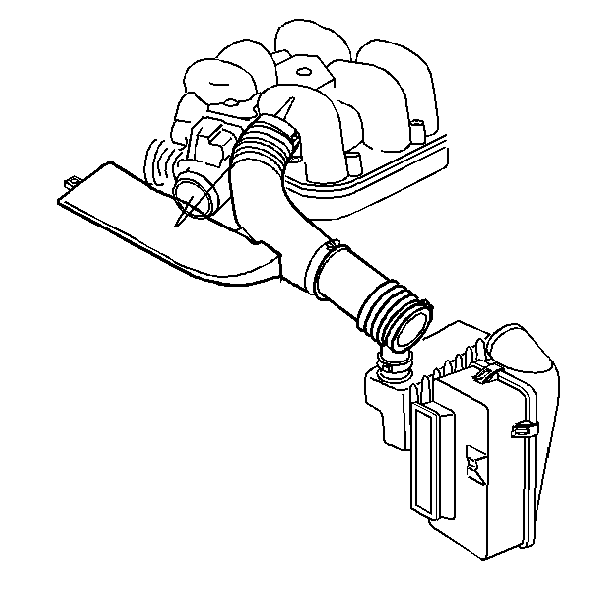
- Remove the air inlet duct assembly (4.3L).
- Remove the power steering pump rear bracket.
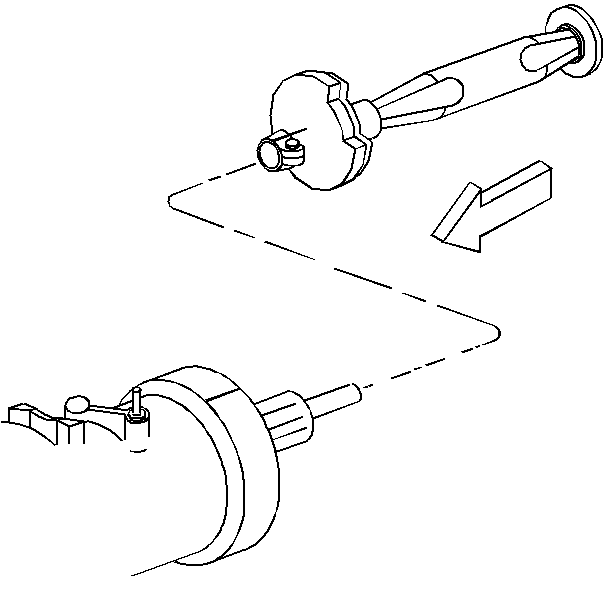
- Disconnect the steering intermediate shaft (if necessary) and move the shaft aside. Refer to Steering Wheel and Column.
- Remove the accessory bracket with the A/C compressor (if equipped). Lay these items aside. Do not discharge the A/C system.
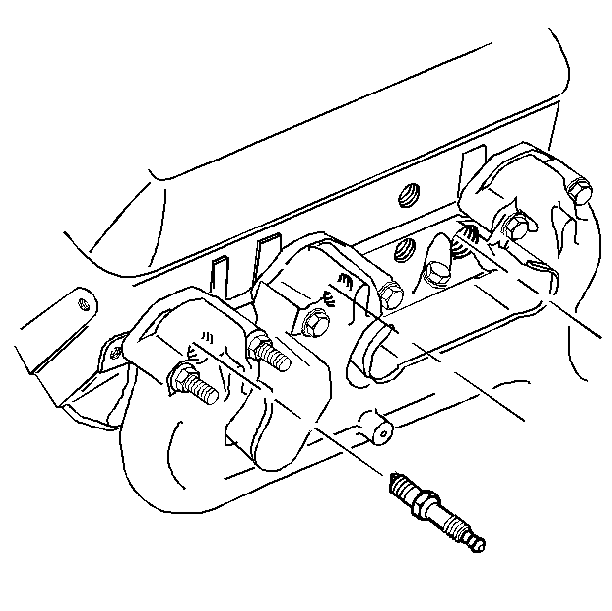
- Remove the spark plugs.
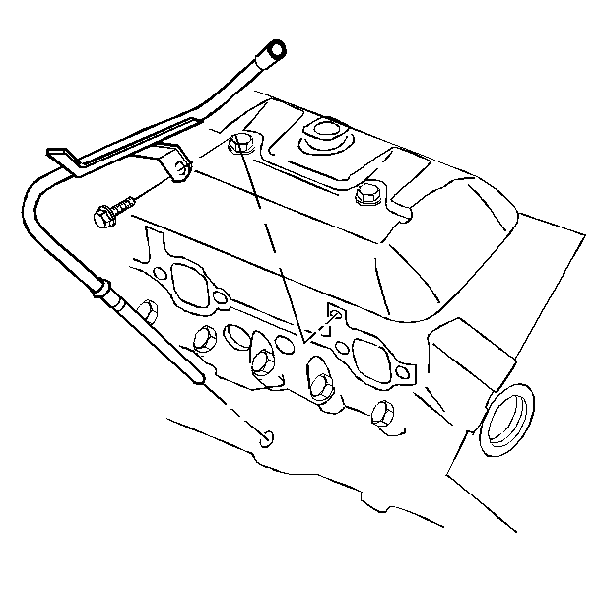
- Remove the oil level indicator tube.
- Remove the remaining wiring.
- Remove the exhaust manifold bolts.
- Remove the exhaust manifold retainers.
- Remove the exhaust manifold washers.
- Remove the spark plug wire heat shields.
- Remove the exhaust manifold.
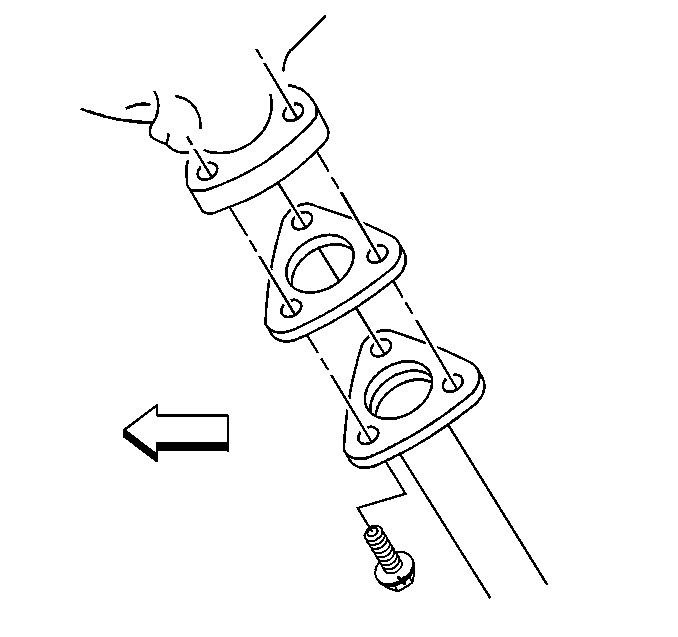
Cleaning Procedure
- Clean the mating surfaces on the cylinder head and the exhaust manifold.
- Clean the threads on the exhaust manifold bolts and studs.
Installation Procedure
Notice: Replacement of exhaust system parts must be OEM standard to ensure that the vehicle operates as designed.
- Install the exhaust manifold.
- Install the exhaust manifold washers.
- Install the exhaust manifold retainers.
- Install the exhaust manifold bolts.
- Refer to General Information.
- Bend the retainer tabs over the heads of the bolts.
- Raise the vehicle.
- Support the vehicle with safety stands.
- Connect the exhaust pipe to the exhaust manifold.
- Lower the vehicle.
- Install the spark plugs.
- Install the following components:
- Install the spark plug wires and the retaining clips.
- Connect the negative battery cable.
Tighten
| • | Tighten the exhaust manifold bolts (center tube) to 36 N·m (26 lb ft). |
| • | Tighten exhaust manifold bolts (all others) to 28 N·m (20 lb ft). |
Tighten
Tighten the exhaust pipe to manifold nuts to 28 N·m (20 lb ft).


| • | The steering shaft (if necessary). Refer to Steering Wheel and Column. |
| • | The oil level indicator tube |
| • | The air conditioning compressor with accessory bracket. |
| • | The spark plug heat shields. |

