For 1990-2009 cars only
Removal Procedure
Important: The engine front cover oil seal may be replaced without removing the engine front cover from the engine.
Refer to Crankshaft Front Cover Oil Seal Replacement .- Remove the crankshaft balancer.
- Remove the water pump.
- Drain the engine oil.
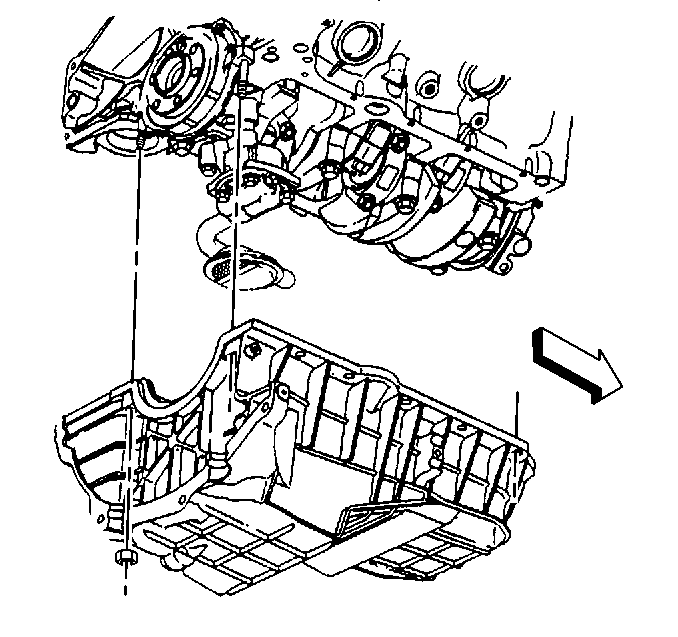
- Remove all the engine oil pan fasteners except the two nuts at the rear of the engine.
- Carefully separate the engine oil pan from the engine front cover.
- Disconnect the crankshaft position (CKP) sensor wire.
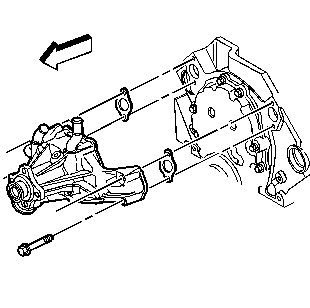
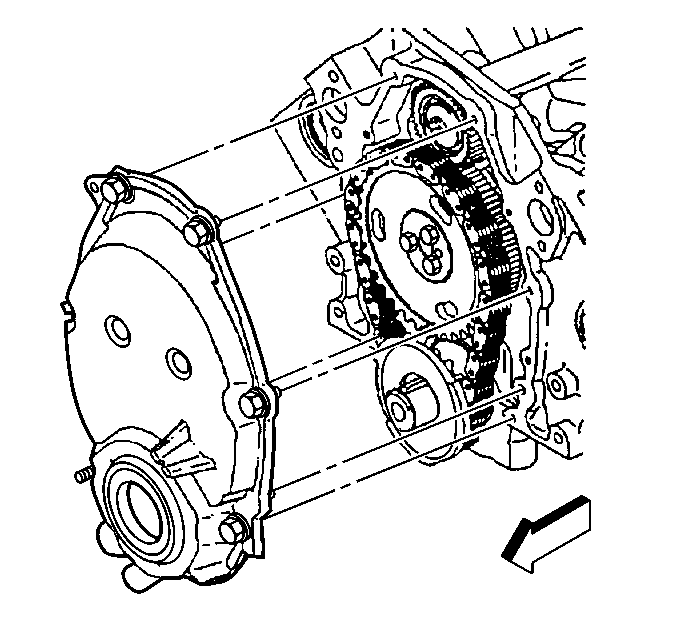
- Remove the engine front cover.
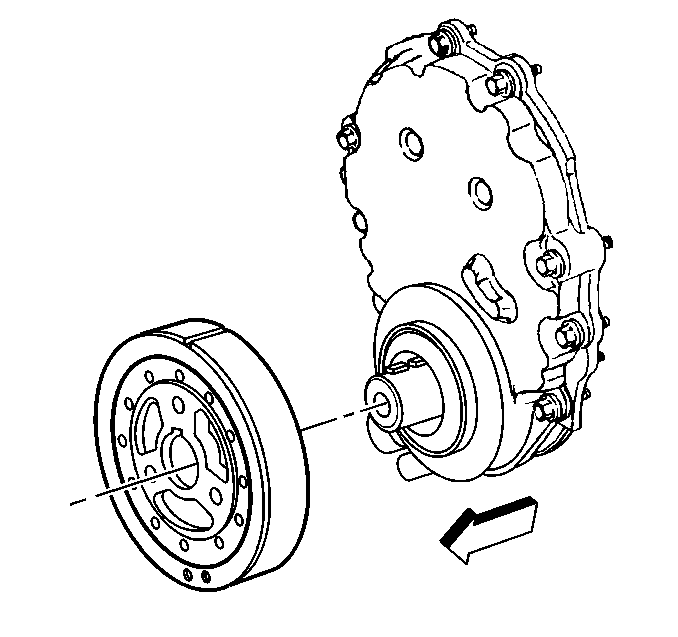
Refer to Crankshaft Balancer Replacement .
Refer to Water Pump Replacement in Engine Cooling.
Refer to Engine Oil and Oil Filter Replacement .
Refer to Engine Front Cover Removal .
Installation Procedure
- Install the engine front cover.
- Clean all sealer from the corners of the oil pan gasket where it meets the engine front cover.
- Apply a 5 mm (0.196 in) bead of approved adhesive 25 mm (1.0 in) long to the engine front cover to engine block junction.
- Install the engine oil pan.
- Connect the crankshaft position (CKP) sensor wire.
- Install the water pump.
- Install the crankshaft balancer.
Refer to Engine Front Cover Installation .
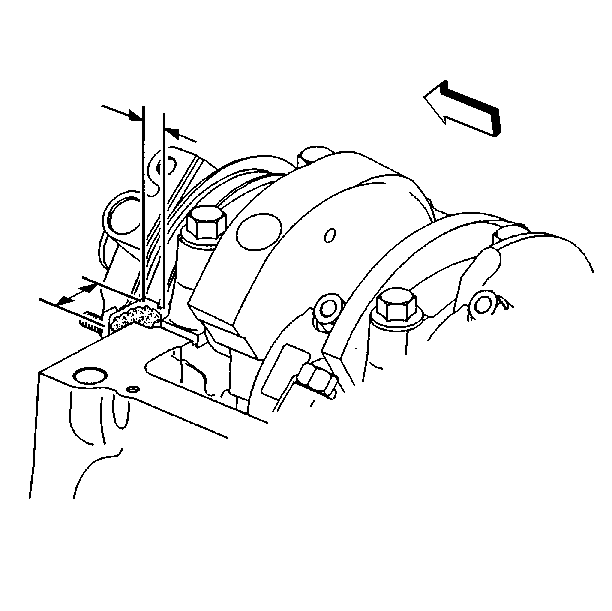
Important: Apply the proper amount of approved adhesive 25 mm (1.0 in) into the areas where the engine front cover meets the engine block oil pan surface.
Refer to Oil Pan Installation .
Refer to Water Pump Replacement in Engine Cooling.
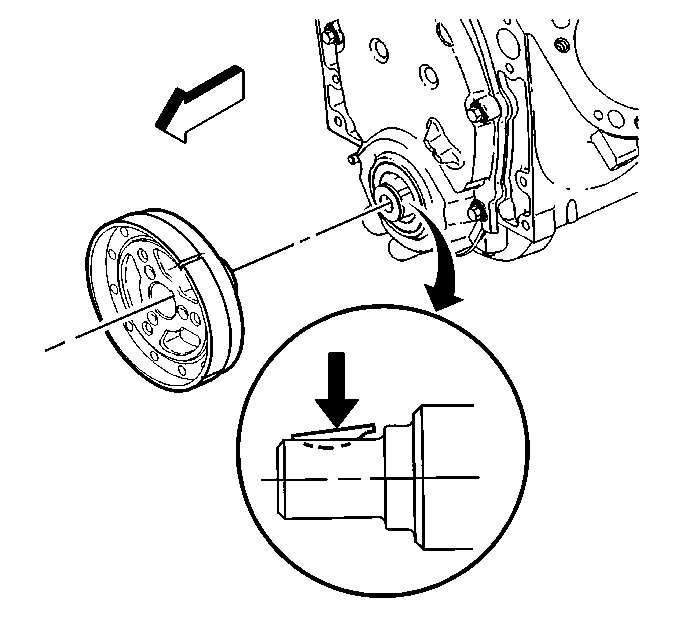
Refer to Crankshaft Balancer Replacement .
