In order to determine the extent of damage to the structure of a vehicle, it is important to know how and where to measure the vehicle.
Refer to the dimension chart below that applies to vehicle model for body measurement specifications. Dimension tolerances are within 0-3 mm (0-0.12 in) of the given specification.
Reference Points
Reference points are locations on a vehicle which correspond to specific measuring points. Reference points are used when checking the vehicle structure.
Dimension charts use the center of a hole, the center of a bolt head or nut, etc. as a reference point. A description and location chart tell you how and where the measurements should be taken. The most accurate reference point is a gauge hole or a control hole used by the assembly plant in order to control tolerances when the vehicle was built.
Control Holes

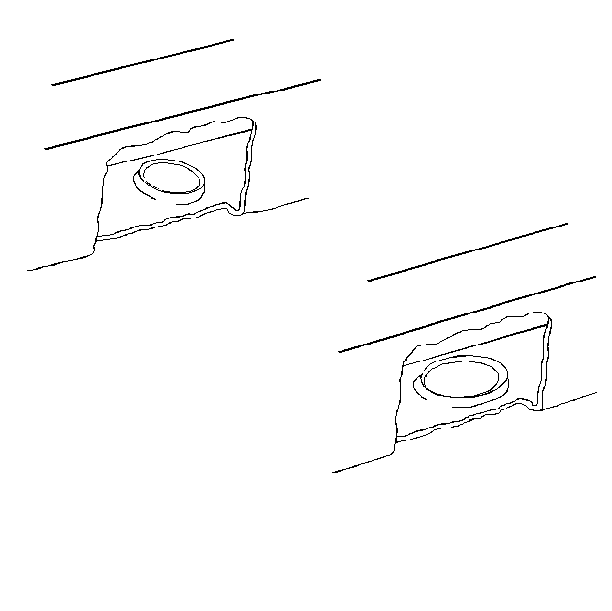
Control holes are round or oval holes located in the underbody frame structure sections (upper and body sides). Some control holes are identified from other holes by a turned up lip on the inside of the hole. This reinforced lop reduces the possibility of hole distortion and increases accuracy during assembly. When measuring underbody dimensions, utilize control points whenever possible in order to get accurate readings.
