Removal Procedure
Caution: Halogen bulbs contain gas under pressure. Handling a bulb improperly
could cause it to shatter into flying glass fragments. To help avoid personal
injury:
• Turn off the lamp switch and allow the bulb to cool before changing
the bulb. • Leave the lamp switch OFF until the bulb change is complete. • Always wear eye protection when changing a halogen bulb. • Handle the bulb only by its base. Avoid touching the glass. • Keep dirt and moisture off the bulb. • Properly dispose of the used bulb. • Keep halogen bulbs out of the reach of children.
- Remove the battery (right headlamp mounting bracket only). Refer to Battery Replacement in Engine Electrical.
- Remove the air cleaner intake duct (left headlamp mounting bracket only).
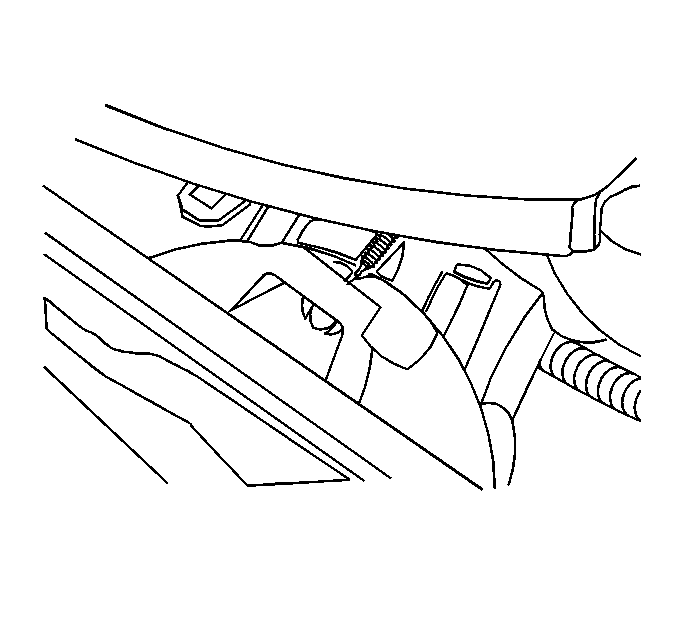
- Turn the red locking tab upward to the UNLOCK position, as noted on the rear of the headlamp.
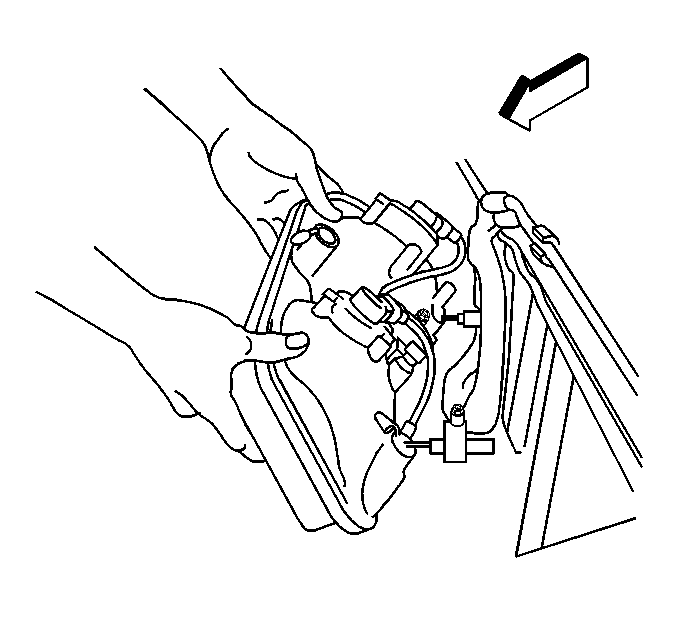
- Remove the headlamp from the upper retainer. Pull forward on the headlamp in order to release the headlamp from the retainer.
- Pull upward on the headlamp in order to remove the headlamp from the lower retainers.
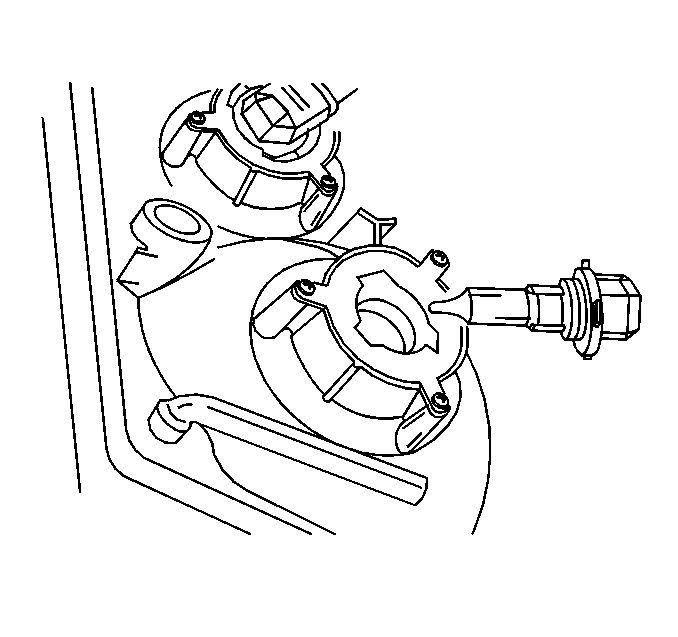
- Remove the bulbs from the headlamp. Push in and rotate the bulbs ¼ turn counter-clockwise.
- Remove the nuts that retain the headlamp mounting bracket to the radiator support.
- Remove the headlamp mounting bracket from the vehicle.


Installation Procedure
Notice: Avoid touching the bulb or letting the bulb come in contact with anything damp. Oil from your skin or moisture on the bulb can cause the bulb to explode when the bulb is turned on. If either comes in contact with the bulb, clean the bulb with alcohol or a suitable degreaser and wipe the bulb dry.
- Install the headlamp mounting bracket to the vehicle.
- Install the bolts that retain the headlamp mounting bracket to the radiator support.
- Install the nuts that retain the headlamp mounting bracket to the radiator support.
- Install the bulbs to the headlamp. Push in and rotate the bulbs ¼ turn clockwise.
- Install the headlamp to the lower retainers. Ensure that the wiring harness is not pinched.
- Push the headlamp rearward in order to install the headlamp to the upper retainer.
- Push the red locking tab downward to the LOCK position as noted on the rear of the headlamp.
- Install the air cleaner intake duct.
- Install the battery (right side only). Refer to Battery Replacement in Engine Electrical.

Notice: Use the correct fastener in the correct location. Replacement fasteners must be the correct part number for that application. Fasteners requiring replacement or fasteners requiring the use of thread locking compound or sealant are identified in the service procedure. Do not use paints, lubricants, or corrosion inhibitors on fasteners or fastener joint surfaces unless specified. These coatings affect fastener torque and joint clamping force and may damage the fastener. Use the correct tightening sequence and specifications when installing fasteners in order to avoid damage to parts and systems.
Tighten
Tighten the bolts to 7 N·m (62 lb in).
Tighten
Tighten the nuts to 7 N·m (62 lb in).


