Removal Procedure
Tools Required
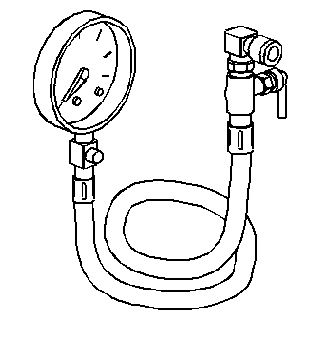
| • | J 39765 Fuel
Sender Lock Nut Wrench |
- Relieve the fuel system pressure. Refer to the
Fuel Pressure Relief
.
- Drain the fuel tank. Refer to
Fuel Tank Draining
.
- Remove the fuel tank. Refer to
Fuel Tank Replacement
.
- Remove the fuel sender assembly. Refer to
Fuel Sender Assembly Replacement
.
- Remove the fuel pump and fuel level sender electrical retaining
clip at the top of the modular fuel sender assembly.
- Disconnect the fuel pump and fuel level sender electrical connector.
- Depress the 3 tabs securing the upper fuel reservoir and
slide upward until free of the lower reservoir.
- Depress the tab on the fuel level sensor while sliding up and
out of the housing.
- Remove the retaining clip from the electrical connector.
- Remove the fuel level sender wires from the connector, taking
care to note the location of the wires.
Installation Procedure
Important:
| • | Make sure the wires are routed under the fuel level sender. |
| • | Make sure the tab locks in place. |
- Install the fuel level sensor by sliding the sensor down into the housing.
- Slide the upper reservoir into the lower reservoir.
- Connect the 2 wires into the connector and lock with the retaining
clip.
- Connect the fuel pump and fuel level sensor electrical connector
and lock with the retaining clip.
- Reinstall the fuel sender assembly. Refer to
Fuel Sender Assembly Replacement
.
- Reinstall the fuel tank. Refer to
Fuel Tank Replacement
.
- Refill the fuel tank.
- Reinstall the fuel fill cap.
- Connect the negative battery cable. Refer to
Battery Replacement
in Engine Electrical.
- Inspect for leaks using the following procedure:
| 10.1. | Turn ON the ignition for 2 seconds. |
| 10.2. | Turn OFF the ignition for 10 seconds. |
| 10.3. | Turn ON the ignition. |
| 10.4. | Inspect for fuel leaks. |
