Removal Procedure
Tools Required:
| • | J 6125-1B Slide Hammer |
| • | J 23129 Axle Boot Remover |
- Raise and support the vehicle.
- Place the drain pan under the transaxle oil pan.
- Remove the oil pan bolts from only the front and the sides.
- Loosen the rear oil pan bolts about 4 turns.
- Lightly tap the oil pan with a rubber mallet or pry in order to allow the fluid to drain.
- Inspect the fluid color.
- Remove the remaining oil pan bolts.
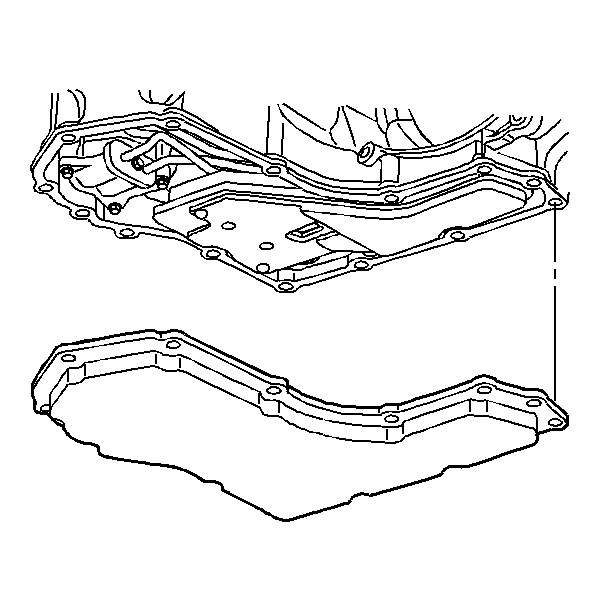
- Remove the oil pan.
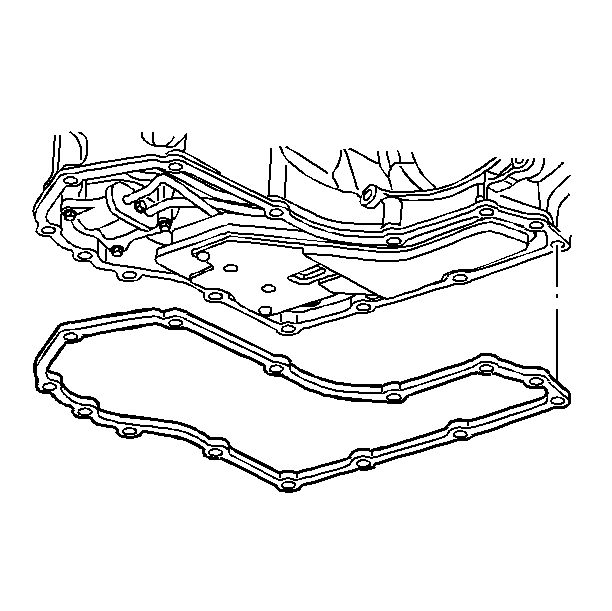
- Remove the oil pan gasket.
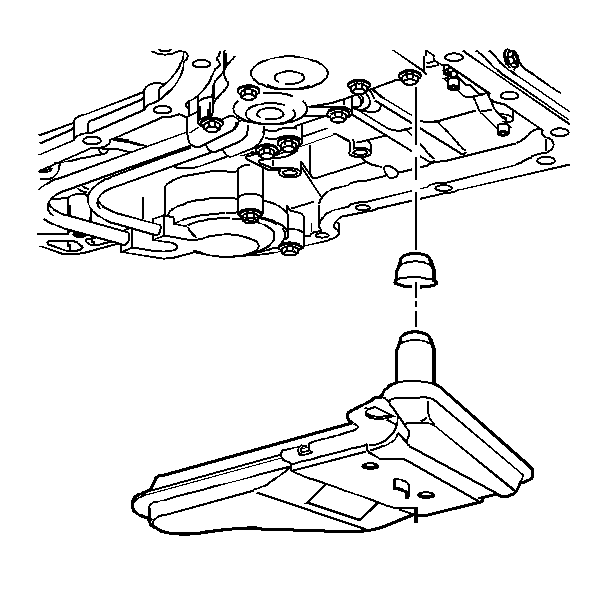
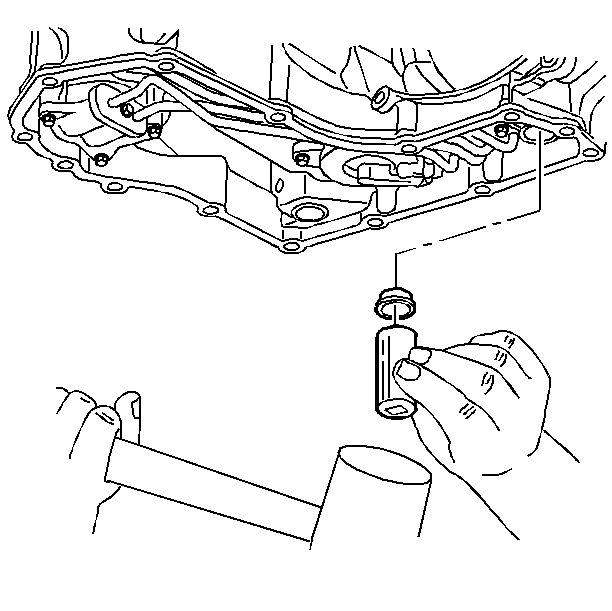
- Remove the oil filter. Use a long screwdriver in order to pry the oil filter neck out of the seal.
- Check the oil filter seal for damage or wear.
- As needed, remove the seal using the J 6125-1B and the J 23129 .
Caution: Refer to Vehicle Lifting Caution in the Preface section.
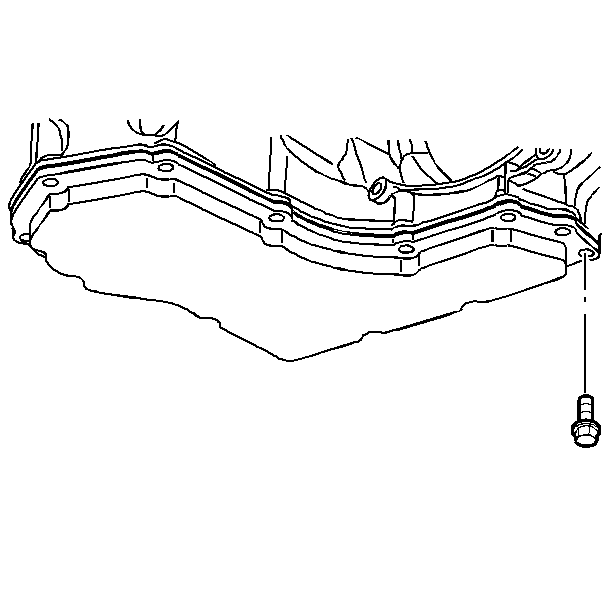
Notice: When removing the oil pan bolts, be careful not to damage the oil pan sealing surfaces. Such damage may result in oil leaks in this area.

Installation Procedure
- Install a new seal, as needed. Before installing, coat the new seal with a small amount of J 36850 or petroleum jelly.
- Install a new filter into the case.
- Install the oil pan gasket. Use a new gasket if the sealing ribs are damaged.
- Clean and dry the oil pan. Inspect the pan for damage and replace the pan if necessary.
- Install the oil pan.
- Clean and dry the oil pan. Inspect the pan for damage and replace the pan if necessary.
- Install the oil pan.
- Install the oil pan bolts.
- Lower the vehicle.
- Fill the transaxle to the proper level with DEXRON® III fluid or the equivalent. Refer to Fluid Capacity Specifications .
- Inspect the pan for leaks. Recheck the transmission fluid level. Refer to Transmission Fluid Check .


Notice: Use the correct fastener in the correct location. Replacement fasteners must be the correct part number for that application. Fasteners requiring replacement or fasteners requiring the use of thread locking compound or sealant are identified in the service procedure. Do not use paints, lubricants, or corrosion inhibitors on fasteners or fastener joint surfaces unless specified. These coatings affect fastener torque and joint clamping force and may damage the fastener. Use the correct tightening sequence and specifications when installing fasteners in order to avoid damage to parts and systems.
Tighten
Tighten the bolts to 16 N·m (12 lb ft).
