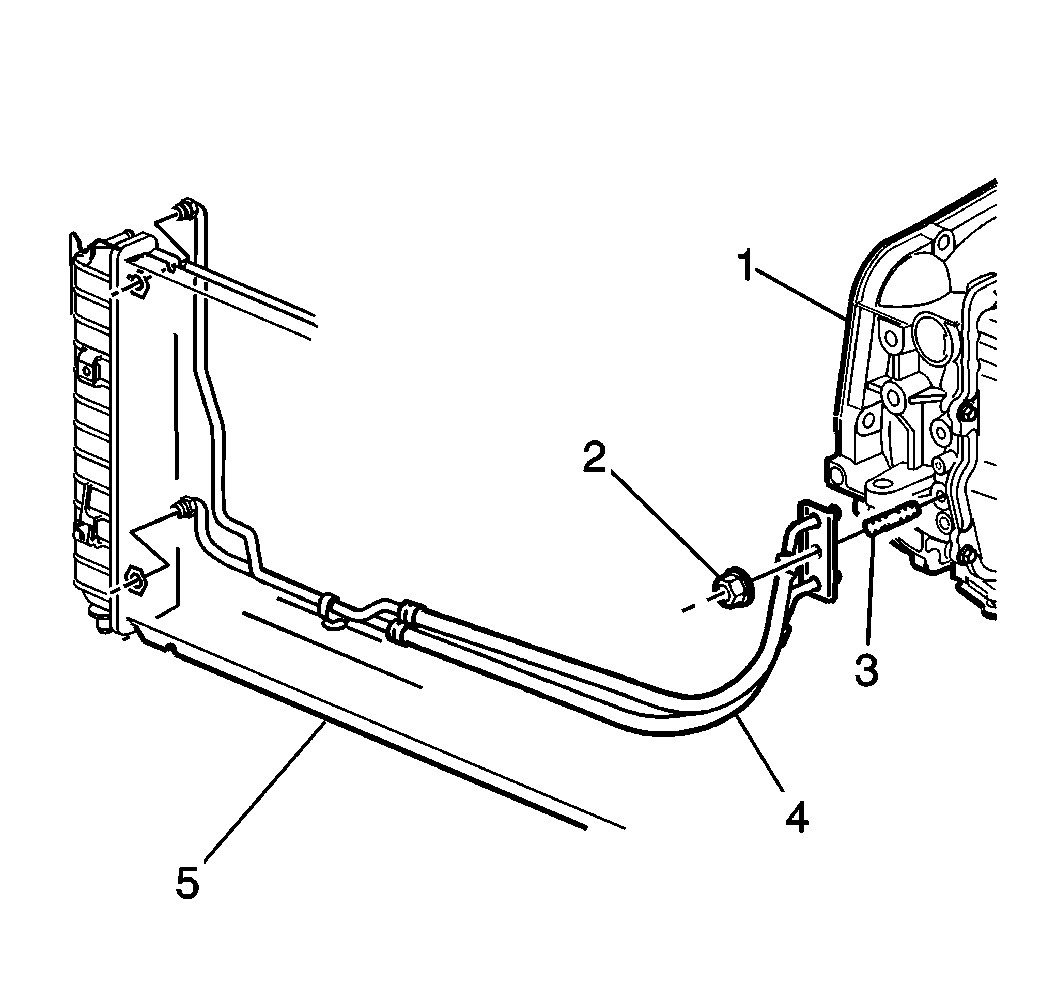
Use only double-wrapped and use only brazed steel pipe meeting the GM specification 123M or equivalent if replacement of the transaxle oil cooler pipes are required. Ensure the pipe is double-flared.
Removal Procedure
Notice: Allow sufficient clearance around the transaxle oil cooler pipes and around the hoses to prevent damage or wear which may cause fluid loss.
- Raise and support the vehicle. Refer to Lifting and Jacking the Vehicle in General Information.
- Position the drain pan.
- Remove the transaxle oil cooler hoses from the pipes.
- Remove the transaxle oil cooler pipe fittings at the radiator.
- Remove the transaxle oil cooler pipe clip bolt.
- Remove the transaxle oil cooler pipes.

Installation Procedure
- Install the transaxle oil cooler pipes.
- Install the transaxle oil cooler pipe clip bolt.
- Install the transaxle oil cooler pipe fittings at the radiator.
- Install the transaxle oil cooler hoses to the pipes.
- Lower the vehicle.
- Adjust the transmission fluid level.
- Inspect for proper completion of the repairs.
- Inspect for fluid leaks.

Important: The correct thread engagement is critical. Crossthreaded fittings can achieve proper tightness value and still leak.
Notice: Refer to Fastener Notice in the Preface section.
Tighten
Tighten the transaxle oil cooler pipe clip bolt to 4 N·m (27 lb in).
Tighten
Tighten the transaxle oil cooler pipe fittings to 20-40 N·m (15-30 lb ft).
Notice: Do NOT overfill the transaxle. The overfilling of the transaxle causes foaming, loss of fluid, shift complaints, and possible damage to the transaxle.
