Removal Procedure
Tools Required
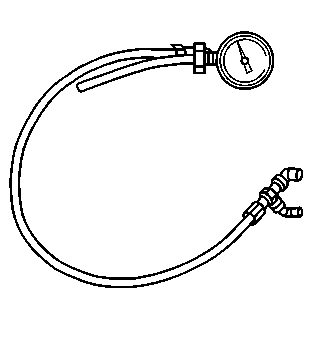
| • | J 39765
Fuel
Sender Lock Nut Wrench |
Important: Only use oil free compressed air to blow out fuel pipes. If the in-line
fuel filter is plugged, the fuel tank should be inspected internally and cleaned
if necessary.
- Relieve the fuel system fuel pressure. Refer to the
Fuel Pressure Relief
.
- Drain the fuel tank. Refer
to
Fuel Tank Draining
.
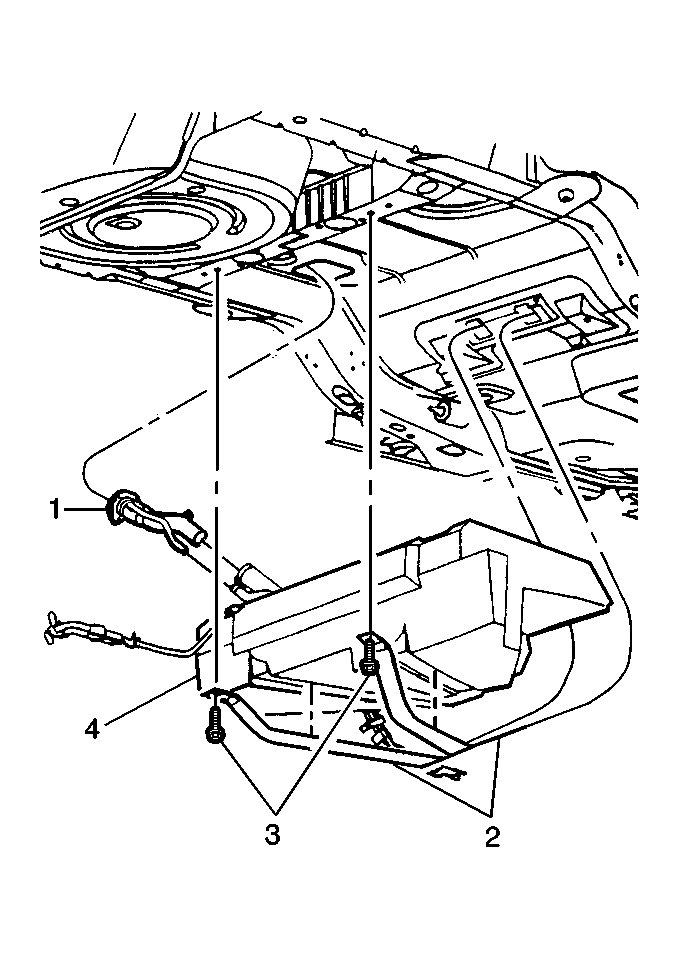
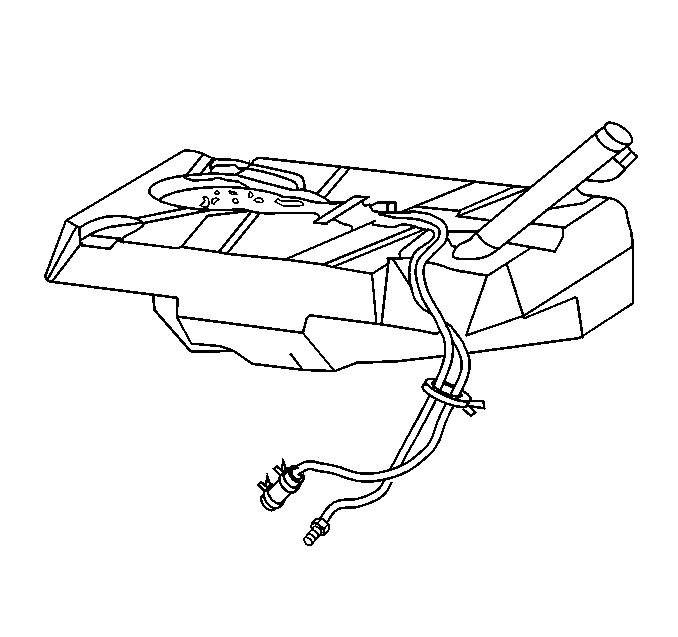
- Remove the fuel tank (4). Refer to
Fuel Tank Replacement
.
Important: When ever the fuel tank is cleaned, the fuel pump fuel strainer must
be inspected. If the fuel pump fuel strainer is contaminated, the fuel pump
fuel strainer must be replaced and the fuel pump must be inspected. The
fuel pump inlet for dirt and debris. If dirt and debris are found, the
fuel pump should be replaced.
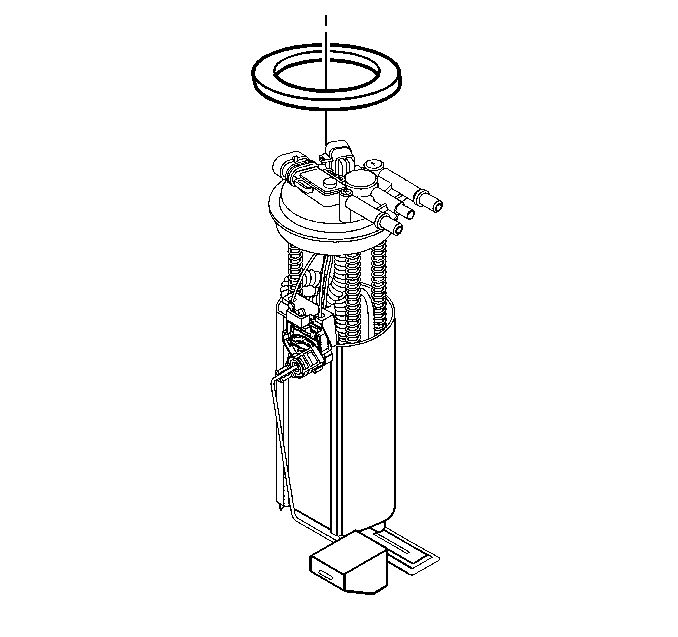
- Remove the fuel sender assembly. Refer to
Fuel Sender Assembly Replacement
.
Important: When flushing the fuel tank, the fuel and water mixture needs to be
treated as a hazardous material. The material needs to be handled in accordance
with all local, state, and federal regulations.
- Flush the fuel tank with hot water.
- Pour the water out of the fuel sender assembly opening in the
fuel tank.
- Rock the fuel tank in order to be sure that the removal of the
water from the fuel tank is complete.
Installation Procedure
- Install the fuel sender assembly. Refer to
Fuel Sender Assembly Replacement
.
- Install the fuel tank
(4). Refer to
Fuel Tank Replacement
.
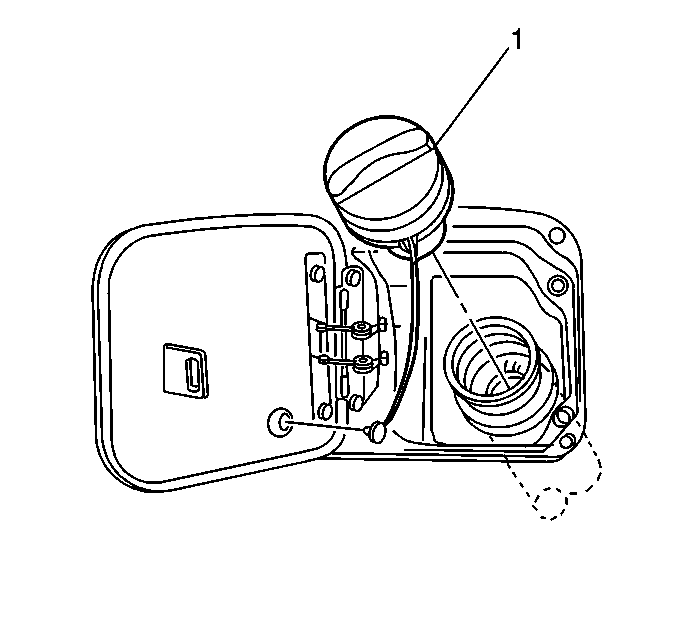
- Add fuel and install the
fuel tank filler pipe cap (1).
- Install the negative battery cable.
- Install the rear seat cushion. Refer to
Rear Seat Cushion Replacement
.
- Inspect for leaks.
| 6.1. | Turn the ignition switch to the On position for 2 seconds. |
| 6.2. | Turn the ignition switch to the Off for 10 seconds. |
| 6.3. | Turn the ignition switch to the On position. |
| 6.4. | Check for fuel leaks. |
