Use the following procedure in order to prepare the top strut mounting holes:
- Remove the top 3 fasteners from the strut tower.
- Lift the front of the vehicle by the body in order to separate the strut from the inner wheelhouse. Refer to Lifting and Jacking the Vehicle .
- Pop out the 2 guide pins.
- Hand file the excess metal in order to make slotted holes.
- Paint the exposed metal using rust preventative paint or primer.
- Lower the front of the vehicle.
- Install the strut attaching fasteners.
- Move the top of the strut forward or rearward in order to adjust the caster. A 1 mm (0.040 in) position change at the tower is about equal to a 0.1 degree change in the caster. Refer to Wheel Alignment Specifications .
- Perform a complete wheel alignment.

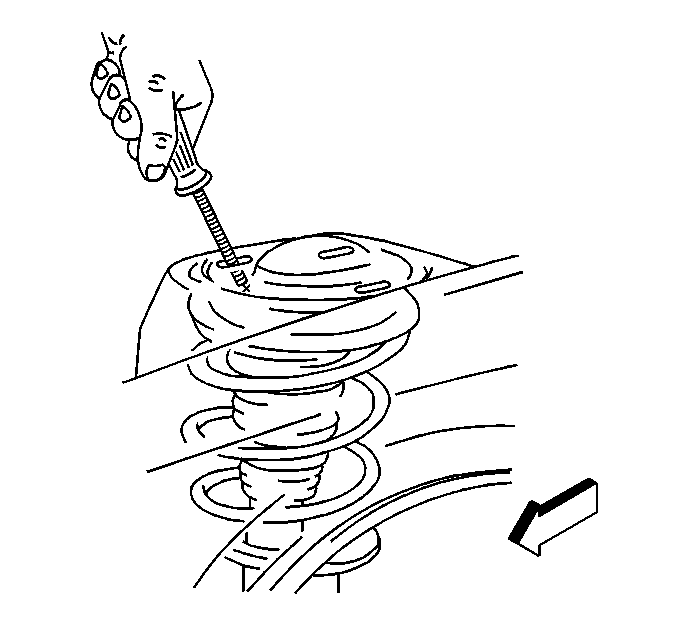
Do not tighten the fasteners at this time.
Notice: Use the correct fastener in the correct location. Replacement fasteners must be the correct part number for that application. Fasteners requiring replacement or fasteners requiring the use of thread locking compound or sealant are identified in the service procedure. Do not use paints, lubricants, or corrosion inhibitors on fasteners or fastener joint surfaces unless specified. These coatings affect fastener torque and joint clamping force and may damage the fastener. Use the correct tightening sequence and specifications when installing fasteners in order to avoid damage to parts and systems.
Tighten
Tighten the strut fasteners to 47 N·m (35 lb ft).
