For 1990-2009 cars only
Disassembly Procedure
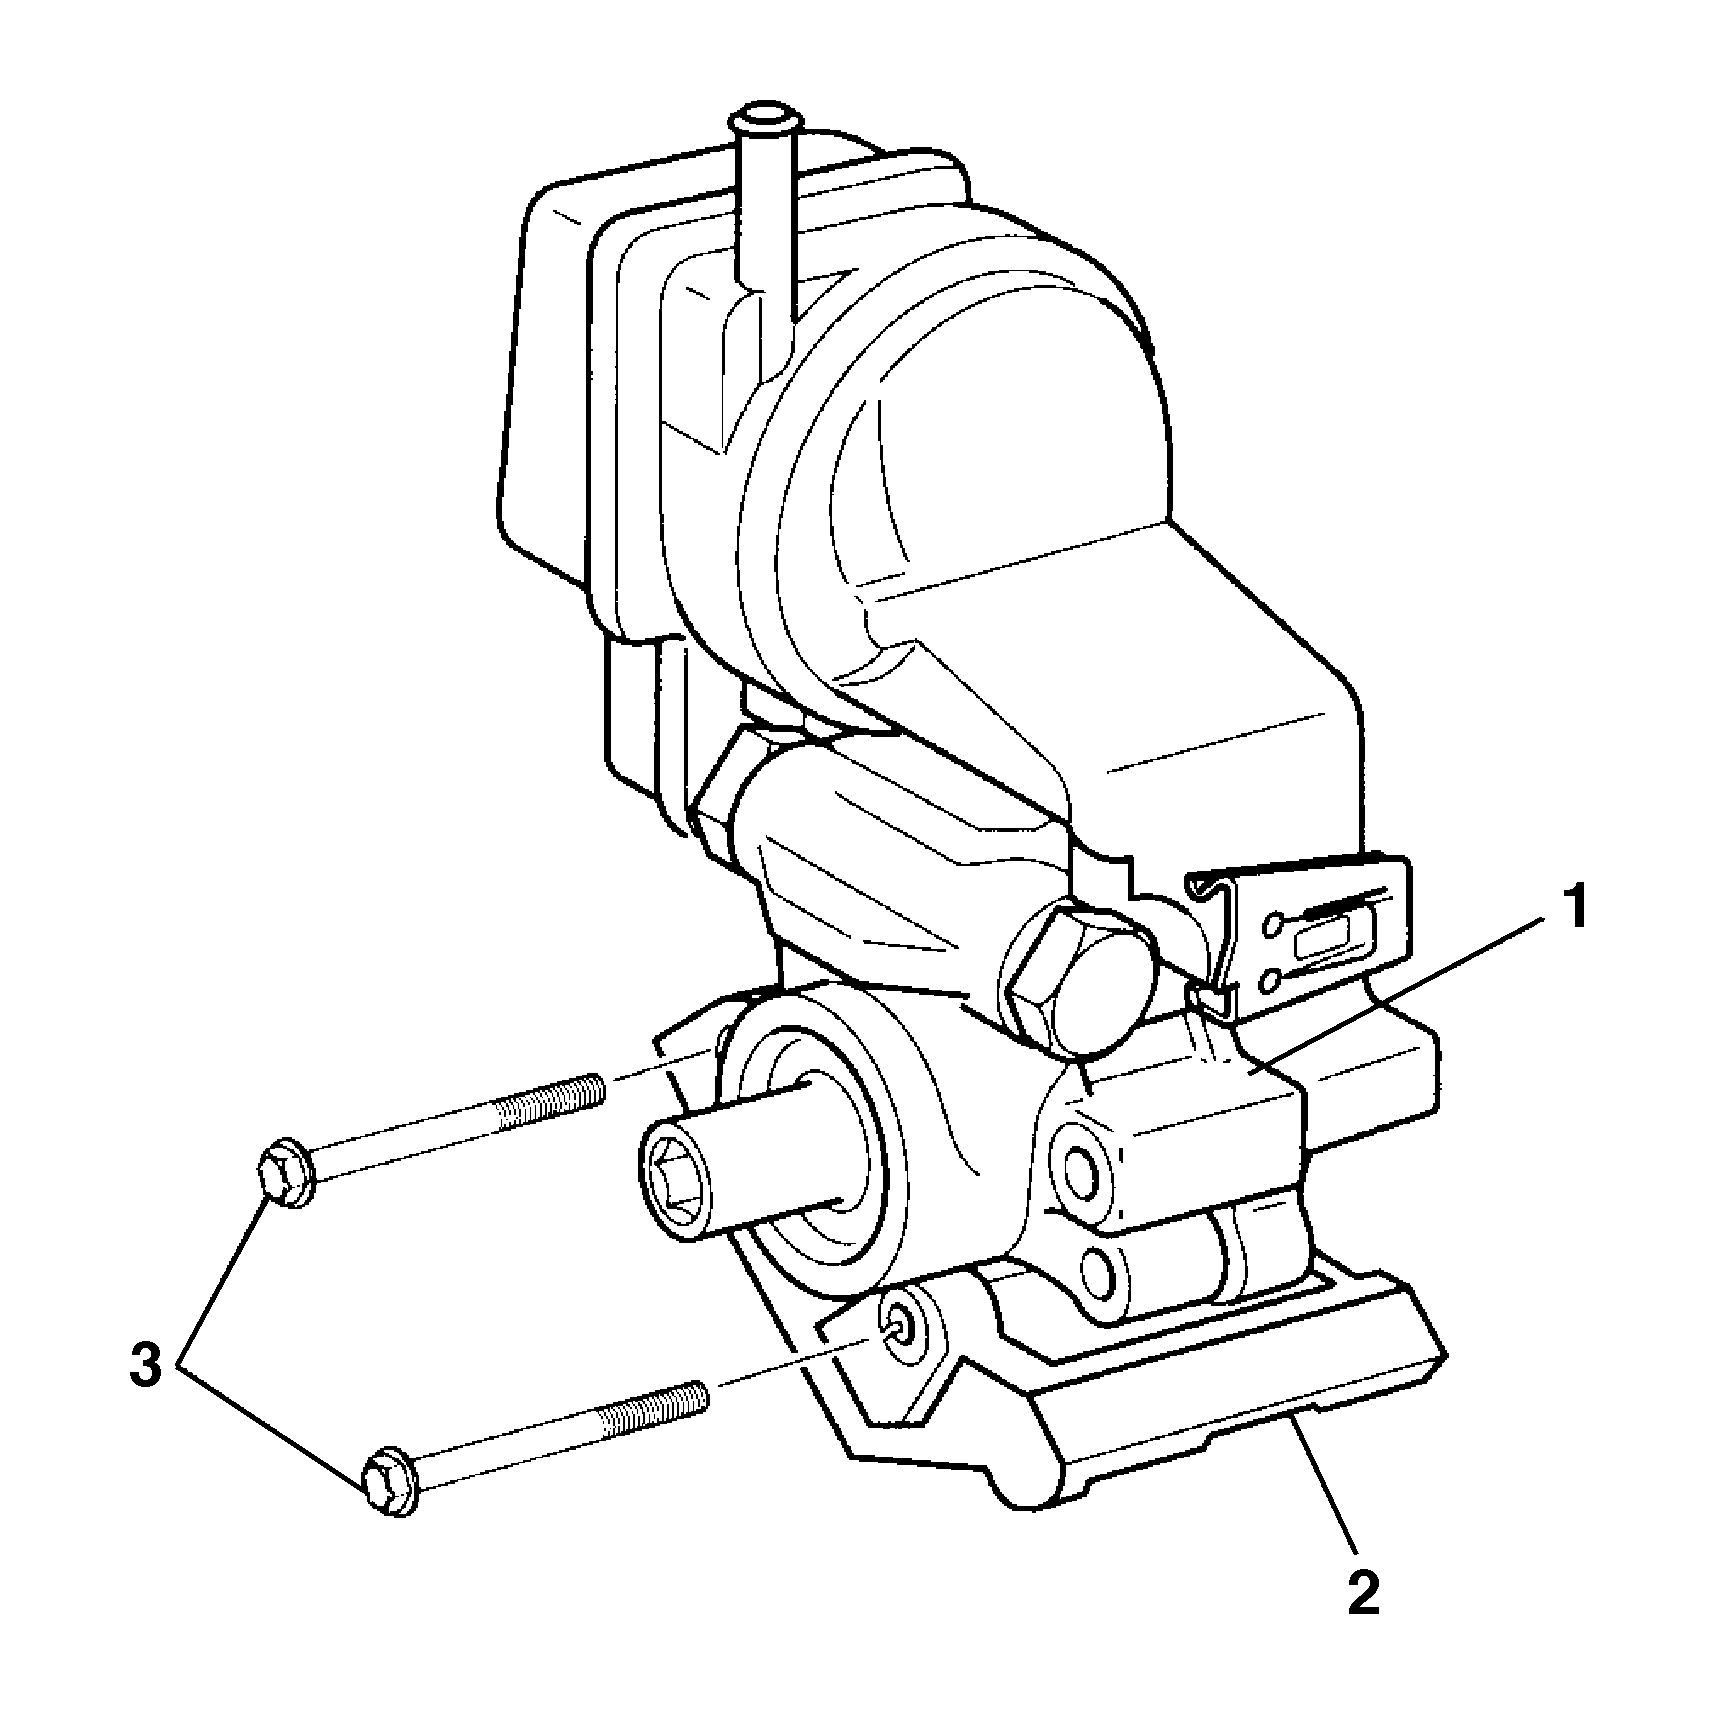
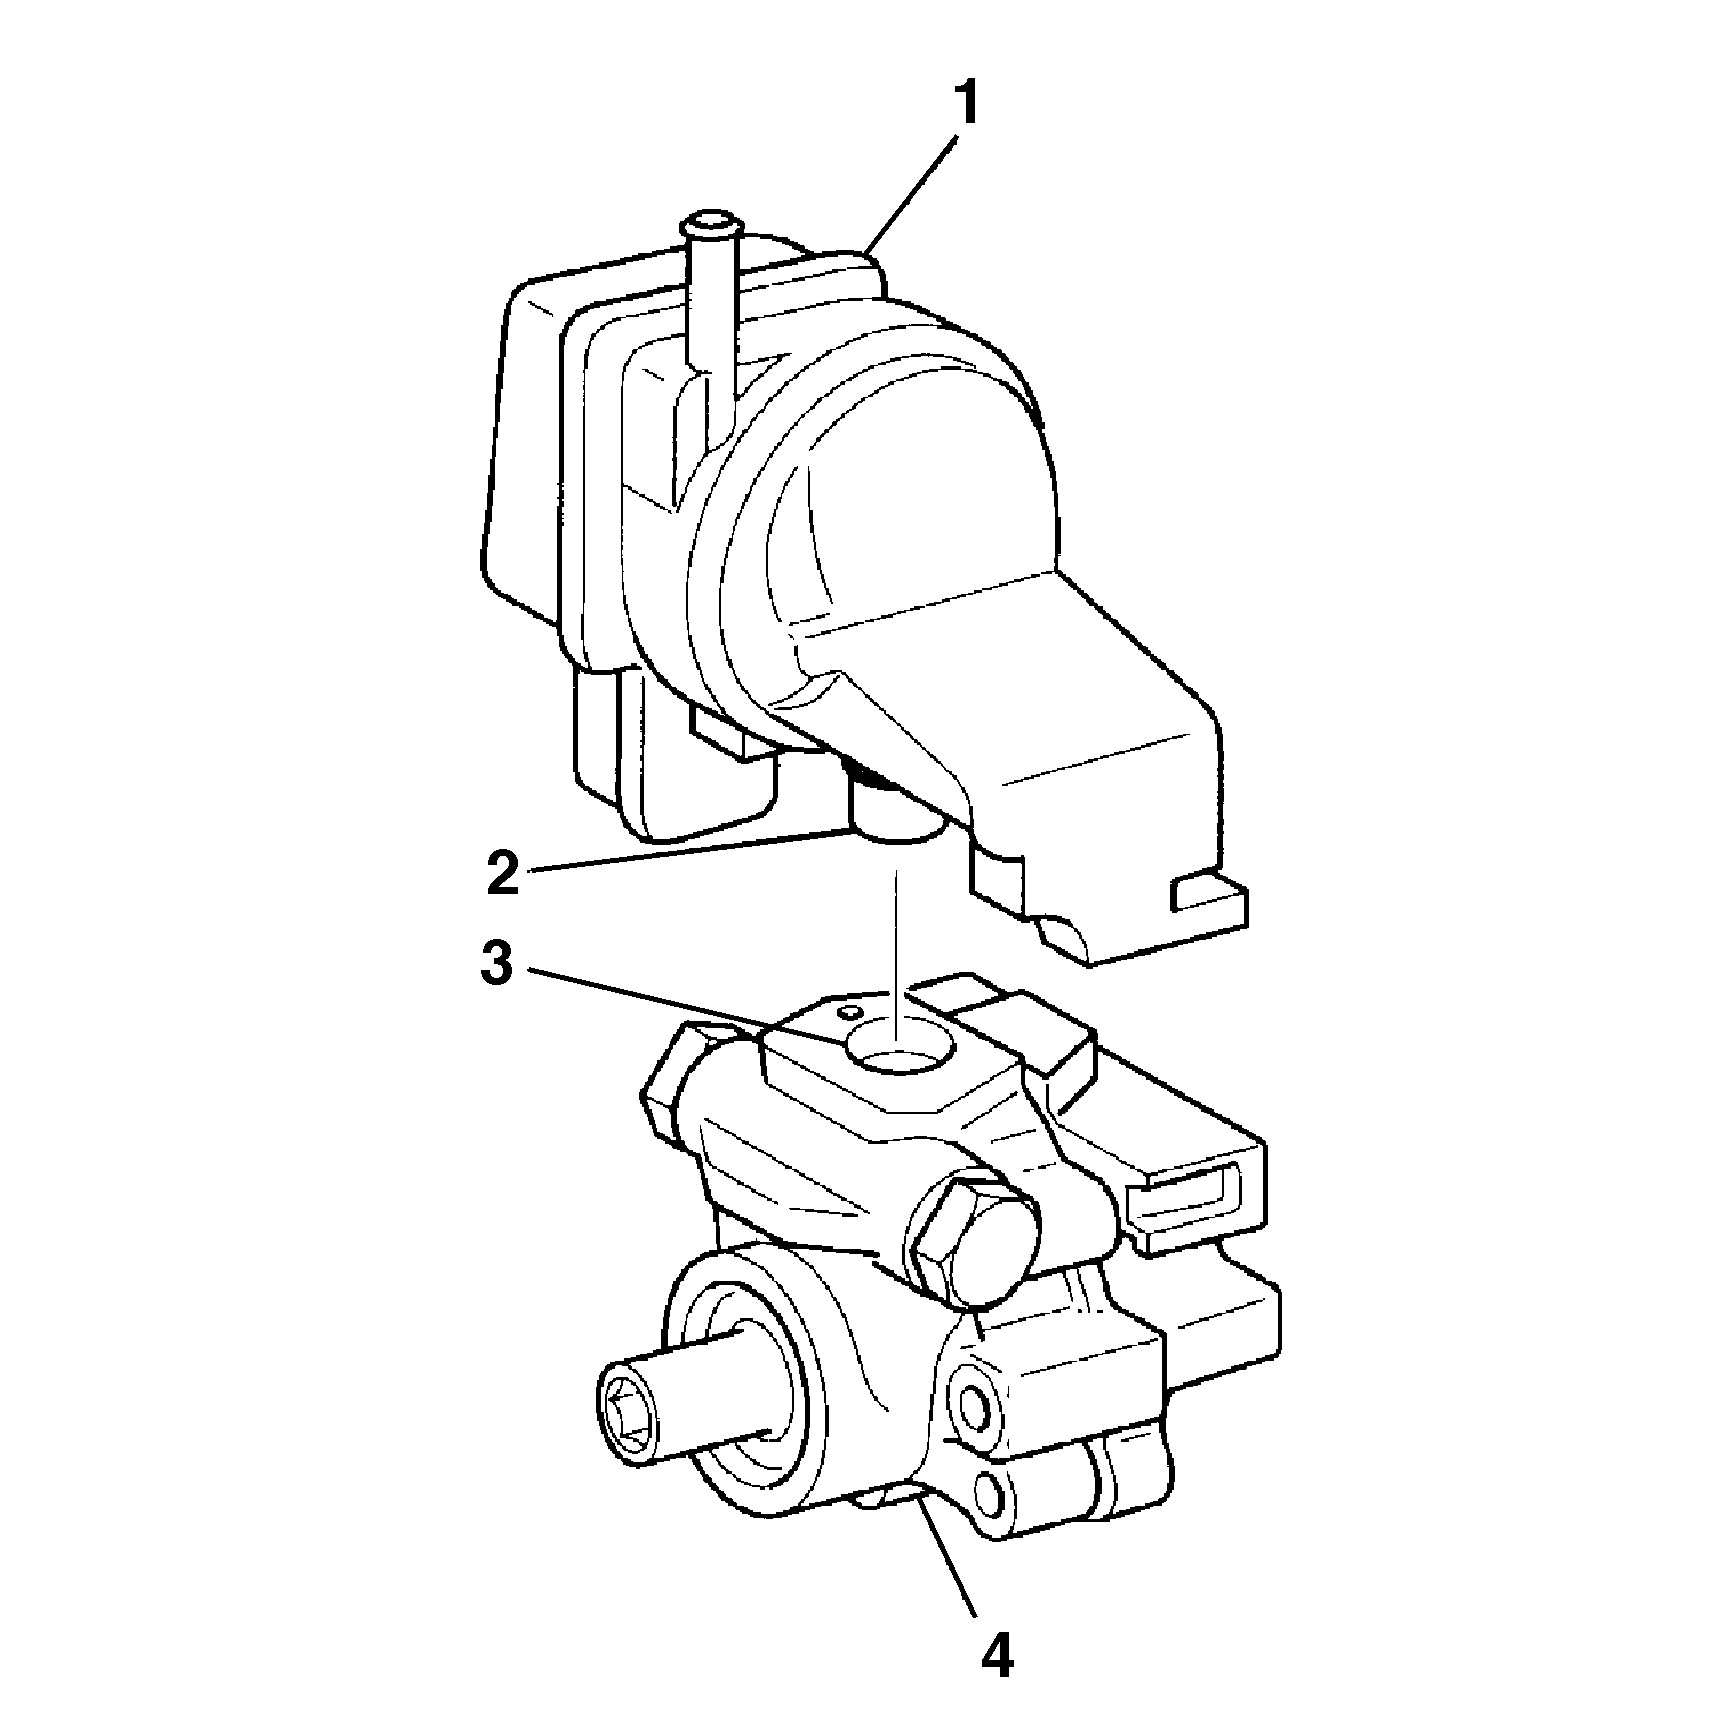
- Remove the mounting bracket bolts (3) from the mounting bracket assembly (2).
- Remove the mounting bracket assembly (2) from the pump (1).
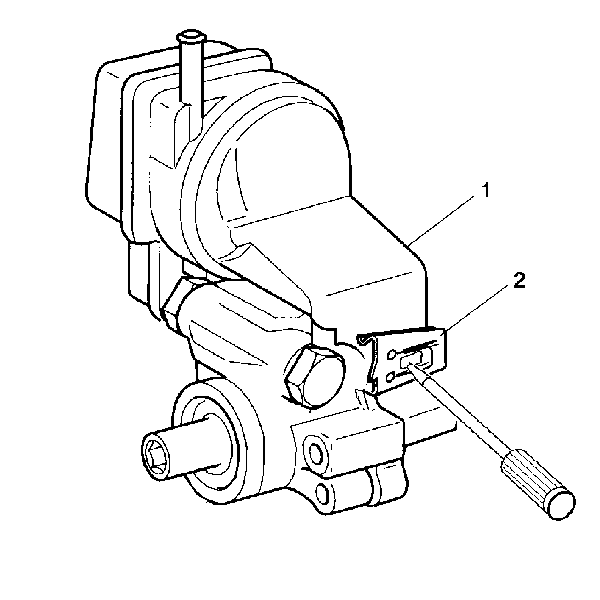
- Remove retaining clips (2) from the reservoir assembly (1) by inserting a screwdriver into the release clip tang. Tap the clip off with a hammer.
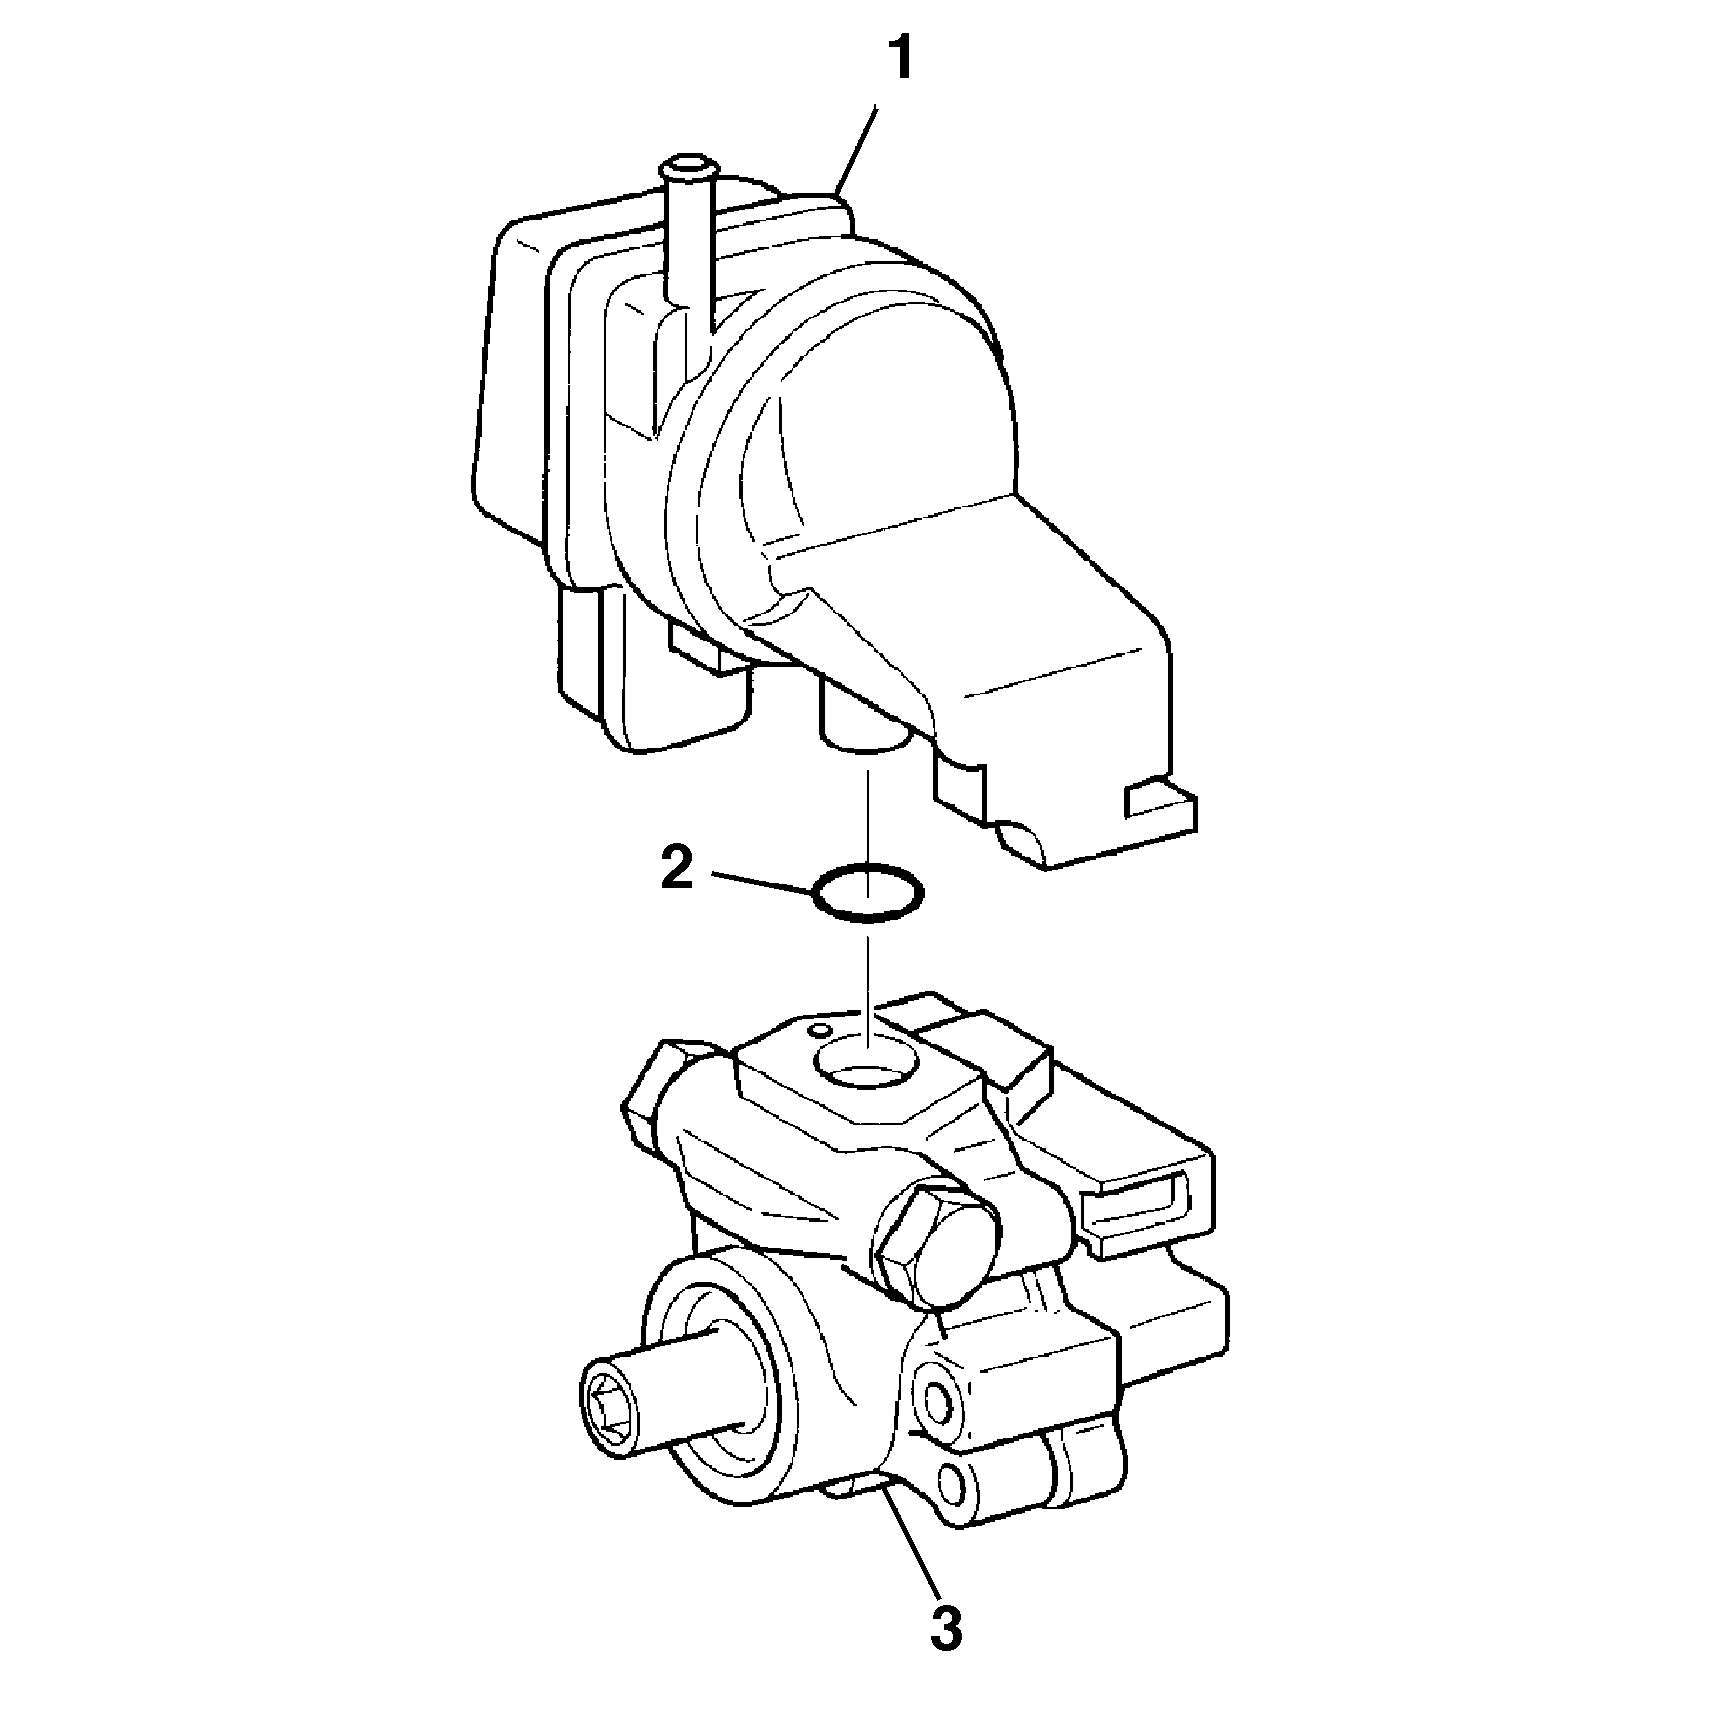
- Remove reservoir (1) from the hydraulic pump housing (3).
- Remove the O-ring seal (2) from the reservoir (1).
- Discard the O-ring seal (2).
Assembly Procedure
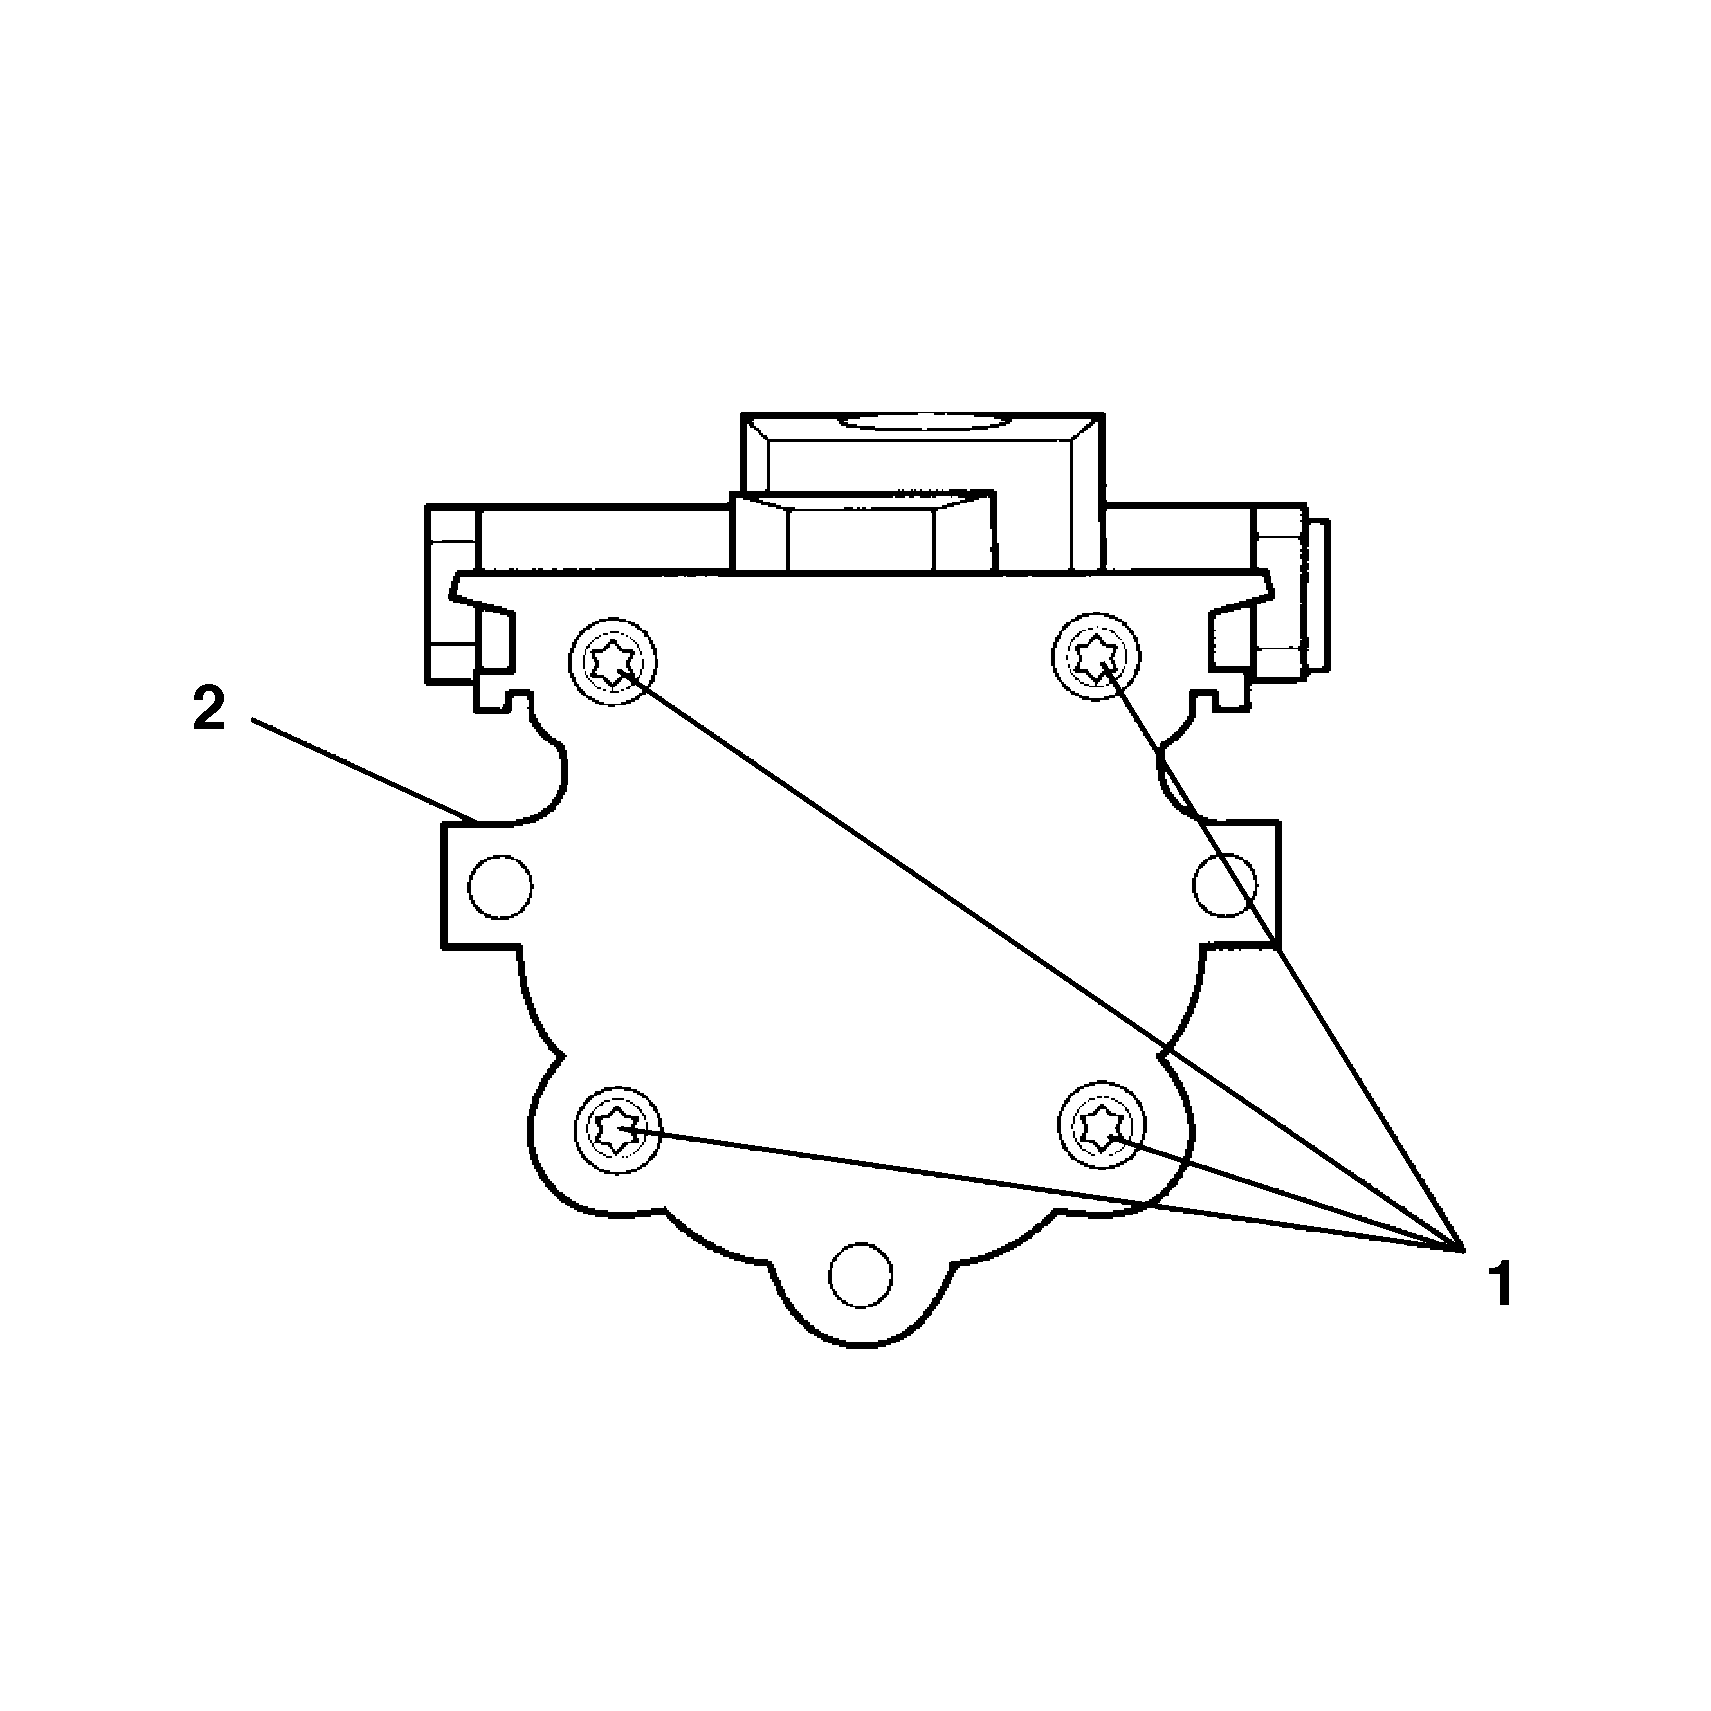
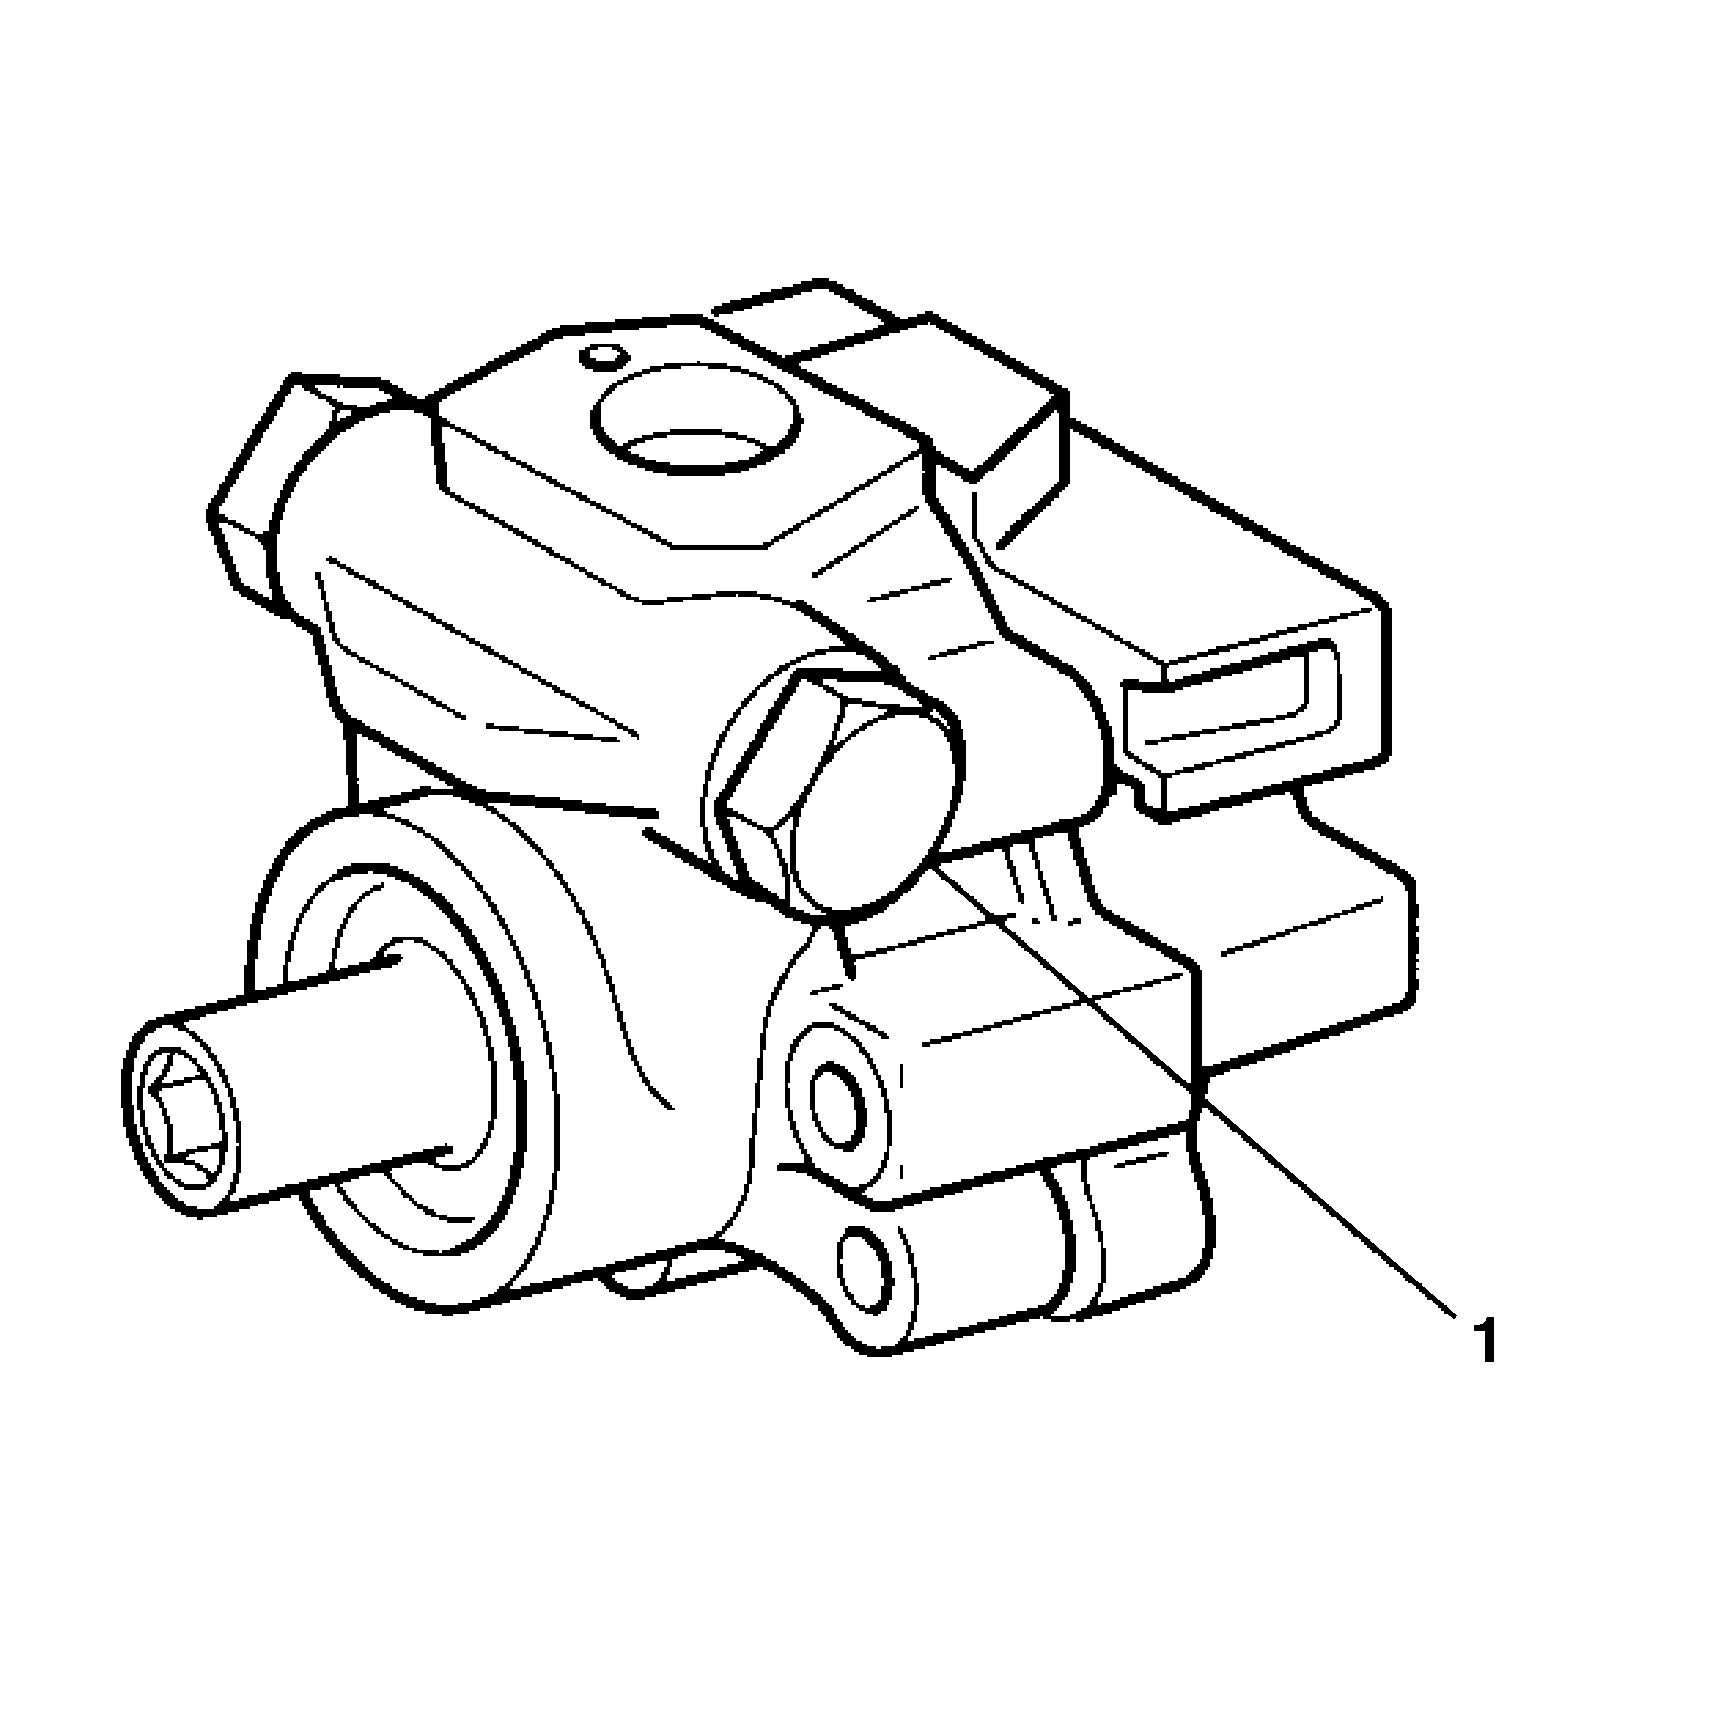
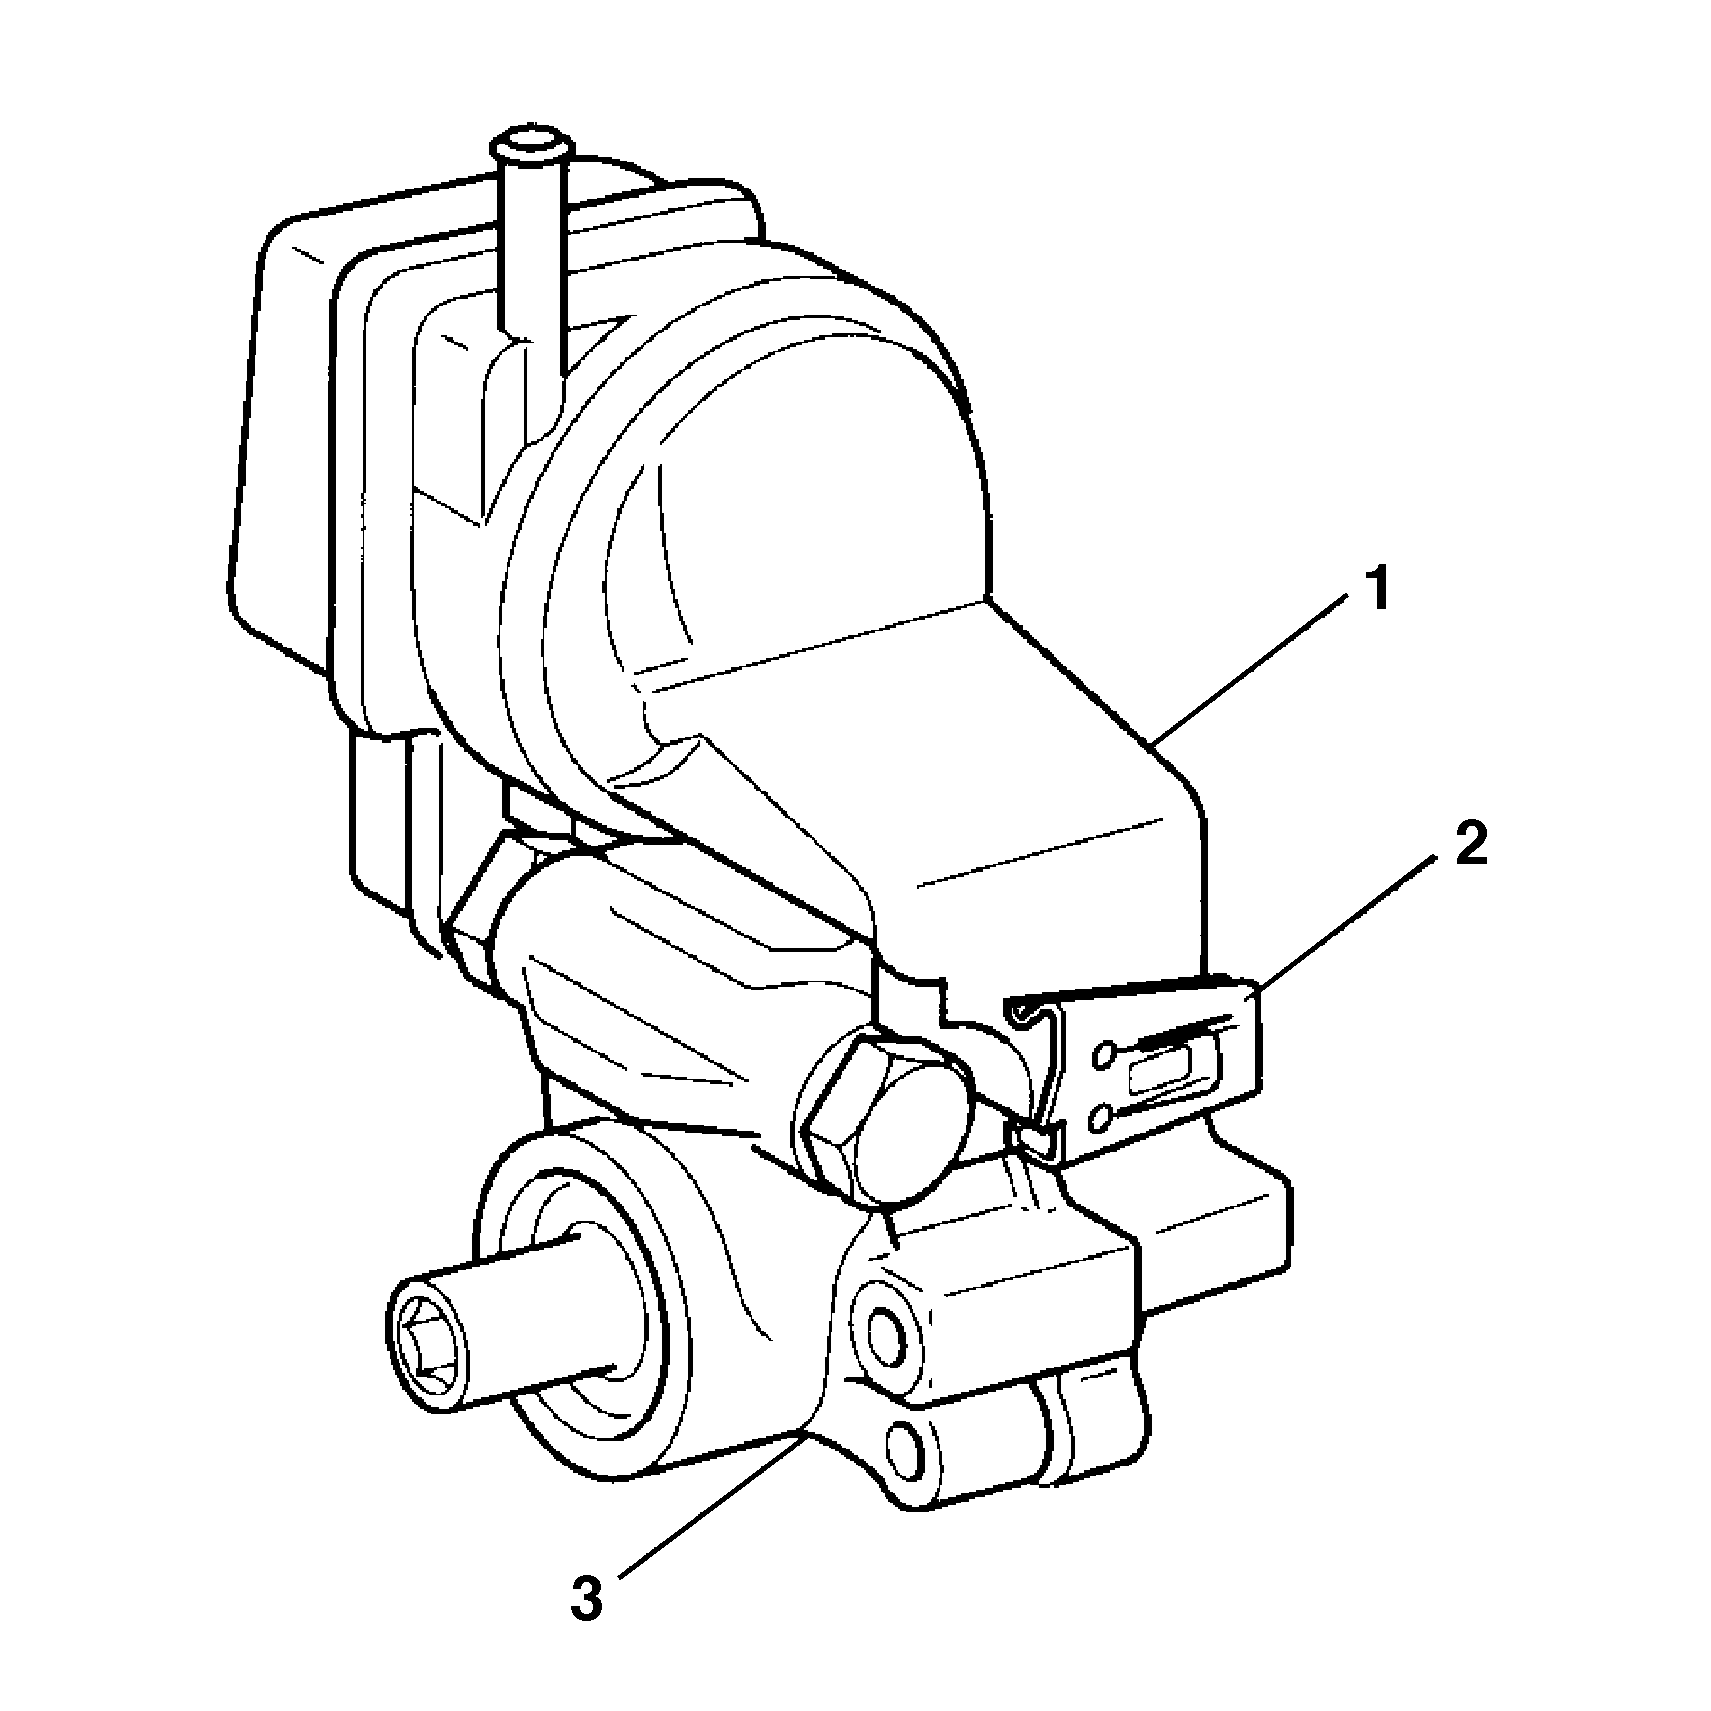
- Check the TORX® head bolts (1) on the hydraulic pump housing (2) for tightness.
- Check the valve bore plug (1) and the O-ring union fitting.
- Lubricate the new O-ring seal (2) with power steering fluid.
- Connect the O-ring seal (2) to the reservoir (1).
- Connect the reservoir assembly (1) to the hydraulic pump housing (4).
- Tap retaining clips (2) with a hammer.
- Attach the pump (1) to the mounting bracket assembly (2).
Notice: Refer to Fastener Notice in the Preface section.
Tighten
Tighten the TORX® head bolts (1) to 20-25 N·m
(15-18 lb ft).
Tighten
Tighten the valve bore plug (1) to 50-60 N·m
(37-44 lb ft).
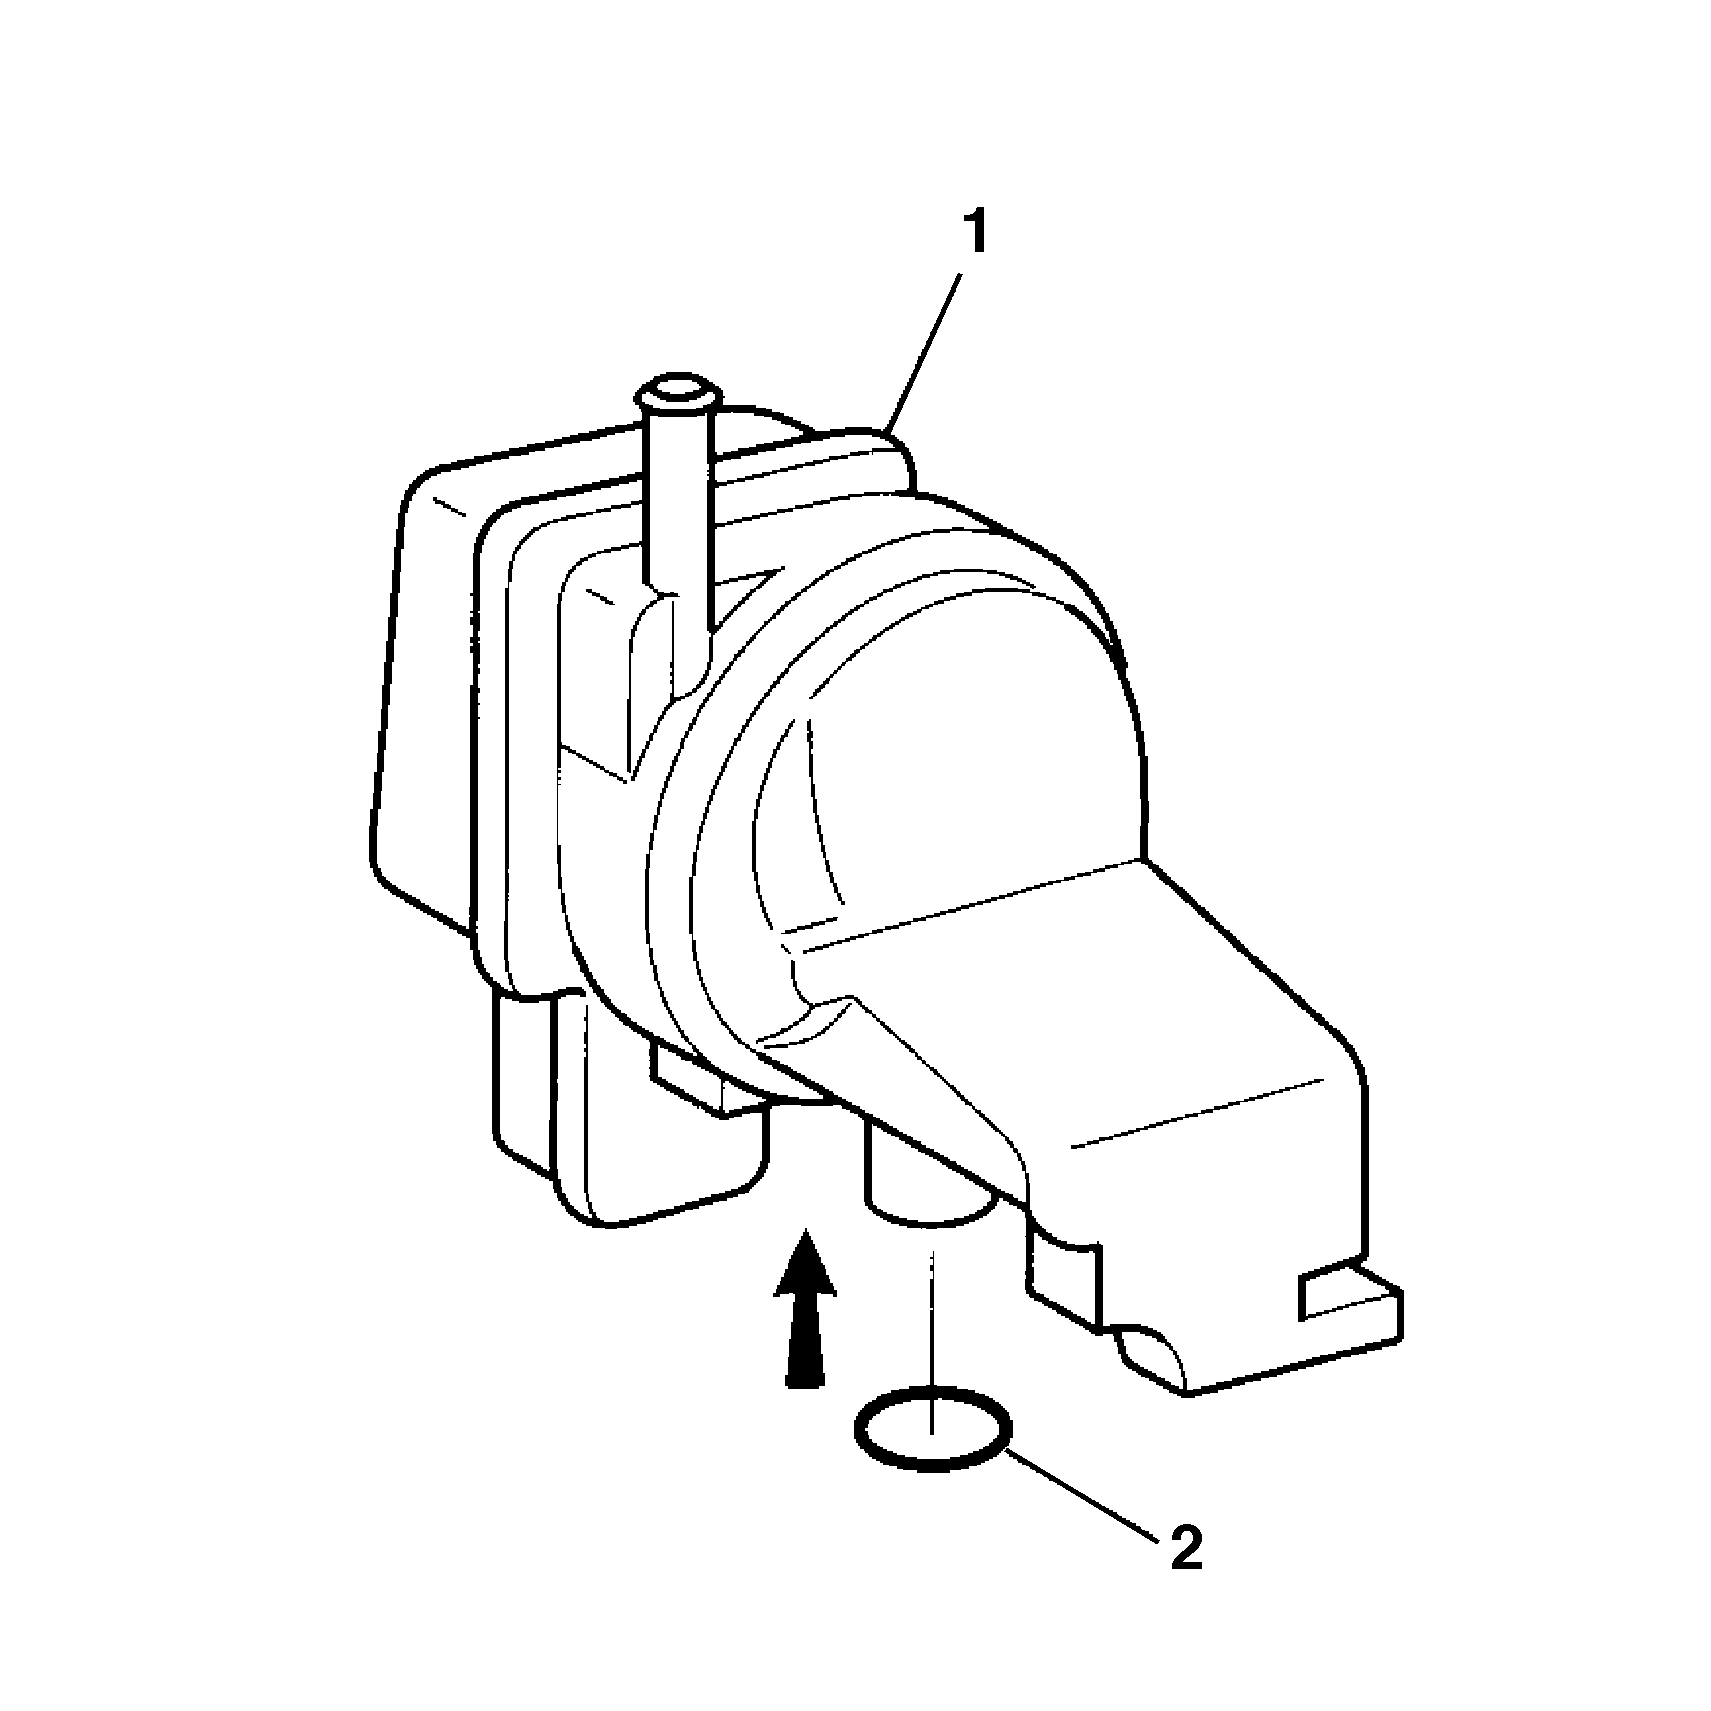
Important: Align the mounting hole on the reservoir (2) correctly with the hole on the top of the pump housing assembly (3) to prevent damage.
Important: Make sure the retaining clip (2) is fully seated on the reservoir assembly (1), so the reservoir assembly (1) and the pump housing (3) are securely fastened.
Tighten
Tighten the mounting bracket bolts (3) to 28-38 N·m
(21-28 lb ft).
