For 1990-2009 cars only
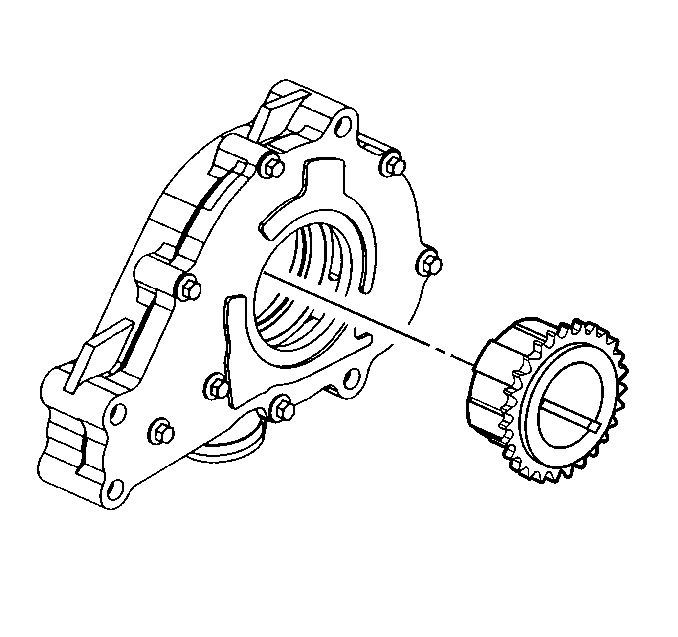
- Align the crankshaft sprocket splines with the oil pump gerotor and install the sprocket in the oil pump.
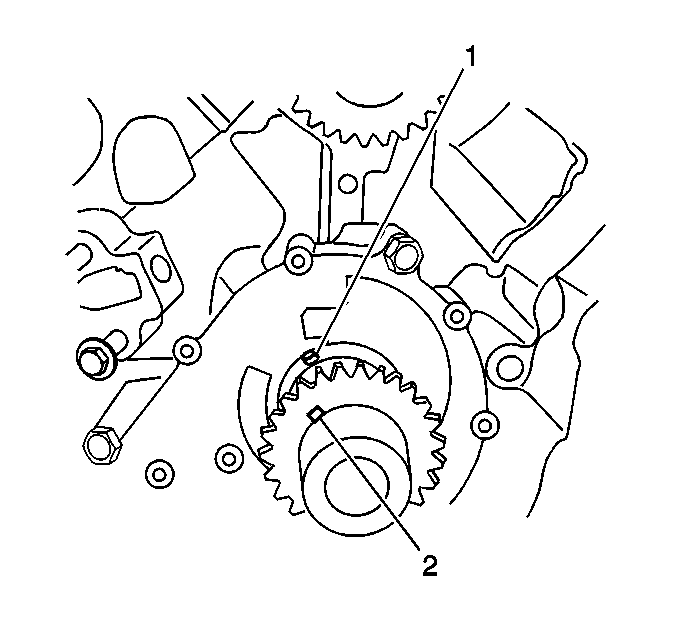
- Place the pump and sprocket assembly in position by rotating the crankshaft sprocket until the machined slot (2) is indexed with the drive pin (1) in the crankshaft.
- Slide the pump and sprocket onto the crankshaft until a positive stop is felt. Ensure that the crankshaft sprocket is aligned with the drive pin in the crankshaft.
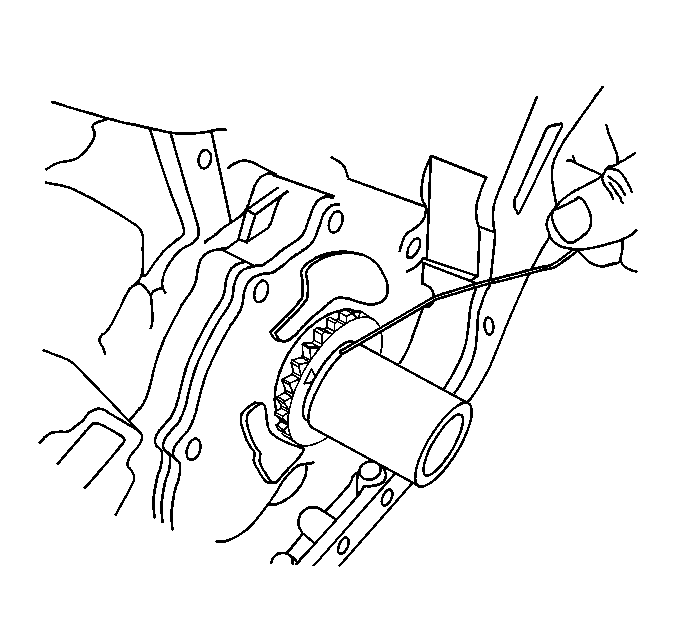
- When properly installed, the crankshaft sprocket will protrude from the oil pump but the face of the sprocket will be located behind the machined step in the crankshaft as shown.
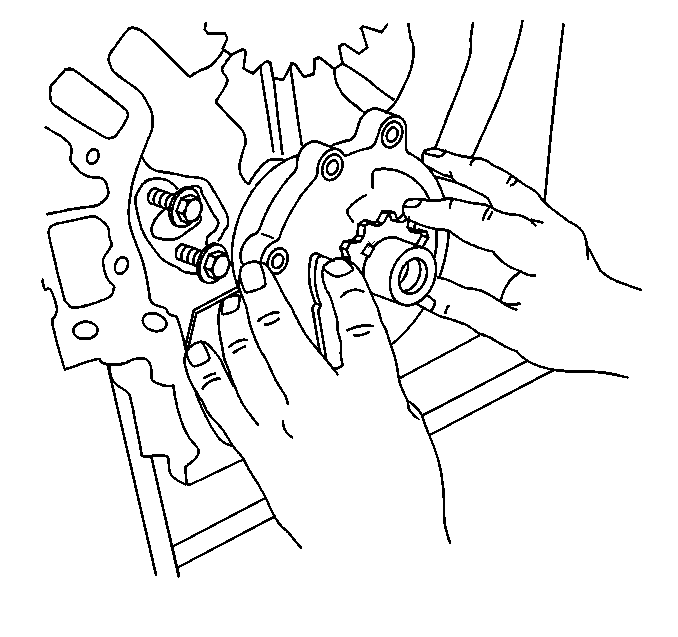
- Align the pump body with the mounting holes in the cylinder block.
- Install the oil pump bolts.


Notice: Use the correct fastener in the correct location. Replacement fasteners must be the correct part number for that application. Fasteners requiring replacement or fasteners requiring the use of thread locking compound or sealant are identified in the service procedure. Do not use paints, lubricants, or corrosion inhibitors on fasteners or fastener joint surfaces unless specified. These coatings affect fastener torque and joint clamping force and may damage the fastener. Use the correct tightening sequence and specifications when installing fasteners in order to avoid damage to parts and systems.
Tighten
Tighten the oil pump bolts to 25 N·m (18 lb ft).
