Tools Required
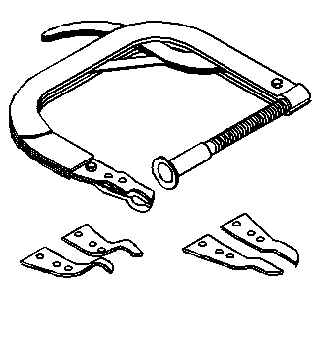
| • | J 8062 Valve Spring Compressor |
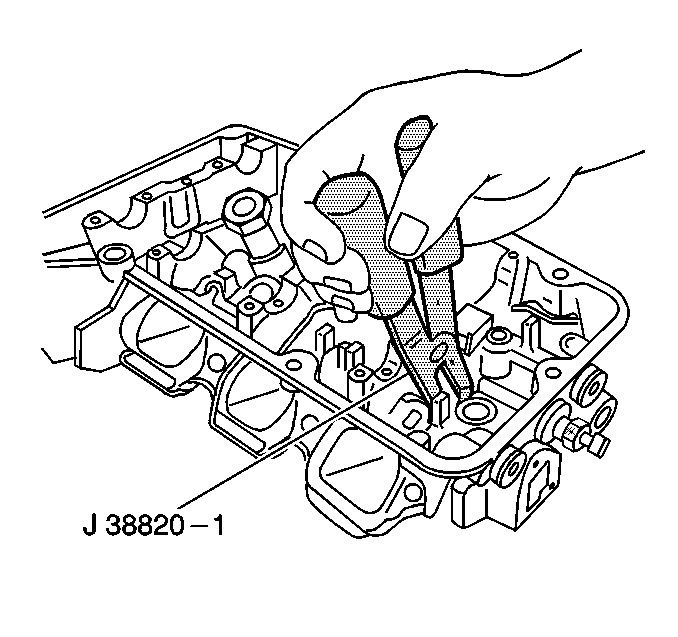
| • | J 38820 Valve Stem Seal Installer |
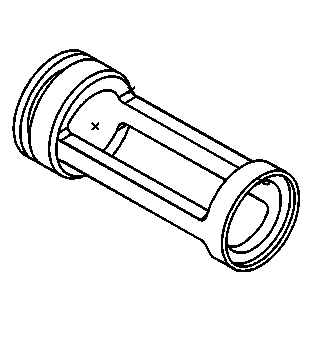
| • | J 42037 Valve Spring Compressor Adapter/Head Off |
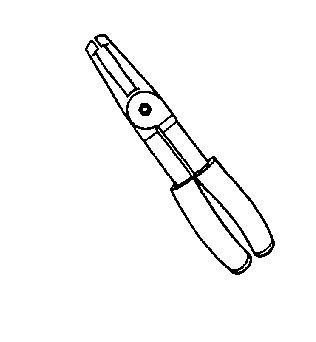
| • | J 43059 Valve Stem Key Remover/Installer |
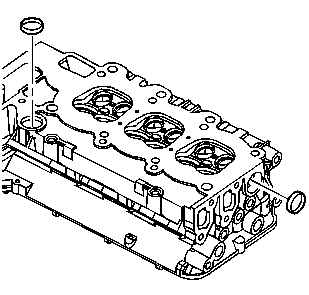
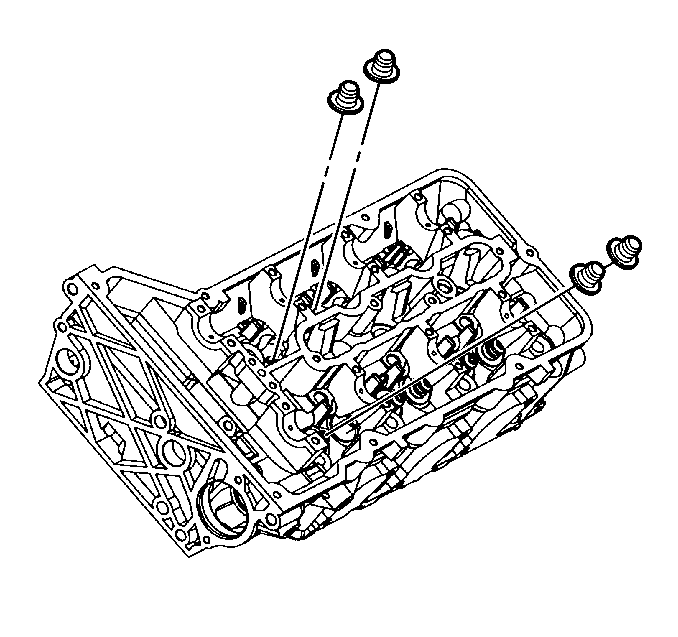
- Apply sealant GM P/N 12346004 or equivalent to the NEW water jacket hole expansion plugs.
- Install the NEW water jacket hole expansion plugs into the left cylinder head, if removed.
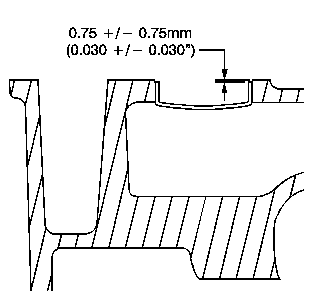
- Ensure the NEW water jacket hole expansion plug is installed to the correct depth.
- Apply sealant GM P/N 12346004 or equivalent to the NEW water jacket hole expansion plugs.
- Install the NEW water jacket hole expansion plugs into the right cylinder head, if removed.
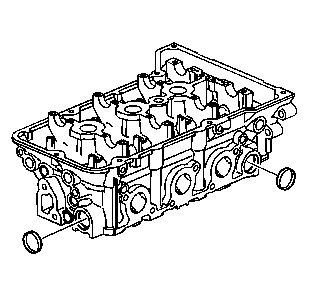
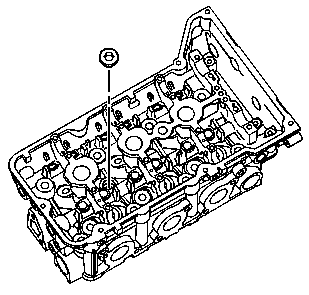
- Apply sealant GM P/N 12346004 or equivalent to the NEW oil gallery threaded plugs.
- Install the NEW side oil gallery threaded plugs into the left cylinder head, if removed.
- Apply sealant GM P/N 12346004 or equivalent to the NEW oil gallery threaded plugs.
- Install the NEW side oil gallery threaded plugs into the right cylinder head, if removed.
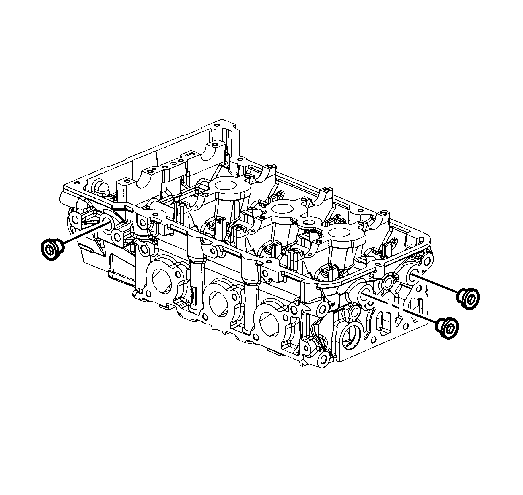
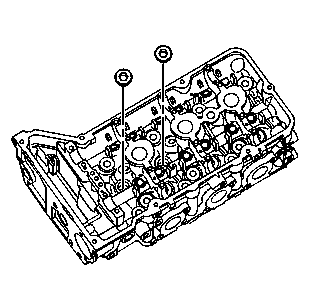
- Apply sealant GM P/N 12346004 or equivalent to the NEW water jacket hole threaded plugs.
- Install the NEW upper water jacket hole threaded plugs into the left cylinder head, if removed.
- Apply sealant GM P/N 12346004 or equivalent to the NEW water jacket hole threaded plugs.
- Install the NEW upper water jacket hole threaded plug into the right cylinder head, if removed.
- Place the valve stem oil seals onto the guides.
- Mount a new valve stem oil seal using the J 38820 .
- Push and twist the valve stem oil seal into position on the valve guide until the seal positively locks on the guide using the J 38820 .
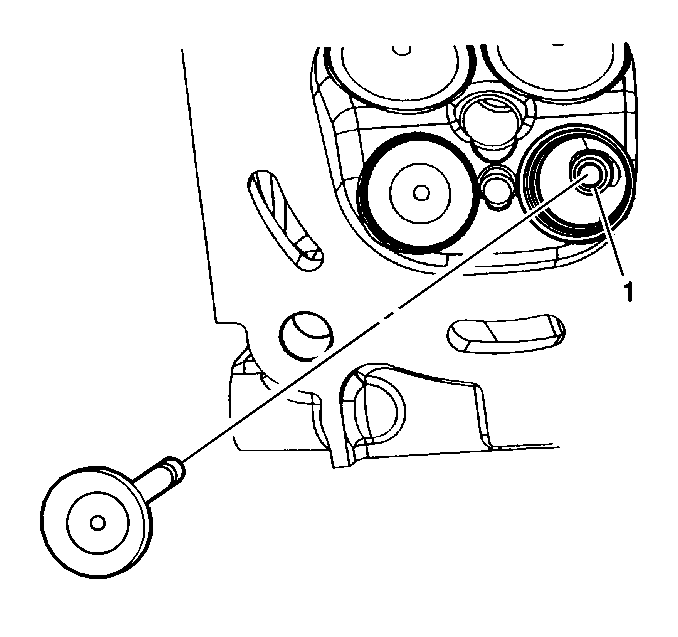
- Lubricate the valve stem and valve guide ID with clean engine oil GM P/N 12345501 or equivalent.
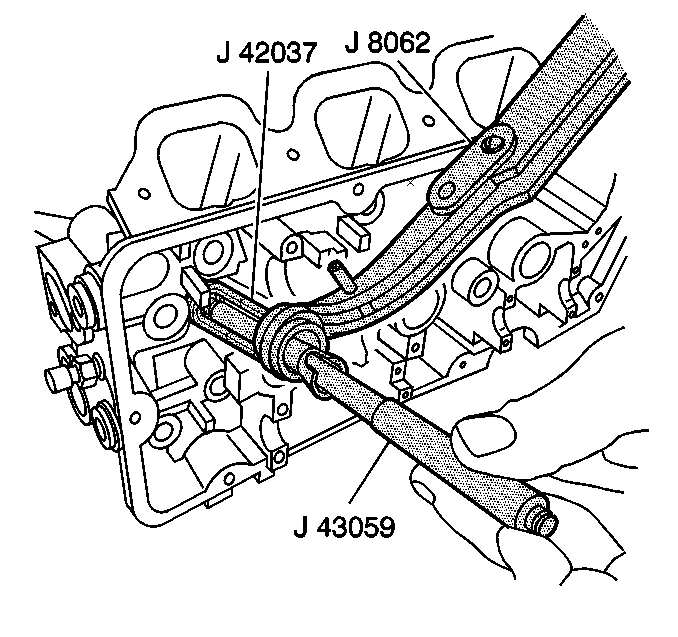
- Insert the valve into the valve guide (1) until it bottoms on the valve seat.
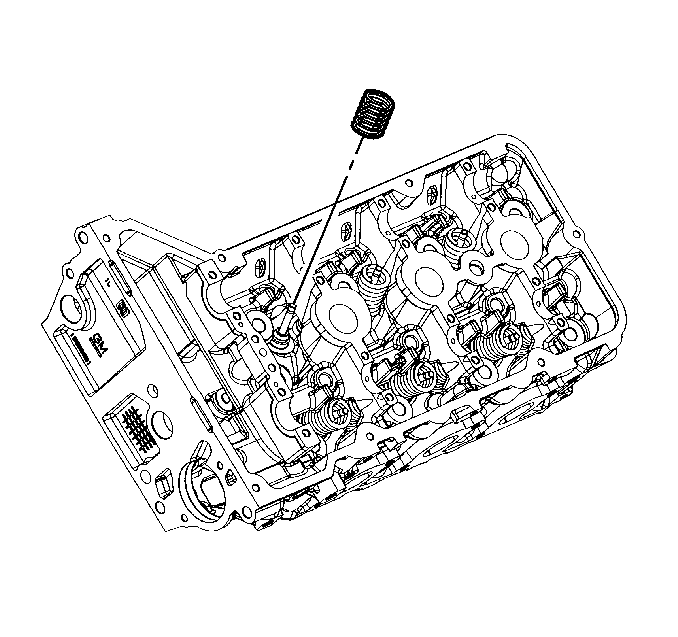
- Position the valve spring on the spring seat.
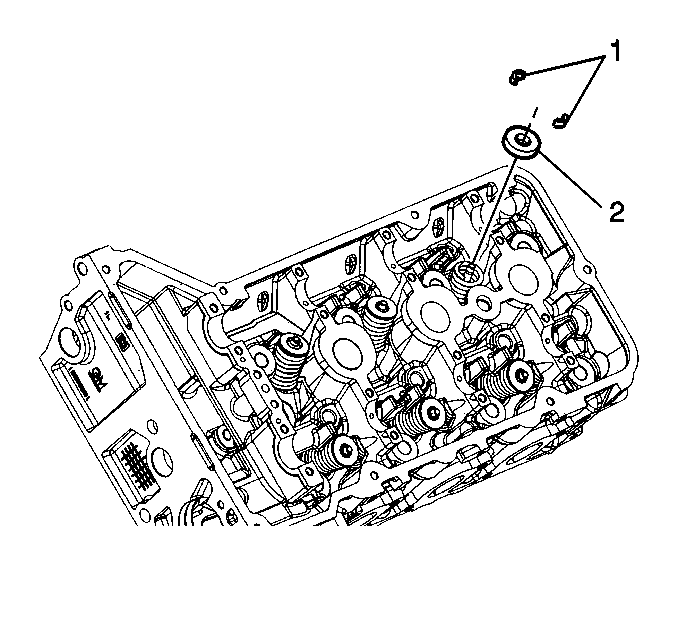
- Place the valve spring retainer (2) onto the valve spring.
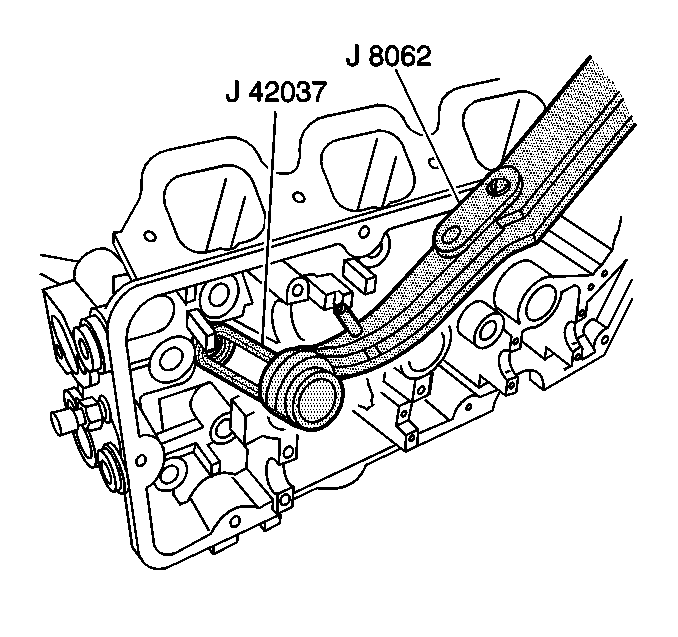
- Compress the valve spring using the J 8062 and the J 42037 .
- With the spring compressed, install the valve keepers into the J 43059 .
- Place the keepers into position by pushing the tool downward and releasing tension on the J 42037 and the J 8062 .
- Verify that the valve keepers are installed by placing a rag over the valve tip and tapping with a dead-blow hammer. The valve keepers and the spring should remain in place.
Notice: Use the correct fastener in the correct location. Replacement fasteners must be the correct part number for that application. Fasteners requiring replacement or fasteners requiring the use of thread locking compound or sealant are identified in the service procedure. Do not use paints, lubricants, or corrosion inhibitors on fasteners or fastener joint surfaces unless specified. These coatings affect fastener torque and joint clamping force and may damage the fastener. Use the correct tightening sequence and specifications when installing fasteners in order to avoid damage to parts and systems.
Tighten
Tighten the NEW side oil gallery threaded plugs to 60 N·m
(44 lb ft).
Tighten
Tighten the NEW side oil gallery threaded plugs to 60 N·m
(44 lb ft).
Tighten
Tighten the NEW upper water jacket hole threaded plugs to 80 N·m
(59 lb ft).
Tighten
Tighten the NEW upper water jacket hole threaded plug to 80 N·m
(59 lb ft).
Important: NEVER reuse a valve stem oil seal. Always use new seals when assembling the cylinder head.
Important: Force should only be applied to the valve spring contact area of the new valve stem oil seal during installation.
Important: The valve stem oil seal must not come loose from the valve guide when the valve is installed.
Caution: Compressed valve springs have high tension against the valve spring compressor. Valve springs that are not properly compressed by or released from the valve spring compressor can be ejected from the valve spring compressor with intense force. Use care when compressing or releasing the valve spring with the valve spring compressor and when removing or installing the valve stem keys. Failing to use care may cause personal injury.
Notice: Do not compress the valve springs to less than 24.0 mm (0.943 in). Contact between the valve spring retainer and the valve stem oil seal can cause potential valve stem oil seal damage.