For 1990-2009 cars only
Tools Required
J 38816-A Water Pump Remover/Installer
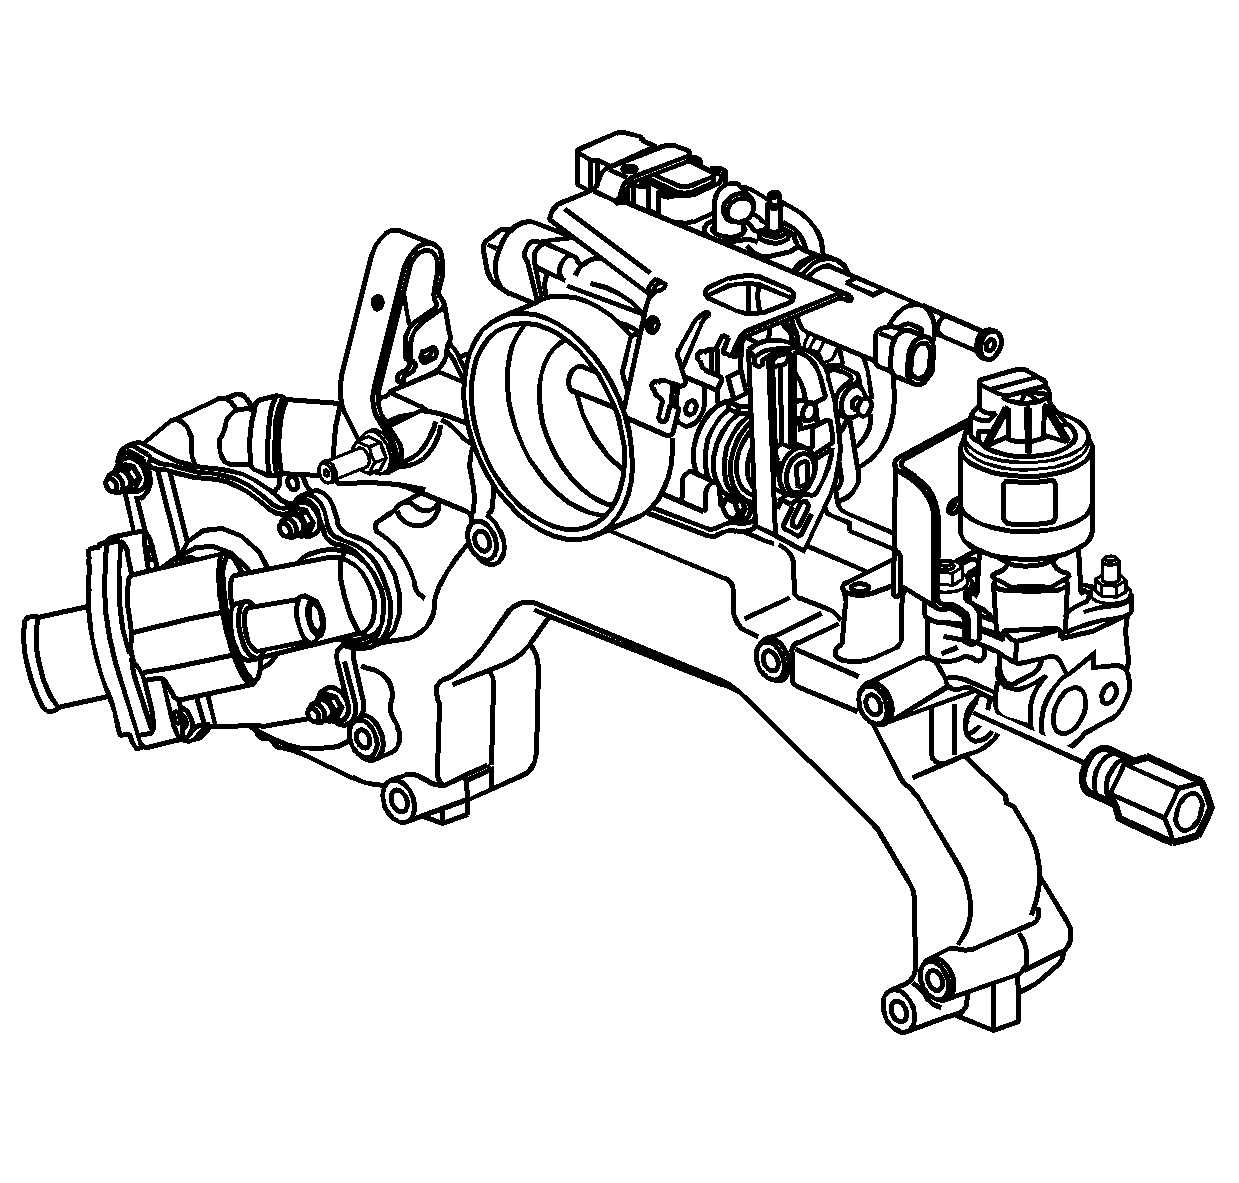
- Remove the heater inlet pipe fitting.
- Remove the engine coolant outlet fitting.
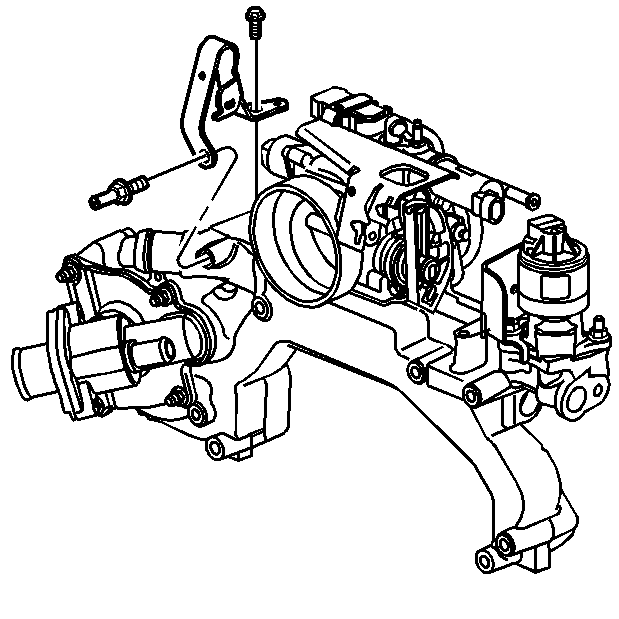
- Remove the rear lift bracket bolt.
- Remove the rear lift bracket.
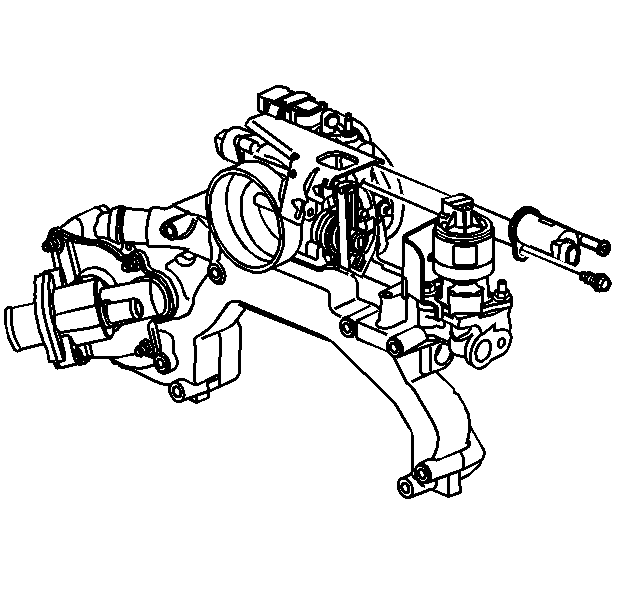
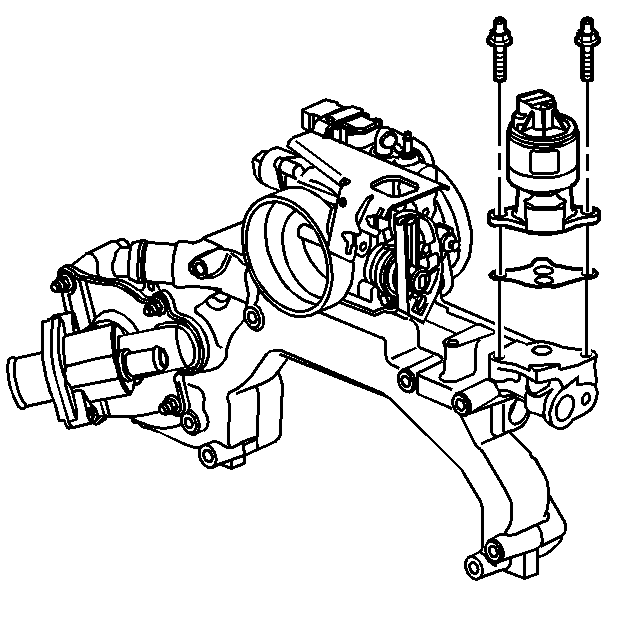
- Remove the EVAP emission canister purge valve bolts.
- Remove the EVAP emission canister purge valve.
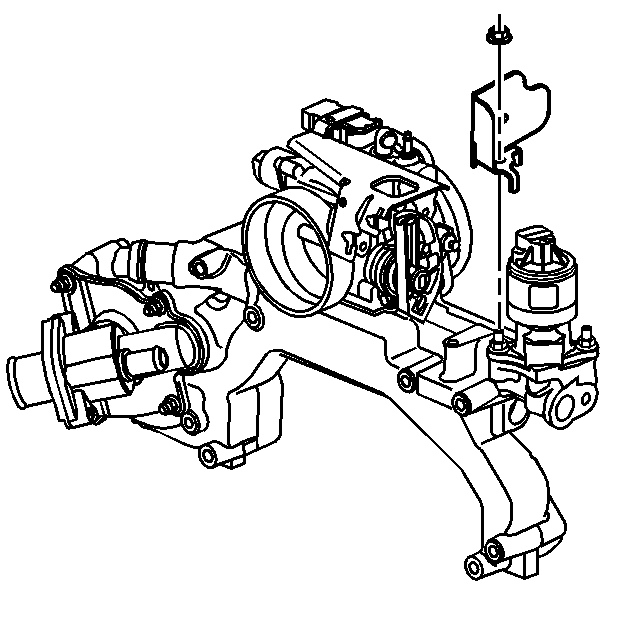
- Remove the EGR bracket shield nut.
- Remove the EGR bracket shield.
- Remove the EGR valve bolts.
- Remove the EGR valve.
- Remove the EGR gasket.
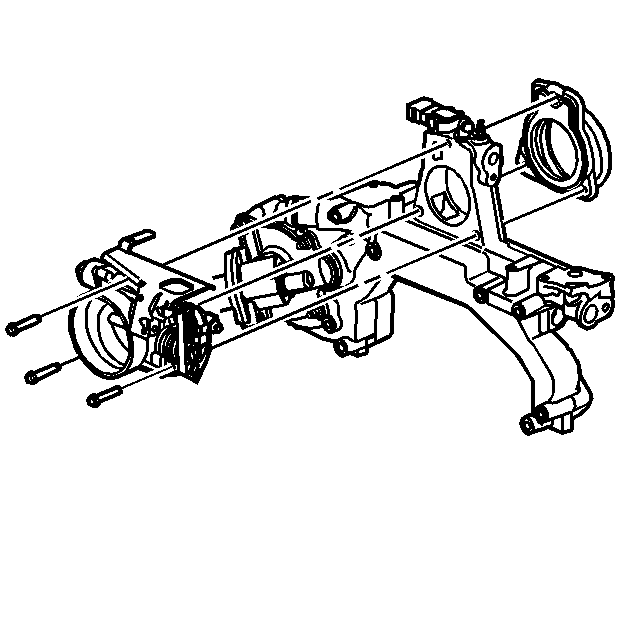
- Remove the throttle body bolts.
- Remove the throttle body and plenum duct.
- Discard the plenum duct, do not reuse.
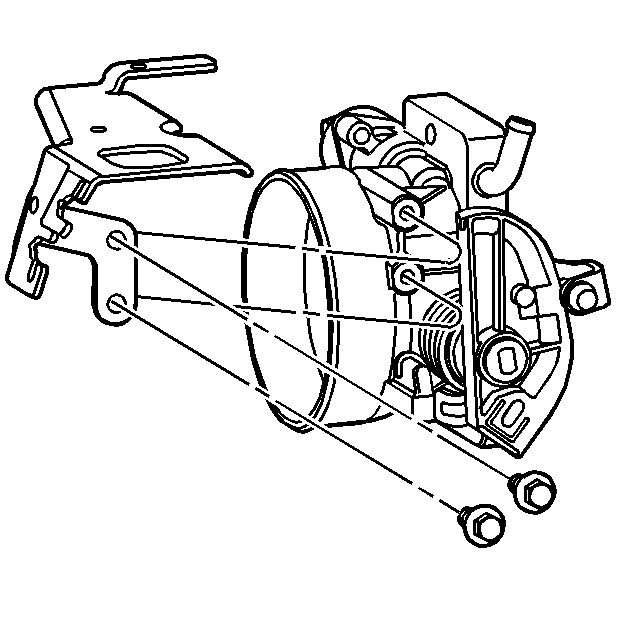
- Remove the accelerator control cable bracket bolts.
- Remove the accelerator control cable bracket.
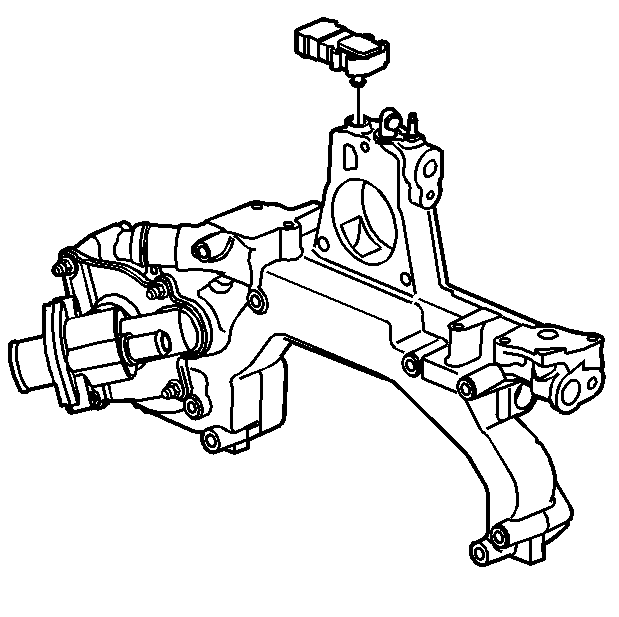
- Remove the MAP sensor.
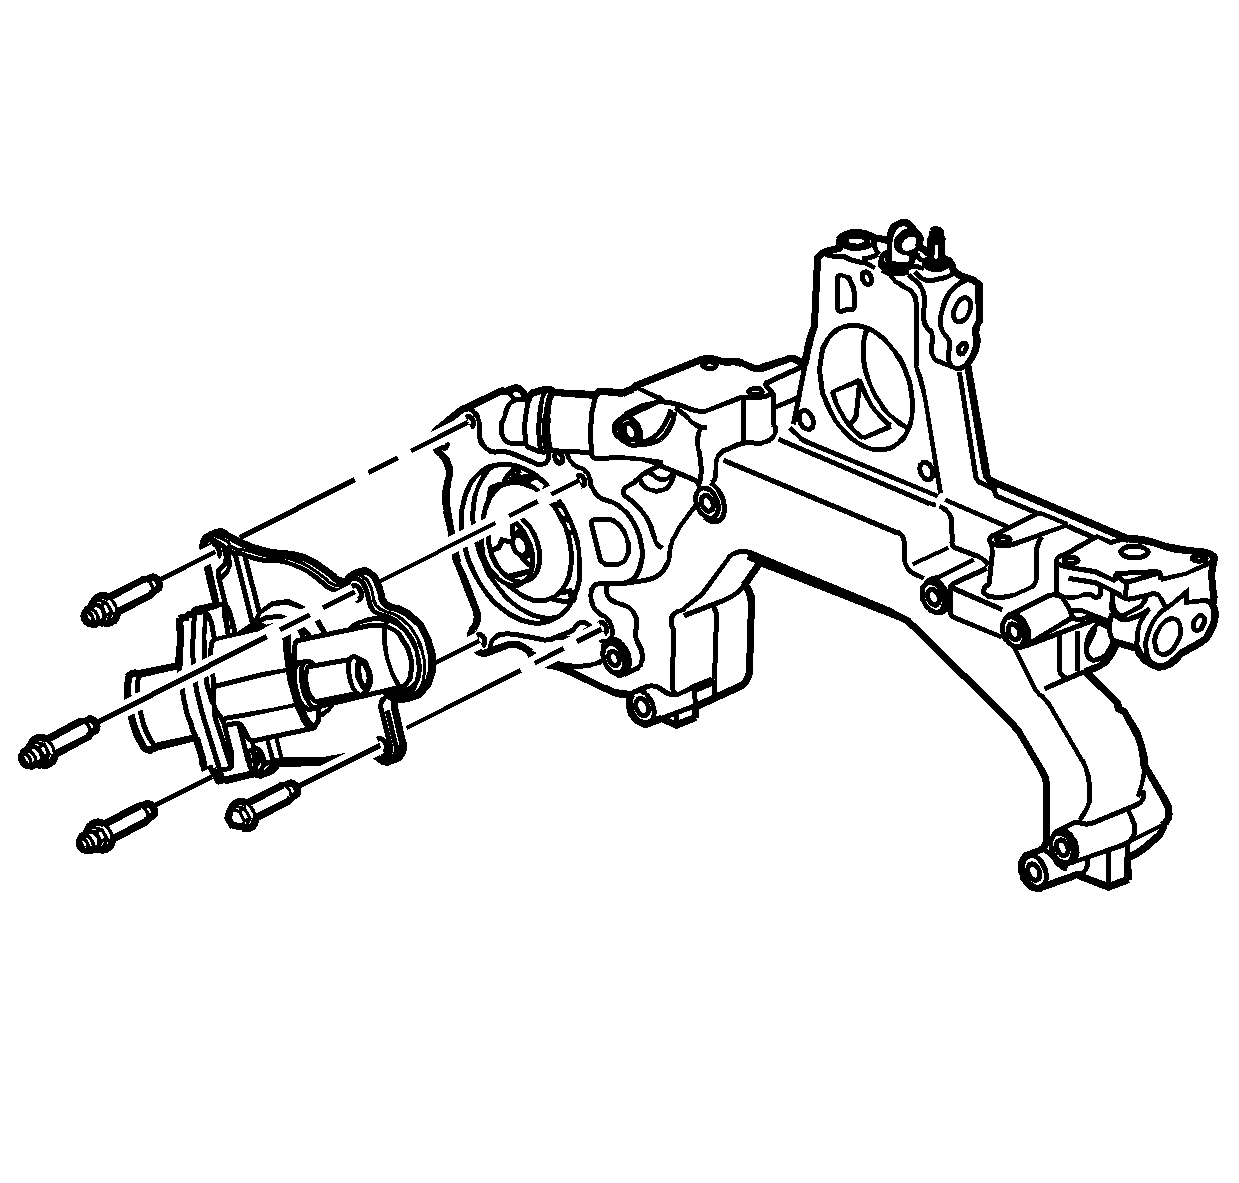
- Remove the water pump cover bolt and studs.
- Remove the water pump cover.
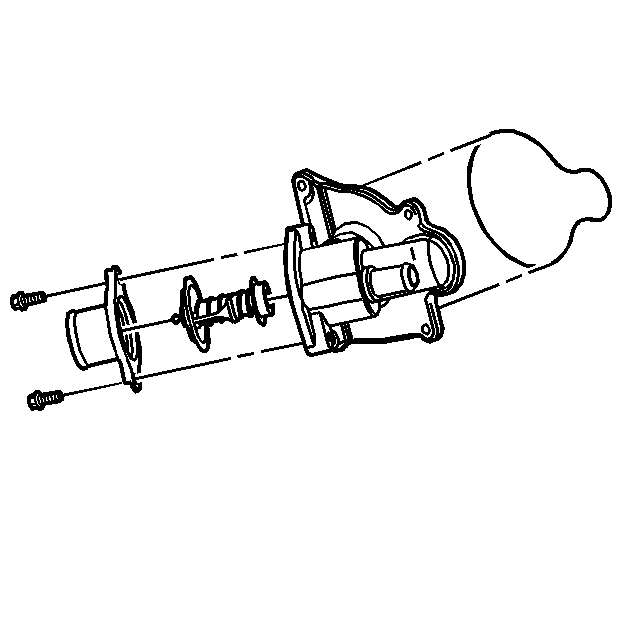
- Remove the water outlet bolts.
- Remove the water outlet and thermostat.
- Remove the water pump cover gasket.
- Remove the water pump and seal using the following procedure:
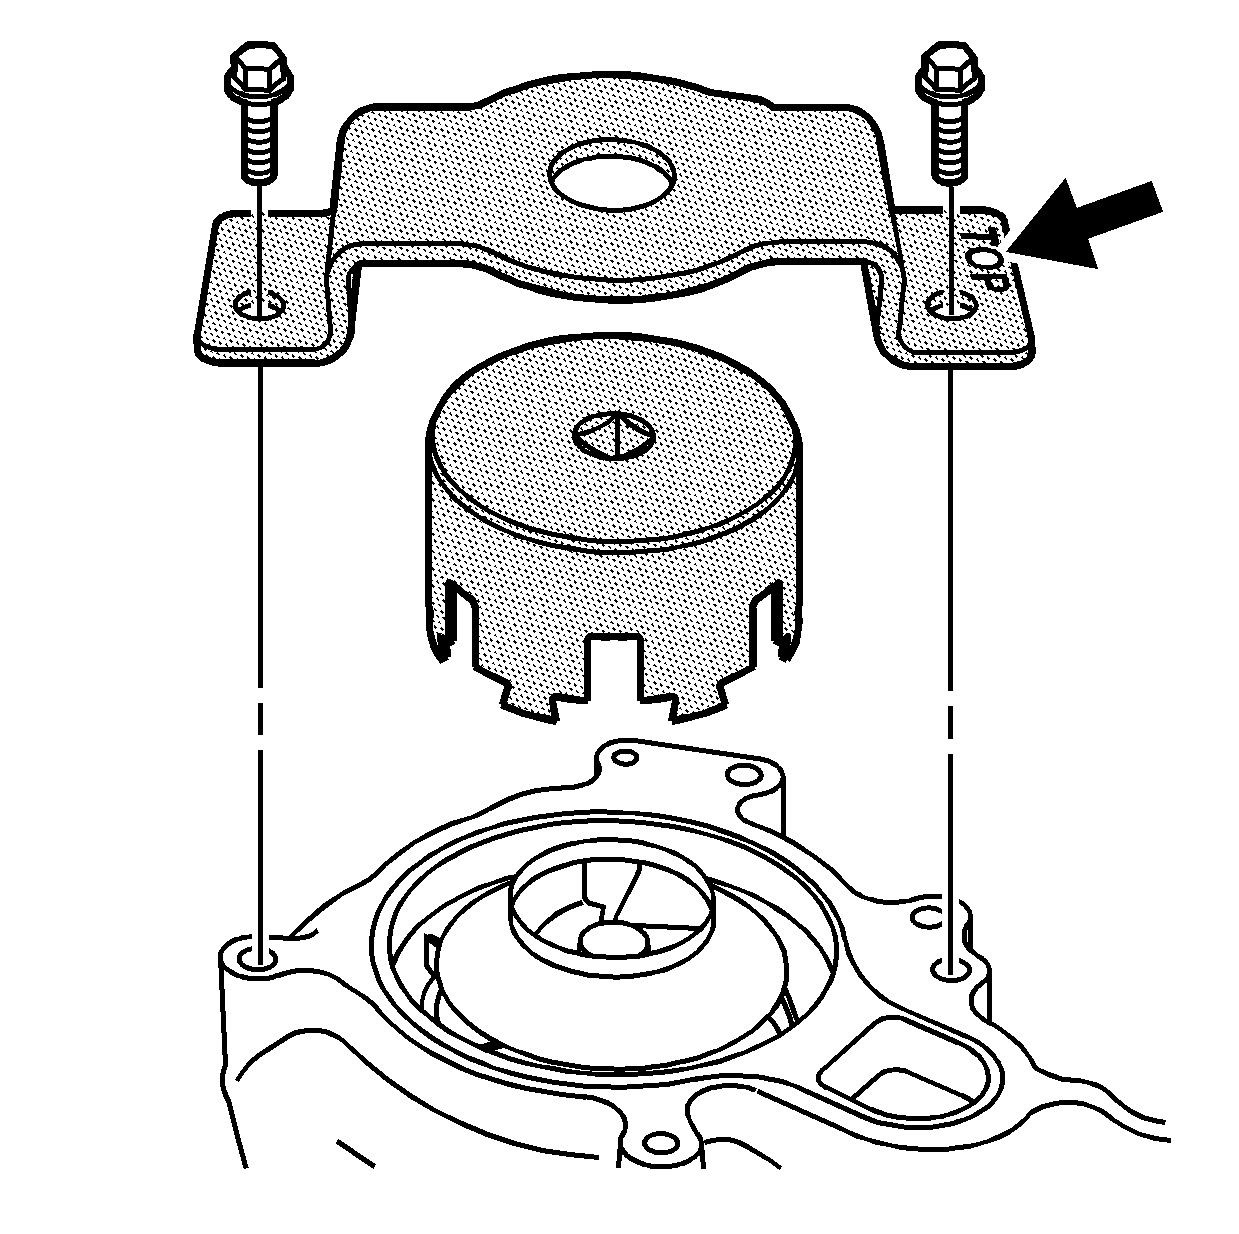
| 23.1. | Index the J 38816-A socket into the water pump. |
| 23.2. | Align the J 38816-A support plate on the water crossover. |
| 23.3. | Install the J 38816-A support plate on the water crossover using the water pump cover bolts. |
| 23.4. | Unlock the water pump from the water crossover by turning the J 38816-A socket clockwise. |
| 23.5. | Remove the J 38816-A support plate from the water crossover. |
| 23.6. | Remove the J 38816-A socket. |
| 23.7. | Remove the water pump. |
| 23.8. | Remove the water pump seal and discard. |
