Rear Seat Back Cushion Cover and Pad Replacement TrailBlazer, Envoy, Bravada
Removal Procedure
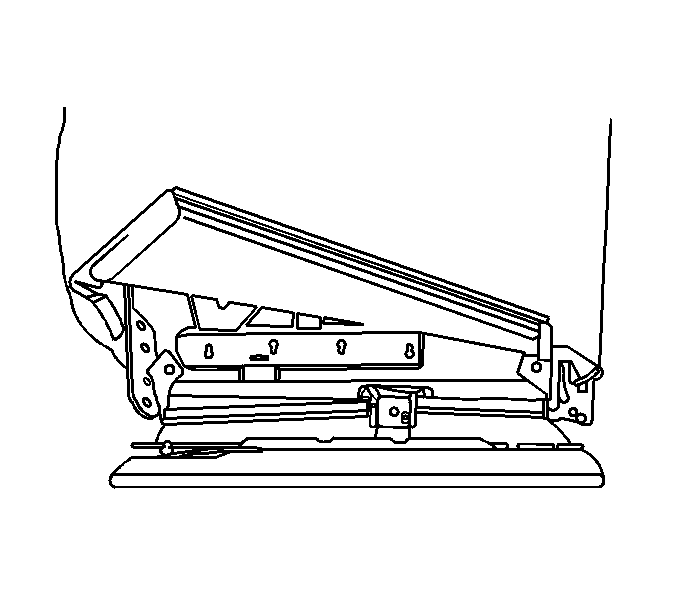
- Remove the seat back from the vehicle. Refer to Rear Seat Number 1 Back Replacement .
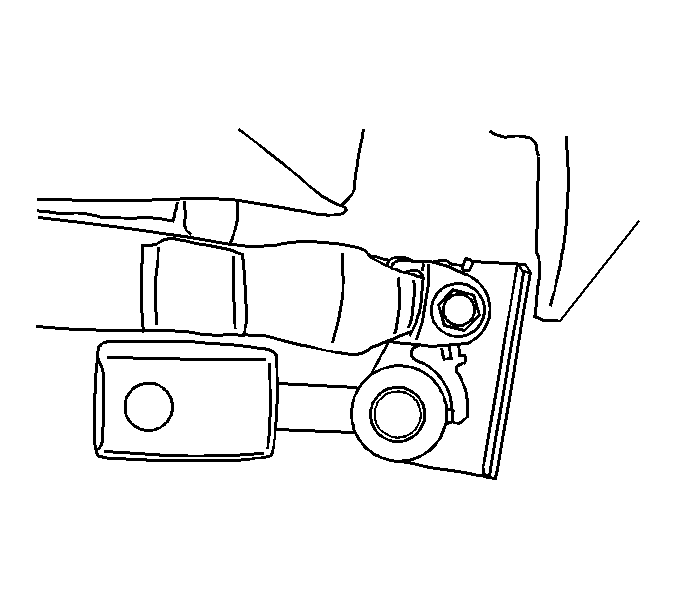
- Remove the seat belt buckle bracket, on the right side only.
- Remove the seat belt anchor bolt from the bracket.
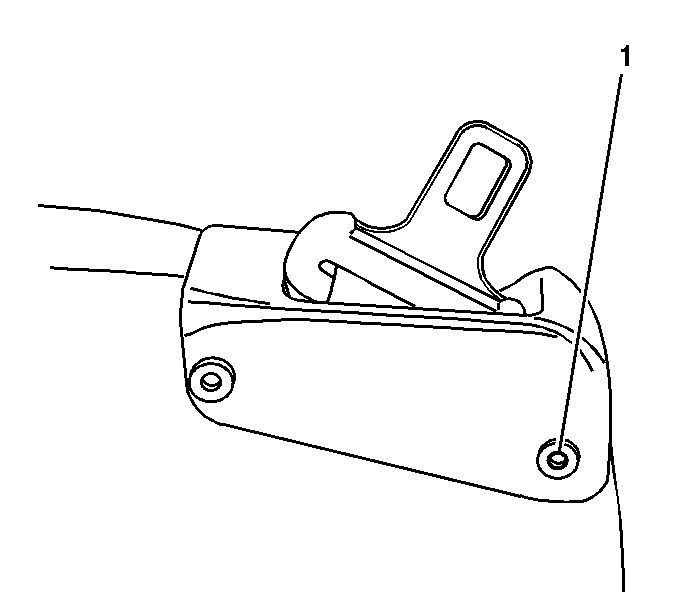
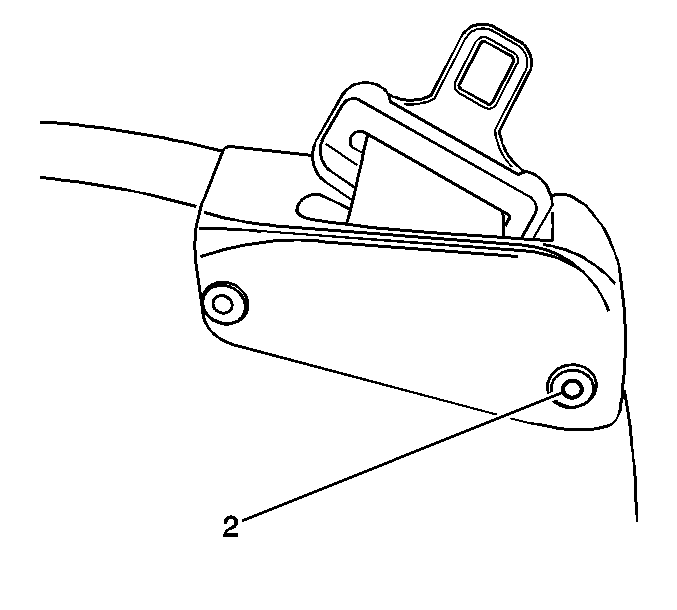
- Release the seat belt bezel from the seat back by pressing in the buttons (1) on the plastic retainers.
- Remove the seat belt bezel by sliding it off the seat belt.
- Remove the head restraints. Refer to Rear Seat Head Restraint Replacement .
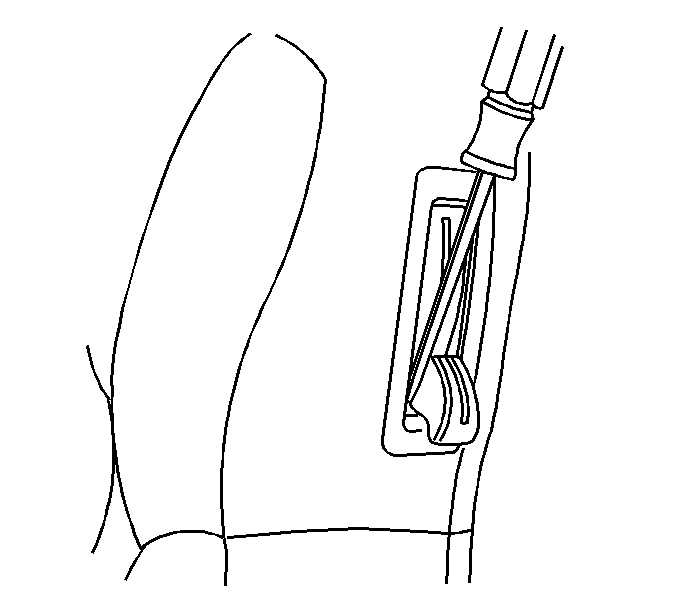
- Remove the release latch knob.
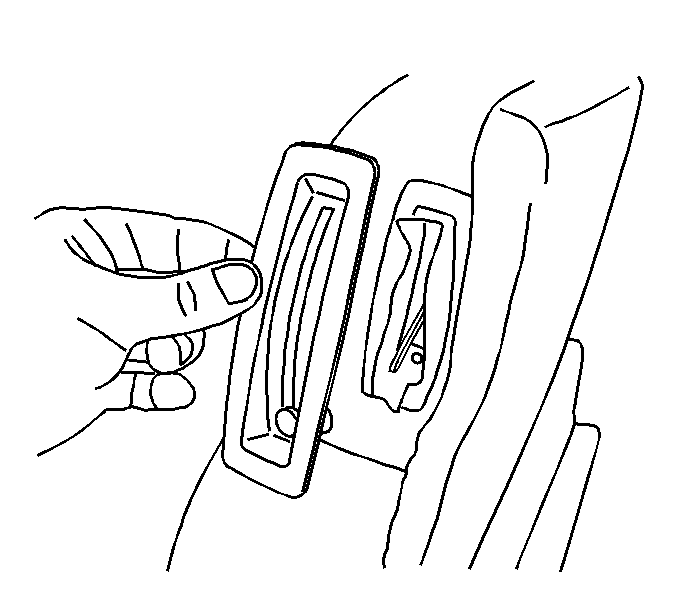
- Remove the screw that retains the seat back latch release bezel to the seat back.
- Release the J-strips on the bottom of the seat back frame.
- Release the hook and loop retaining strips at the bottom of the seat back.
- Remove 3 push-pins from the bottom of the seat back.
- Release the cover from the hook and loop retaining strips on the front of the seat back pad.
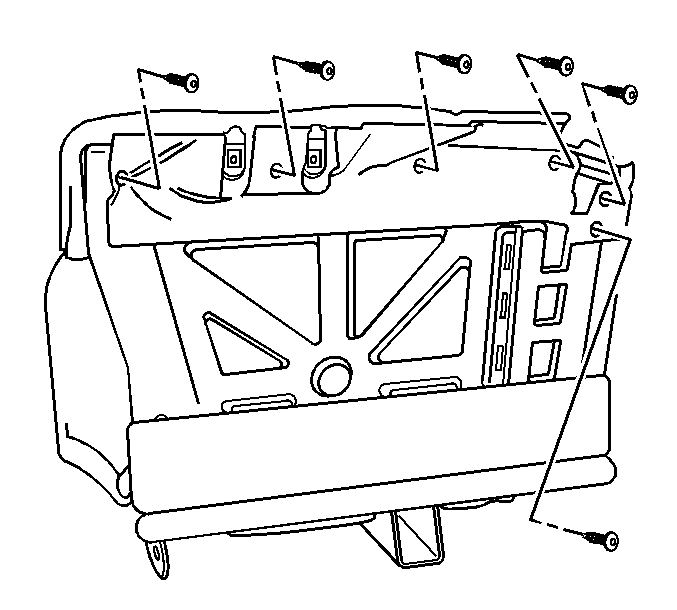
- Remove the 6 push-pins from the seat back.
- Remove the cover and pad from the seat back.
- Release the 3 hog-rings from the reinforcement bar.
- Remove the seat cover from the pad.
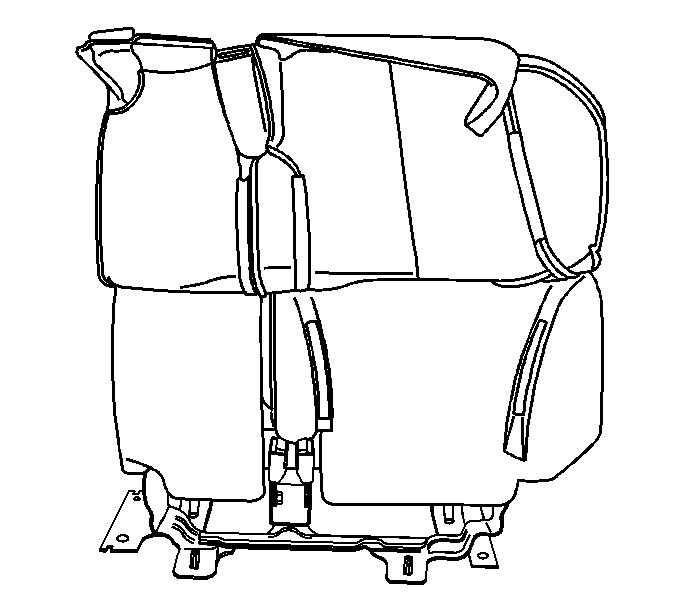
Important: Ensure that the hook and loop retaining strips remain attached to the seat back pad.
Installation Procedure
- Install the seat back pad to the seat back frame.
- Install the 6 push-pins that retain the seat back pad to the seat back frame.
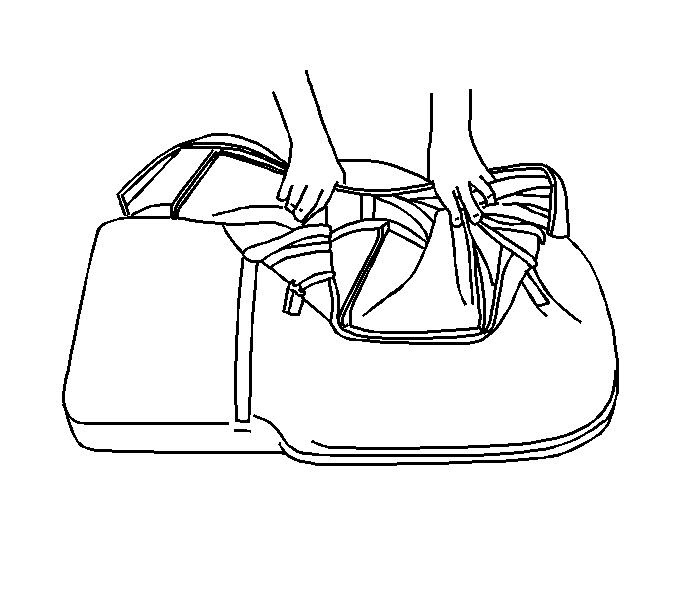
- Partially install the seat cover.
- Install the 3 hog-rings to the reinforcement bar.
- Install the seat cover the remainder of the way.
- Engage the seat cover to the hook and loop retaining strips on the seat back pad.
- Install the screw that retains the rear seat back release latch bezel to the rear seat back.
- Install the 3 push-pins at the bottom of the rear seat back.
- Engage the hook and loop retaining strips at the bottom of the rear seat back.
- Starting at either corner, engage the J-strips at the bottom of the rear seat back.
- Install the head restraints. Refer to Rear Seat Head Restraint Replacement .
- Install the seat belt bezel to the rear seat back with the plastic retainers (2).
- Install the rear seat belt anchor bolt into the seat belt buckle bracket.
- Install the seat belt buckle bracket, on the right side only.
- Install the seat back into the vehicle. Refer to Rear Seat Number 1 Back Replacement .


Notice: Use the correct fastener in the correct location. Replacement fasteners must be the correct part number for that application. Fasteners requiring replacement or fasteners requiring the use of thread locking compound or sealant are identified in the service procedure. Do not use paints, lubricants, or corrosion inhibitors on fasteners or fastener joint surfaces unless specified. These coatings affect fastener torque and joint clamping force and may damage the fastener. Use the correct tightening sequence and specifications when installing fasteners in order to avoid damage to parts and systems.
Tighten
Tighten the rear seat back release latch bezel screw
to 3 N·m (26 lb in).


Tighten
Tighten the rear seat belt anchor bolt to 55 N·m
(41 lb ft).
Rear Seat Back Cushion Cover and Pad Replacement TrailBlazer EXT, Envoy XL
Removal Procedure
- Remove the head restraint. Refer to Rear Seat Head Restraint Replacement .
- Press in the buttons (1) on the plastic retainers.
- Remove the seat belt bezel from the top of the seat back by removing the plastic retainers and sliding the bezel off of the seat belt.
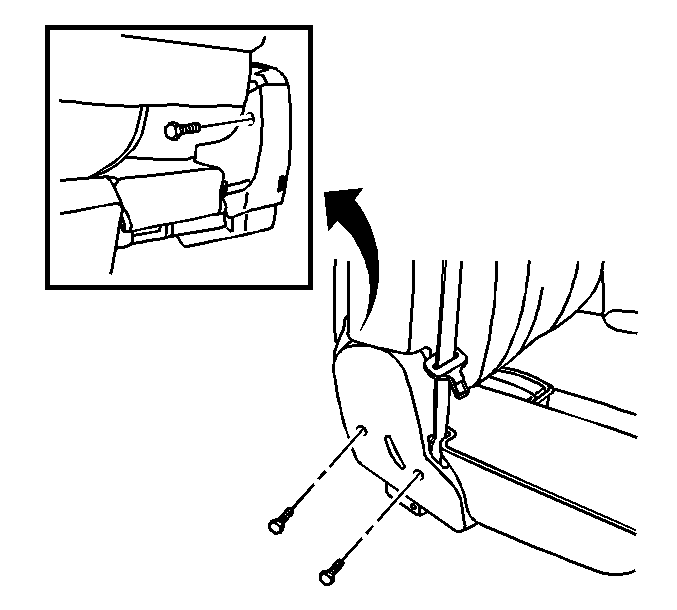
- Remove the three screws securing the inboard rear seat back hinge cover.
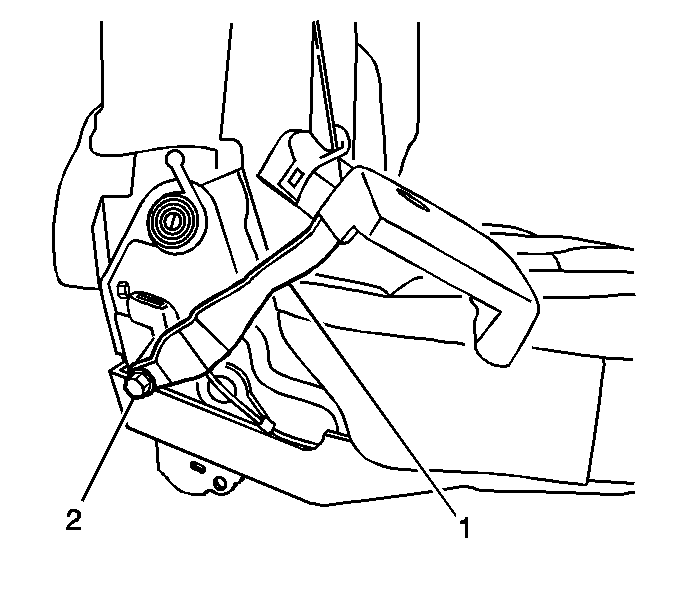
- Remove the rear seat belt anchor nut (2).
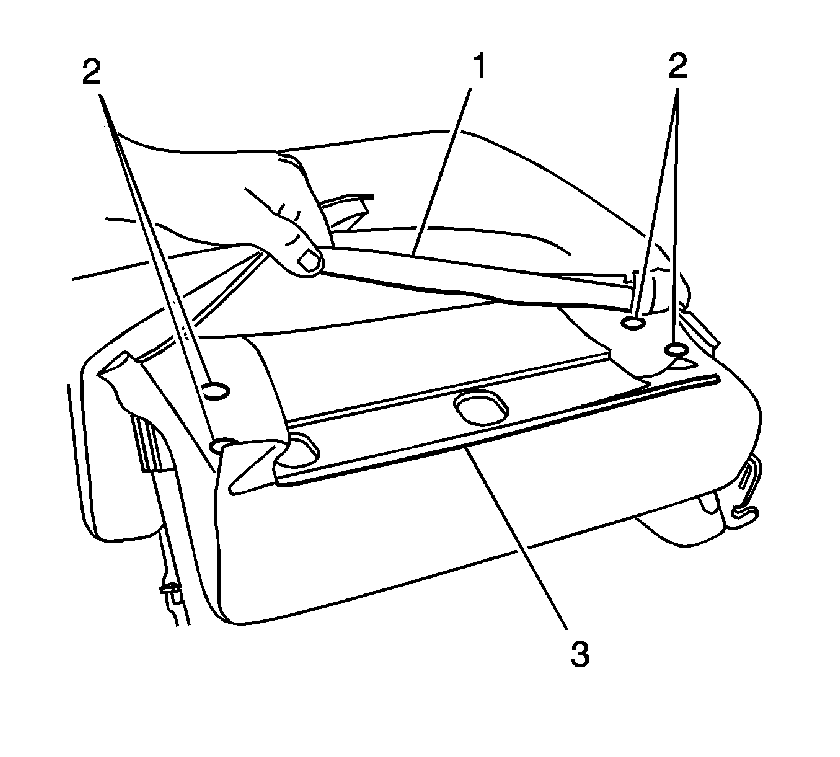
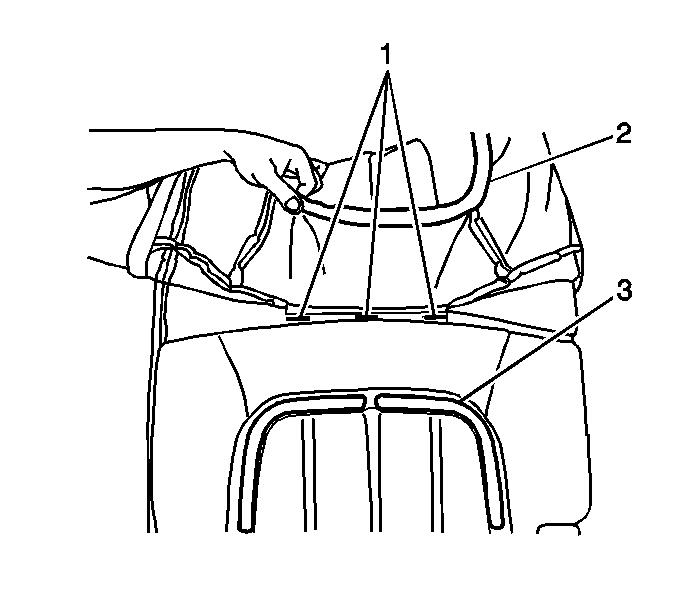
- Unhook the J-strips (3) from the bottom of the seat back cover (1).
- Remove the two push pins (2) from each side of the seat back.
- Pull the seat cover forward through the opening between the seat cushion and the seat back.
- Release the hook and loop fasteners (2, 3) securing the cover to the pad.
- Remove the three hog rings (1) securing the cover to the pad.
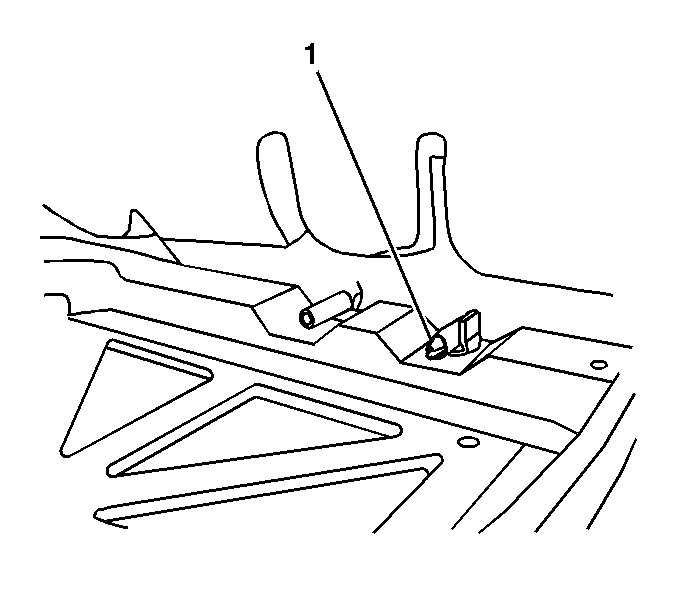
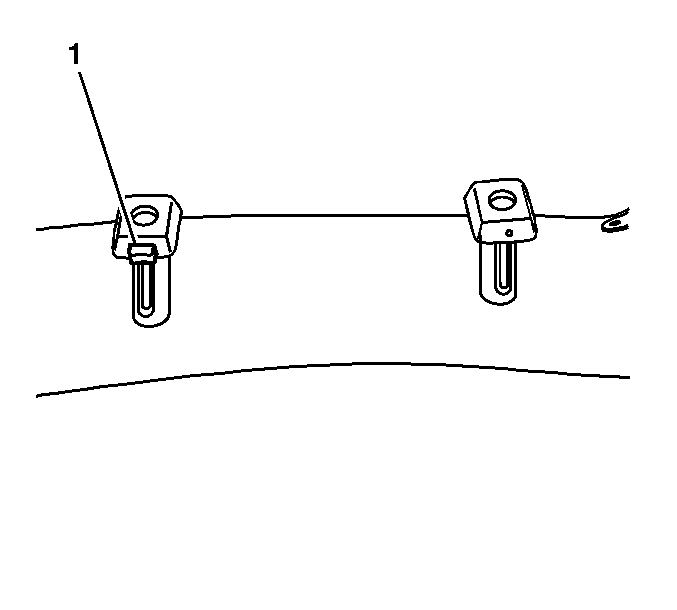
- Remove the head restraint guides by squeezing the retaining tabs (1) located at the bottom of the guides together.
- Remove the seat back cover and pad. The pad may be glued to the frame in places from the initial set assembly process.

Installation Procedure
- Position the seat back cover and pad on the seat back frame.
- Install the head restraint guides by pushing them through the cover into the frame until the locking tabs snap into place. The guide with the locking tab (1) installs on the right hand side of the seat.
- Install the three hog rings (1) securing the cover to the pad.
- Pull the cover down over the pad ensuring that the hook and loop fasteners (2, 3) are pressed together.
- Pull the seat cover back through the opening between the seat cushion and the seat back.
- Install the cover side flaps to the frame with the two push pins (2) from each side of the seat back.
- Install the J-strips (3) on the bottom of the seat back cover (1).
- Install the rear seat belt (1) to the seat with the rear seat belt anchor nut (2).
- Install the inboard rear seat back hinge cover with three screws.
- Install the seat belt bezel to the rear seat back with the plastic retainers (2).
- Install the head restraint assembly. Refer to Rear Seat Head Restraint Replacement .


Notice: Refer to Fastener Notice in the Preface section.

Tighten
Tighten the rear seat belt anchor nut to 55 N·m (41 lb ft).

Tighten
Tighten the rear seat back hinge cover screws to 2 N·m (18 lb in).

