For 1990-2009 cars only
Tools Required
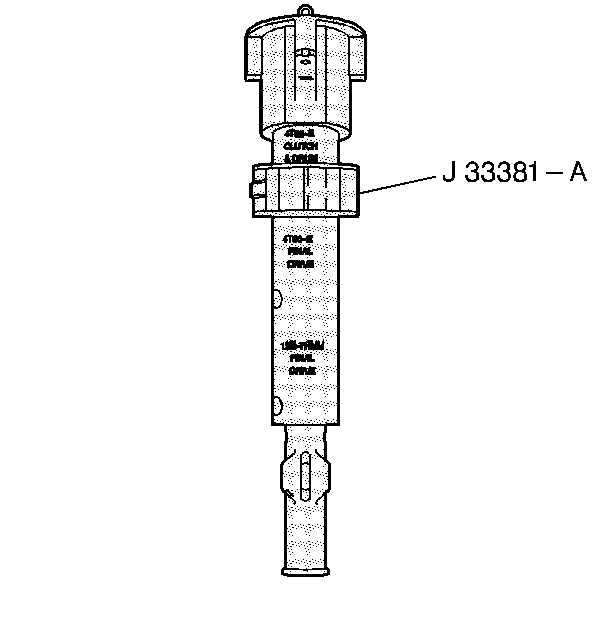
J 33381-A Final Drive Remover and Installer
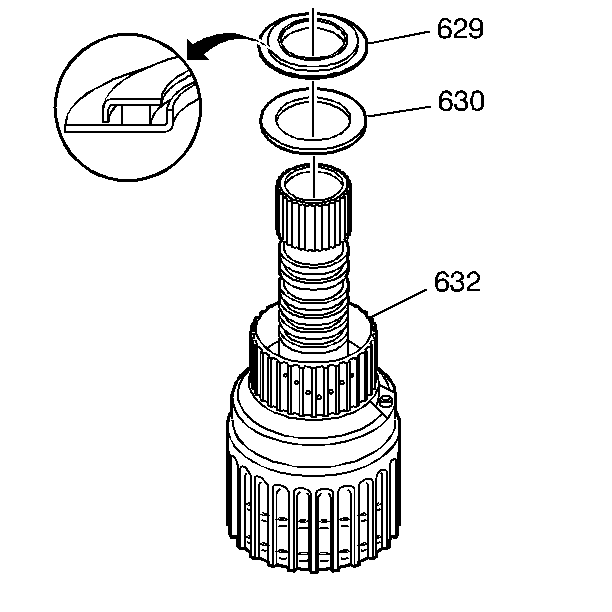
- Be sure that the selective thrust washer (630) and the thrust bearing assembly (629) for the input clutch housing are in place.
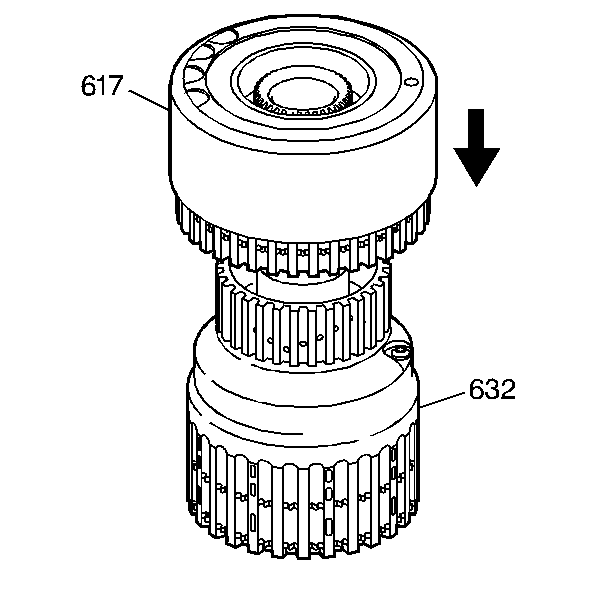
- Use a small screwdriver in order to align the second clutch teeth so that they slide onto the second clutch hub of the input clutch housing assembly (632).
- Affix the second clutch housing assembly (617) onto the second clutch hub of the input clutch housing assembly (632).
- Adjust the collar on tool J 33381-A to the 4T60-E CLUTCH & DRUM setting. Make sure that the threaded rod is fully loosened.
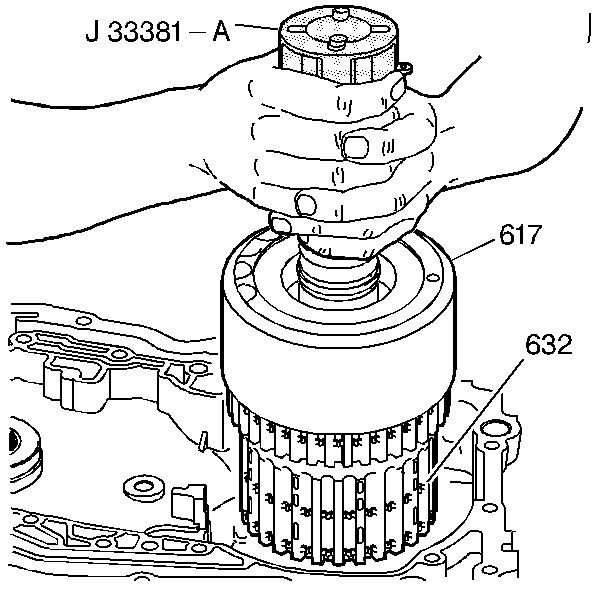
- Install J 33381-A into the second clutch housing assembly (617).
- Tighten the threaded rod of J 33381-A until the rod is finger tight.
- Use J 33381-A in order to lift the second clutch housing (617) and the input clutch assembly (632). The sprag clutch assemblies will also be attached.
- Install the housing (617) and the assembly (632) into the case. Be sure that the assembly is down all the way.


Important: After you have installed the housing, confirm that the top of the second clutch is flush or slightly below the top of the reverse band assembly contact area.
