Removal Procedure
Important: Always maintain cleanliness when servicing the fuel system components.

- Relieve the fuel pressure.
Refer to
Fuel Pressure Relief
.
- Clean any dirt from the retaining ring of the fuel pressure regulator
.
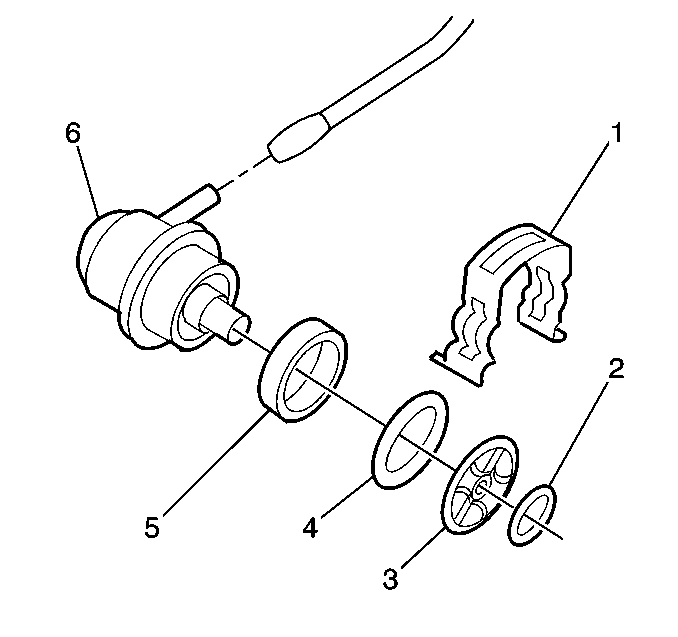
- Remove the vacuum hose from the pressure regulator (6).
- Remove the regulator assembly retainer clip (1).
- Lift and twist the fuel pressure regulator in order to remove
the regulator from the housing. Use a shop towel to catch any spilled fuel.
- Remove the lower O-ring (2) from the regulator.
- Remove the filter (3) from the regulator assembly .
- Remove the upper O-ring (4) from the regulator.
- Remove the back-up ring (5) from the regulator .
- Cover the fuel pressure regulator housing to prevent contaminants
from entering the fuel system.
Installation Procedure
Notice:
| • | Do not use compressed air in order to test or clean a fuel pressure
regulator as damage to the fuel pressure regulator may result. |
| • | Clean the fuel pressure regulator filter screen with gasoline
if necessary. |
| • | Do not immerse the fuel pressure regulator in a solvent bath in
order to prevent damage to the fuel pressure regulator. |

- Install new O-rings on
the fuel pressure regulator if a new regulator is not being installed. Lubricate
the O-rings lightly with clean engine oil.
- Install the lower O-ring (2).
- Install the filter (3).
- Install the upper O-ring (4).
- Install the back-up ring (5).
- Install the regulator assembly retainer clip (1).
- Install the vacuum line to the fuel pressure regulator.
- Connect the negative battery cable. Refer to
Battery Negative Cable Disconnection and Connection
in
Engine Electrical.
- Perform the following procedure to inspect for leaks:
| 9.1. | Turn the ignition switch ON for 2 seconds. |
| 9.2. | Turn the ignition switch OFF for 10 seconds. |
| 9.3. | Turn the ignition switch ON. |
| 9.4. | Visually inspect the fuel system for fuel leaks. |

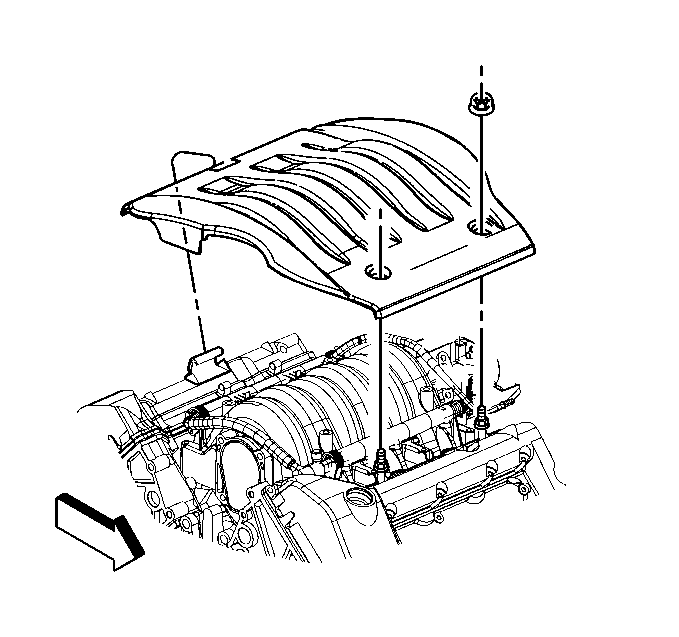
- Install the fuel injector
sight shield. Refer to
Fuel Injector Sight Shield Replacement
in Engine Mechanical.


