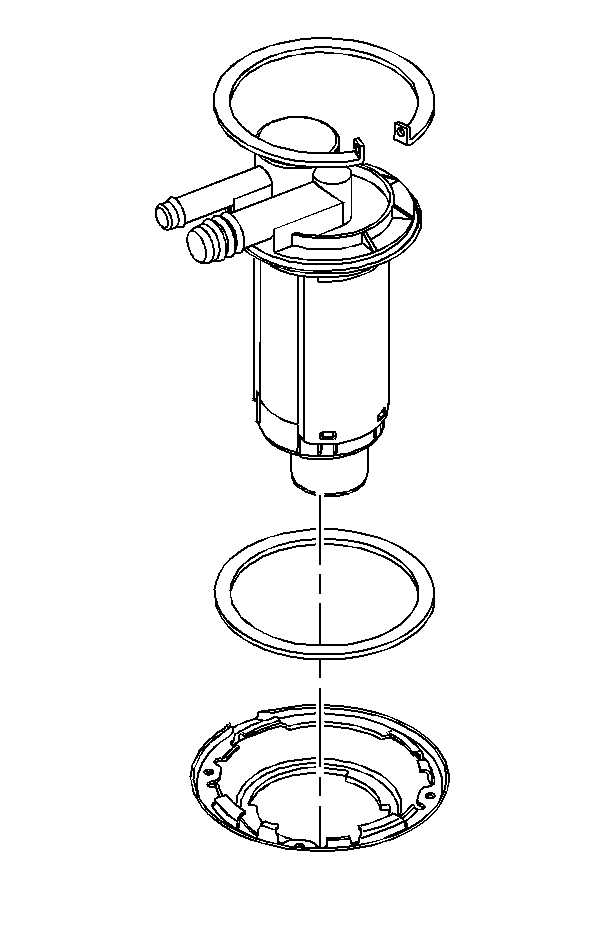
For 1990-2009 cars only
Removal Procedure
Caution: Gasoline or gasoline vapors are highly flammable. A fire could occur if an ignition source is present. Never drain or store gasoline or diesel fuel in an open container, due to the possibility of fire or explosion. Have a dry chemical (Class B) fire extinguisher nearby.
Caution: Always wear safety goggles when working with fuel in order to protect the eyes from fuel splash.
Important: Always replace the O-ring on the fuel limiter vent valve when reinstalling the valve.
Important: Always maintain cleanliness when servicing the fuel system components.
- Relieve the fuel system fuel pressure. Refer to Fuel Pressure Relief .
- Remove the fuel tank. Refer to Fuel Tank Replacement .
- Remove the snap ring from the fuel limiter vent valve .
- Remove the fuel limiter vent valve.
- Remove the O-ring from the fuel limiter vent valve .
- Clean and inspect the O-ring sealing surfaces on the fuel limiter vent valve .
- Inspect the fuel limiter vent valve for cracks or damage.

Installation Procedure
- Position the new O-ring for the fuel limiter vent valve on the fuel tank.
- Install the fuel limiter vent valve.
- Install the snap ring for the fuel limiter vent valve .
- Install the fuel tank. Refer to Fuel Tank Replacement .
- Remove the fuel fill cap and add fuel.
- Install the fuel fill cap.
- Connect the negative battery cable. Refer to Battery Negative Cable Disconnection and Connection in Engine Electrical.
- Install the fuel injector sight shield. Refer to Fuel Injector Sight Shield Replacement in Engine Mechanical.
- Perform the follwing procedure to inspect for fuel leaks:
Important: Ensure that the retaining snap ring for the fuel limiter vent valve is fully seated within the tab slots on the fuel tank.

| 9.1. | Turn the ignition switch to the ON position for 2 seconds. |
| 9.2. | Turn the ignition switch to OFF for 10 seconds. |
| 9.3. | Turn the ignition switch to the ON position again. |
| 9.4. | Visually inspect the fuel system for leaks. |
