Compressor Shaft Seal Removal V7 - Direct Mount
Tools Required

- Remove the A/C compressor
from the vehicle.
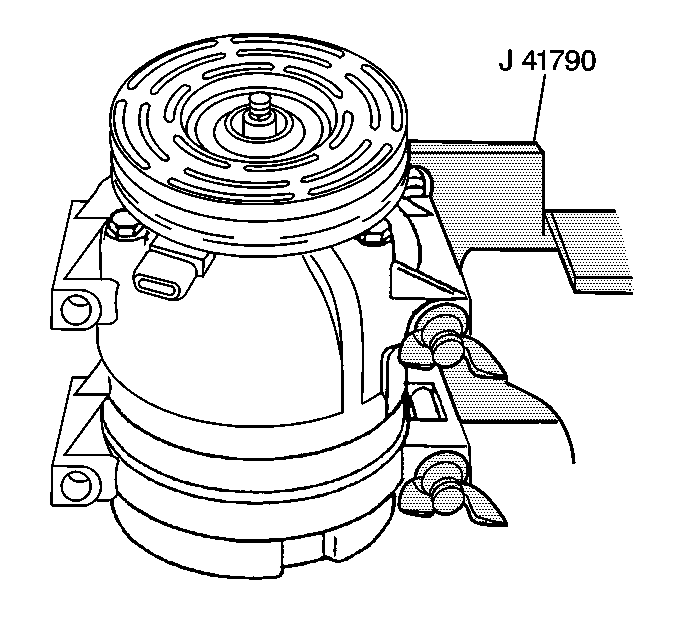
- Clamp the A/C compressor holding fixture, J 41790-A
in a vise and attach the A/C compressor
to the J 41790-A
.

- Remove the A/C compressor
clutch plate and hub assembly. Refer to
Compressor Clutch Plate and Hub Assembly Removal
.
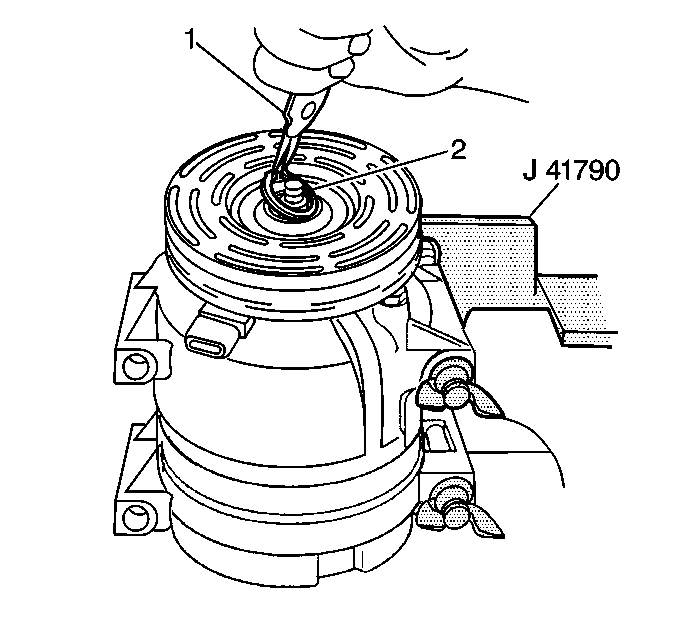
- Using internal snap ring pliers (1), remove the A/C compressor
shaft seal retainer ring (2).
- To keep any dirt or foreign material from getting into the A/C
compressor, thoroughly clean the following components:
| • | The inside of the A/C compressor neck area surrounding the shaft |
| • | The exposed portion of the A/C compressor shaft seal |
| • | The A/C compressor shaft |

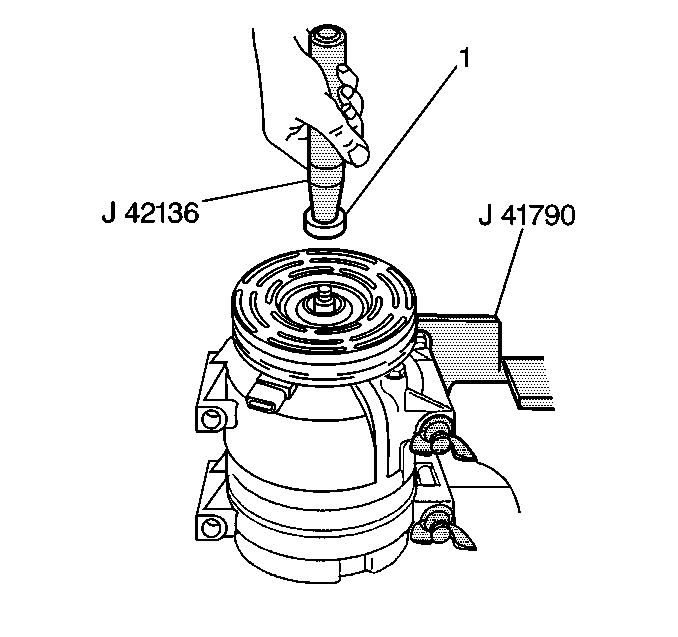
- Fully engage the lip of
the J 42136
into the recessed
portion of the seal (1) by turning the handle clockwise.
- Remove the A/C compressor shaft seal from the A/C compressor with
a rotary pulling motion.
- Recheck the shaft and inside of the A/C compressor neck for dirt
or foreign material and make sure these areas are perfectly clean before installing
the new A/C compressor shaft seal.


