Tools Required
| • | J 44809 Output Shaft Seal Installer |
| • | J 44915 Seal Installer |
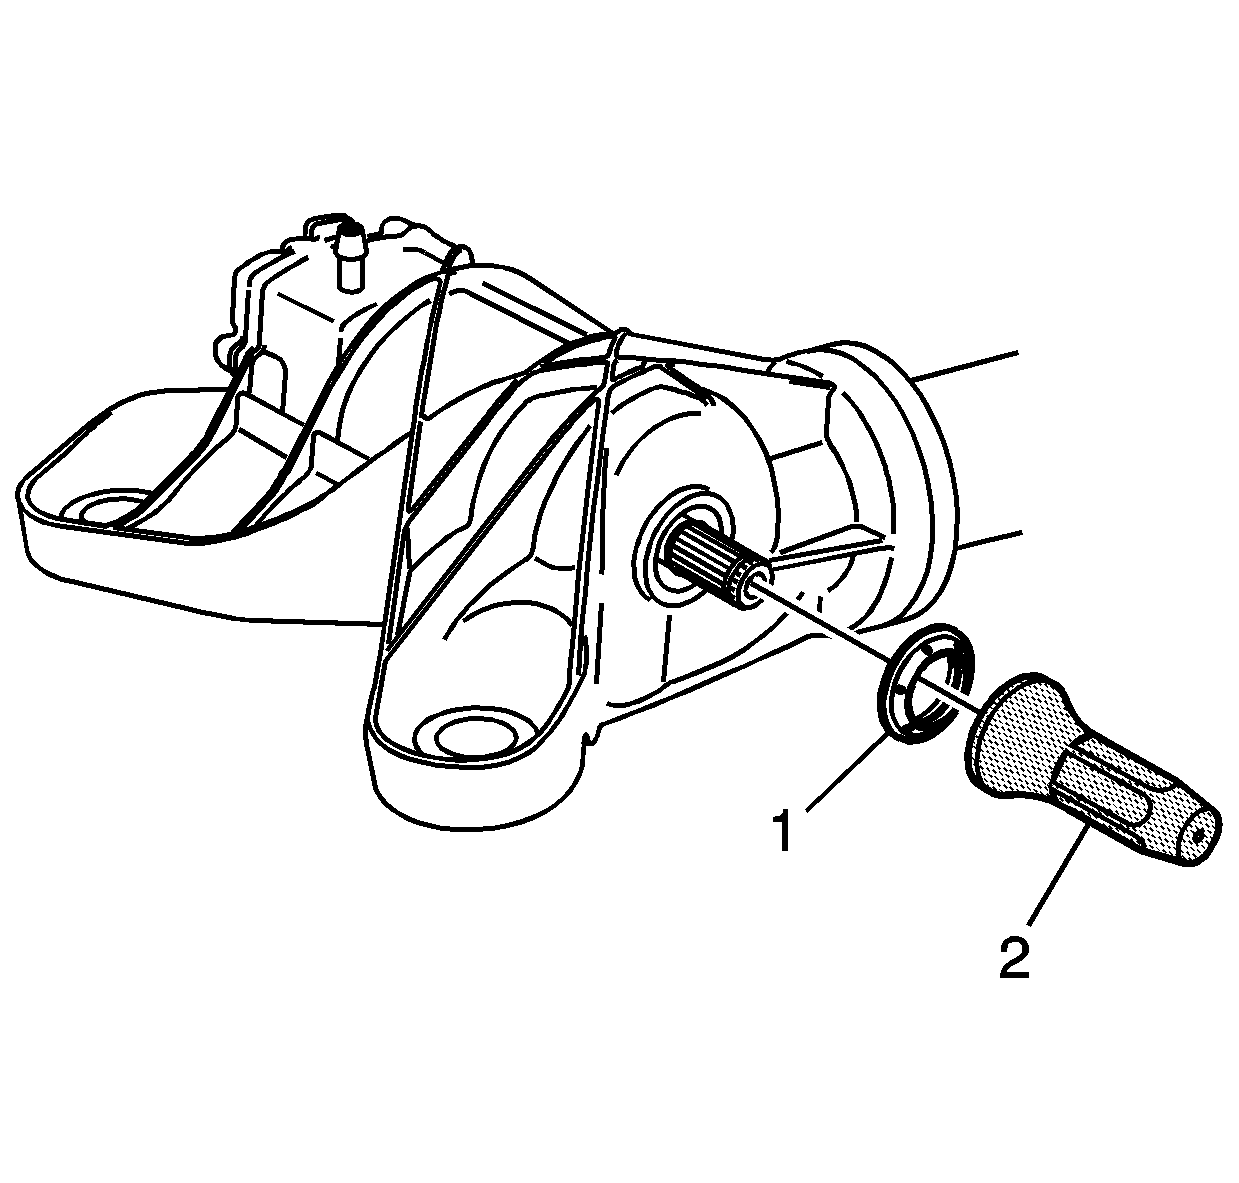
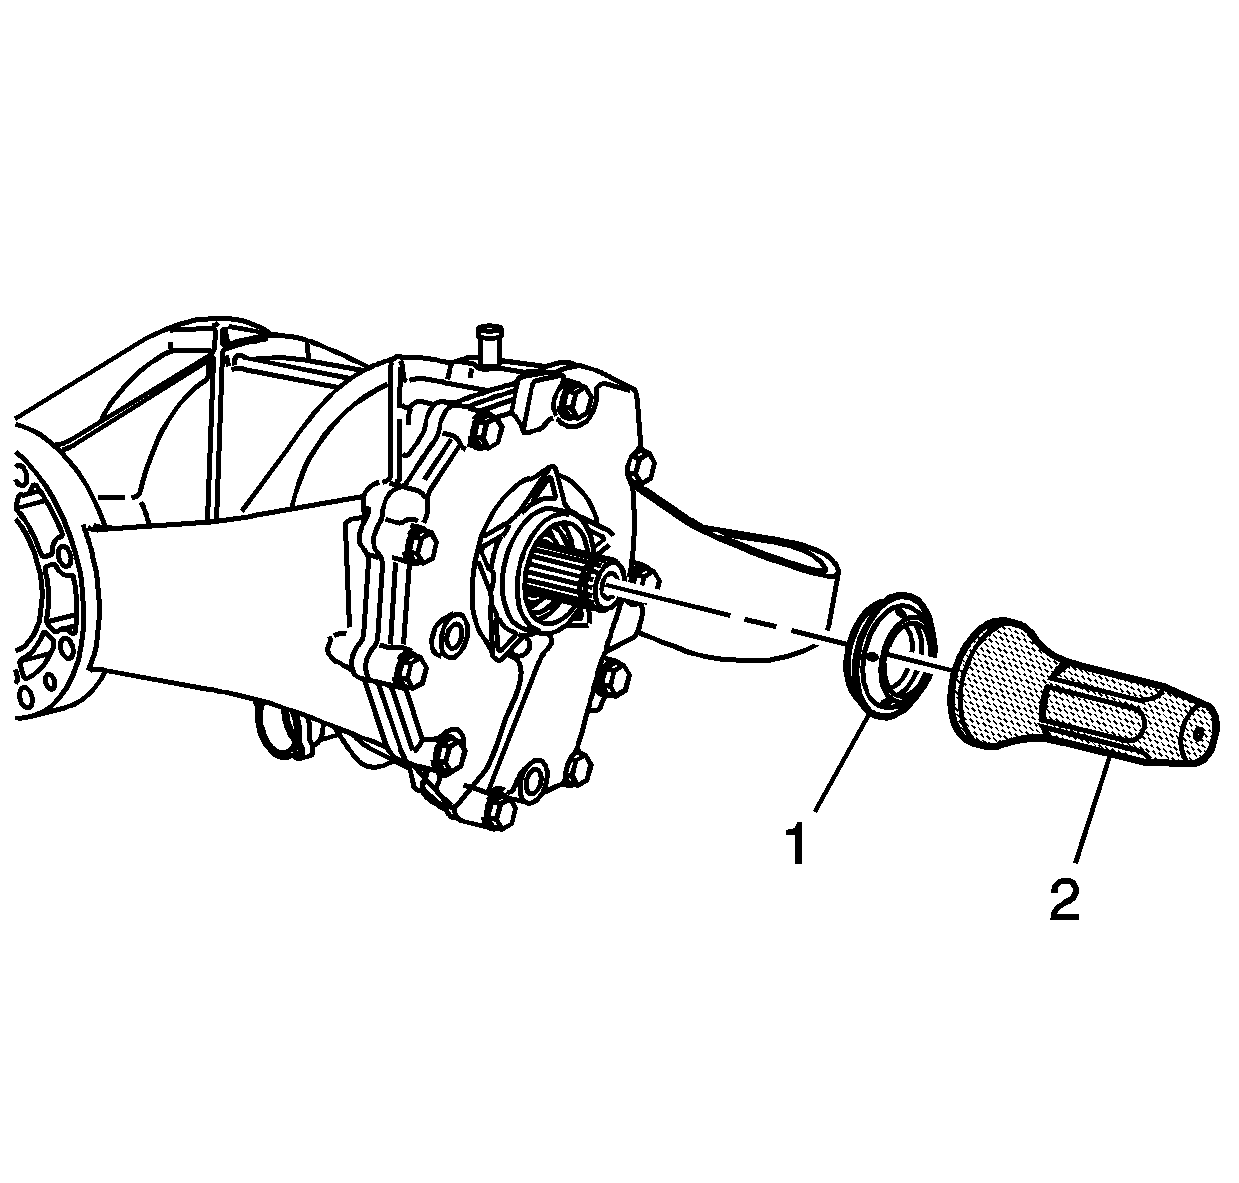
- Use the J 44809 (2) in order to install the right axle shaft oil seal (1).
- Use the J 44809 (2) in order to install the left axle shaft oil seal (1).
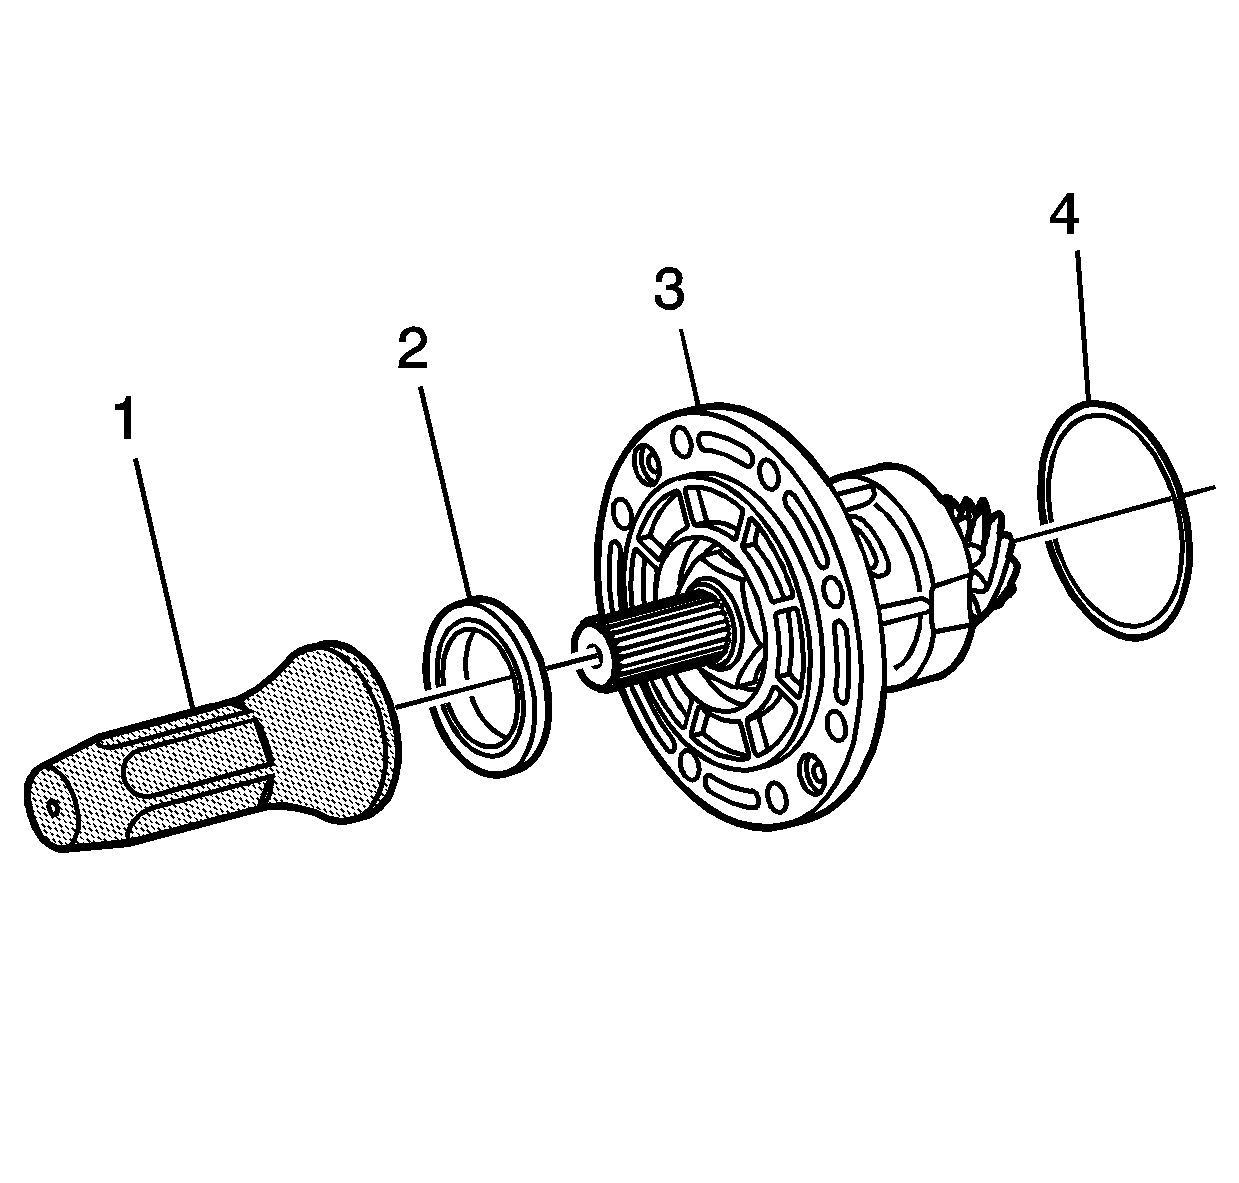
- Lubricate the O-ring seal (4) and oil seal (2) sealing surface with gear oil GM P/N 12378514 (Canadian P/N 88901045).
- Install the O-ring seal (4) into the groove of the pinion housing (3).
- Use the J 44915 (1) in order to install the oil seal (2) into the pinion housing (3).
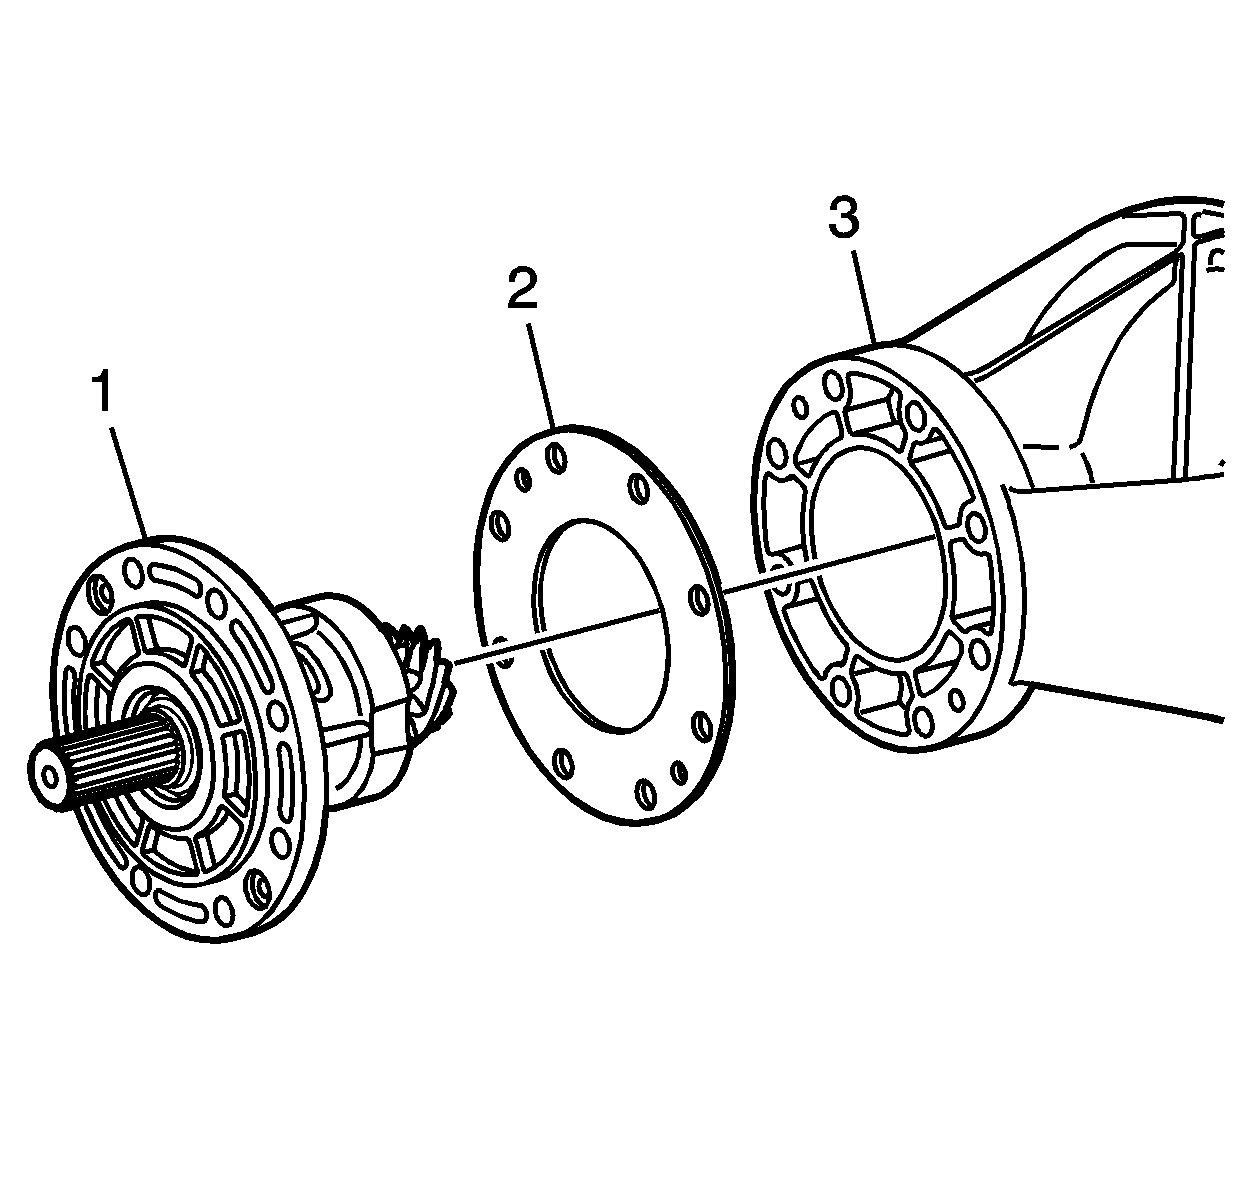
- Install the pinion and housing assembly (1) and shim (2) to the differential (3).
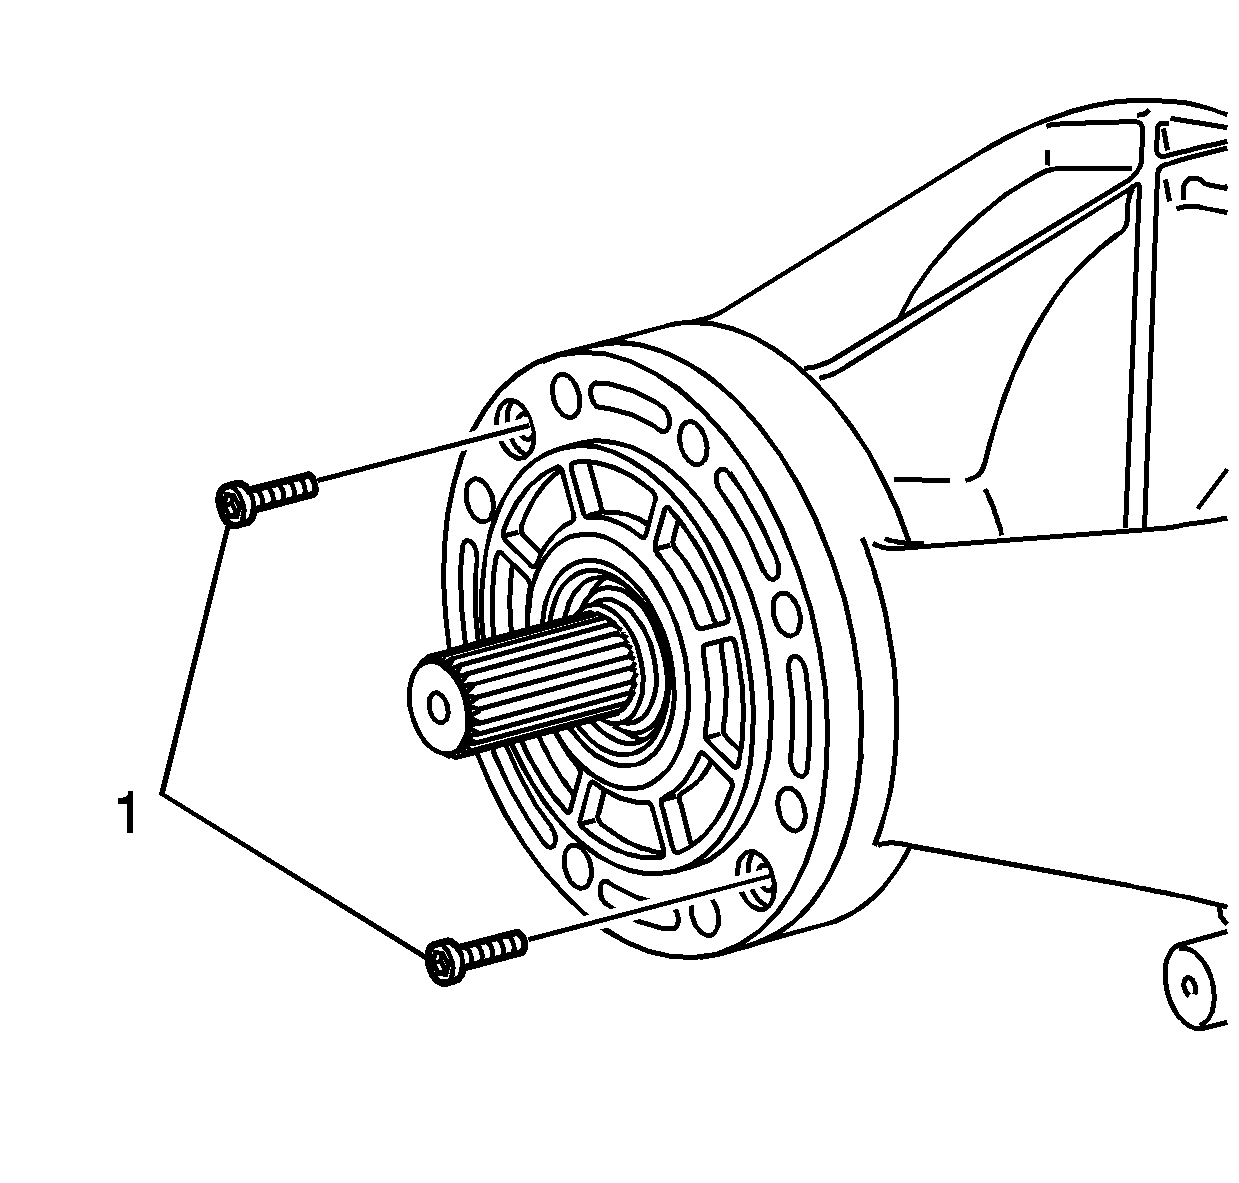
- Install the bolts (1) to the differential.
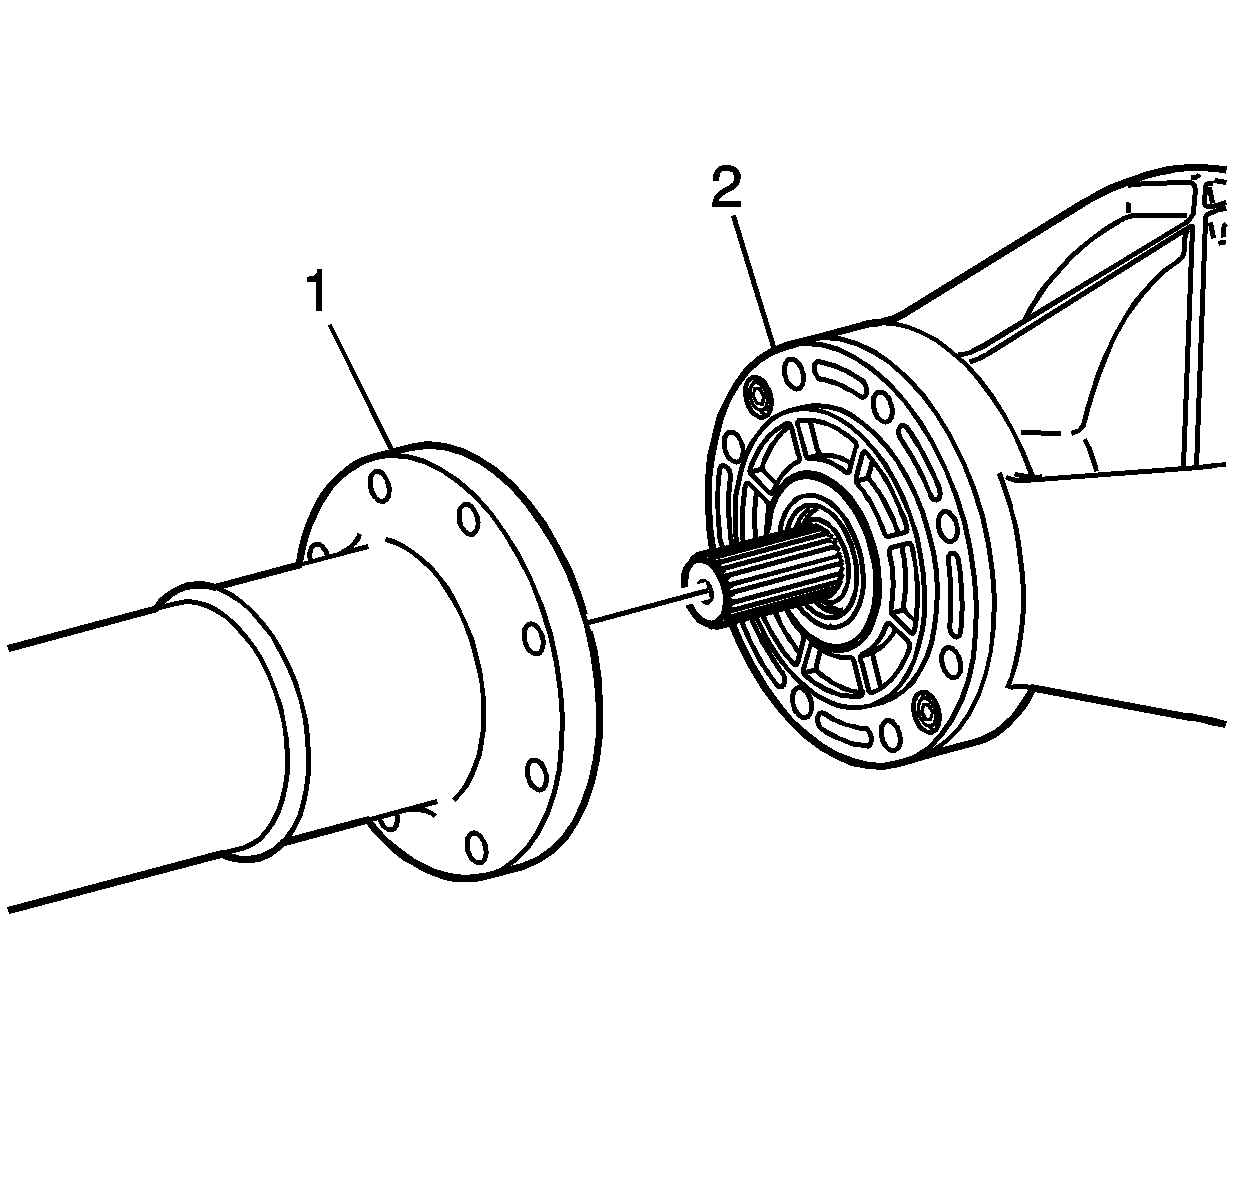
- Install the torque tube (1) to the differential (2).
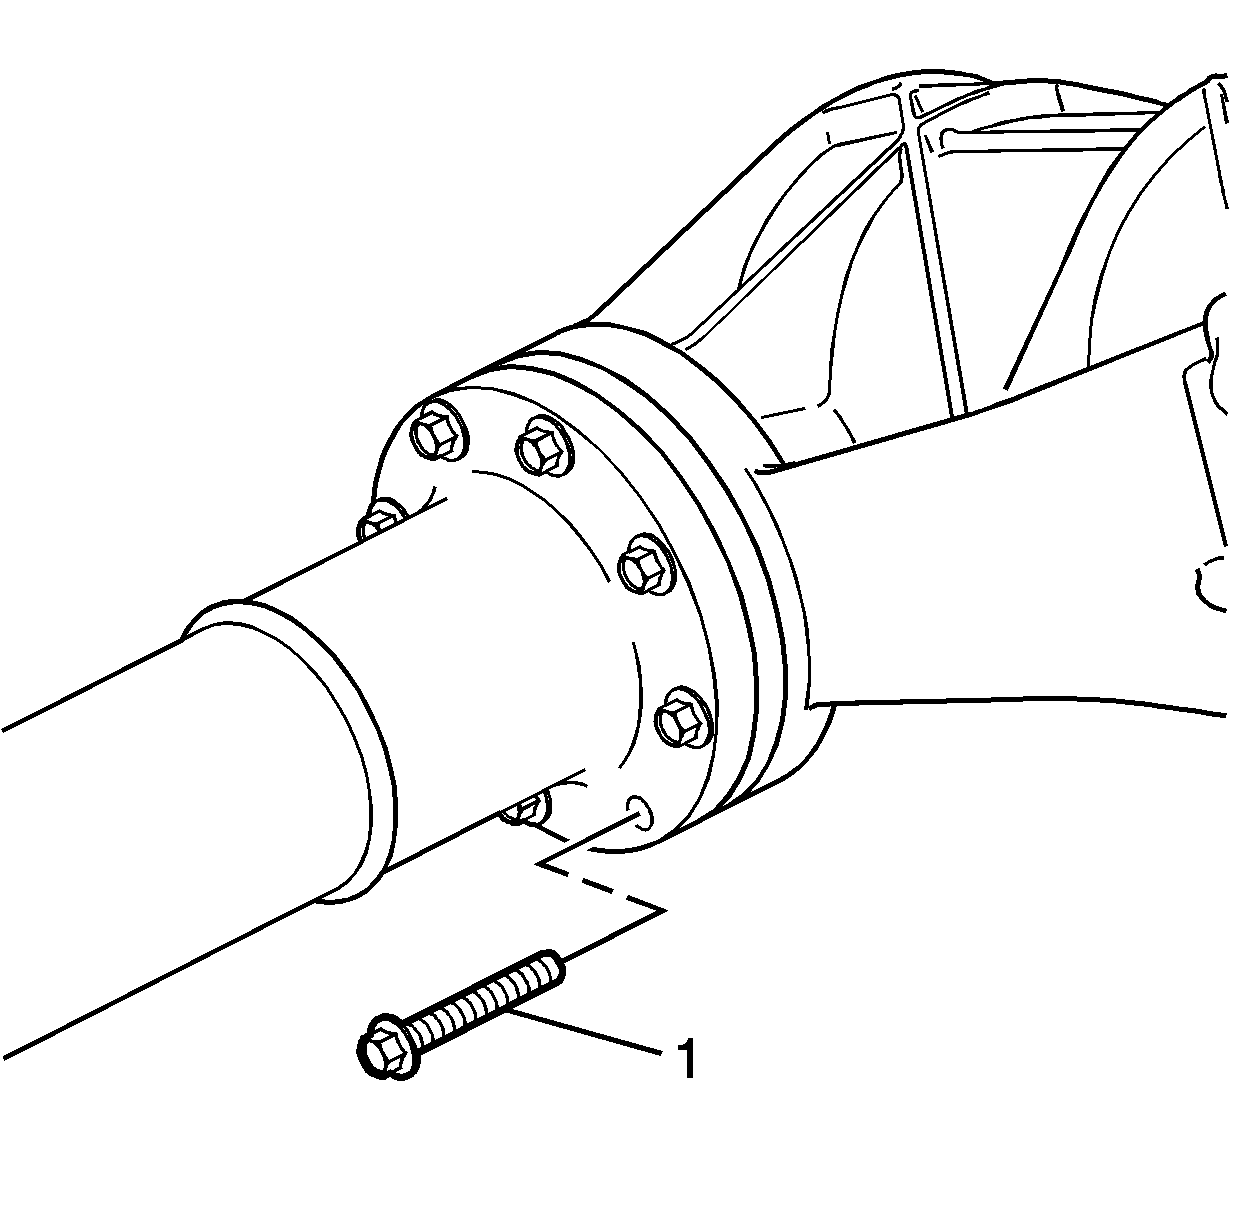
- Install the bolts (1) to the differential.
- Install the spacers (3 and 6) to the tube flanges.
- Install the bracket (4), bolt (7), washers (2 and 8) and nut (1) to the tube.
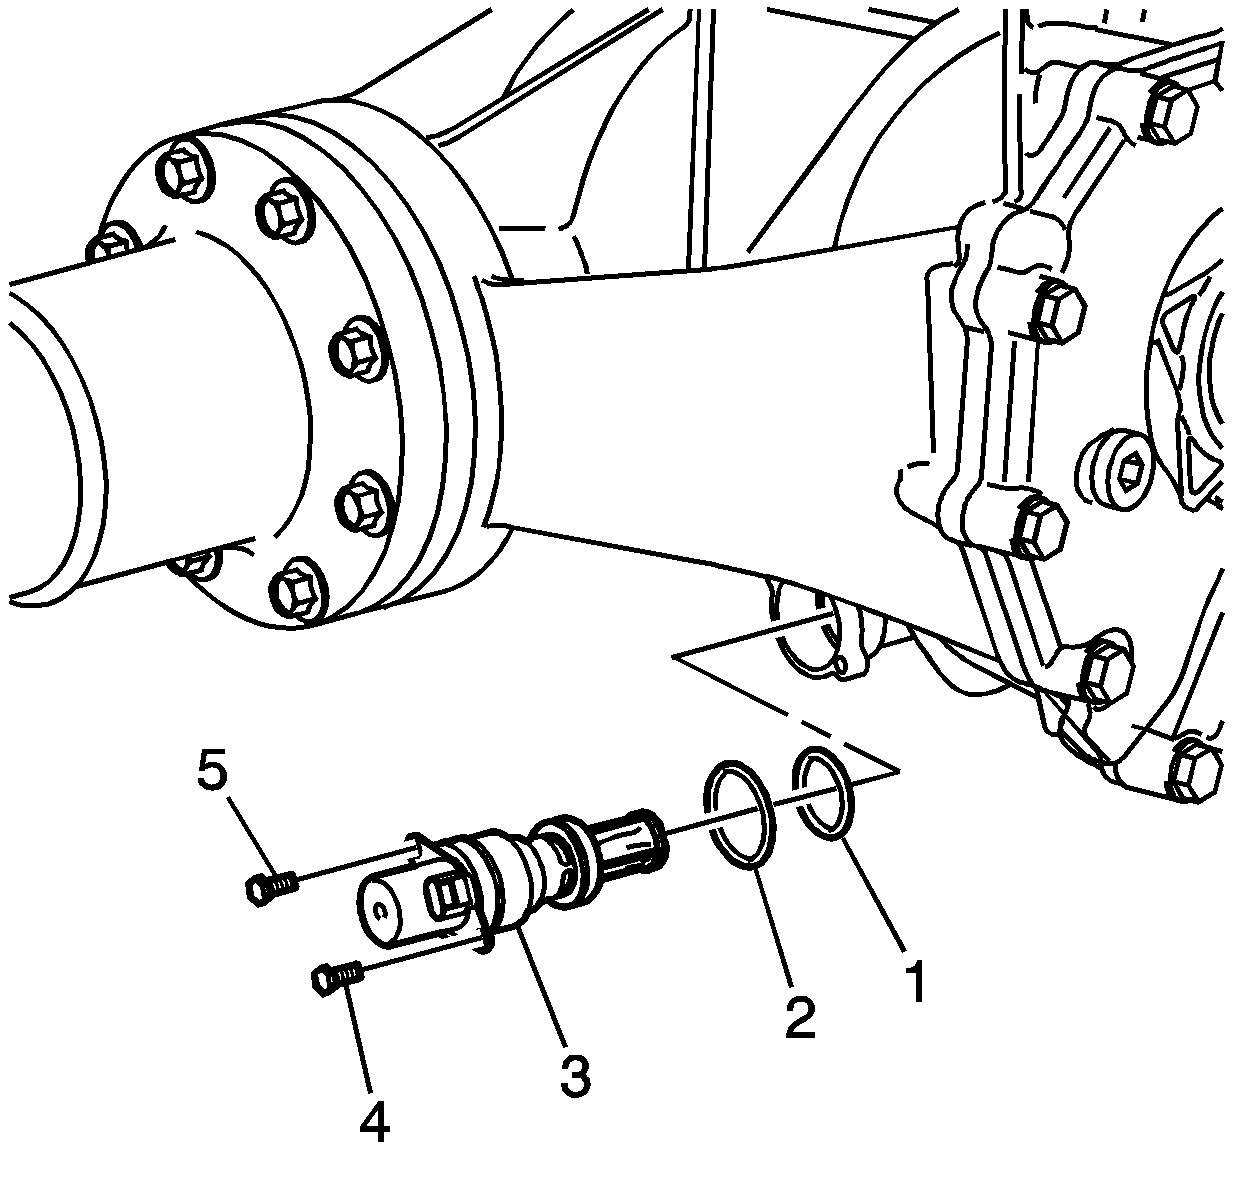
- Install the O-ring seals (1 and 2) onto the clutch pump check valve (3).
- Install the valve (3) and bolts (4 and 5) to the differential.
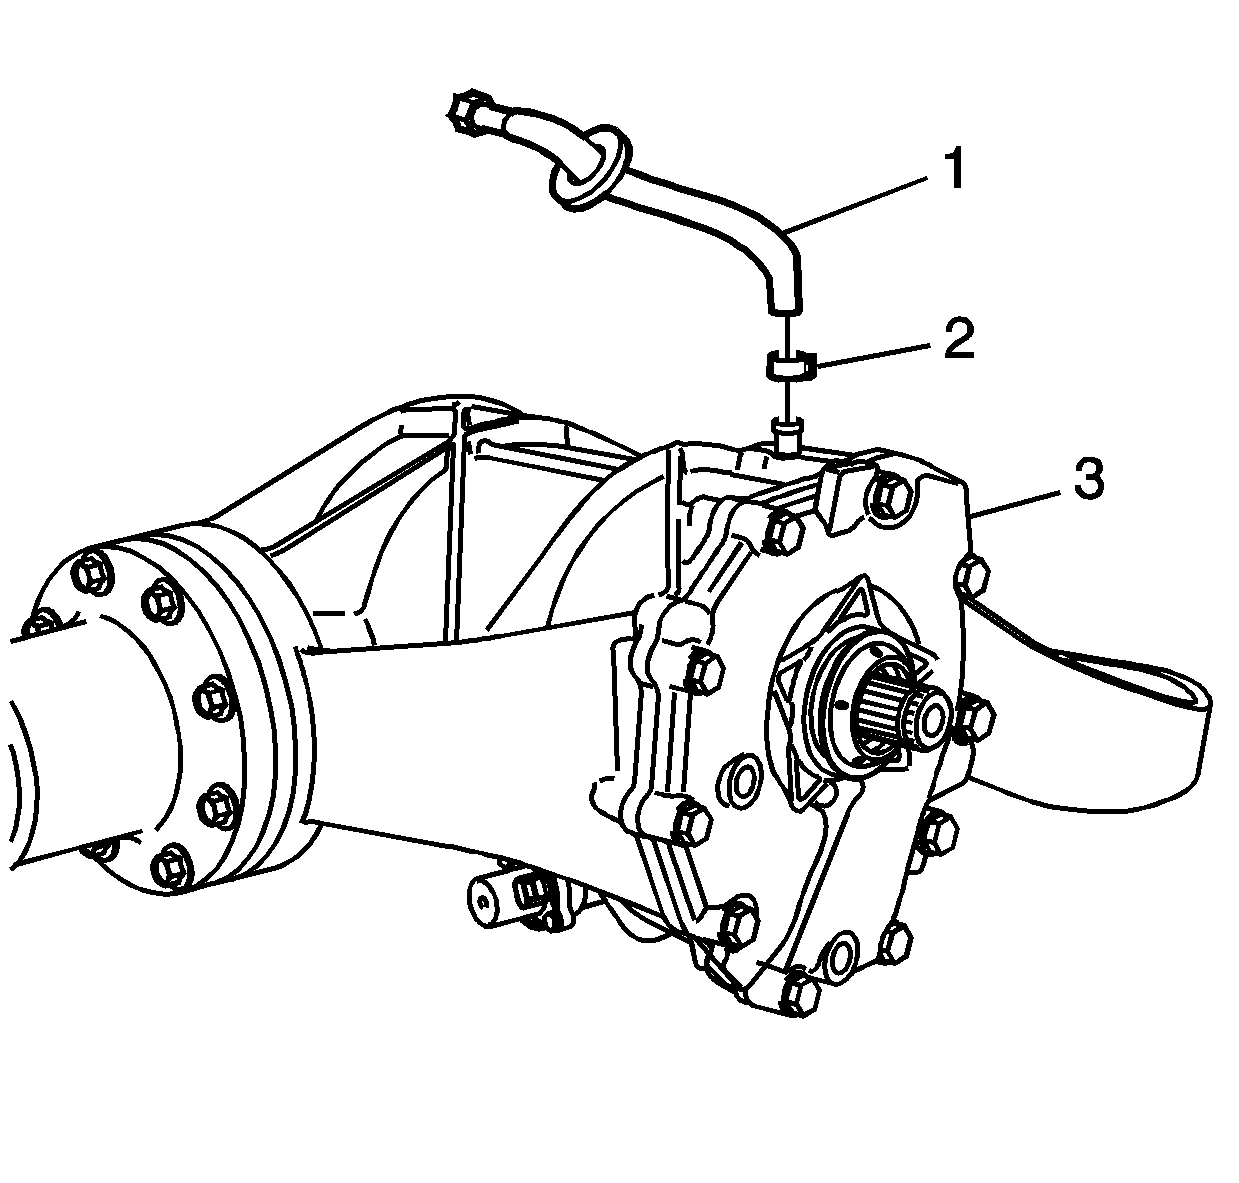
- Install the vent hose assembly (1) and clamp (2) to the differential (3).
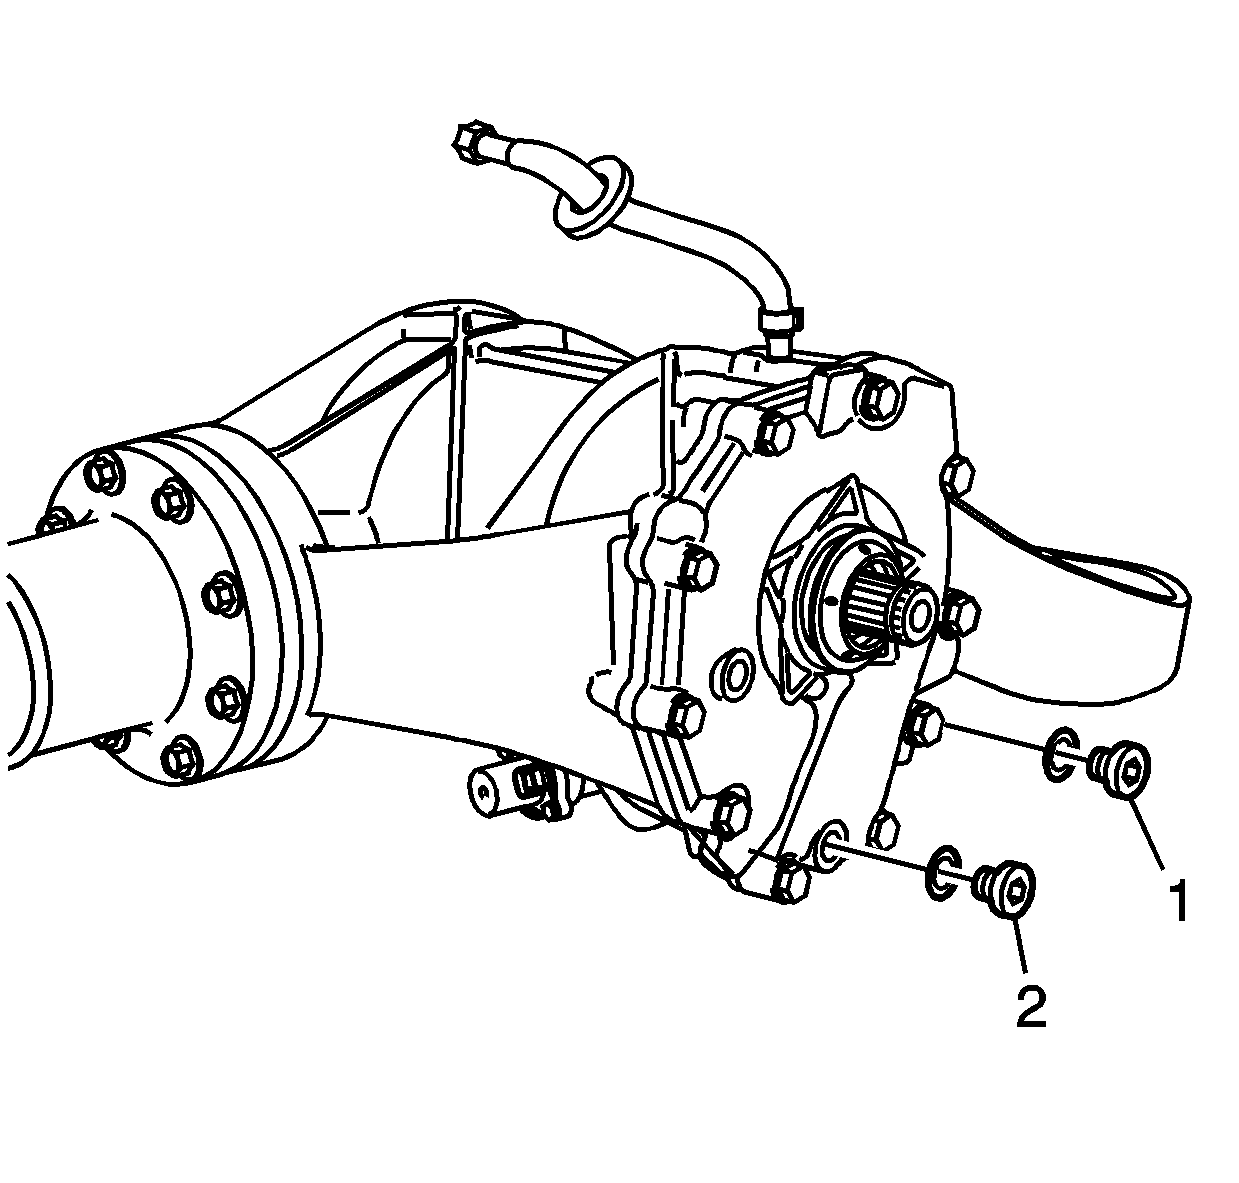
- Install the oil drain plug (2) and gasket to the differential.
Notice: Use the correct fastener in the correct location. Replacement fasteners must be the correct part number for that application. Fasteners requiring replacement or fasteners requiring the use of thread locking compound or sealant are identified in the service procedure. Do not use paints, lubricants, or corrosion inhibitors on fasteners or fastener joint surfaces unless specified. These coatings affect fastener torque and joint clamping force and may damage the fastener. Use the correct tightening sequence and specifications when installing fasteners in order to avoid damage to parts and systems.
Tighten
Tighten the bolts to 10 N·m (106 lb in).
Tighten
Tighten the bolts to 25 N·m (18 lb ft).
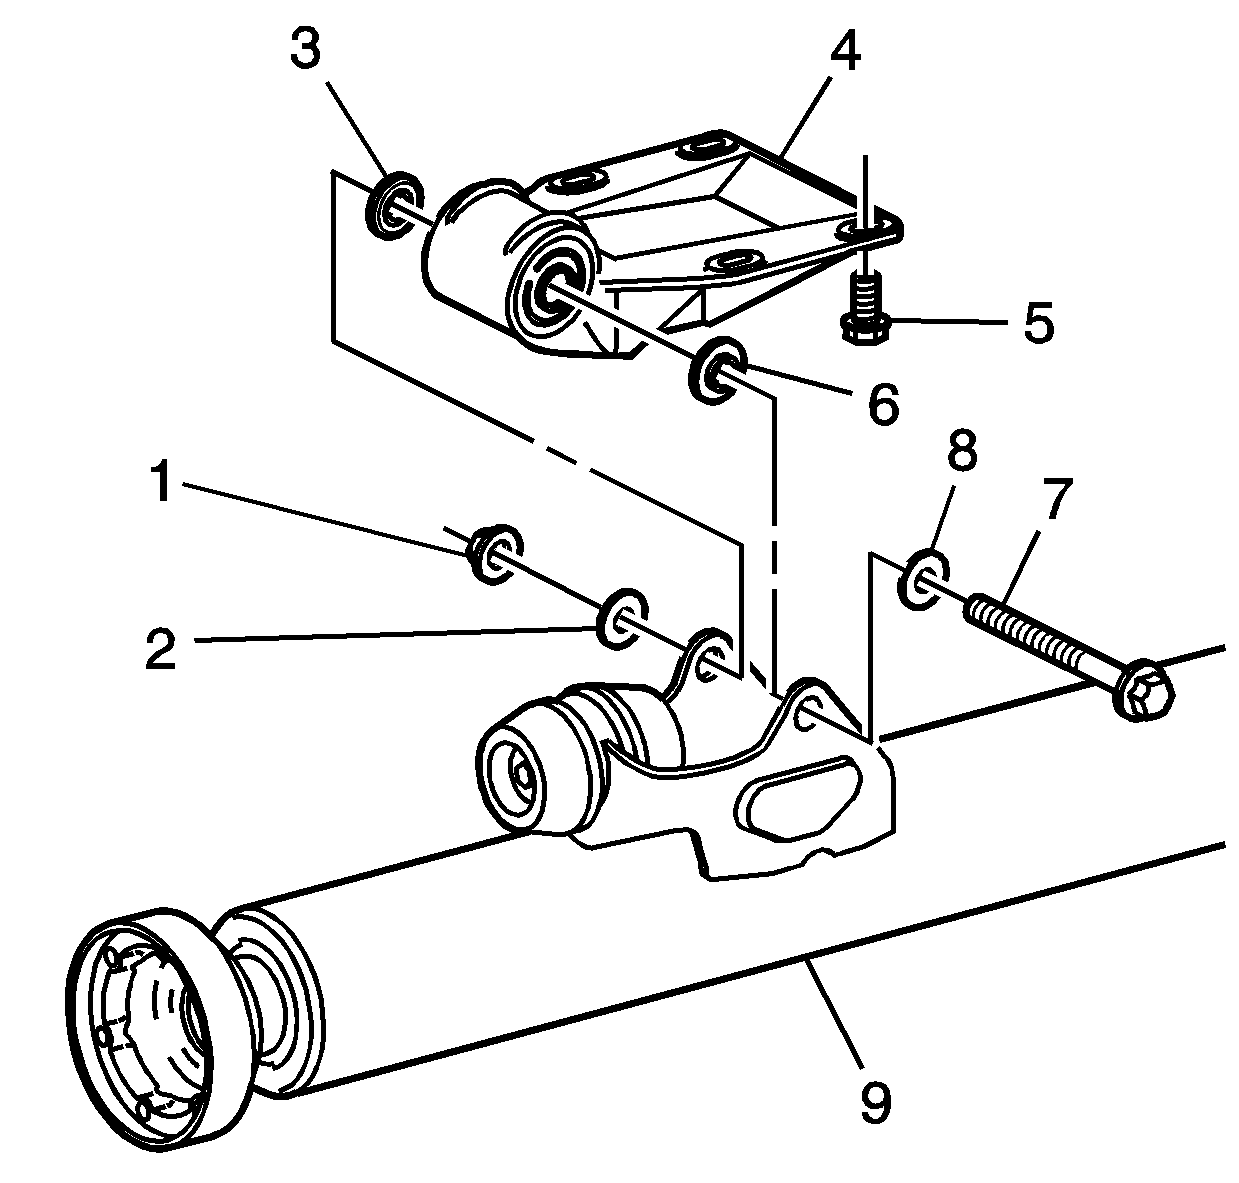
Important: DO NOT tighten the bracket nut and bolt (1 and 7) at this time. The bracket bolt and nut are to be tightened after the differential assembly is installed into the proper position in the vehicle.
Tighten
Tighten the valve bolts to 10 N·m (106 lb in).
Tighten
Tighten the drain plug to 32 N·m (23 lb ft).
