For 1990-2009 cars only
Removal Procedure
- Remove the drive belt. Refer to Drive Belt Replacement .
- Remove the generator. Refer to Generator Bracket Replacement in Engine Electrical.
- Remove the generator bracket. Refer to Generator Bracket Replacement in Engine Electrical.
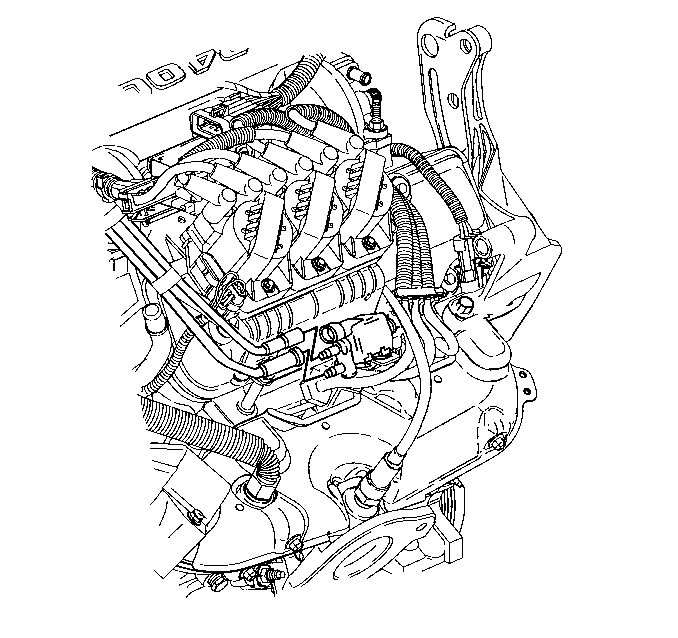
- Disconnect the engine right side spark plug wires. Refer to Spark Plug Wire Replacement in Engine Controls - 3.4 L.
- Disconnect the vacuum hoses from the evaporative emissions (EVAP) canister purge solenoid valve.
- Remove the EVAP canister purge solenoid valve. Refer to Evaporative Emission Canister Purge Solenoid Valve Replacement in Engine Controls - 3.4L.
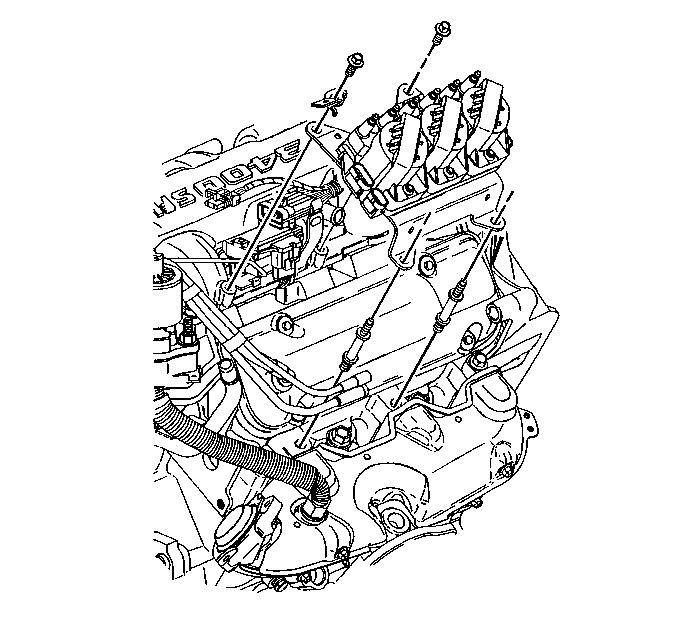
- Remove the ignition module bracket with the coils.
- Remove the vacuum hose from the grommet in the engine right side valve rocker arm cover.
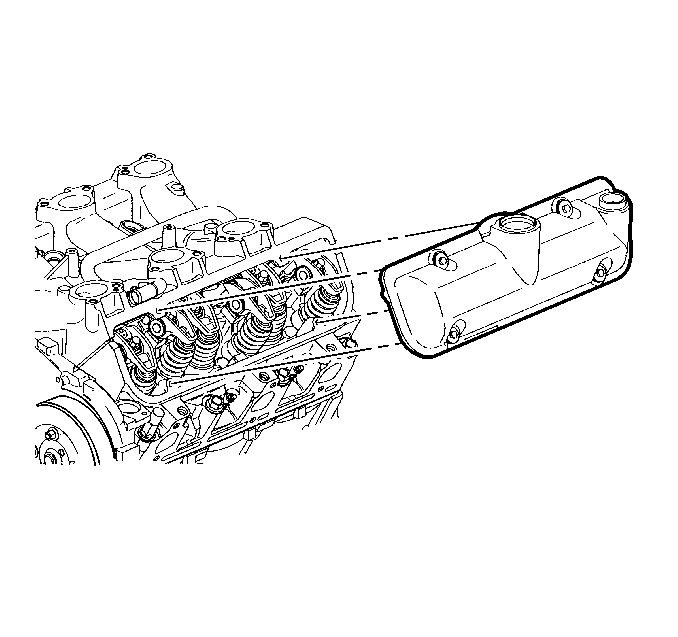
- Remove the valve rocker arm cover bolts.
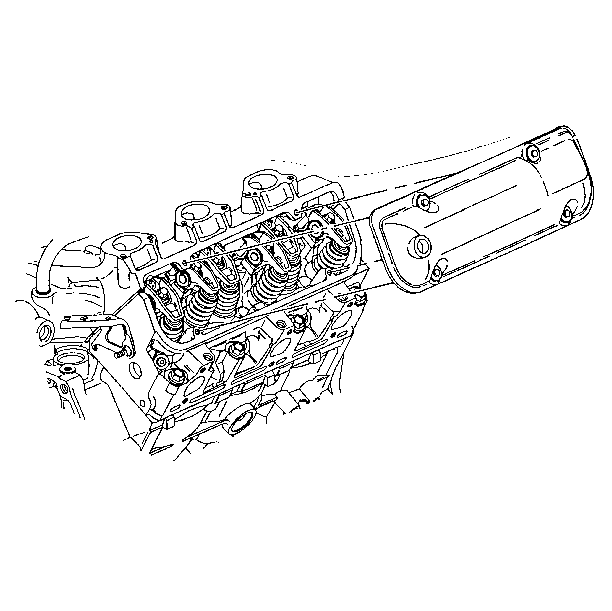
- Remove the valve rocker arm cover. Bump the end of the valve rocker cover with the palm of your hand or a soft rubber mallet if the cover adheres to the cylinder head.
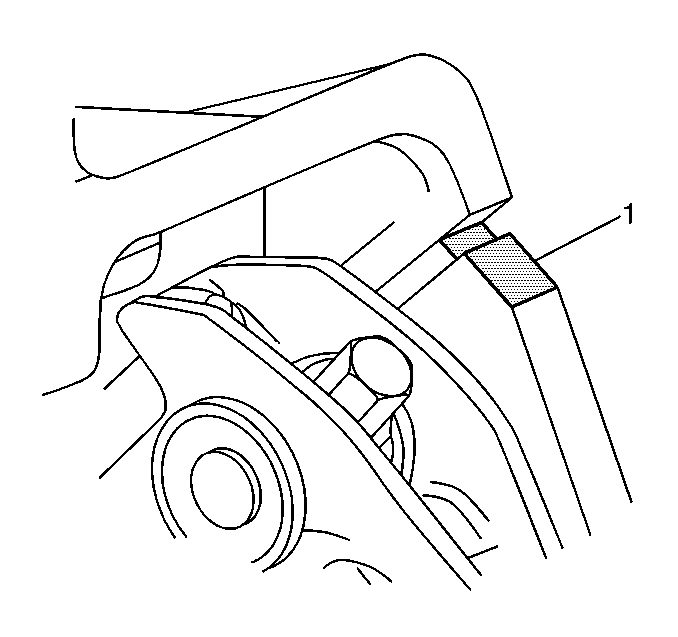
- Trim the valve cover and sealant away from the lower intake manifold gasket at the cylinder head to the lower intake manifold joints (1).
- Remove the valve cover gasket.
- Clean the sealing surface on the cylinder head with degreaser.
- Clean the valve rocker arm cover. Refer to Valve Rocker Arm Cover Cleaning and Inspection .
Notice: Valve rocker arm cover gasket and sealant must be carefully trimmed away from lower intake manifold gasket. Failure to do so will damage the lower intake manifold gasket, causing a severe oil leak.
Important: When removing the valve rocker arm cover, ensure the gasket stays in place attached to the cylinder head.
Installation Procedure
- Apply sealant at the cylinder head to the lower intake manifold joints (1).
- Install a NEW gasket to the valve rocker arm cover. Ensure that the gasket is properly seated in the groove of the valve rocker arm cover.
- Install the valve rocker arm cover.
- Install the valve rocker arm cover bolts.
- Install the vacuum hose to the grommet in the engine right side valve rocker arm cover.
- Install the ignition coil bracket with coils.
- Install the EVAP canister purge solenoid valve. Refer to Evaporative Emission Canister Purge Solenoid Valve Replacement in Engine Controls - 3.4L.
- Connect the vacuum hoses from the EVAP canister purge solenoid valve.
- Connect the engine right side spark plug wires. Refer to Spark Plug Wire Replacement in Engine Controls - 3.4L.
- Install the generator bracket. Refer to Generator Bracket Replacement in Engine Electrical.
- Install the generator. Refer to Generator Replacement in Engine Electrical.
- Install the drive belt. Refer to Drive Belt Replacement .

Important: Apply sealant GM P/N 12378521 (Canadian P/N 88901148) or equivalent, at the cylinder head to the lower intake manifold joint.
Notice: Refer to Fastener Notice in the Preface section.
Tighten
Tighten the bolts to 10 N·m (89 lb in).


