Engine Coolant Fan Replacement 2.4L
Removal Procedure
- Disconnect the negative battery cable.
- Remove the engine cover and the engine cover bracket.
- Remove the battery. Refer to Battery Replacement .
- Remove the air cleaner assembly. Refer to Air Cleaner Assembly Replacement .
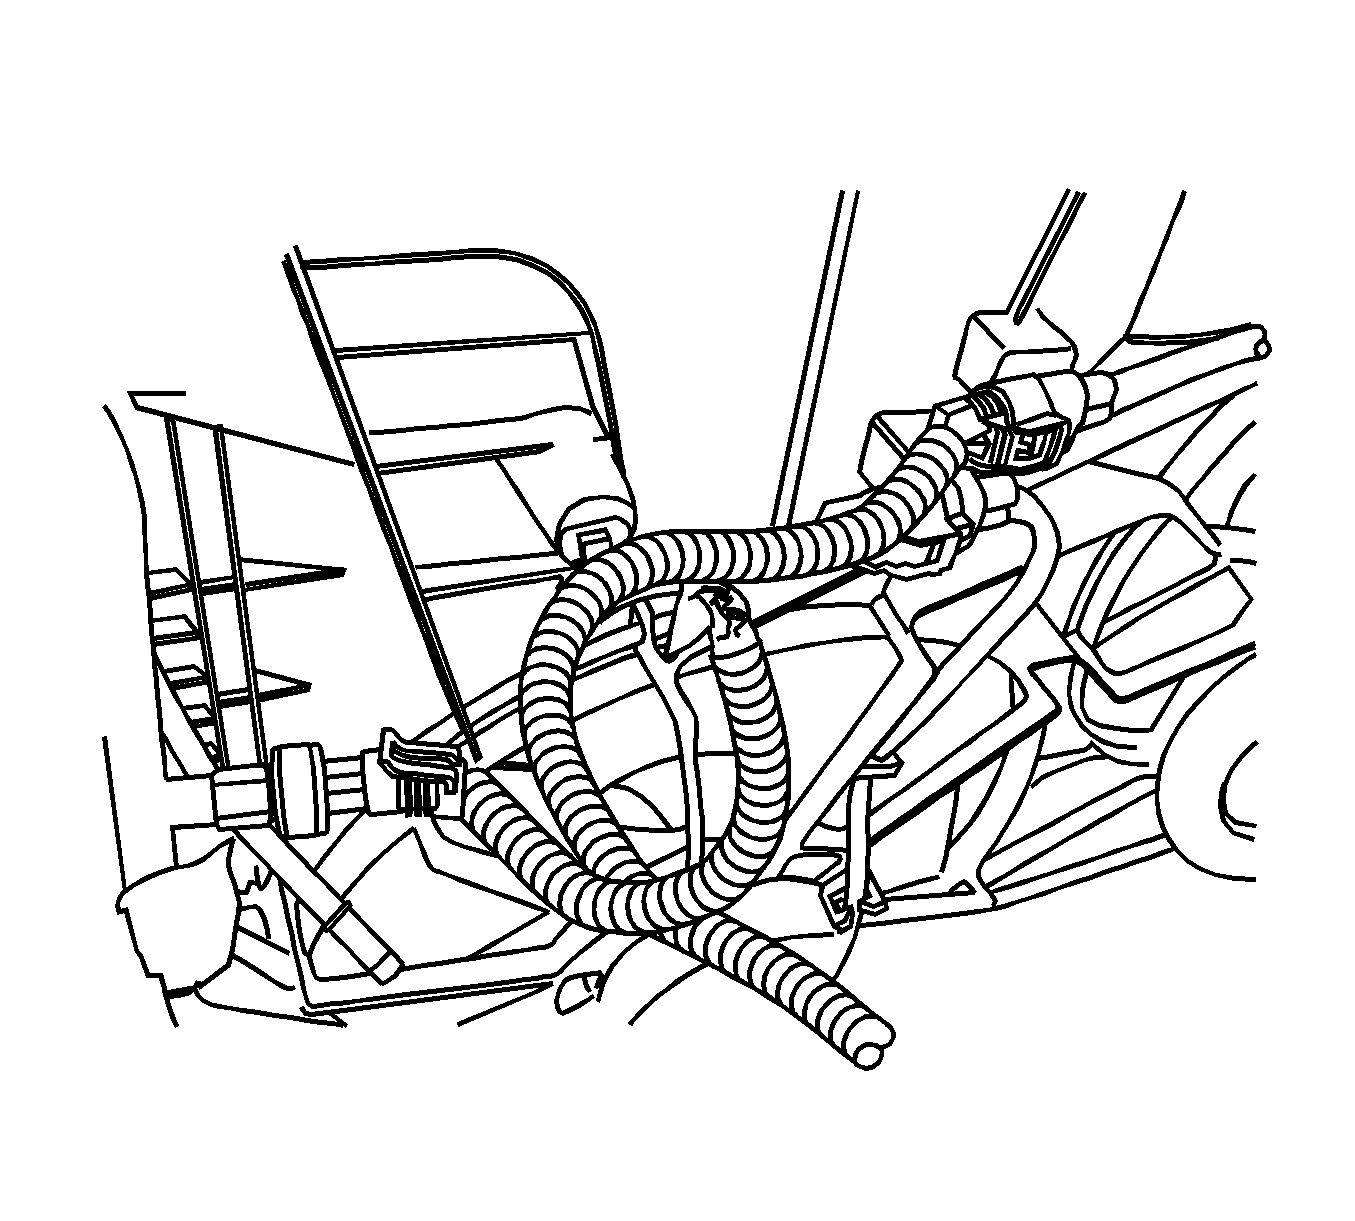
- Disconnect the both cooling fan electrical connectors and the A/C pressure sensor connector.
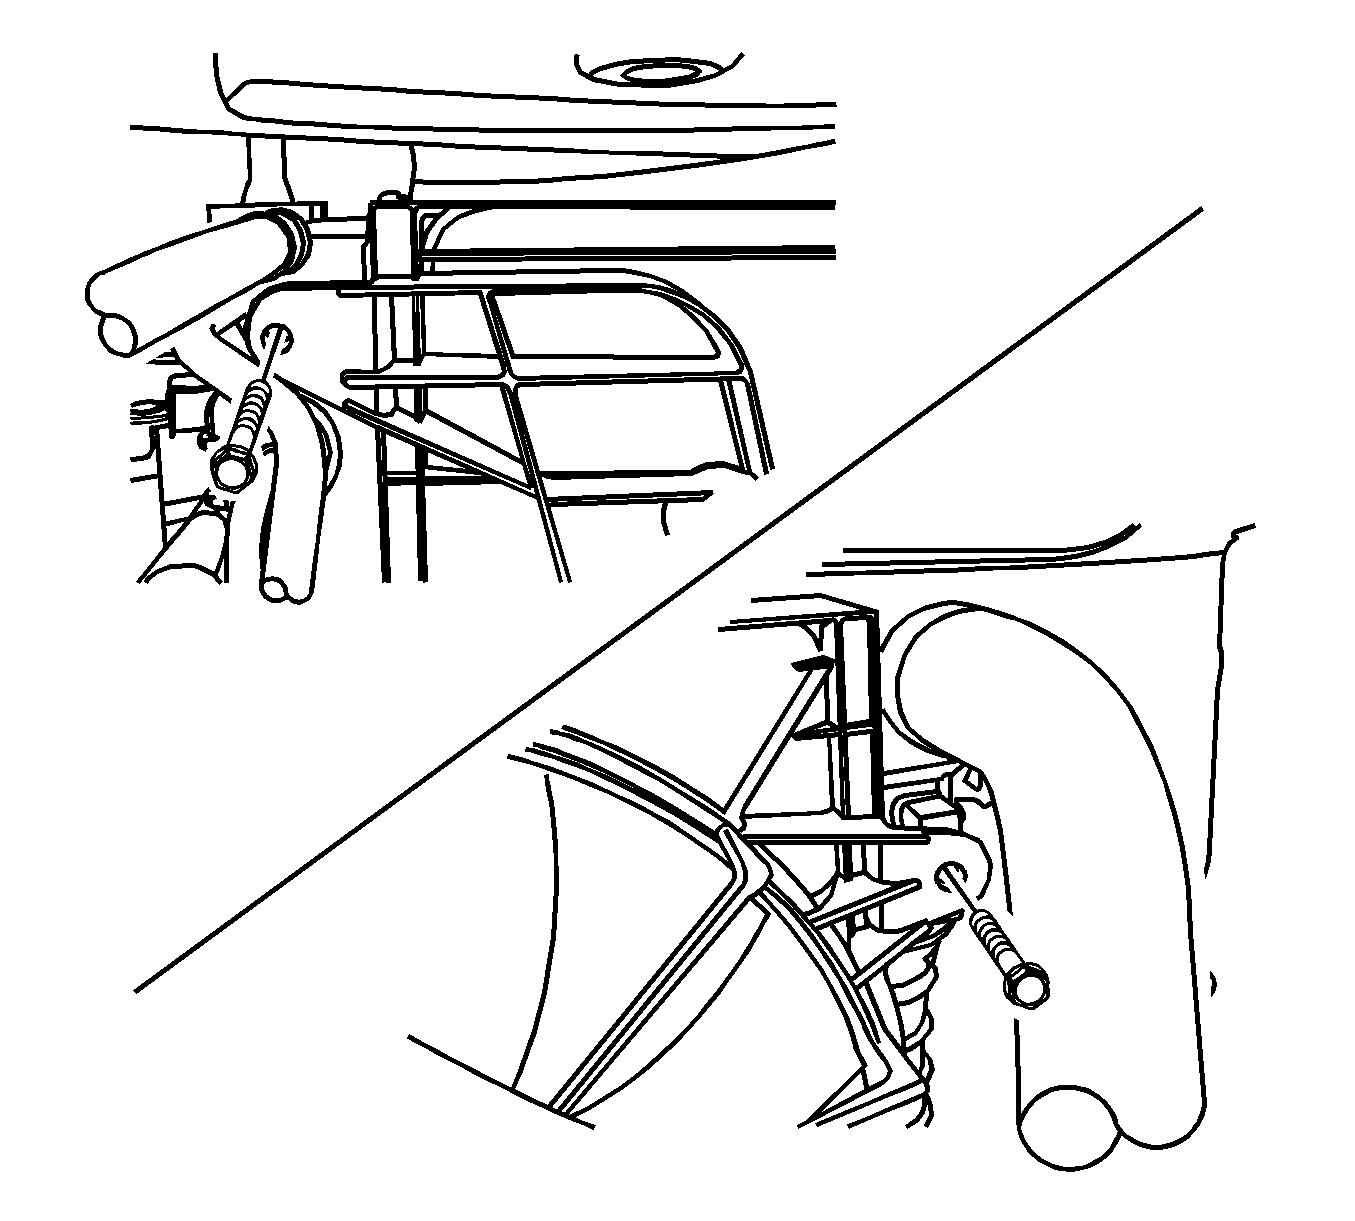
- Remove the cooling fan shroud mounting bolts.
- Remove the power steering fluid supply hose and pipe retaining bracket and move it away from the cooling fan assembly. Refer to Power Steering Fluid Reservoir Outlet Hose Replacement .
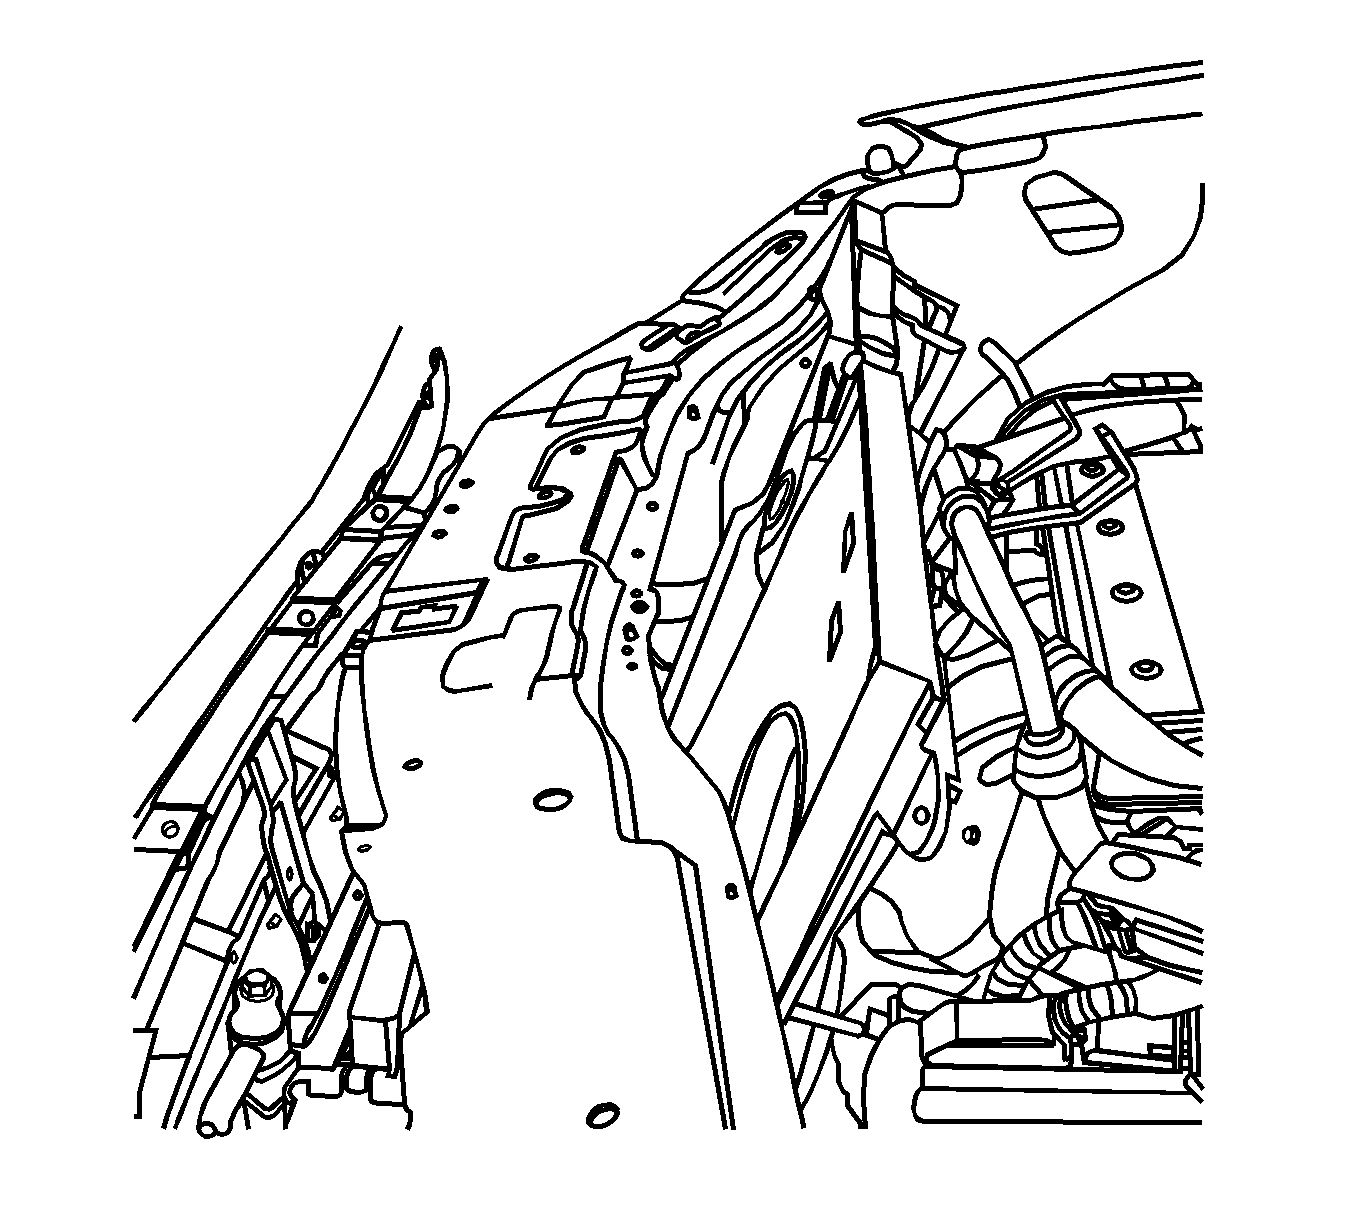
- Lift the fan shroud assembly upward and remove the cooling fan assembly from the vehicle.
- Remove the both main and auxiliary fan blades from the fan shroud assembly by removing the nut at the center of the fan hubs.
- Remove the both fan motor retaining screws.
- Remove the both fan motors from the shroud.
Caution: Refer to Battery Disconnect Caution in the Preface section.
Installation Procedure
- Install the both fan motors to the shroud.
- Secure the motors to the shroud with the retaining screws.
- Install the fan blades to the fan shroud assembly with the nuts in the center of the fan hub.
- Install the cooling fan assembly to the radiator.
- Secure the cooling fan assembly to the top of the radiator with the mounting bolts.
- Connect the cooling fan electrical connectors and the A/C pressure sensor connector.
- Install the power steering fluid supply hose and pipe retaining bracket bolt and move it away from the cooling fan assembly. Refer to Power Steering Fluid Reservoir Outlet Hose Replacement .
- Install the air cleaner assembly. Refer to Air Cleaner Assembly Replacement .
- Install the battery. Refer to Battery Replacement .
- Install the engine cover and the engine cover bracket.
- Connect the negative battery cable.

Caution: To help avoid personal injury or damage to the vehicle, a bent, cracked, or damaged fan blade or housing should always be replaced.
Notice: Refer to Fastener Notice in the Preface section.
Tighten
Tighten the fan motor retaining screws to 3.5 N·m (31 lb in).
Tighten
Tighten the fan blades retaining nuts to 5.6 N·m (50 lb in).
Important: Be sure to slip the tab at he bottom edge of the shroud into the retaining clip at the radiator.
Tighten
Tighten the cooling fan assembly mounting bolts to 4 N·m (35 lb in).

Engine Coolant Fan Replacement 2.0L Diesel
Removal Procedure
- Disconnect the negative battery cable.
- Remove the beauty cover. Refer to Engine Cover Replacement .
- Remove the charge air system hoses and ducts. Refer to Charge Air Cooler Inlet Pipe and Outlet Pipe Replacement .
- Remove the engine undercover. Refer to Engine Shield Replacement .
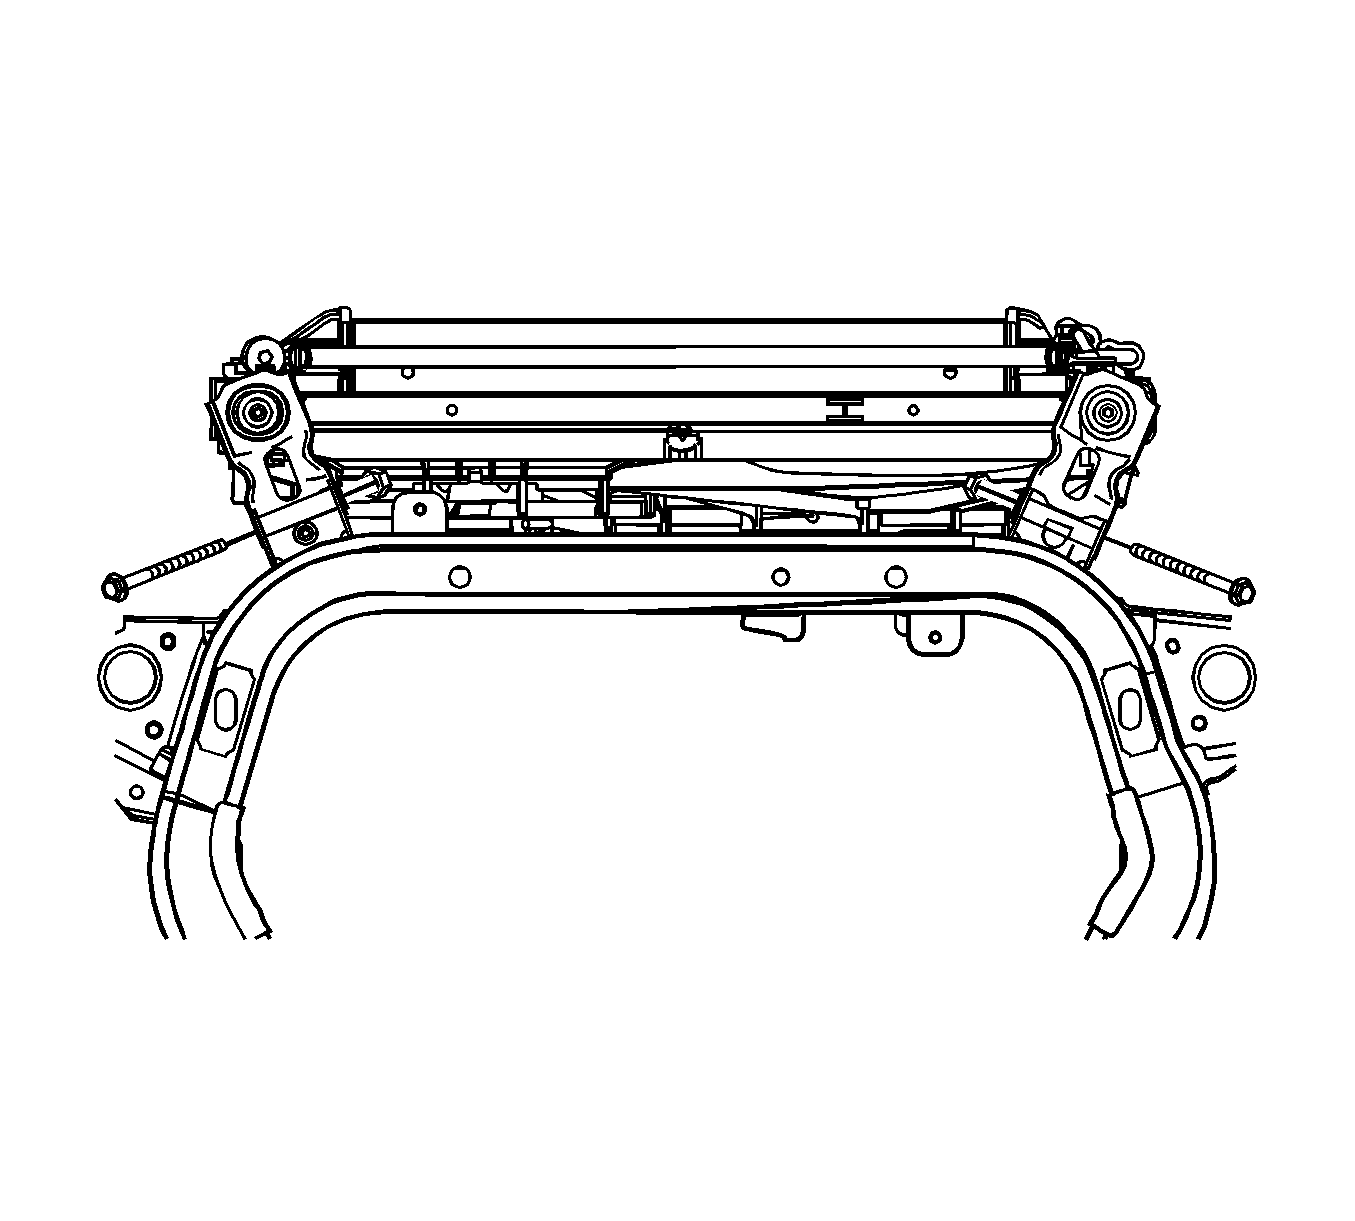
- Support the radiator assembly to the upper bracket using string to prevent falling down.
- Remove the radiator lower bracket from the cradle.
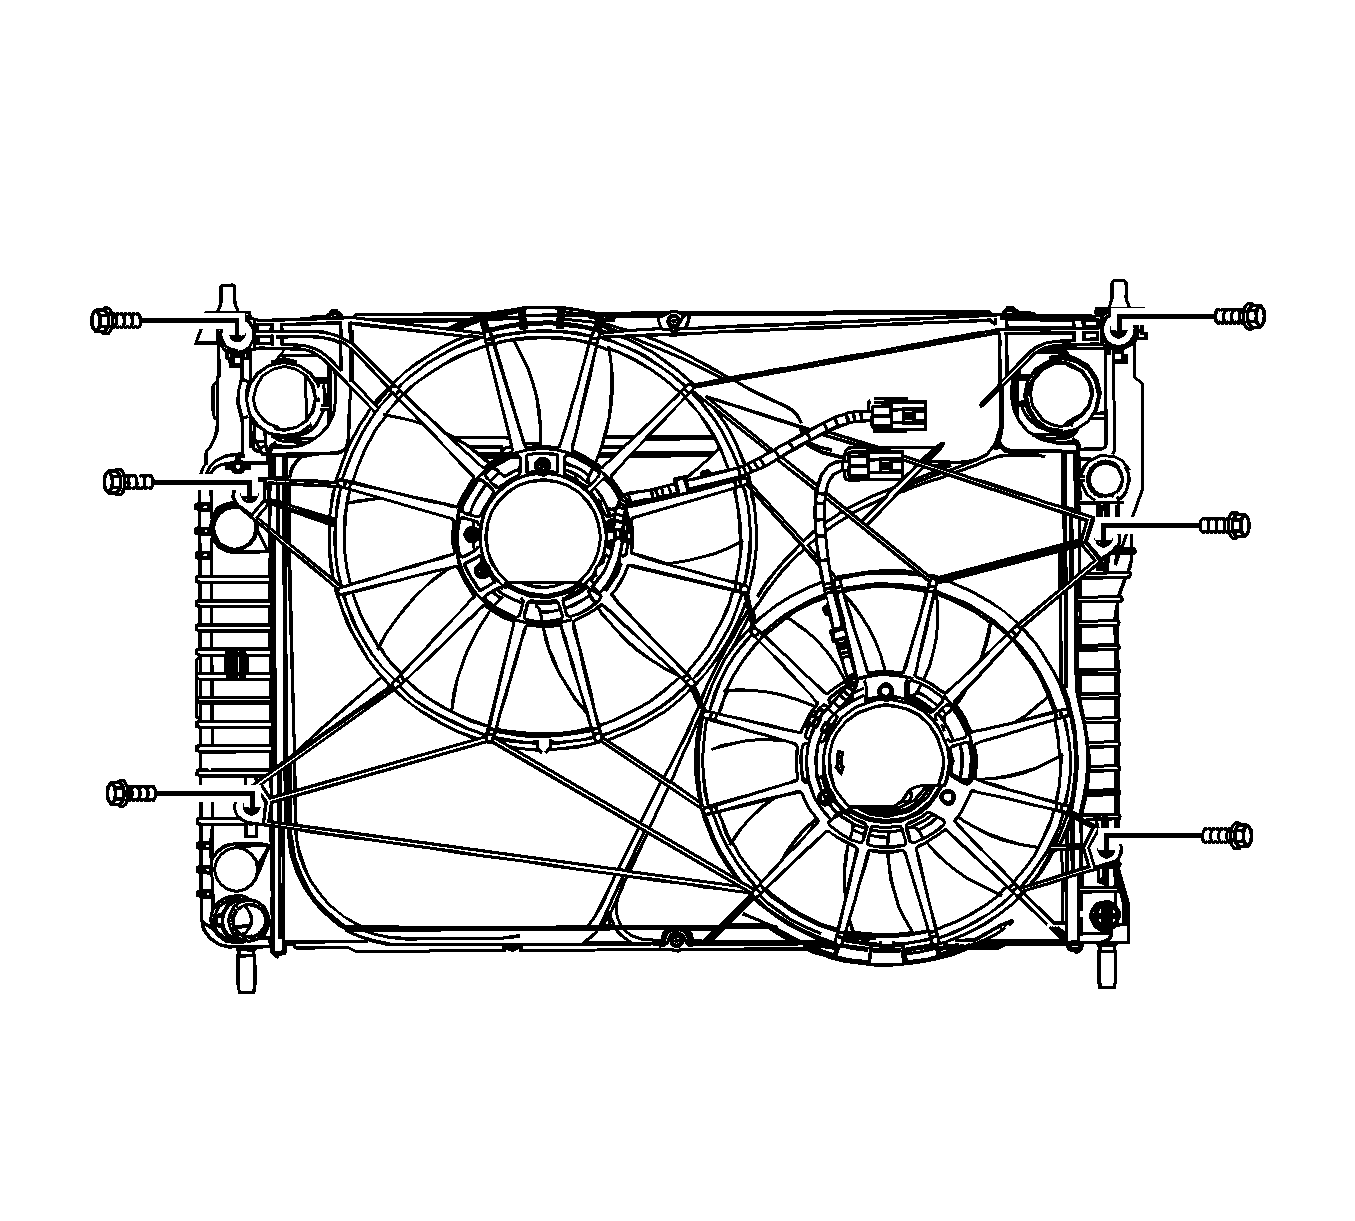
- Disconnect both cooling fan electrical connectors.
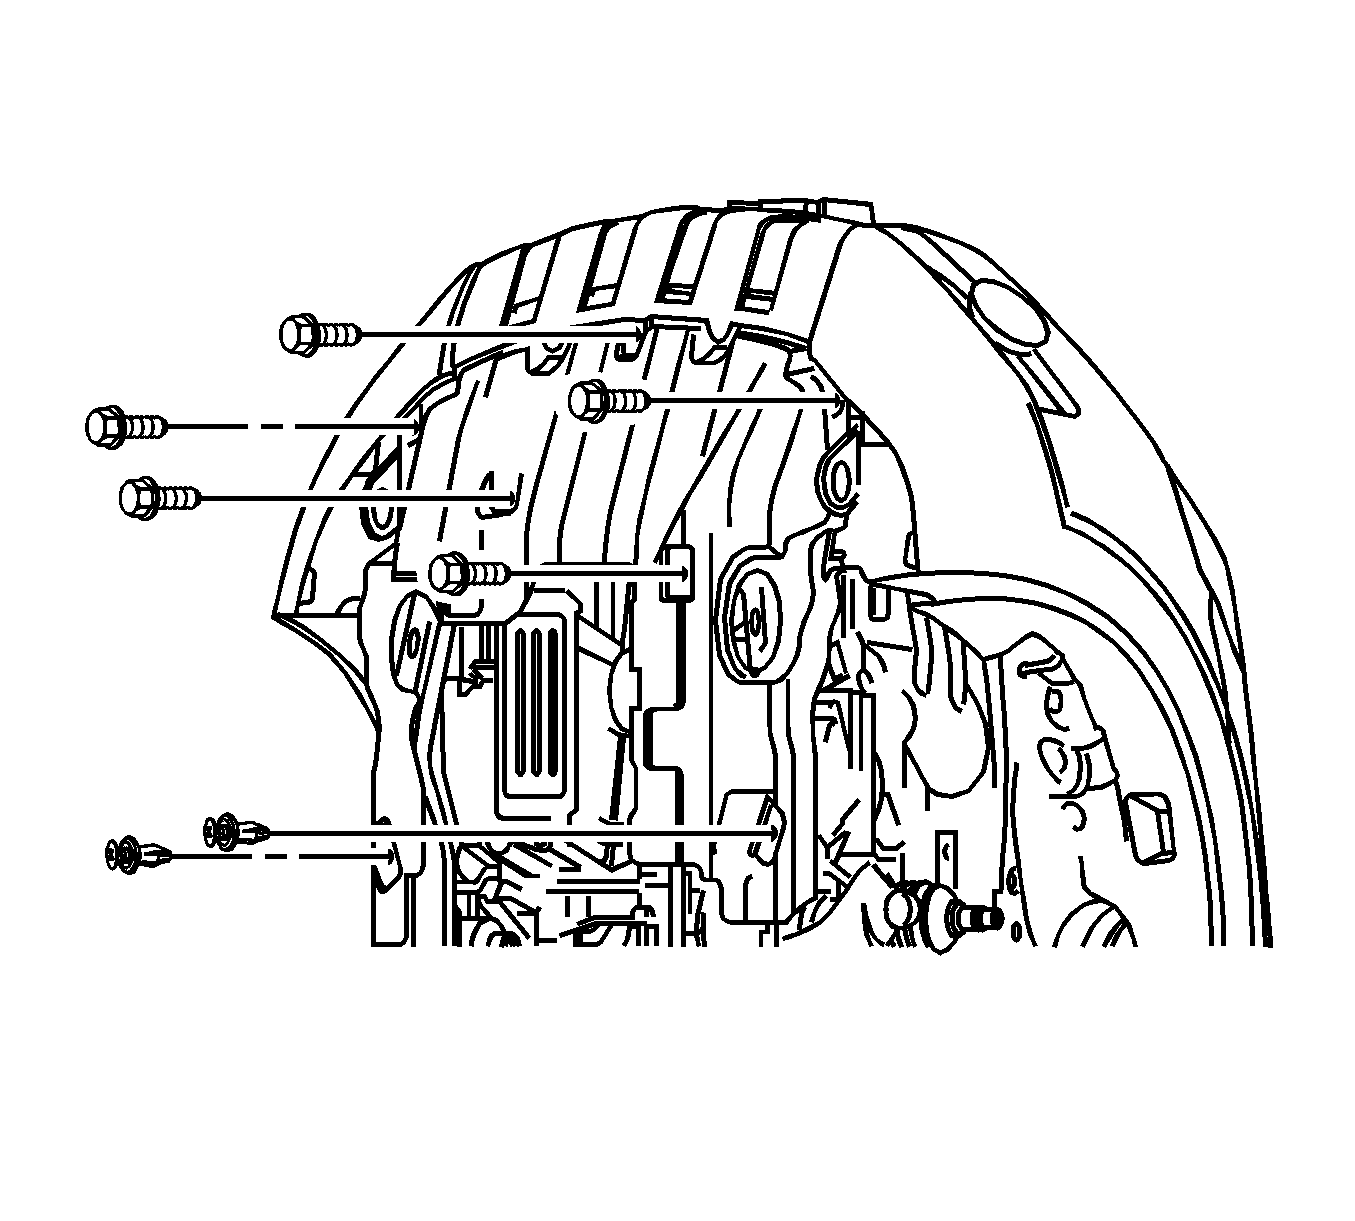
- Remove the cooling fan shroud mounting bolts.
- Remove the cooling fan assembly downward.
- Remove both the main and auxiliary fan blades from the fan shroud assembly by removing the nut at the center of the fan hubs.
- Remove both of the fan motor retaining screws.
- Remove both of the fan motors from the shroud.
Caution: Refer to Battery Disconnect Caution in the Preface section.
Installation Procedure
- Install the both fan motors to the shroud.
- Secure the motors to the shroud with the retaining screws.
- Install the fan blades to the fan shroud assembly with the nuts in the center of the fan hub.
- Install the cooling fan assembly to the radiator.
- Install the radiator lower bracket to the cradle.

Caution: To help avoid personal injury or damage to the vehicle, a bent, cracked, or damaged fan blade or housing should always be replaced.
Notice: Refer to Fastener Notice in the Preface section.
Tighten
Tighten the fan motor retaining screws to 3.5 N·m (31 lb in).
Tighten
Tighten the fan blades retaining nuts to 5.6 N·m (50 lb in).
Tighten
Tighten the cooling fan assembly bolts to 4 N·m (35 lb in).

Tighten
Tighten the radiator lower bracket bolts to 50 N·m (39.6 lb ft).
