For 1990-2009 cars only
Rear Bumper Fascia Replacement C 100/Long Body
Removal Procedure
- Disconnect the negative battery cable. Refer to Battery Negative Cable Disconnection and Connection.
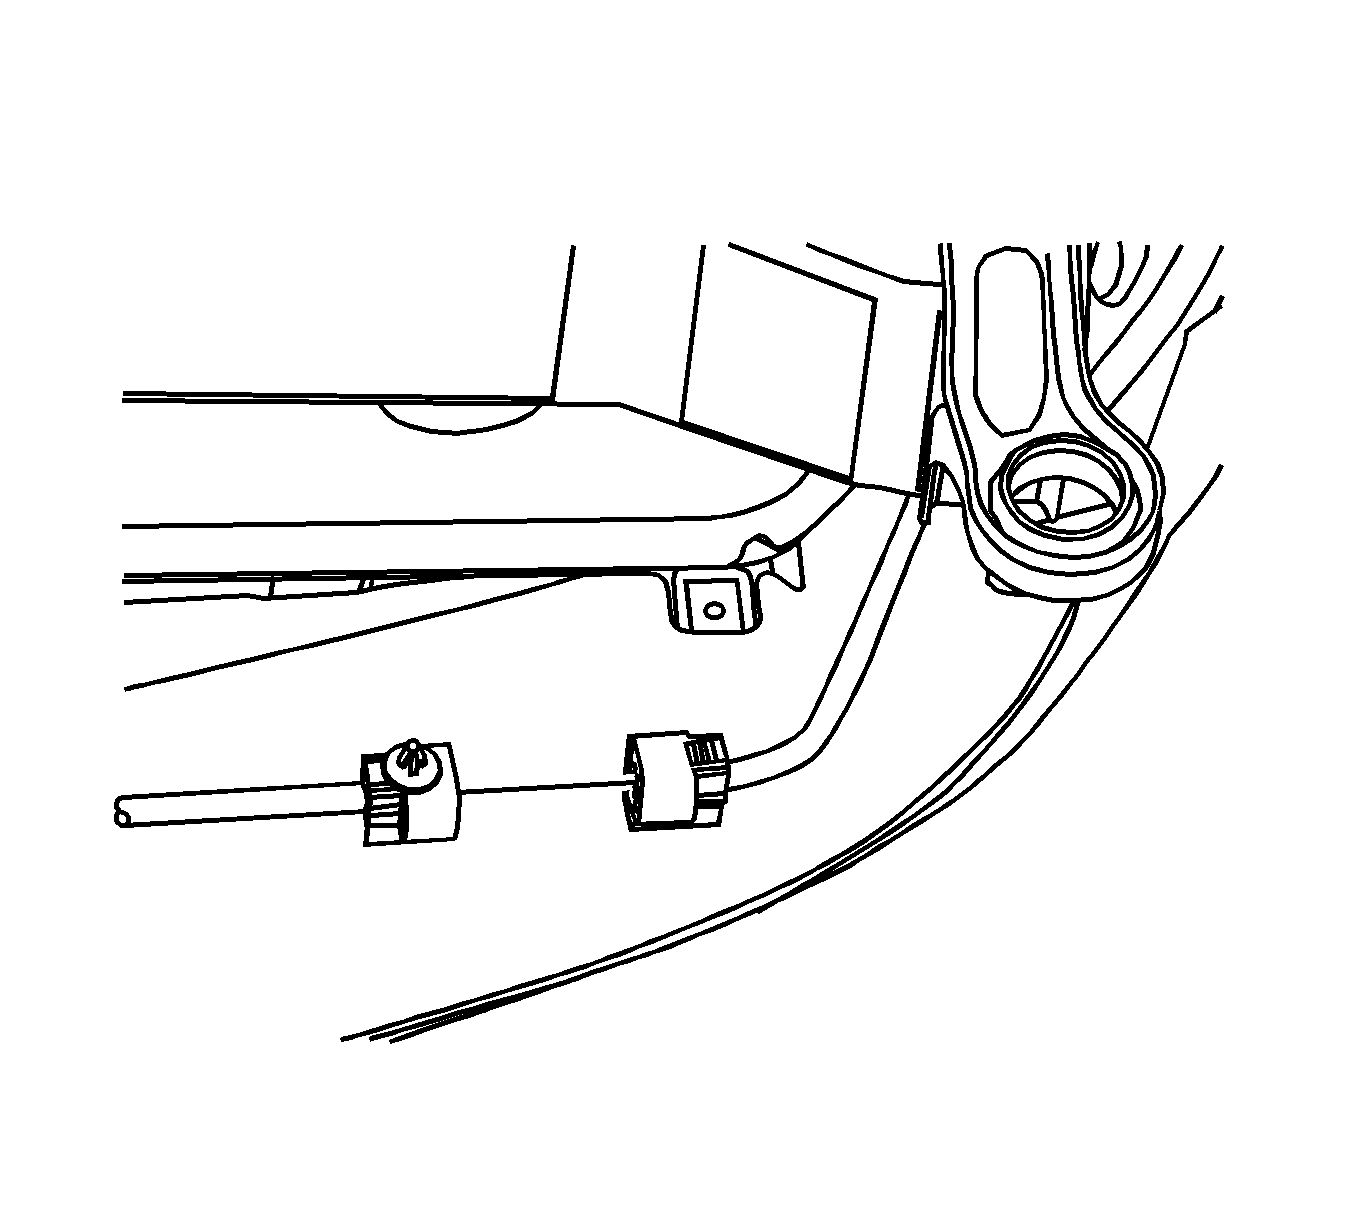
- Disconnect the connector of the rear object sensor, if equipped.
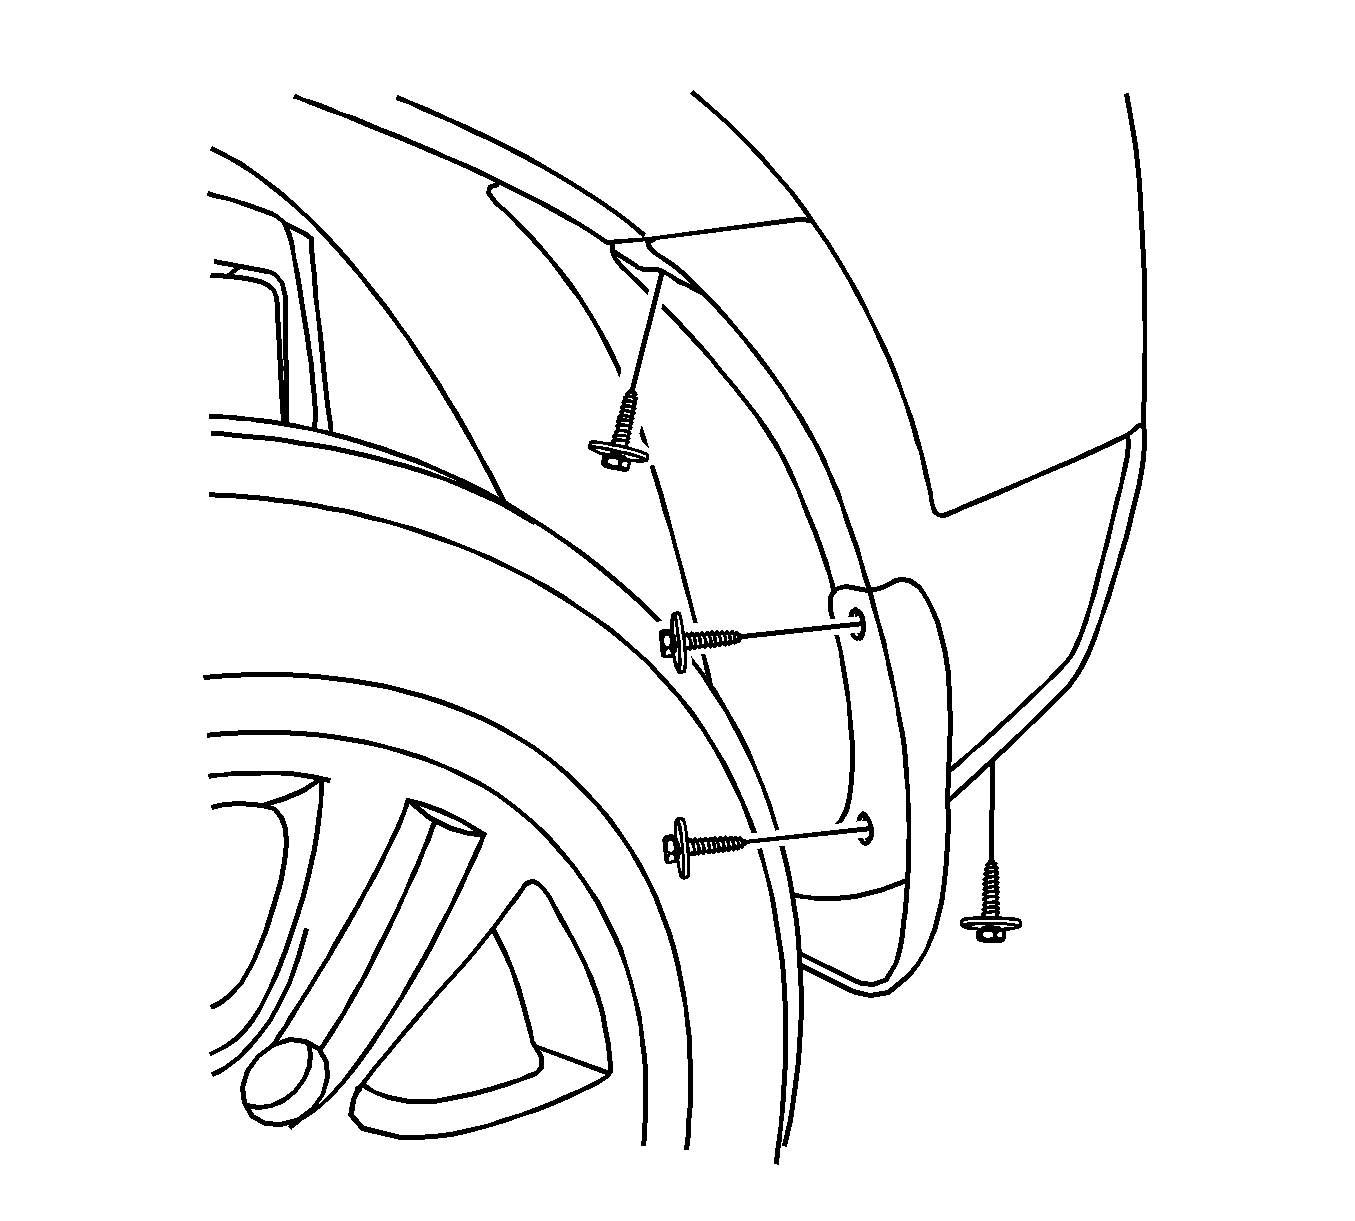
- Remove the bolts on the rear wheelhouse liner.
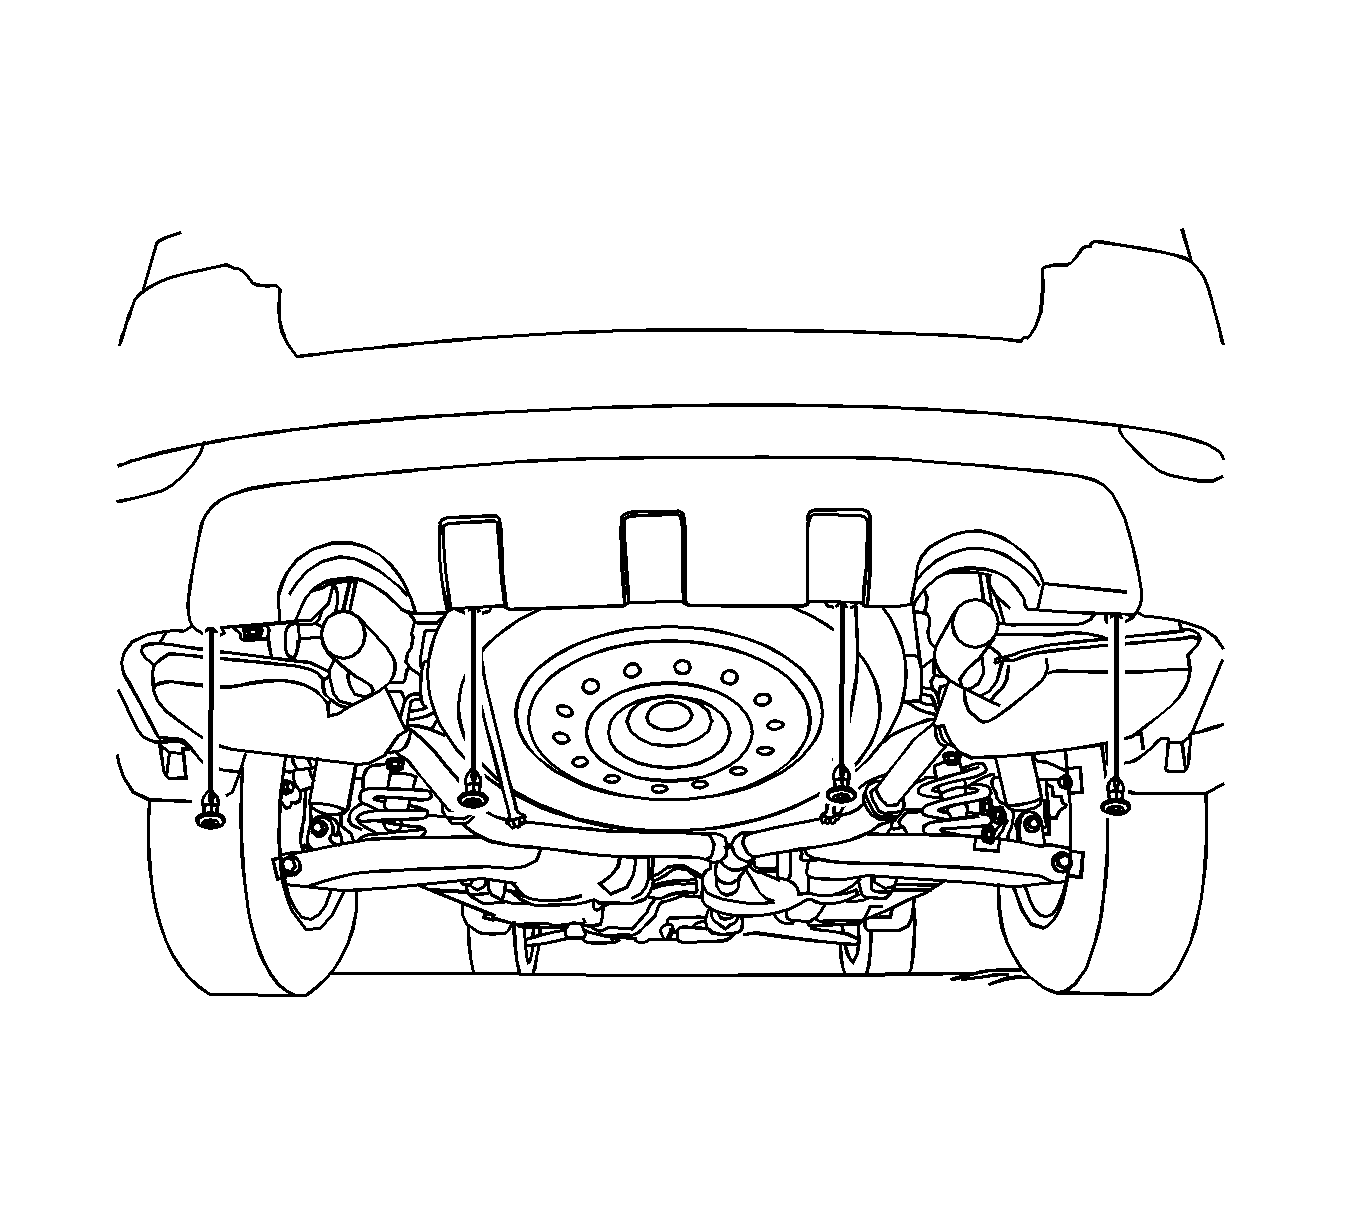
- Remove the rear lower fascia retainers.
- Remove the fascia.
- Remove the tail lamps. Refer to Tail Lamp Replacement.
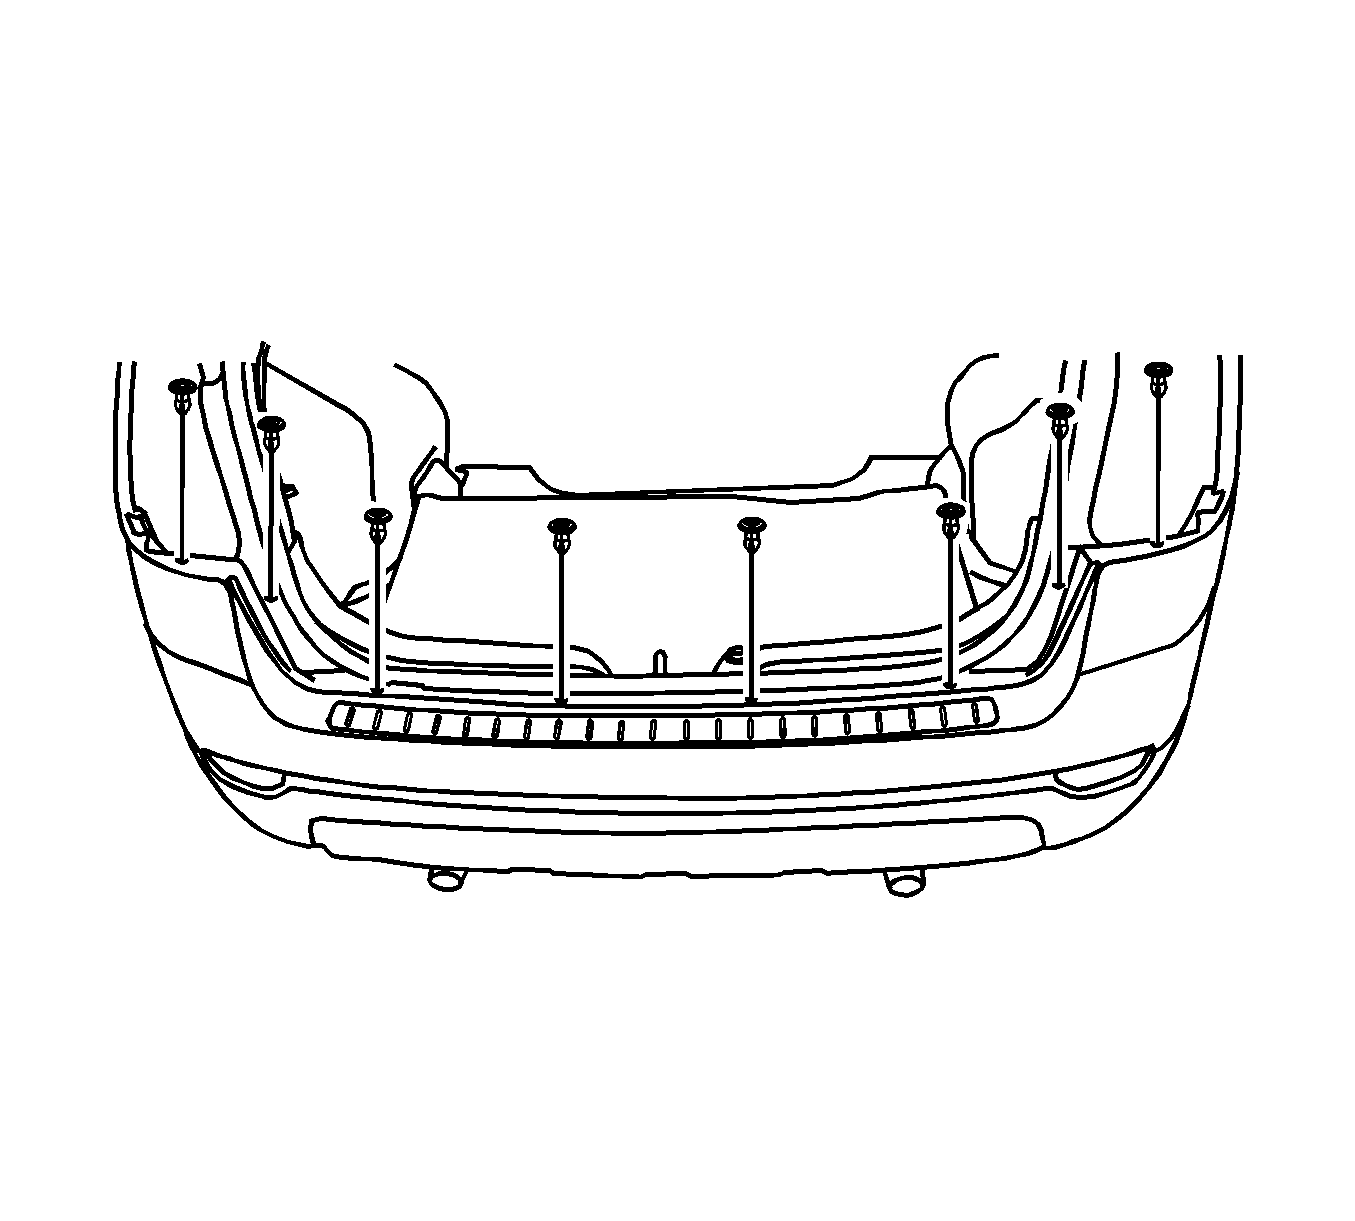
- Remove the upper fascia screws and retainers.
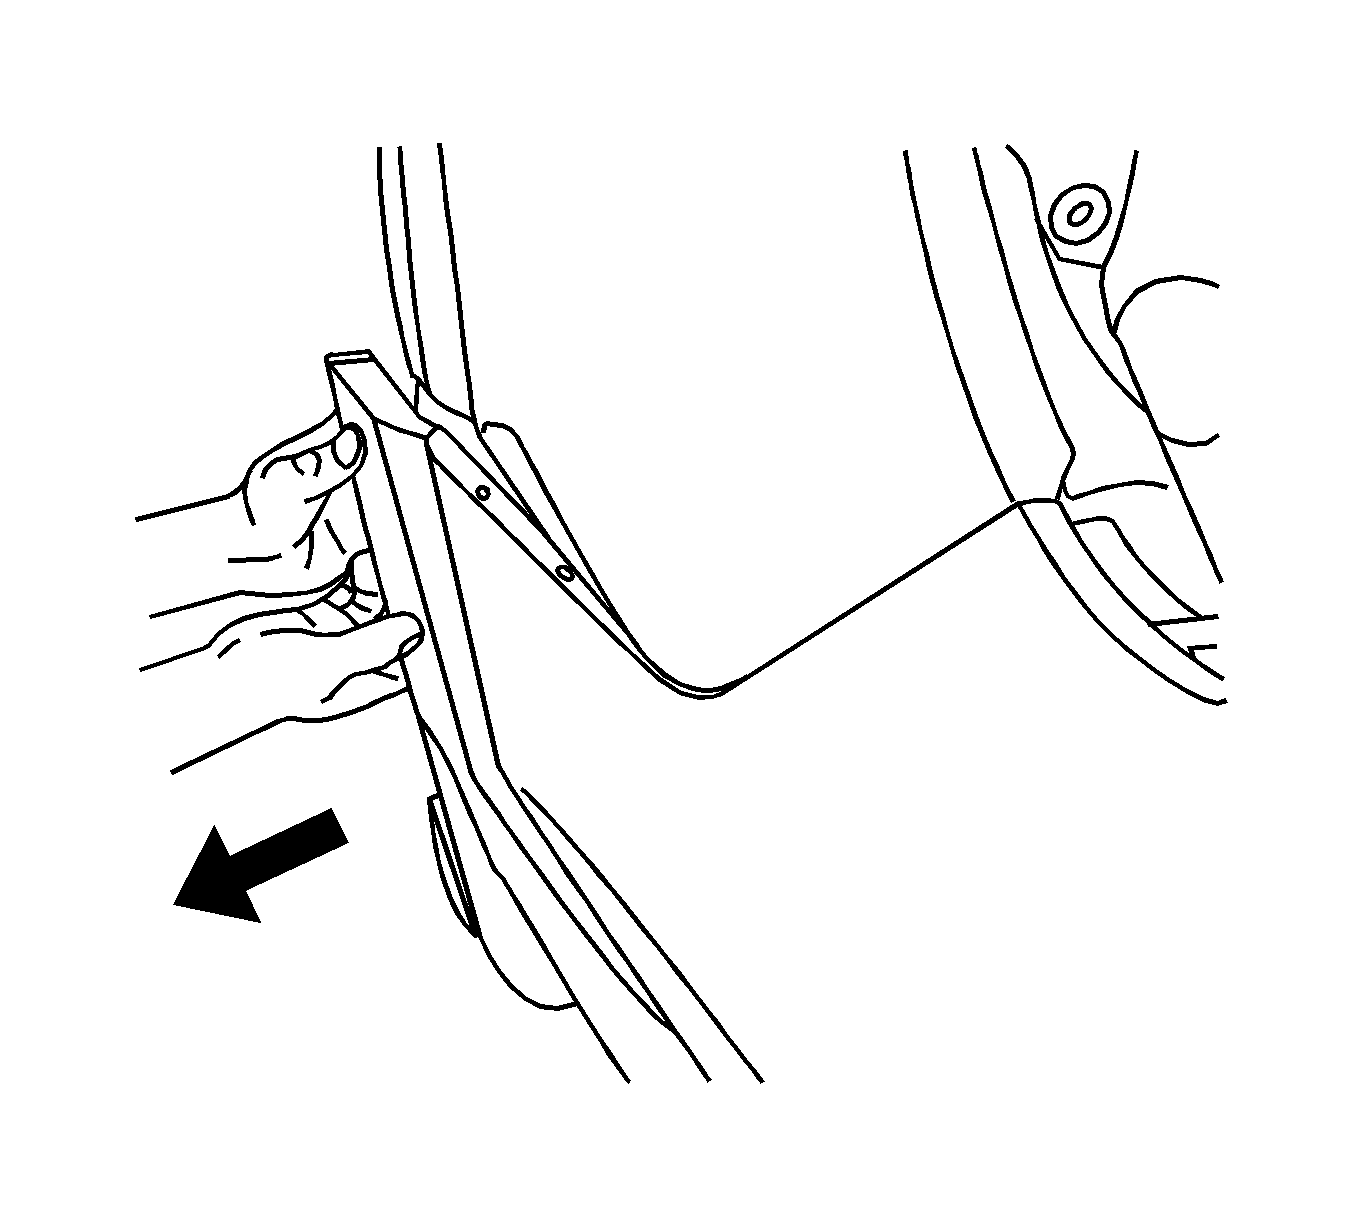
- Remove the rear bumper fascia from the rear quarter panel by pulling the side of the fascia outward.
- Remove the rear bumper fascia from the vehicle.
Installation Procedure
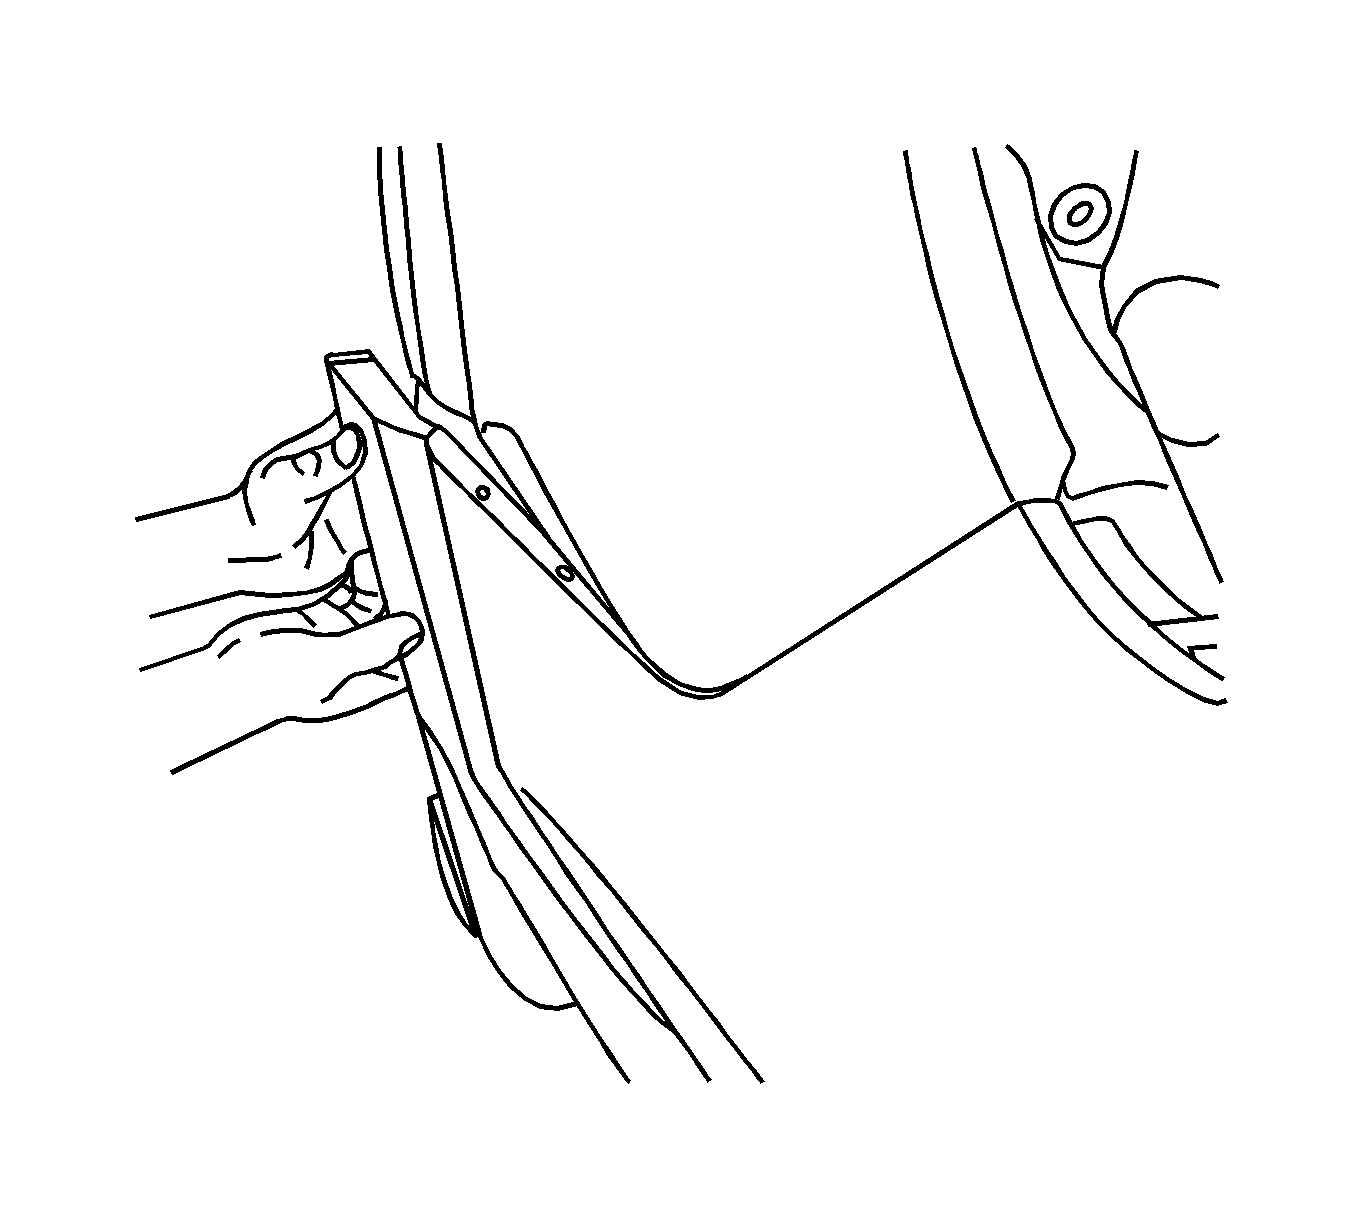
- Install the rear bumper fascia to the vehicle.
- Install the side of the rear bumper fascia to the rear quarter panel.
- Install the upper fascia screws and retainers.
- Install the tail lamps. Refer to Tail Lamp Replacement
- Install the lower fascia retainers.
- Install the bolts on the rear wheelhouse liner.
- Connect the connector of the rear object sensor, if equipped.
- Connect the negative battery cable. Refer to Battery Negative Cable Disconnection and Connection.
Notice: Refer to Fastener Notice in the Preface section.

Tighten
Tighten the rear upper fascia screws to 2 N·m (18 lb in).


Tighten
Tighten the rear wheelhouse liner bolts to 4 N·m (36 lb in).

Rear Bumper Fascia Replacement C 105/Short Body
Removal Procedure
- Disconnect the negative battery cable. Refer to Battery Negative Cable Disconnection and Connection.
- Disconnect the connector of the rear object sensor, if equipped.
- Remove the bolts on the rear wheelhouse liner.
- Remove the rear lower fascia retainers.
- Remove the fascia.
- Remove the tail lamps. Refer to Tail Lamp Replacement.
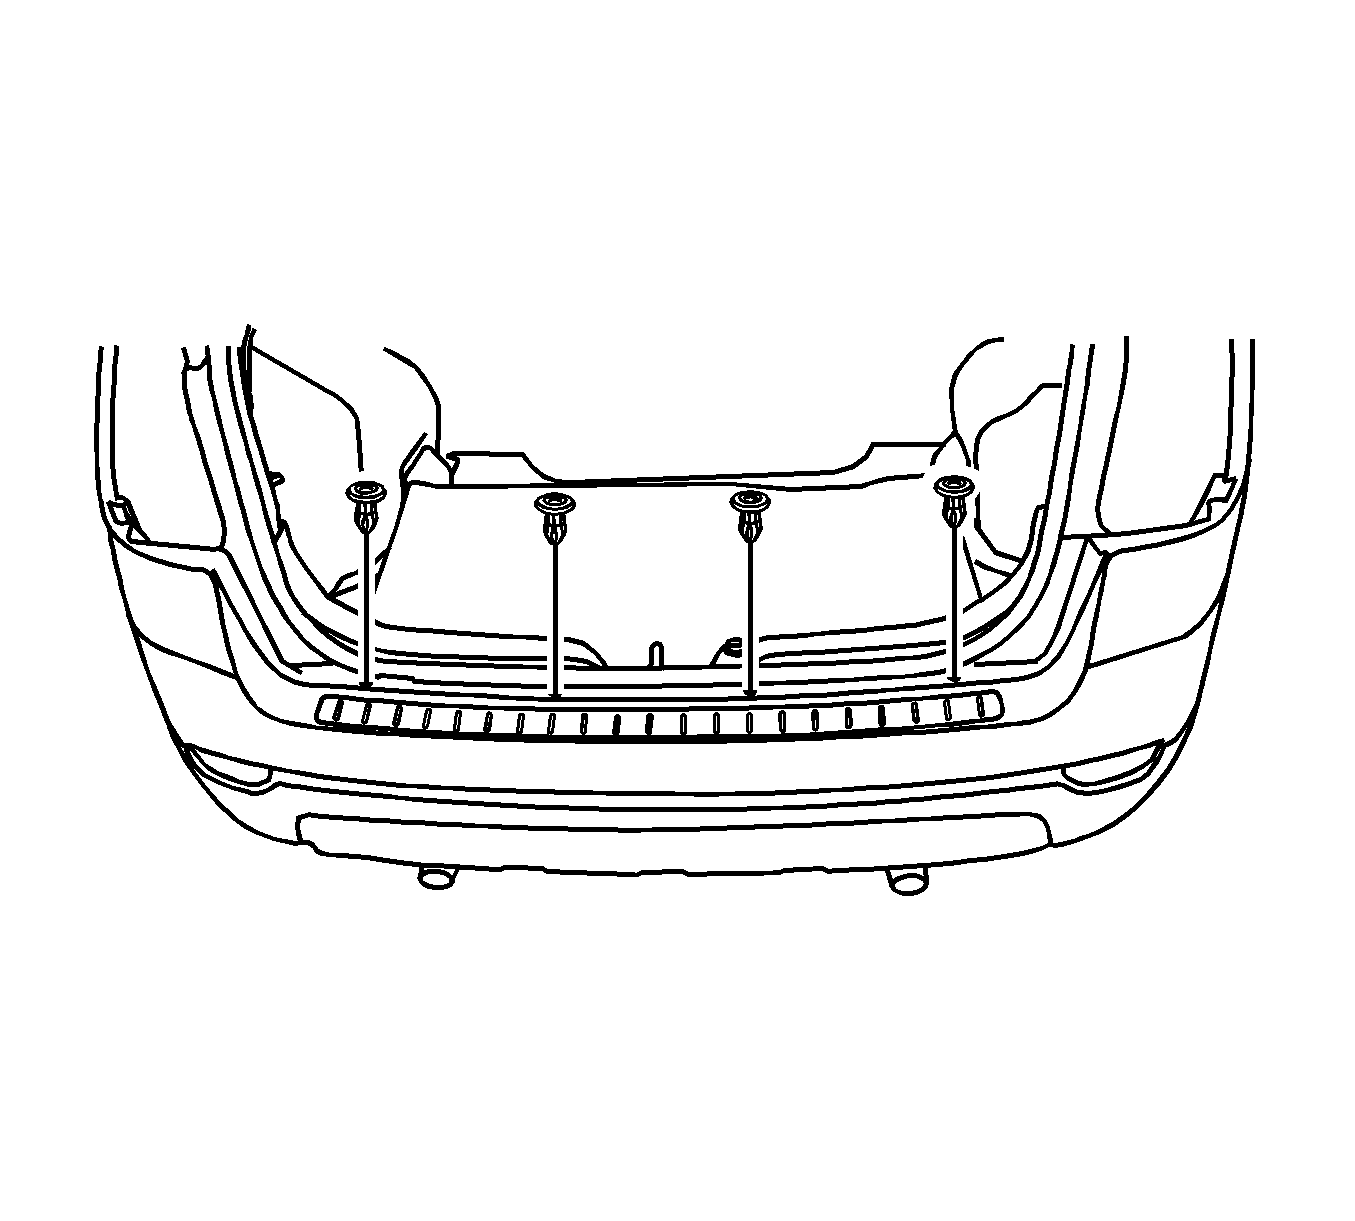
- Remove the upper fascia screws and retainers.
- Remove the rear bumper fascia from the rear quarter panel by pulling the side of the fascia outward.
- Remove the rear bumper fascia from the vehicle.



Installation Procedure
- Install the rear bumper fascia to the vehicle.
- Install the side of the rear bumper fascia to the rear quarter panel.
- Install the upper fascia screws and retainers.
- Install the tail lamps. Refer to Tail Lamp Replacement
- Install the lower fascia retainers.
- Install the bolts on the rear wheelhouse liner.
- Connect the connector of the rear object sensor, if equipped.
- Connect the negative battery cable. Refer to Battery Negative Cable Disconnection and Connection.

Notice: Refer to Fastener Notice in the Preface section.

Tighten
Tighten the rear upper fascia screws to 2 N·m (18 lb in).


Tighten
Tighten the rear wheelhouse liner bolts to 4 N·m (36 lb in).

