For 1990-2009 cars only
Water Pump Replacement 2.4L
Removal Procedure
- Drain the engine cooling system to a level below the thermostat housing. Refer to Cooling System Draining and Filling .
- Remove the timing belt. Refer to Timing Belt Replacement .
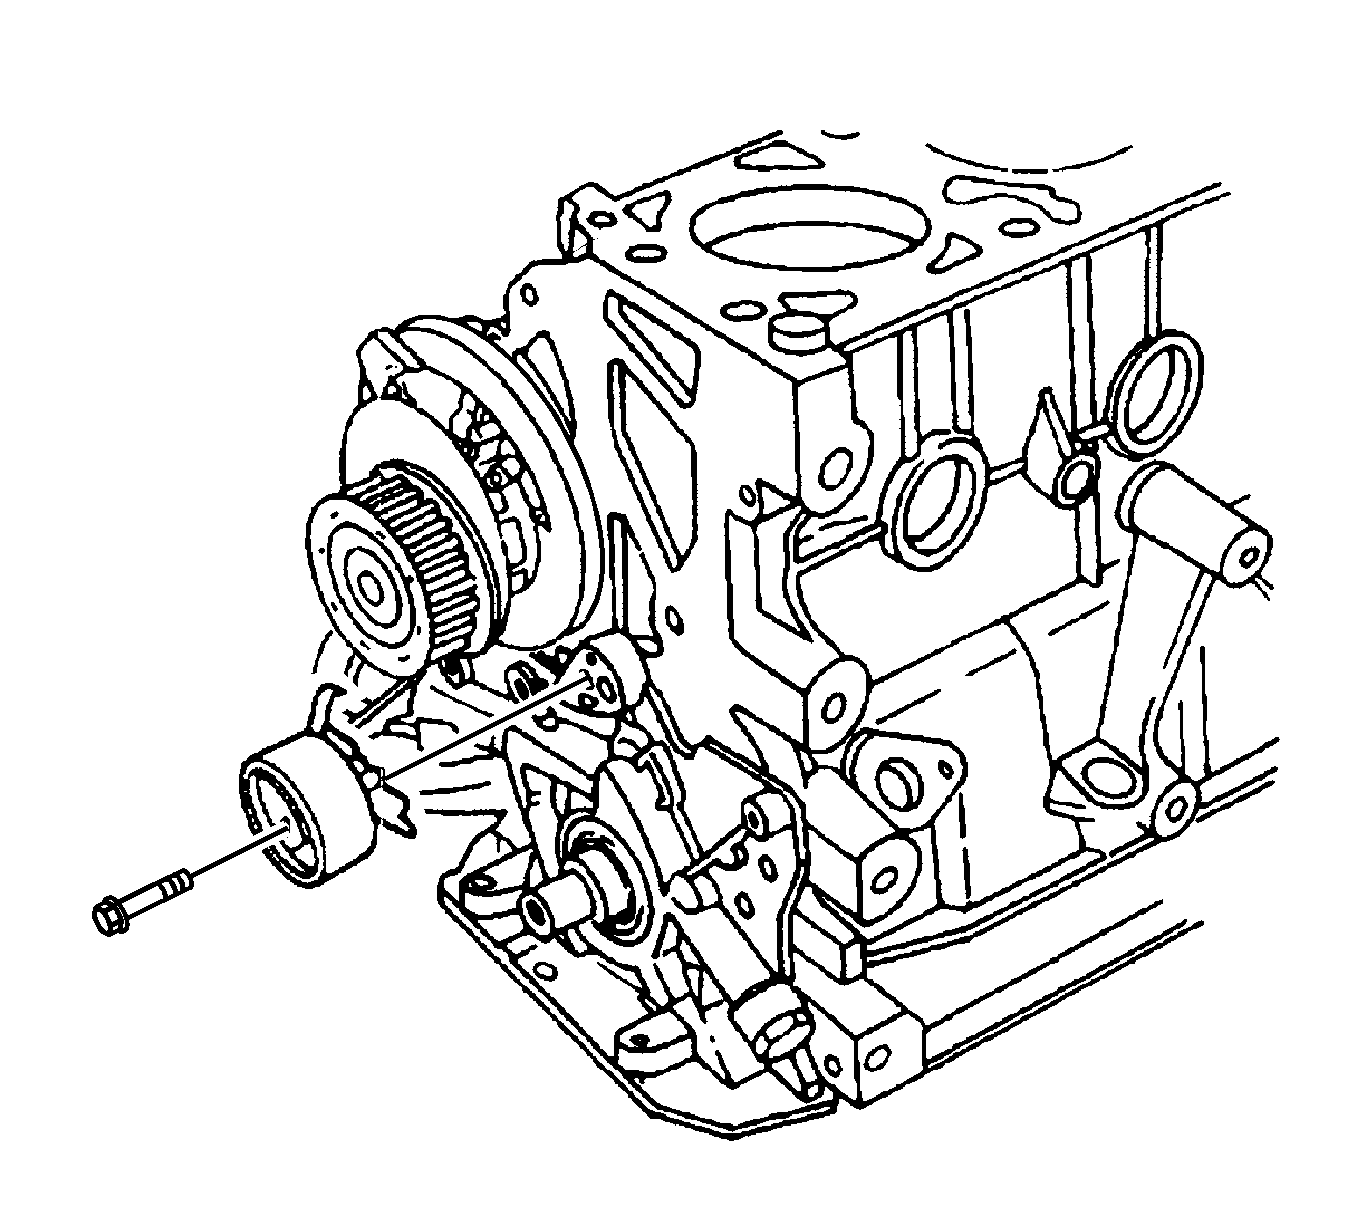
- Remove the timing belt automatic tensioner.
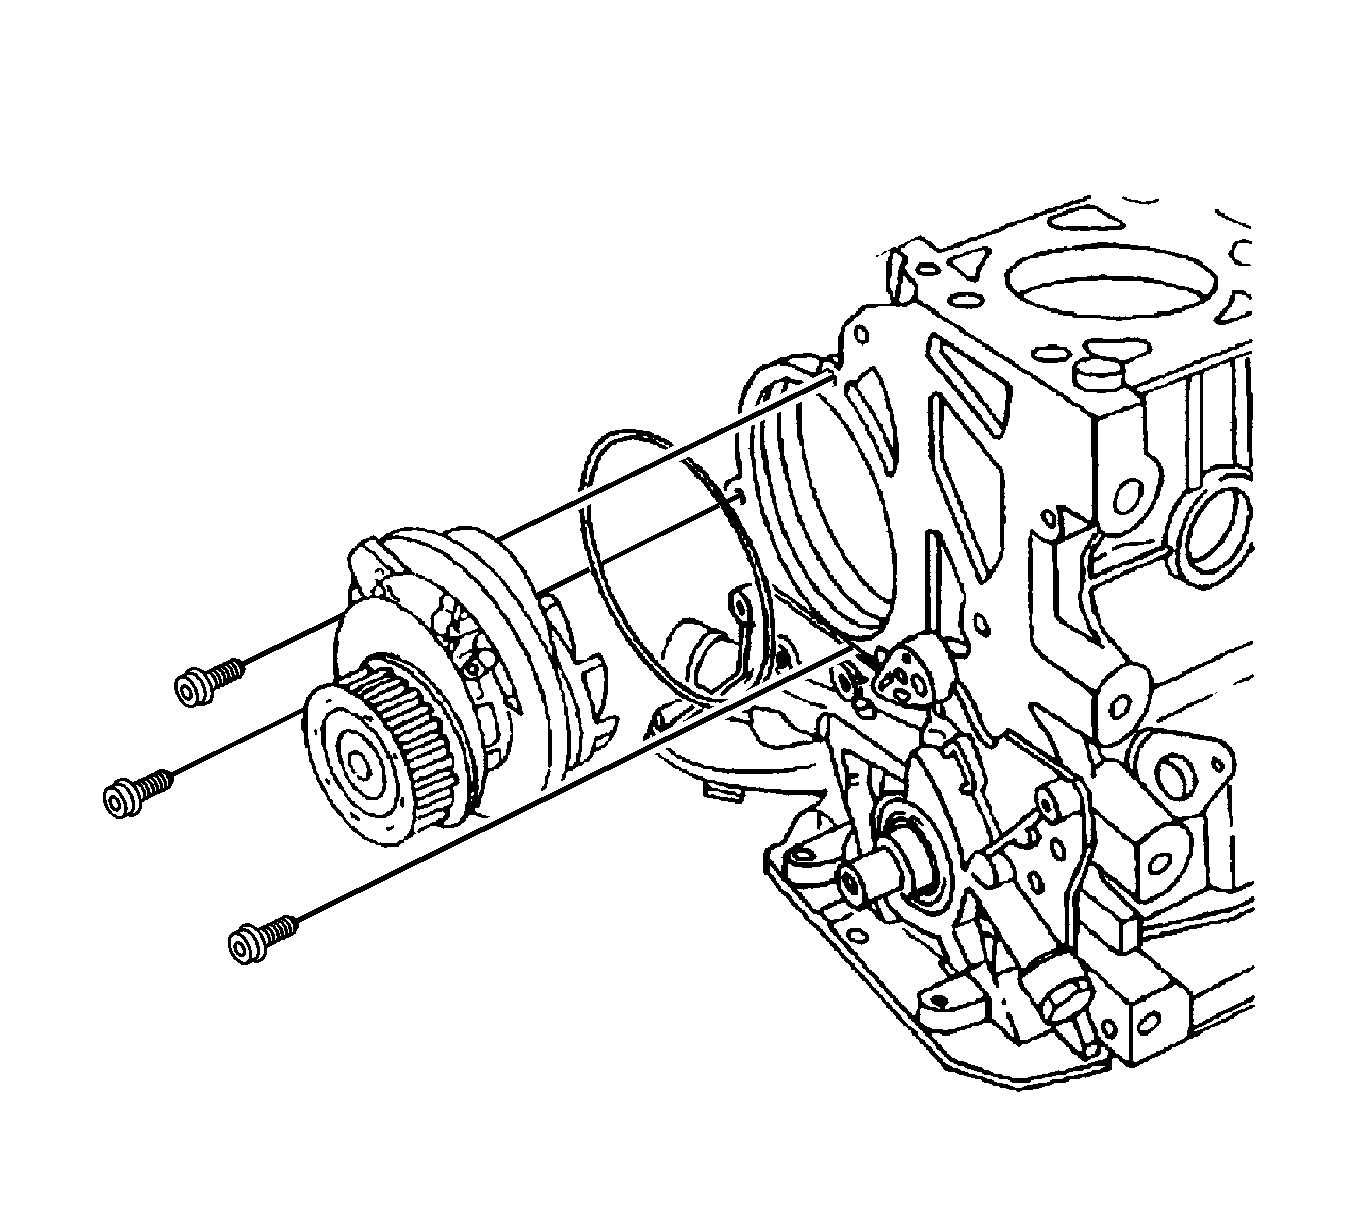
- Remove the water pump mounting bolts.
- Remove the water pump from the engine block.
- Remove the ring seal from the water pump.
Inspection Cleaning Procedure
- Inspect the water pump body for cracks and leaks.
- Inspect the water pump bearing for play or abnormal noise.
- Inspect the water pump pulley for excessive water. If the water pump is defective, replace the water pump as a unit.
- Clean the mating surfaces of the water pump and the engine block.
Installation Procedure
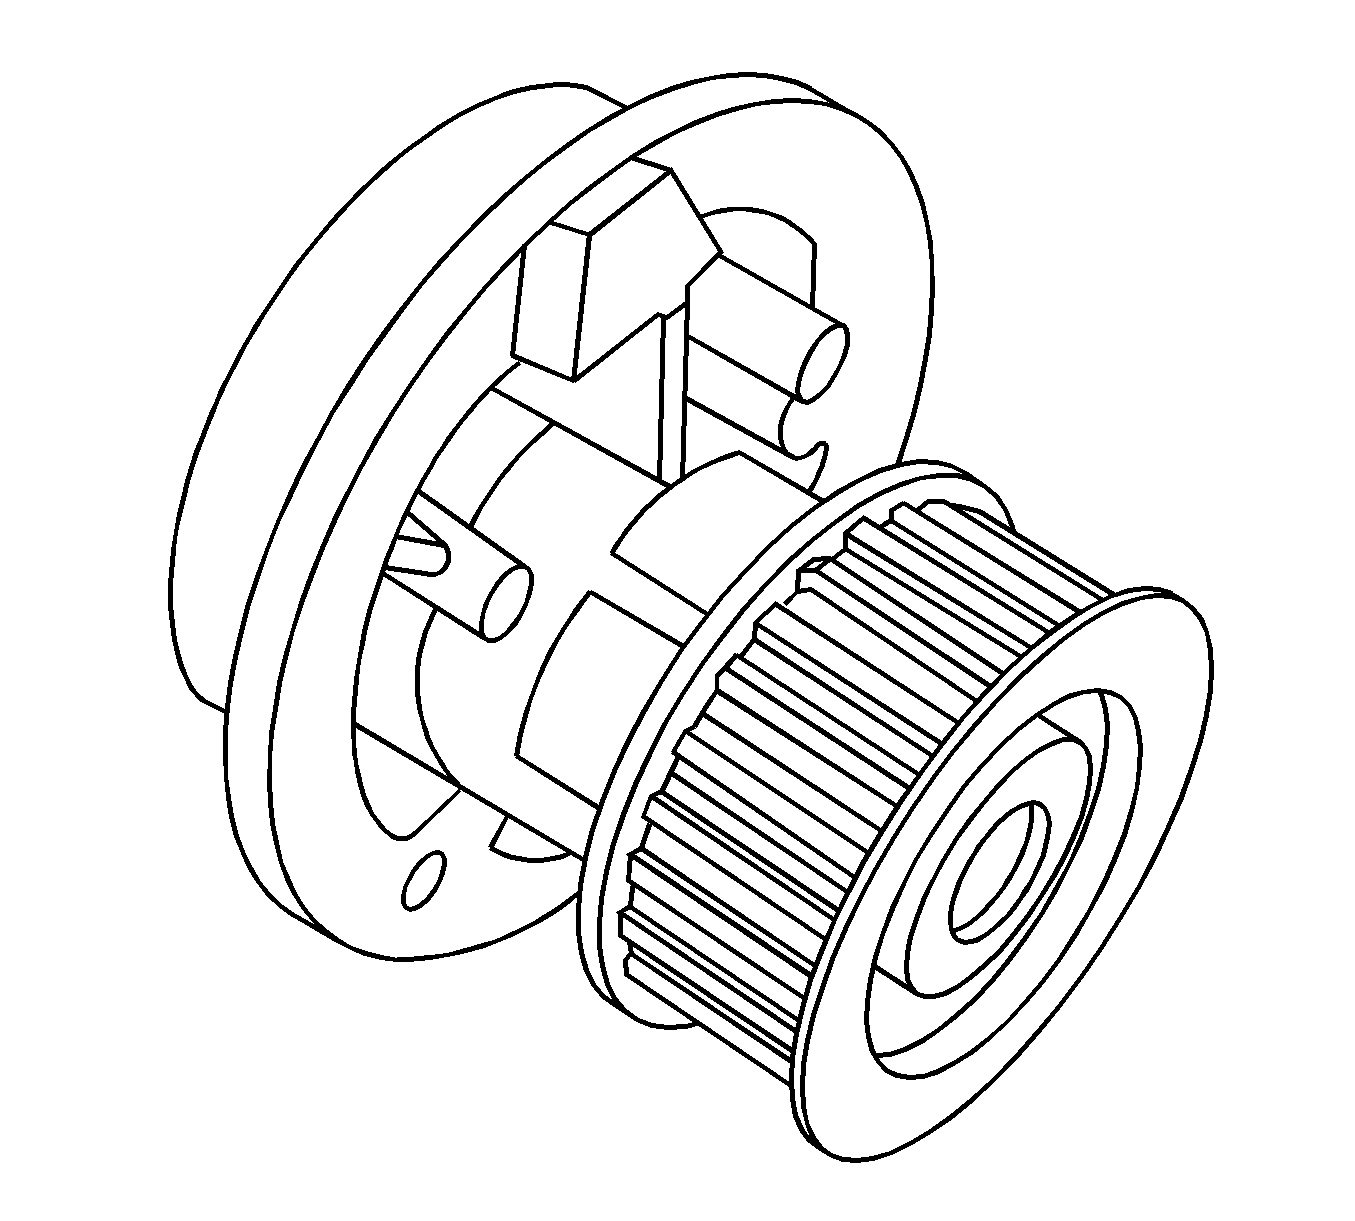
- Install a new ring seal to the water pump.
- Install the water pump to the engine block with the flange aligned with the recess of the rear timing belt cover.
- Secure the water pump to the engine block with the mounting bolts.
- Install the timing belt automatic tensioner to the oil pump with the flange inserted into the recess of the oil pump.
- Install the timing belt automatic tensioner bolts. Do not fully tighten the bolt at this time.
- Install the timing belt. Refer to Timing Belt Replacement .
- Refill the engine cooling system. Refer to Cooling System Draining and Filling .

Notice: Refer to Fastener Notice in the Preface section.
Tighten
Tighten the water pump mounting bolts to 25 N·m (18 lb ft).

Water Pump Replacement 2.0L Diesel
Removal Procedure
- Drain the engine cooling system to a level below the thermostat housing. Refer to Cooling System Draining and Filling .
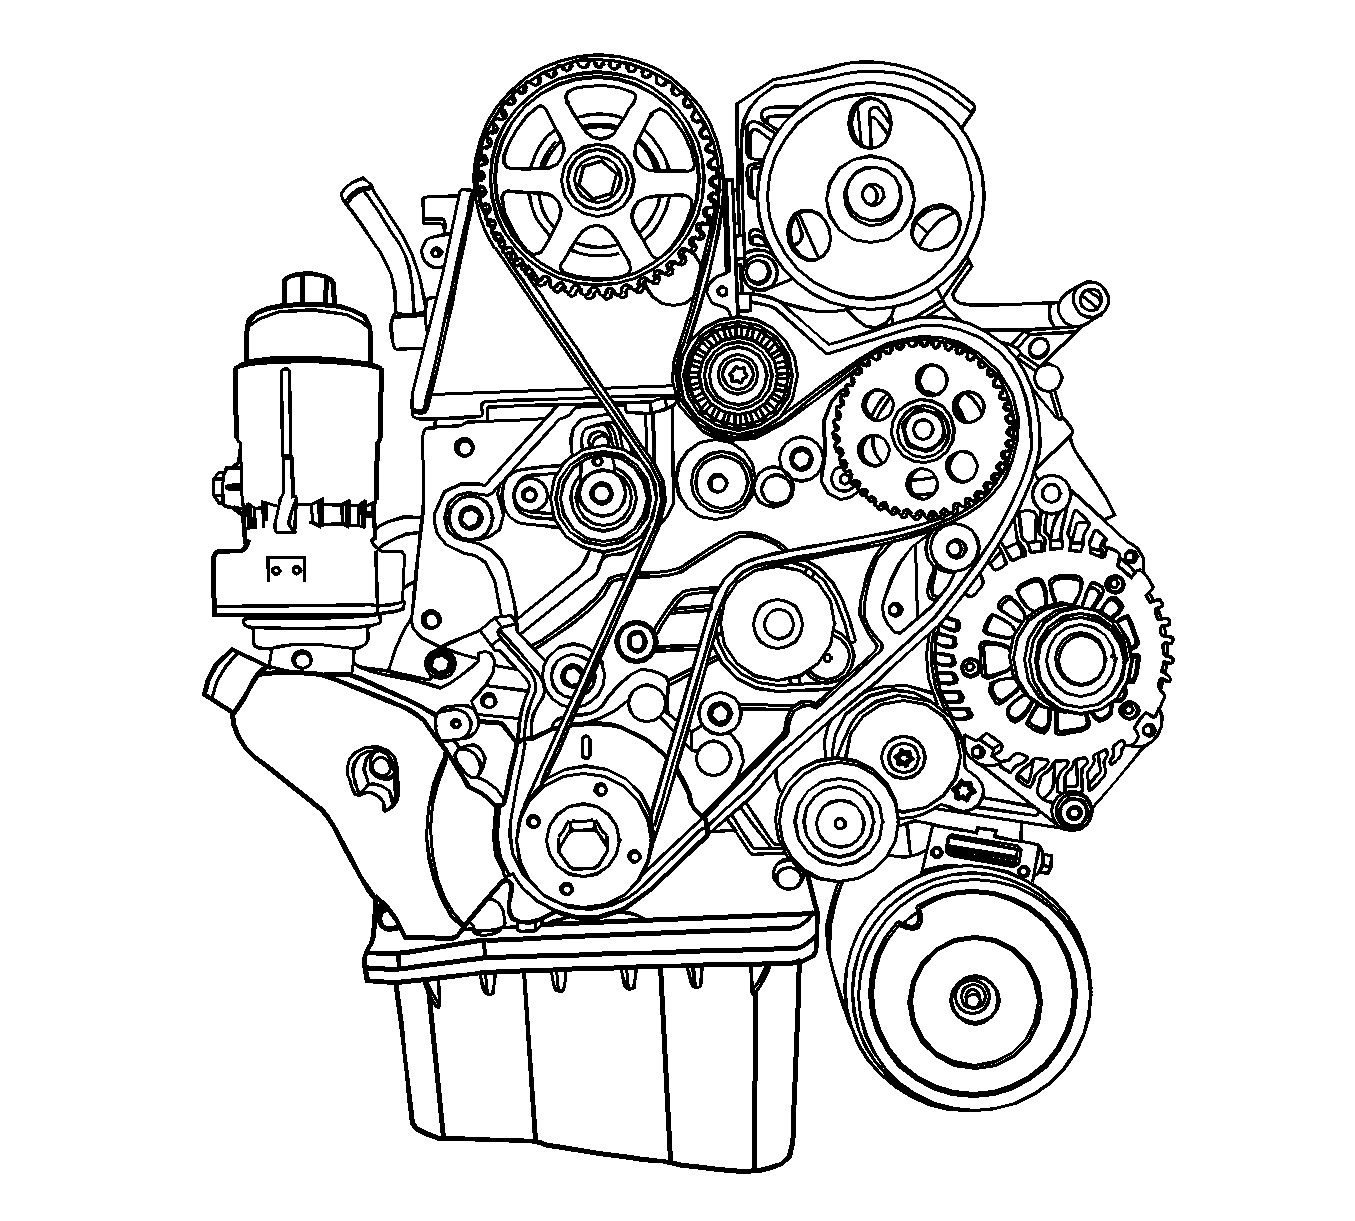
- Remove the timing belt. Refer to Timing Belt Replacement .
- Remove the timing belt idler.
- Remove the fuel injection pump sprocket.
- Remove the timing belt rear cover.
- Remove the water pump with the gasket.
Caution: To avoid being burned, do not remove the radiator cap or surge tank cap while the engine is hot. The cooling system will release scalding fluid and steam under pressure if radiator cap or surge tank cap is removed while the engine and radiator are still hot.
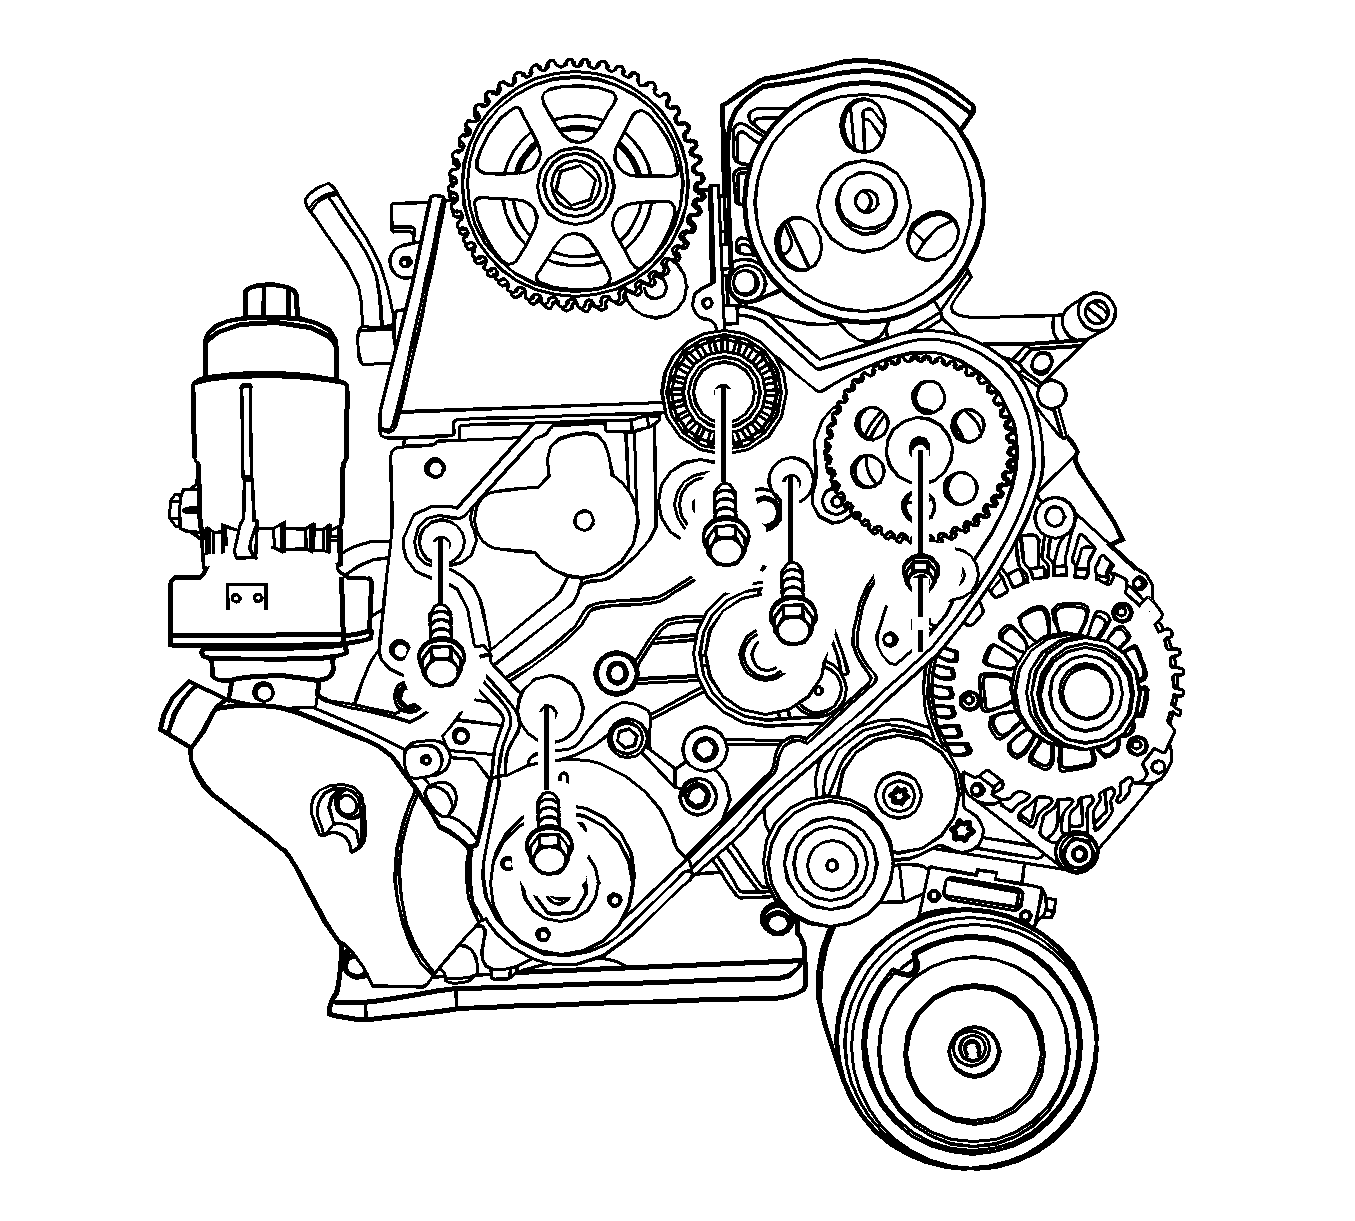
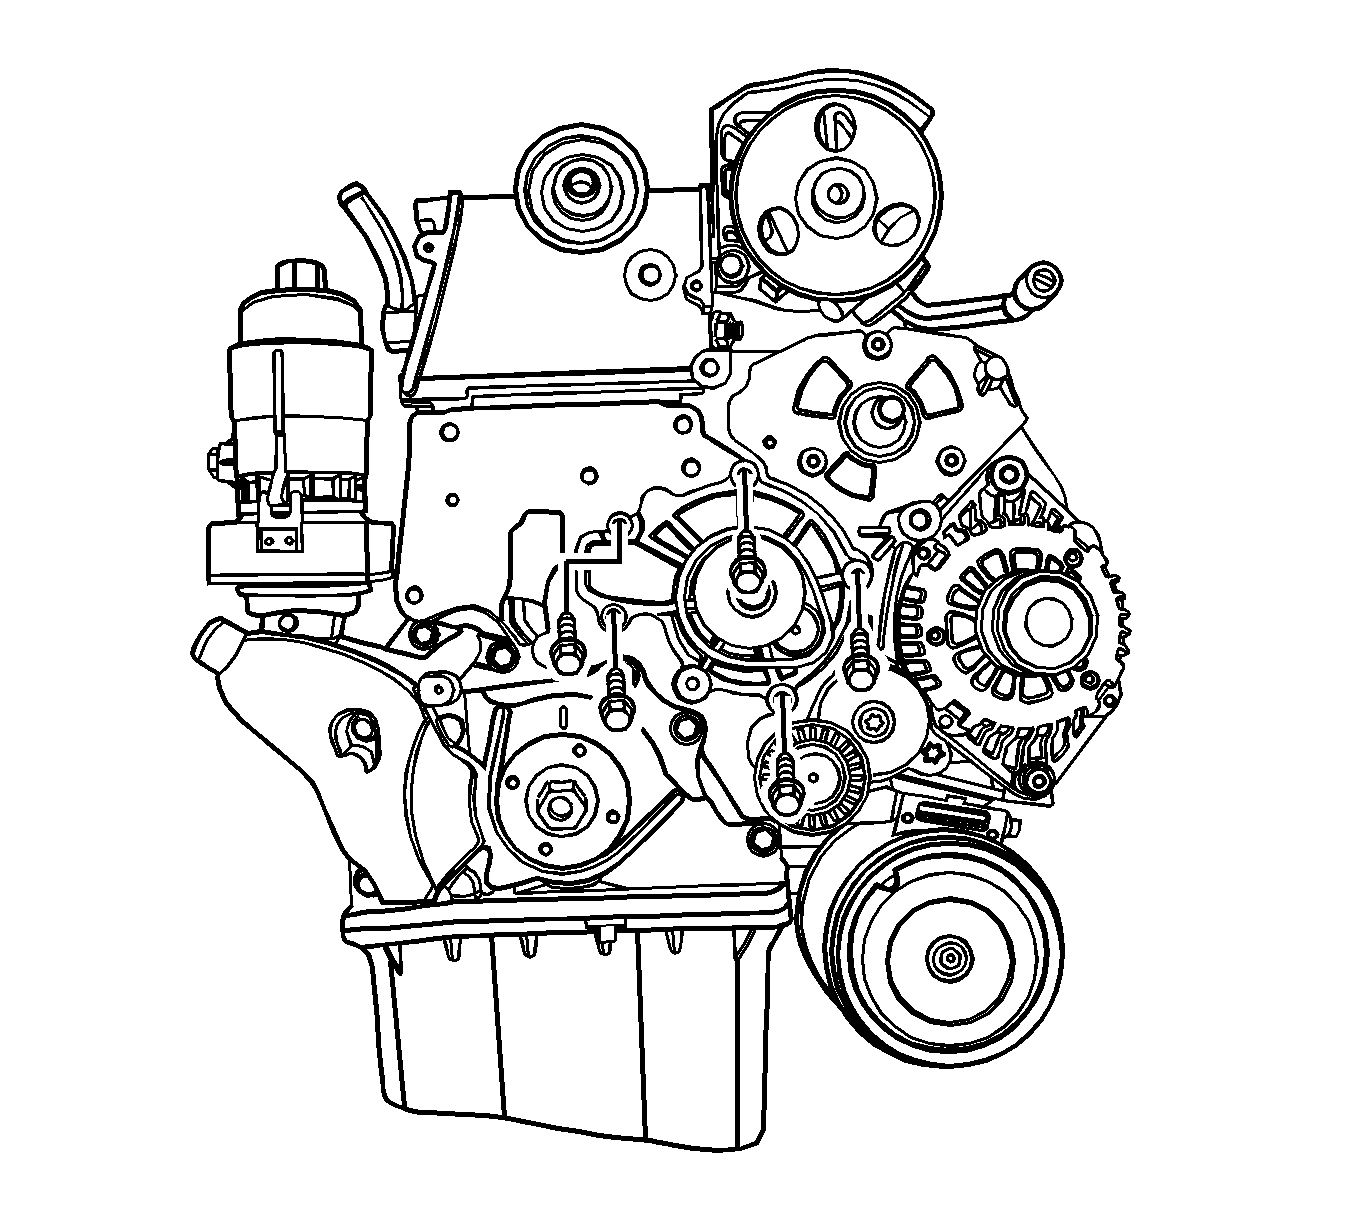
Inspection Cleaning Procedure
- Inspect the water pump body for cracks and leaks.
- Inspect the water pump bearing for play or abnormal noise.
- Inspect the water pump pulley for excessive wear. If the water pump is defective, replace the water pump as a unit.
- Clean the mating surfaces of the water pump and the engine block.
Installation Procedure
- Install the water pump with a new gasket.
- Install the timing belt idler.
- Install the fuel injection pump sprocket.
- Install the timing belt rear cover.
- Install the timing belt. Refer to Timing Belt Replacement .
- Fill the engine cooling system to a level below the thermostat housing. Refer to Cooling System Draining and Filling .
Notice: Refer to Fastener Notice in the Preface section.

Tighten
Tighten the water pump tightening bolts to 11 N·m (97.4 lb in).

Tighten
| • | Tighten the timing belt idler bolt to 52 N·m (38.4 lb ft). |
| • | Tighten the injection pump sprocket nut to 70 N·m (51.6 lb ft). |
| • | Tighten the timing belt rear cover bolts to 11 N·m (97.4 lb in). |

