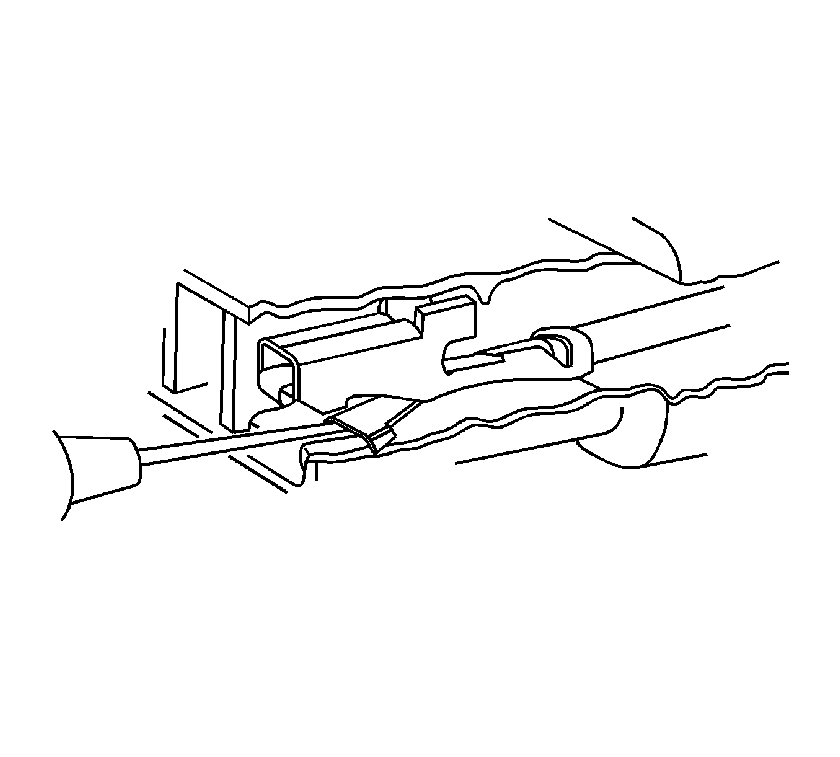
For 1990-2009 cars only
Terminal Removal
If the terminal is visibly damaged or is suspected of having a faulty connection, the terminal should be replaced.
Follow the steps below in order to repair pull-to-seat connectors:
- Remove the connector position assurance (CPA) device and/or the secondary lock.
- Disconnect the connector from the component or separate the connectors for in-line connectors.
- Remove the terminal position assurance (TPA) device.
- Insert the proper pick or removal tool into the front of the connector body.
- Grasp the wire at the back of the connector body and gently push the terminal out the front of the connector body.

Important: On connectors with more than one terminal the service loop may not be large enough to remove the terminal and crimp on a new one. If the terminal wire does not have a large enough service loop for removal, cut the wire 5 cm (2 in) behind the connector before removal.
Terminal Repair
- If the wire needed to be cut in order to remove the terminal, gently push a small length of the same size wire through the back of the connector cavity until there is enough wire exposed in order to crimp on a new terminal. If the wire was not cut, cut the existing wire as close to the old terminal as possible.
- Strip 5 mm (3/16 in) of insulation from the wire.
- Crimp a new terminal to the wire.
- Solder the crimp with rosin core solder.
Terminal Installation
- Align the terminal and pull the wire from the back of the connector in order to seat the terminal.
- If necessary, cut the new wire to proper length and splice with existing circuit. Refer to Splicing Copper Wire Using Splice Sleeves .
- If the connector is outside of the passenger compartment, apply dielectric grease to the connector.
- Install the TPA, CPA and/or the secondary locks.
