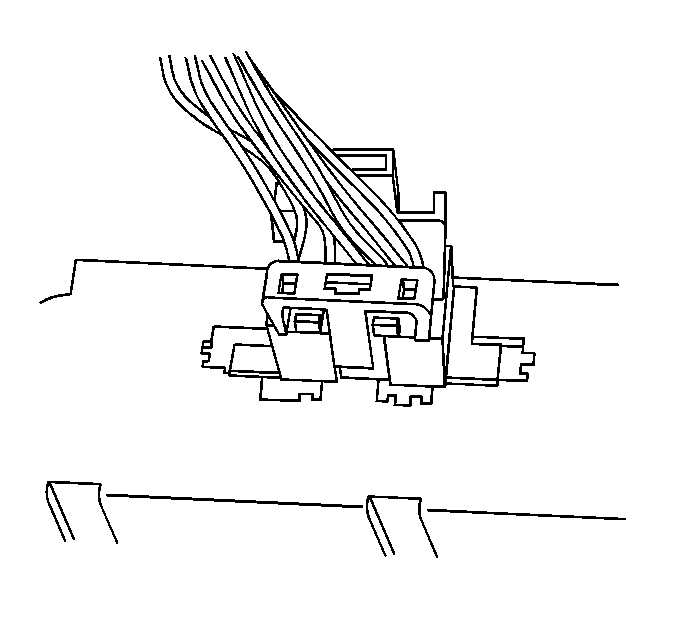
For 1990-2009 cars only
Rear SeatAudio Control Replacement VIN Code U
Removal Procedure
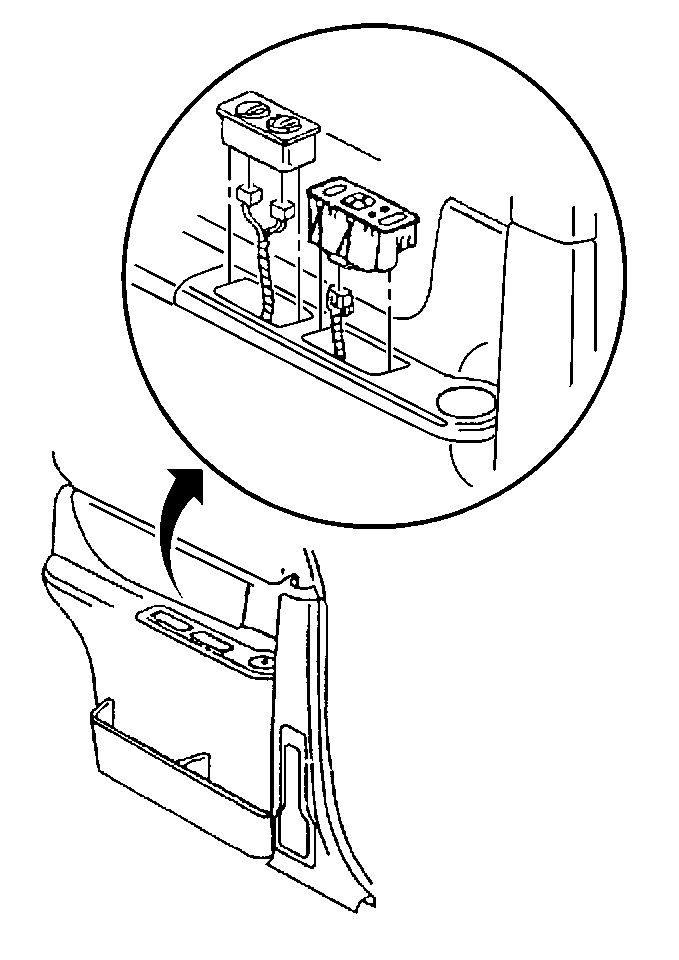
- Use a small flat-bladed tool in order to release the rear seat audio control tabs.
- Remove the rear seat audio controls from the rear quarter trim.
- Disconnect the electrical connectors.
- Remove the rear seat audio controls from the rear quarter trim.
Installation Procedure
- Install the rear seat audio controls to the rear quarter trim.
- Connect the electrical connectors.
- Align the tabs on the rear seat audio controls to the slots in the rear quarter trim.
- Press down on the rear sear audio controls in order to lock the tabs.

Rear SeatAudio Control Replacement VIN Code X
Removal Procedure
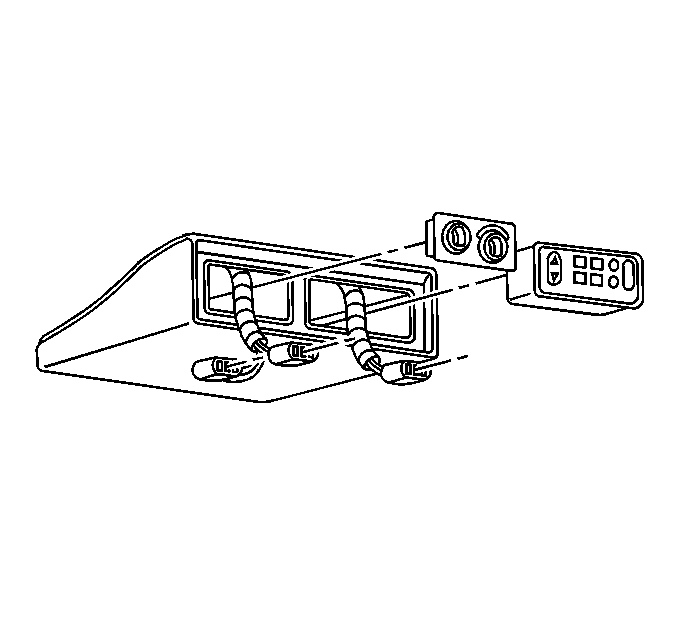
- Use a small, flat-bladed tool in order to press on the locking tabs and release the rear seat audio controls from the rear overhead console.
- Disconnect the electrical connectors.
- Remove the rear seat audio controls from the rear overhead console.
Installation Procedure
- Connect the electrical connectors to the rear seat audio controls.
- Align the rear seat audio controls to the rear overhead console.
- Press the rear seat audio controls into the rear overhead console until fully seated and locked in.


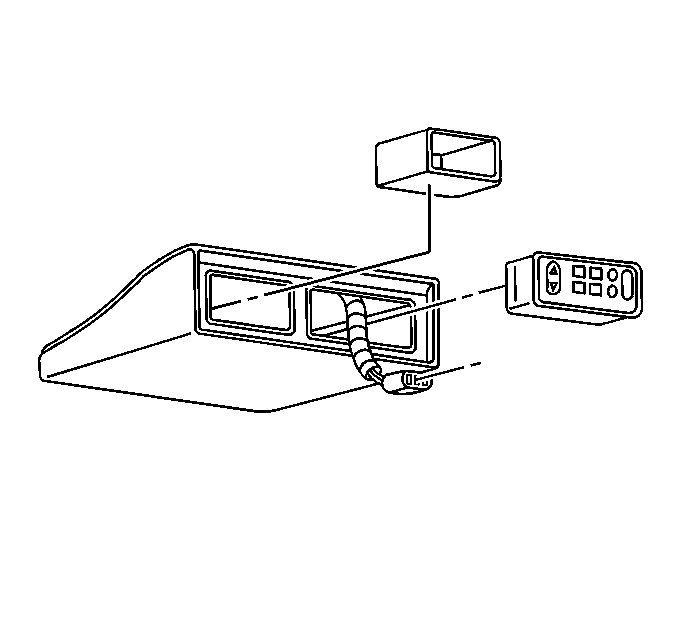
Removal Procedure
- Carefully release the locking tabs using a flat-bladed tool in the locations as indicated.
- Remove the rear seat audio from the overhead entertainment console.
- Disconnect the electrical connector from the rear seat audio.
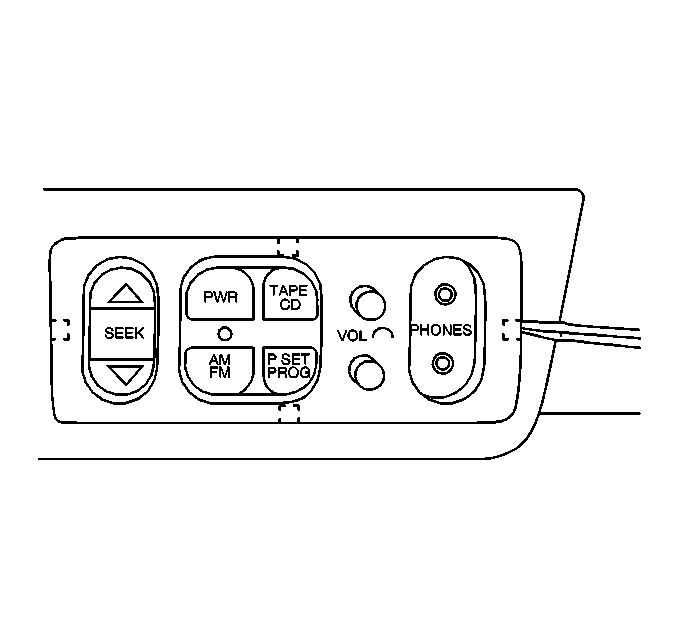
Installation Procedure
- Connect the electrical connector to the rear seat audio.
- Install the rear seat audio to the overhead entertainment console.
- Press the rear seat audio until it locks into place.
